The Triumph Dolomite Club - Discussion Forum

The Number One Club for owners of Triumph's range of small saloons from the 1960s and 1970s.
It is currently Wed Apr 17, 2024 12:43 am

All times are UTC+01:00


Post new topic  Reply to topic  [ 54 posts ]  Go to page Previous 1 2 3 4 Next
Author Message
PostPosted: Mon Mar 12, 2012 11:25 pm 
It may be worth asking Michaels of Selby (ask for Dennis in the stores, he knows his stuff) for a price for the matrix. It's the same one as used in Reliant Scimitars, kittens and Foxes and last time I had one, it was denser than the original but of the same physical dimensions, so the heater was really good as a result.


Top
   
PostPosted: Sun Apr 01, 2012 10:01 pm 
I've finally got a few days off to work on the car and to hopefully get an MOT on it.

Image
Out in the sunlight again at last!

I tried to drive it out of the garage this morning but the starter just clicked. This seemed strange because the battery has been on trickle charge since I put it away a few weeks ago so I took the plugs out but that didn't help so I put a spare battery on charge and took of the starter which I stripped down, cleaned, greased and painted. I half refitted it but lost the light so I'll tighten it up in the morning. I suspect that it is the battery at fault which could also explain the problem with the charge light I've been having.

Image
Starter ready to refit

While waiting for the starter paint to dry to took the front wheels off and gave everything a clean up and check over. The N/S bottom ball joint gaiter is shredded so I think that'll have to be replaced rather than just having a new rubber, although at £60 a side I would be interested in looking for alternatives! The O/S front wheel bearing has some play too so I'll definitively replace that as it's a more student friendly £10!

Otherwise the front arches are in really good shape. The top joints are good and the track rods are new. The bushes are also all serviceable. Best of all there is no rot at all!

Image
N/S wheel arch

I then tried out something I'd read about on a few forums and have been itching to try out...

Image

Image

Image

Image

Before on the left and after on the right. The picture doesn't do it justice. I boiled each part in the lemon squash concentrate for about ten minutes and then rinsed and dried. All the grime and muck came off in the squash which was still pretty clean so I'll use it again tomorrow on the carb bodies. Much cheaper, a lot easier and I dare say more effective than scrubbing with carb cleaner and little wire brushes!

The cam cover also got a squirt of black Hammerite smooth. I may redo it in body colour though...

Image

Finally I took drained and removed the rad and flushed it through. I'll give it a clean and paint tomorrow. Unfortunately it isn't in amazing condition but I'm hoping that it'll be okay for this year. Does anyone have any hints for making old hoses look a bit better?

Image

More to come tomorrow!

James


Top
   
PostPosted: Sun Apr 01, 2012 11:27 pm 
Offline
Future Club member hopefully!
User avatar

Joined: Tue Oct 03, 2006 7:10 pm
Posts: 1927
Location: Holland on sea
Your making good progress, the wheel bearing does not need replacing if there's no grinding as they are adjustable :)


Top
   
PostPosted: Mon Apr 02, 2012 11:44 am 
Offline
Future Club member hopefully!

Joined: Tue Oct 03, 2006 9:45 pm
Posts: 11179
Location: Middlesex
To adjust the wheel bearing, remove the brake pads and remove the outer cap. I have a slide hammer tool to do this but pliers and a big self tapper can do the same job.

Remove the split pin and tighten the castellated nut while rotating the wheel until you feel it start to go tighter, then back the castle nut off to the next looser position for the split pin
and it should be fine. That will save you a tenner for the bearings. They should last 100k miles really.

Please dont leave you cam cover black. It should be aluminium finished....if its black it wont retain heat and wont flash off the condensation properly on short trips....

ho ho....I'm being anal. It just offends me cos its wrong.

Bottom ball joints can have the rubbers replaced but I suspest if the rubber is toast the joint wont be far behind.

Jonners

_________________
Note from Admin: sadly Jon passed away in February 2018 but his humour and wealth of knowledge will be fondly remembered by all. RIP Jonners.


Top
   
PostPosted: Mon Apr 02, 2012 9:53 pm 
Thanks for the replies.

I spent over two hours this morning trying to figure out why the starter motor wouldn't turn before I found a wire had come loose from that the parking position sensor on the side of the box. That got it spinning but not engaging...

I made a trip to Wins International and got some parts which I started fitting before it got dark:

- Two new halogen lights - one of the sealed units had gone so I replaced it and the matching light on the other side, the sealed ones are now obsolete apparently. Plus I'll be able to see in the dark which will be nice!
- Bushes for the rear radius rods which are very tired
- New gaiter for the front ball joint - it feels like it has a few miles left in it which is fine for now.
- Diode pack - hopefully that'll sort out the no charge light problem, if not...
- New battery
- Air filter

The new battery didn't cure the starter problem which has left me stumped. Geoff at Wins suggested that it may be a dodgy connection on the ignition barrel or a poor earth so I think I'll try those first before taking the motor off again.

Thank you for the advice on the wheel bearing, I'll do that tomorrow too. If I can get the bushes, starter and bearing done then I'll book an MOT.

Jonners: sorry to cause offense! It'll go back to silver as soon as I get another silver can :wink:

James


Top
   
PostPosted: Mon Apr 02, 2012 11:12 pm 
Silver, why?
Image

Mine never overheated. Brown car with black camshaft cover = win!

Please fit relays and make sure that the stalk is up to the job before using the Halogens in anger. The forum search facility will throw up lots of handy stuff about the importance of these measures. :wink:


Top
   
PostPosted: Tue Apr 03, 2012 6:05 pm 
Maybe I'll just paint the cam cover lime green then...

I spent this morning wiring in relays as suggested. I did it as follows:

- Checked that the wiring matched the colour codes in the book, some did and some didn't although that may be down to the plastic changing colour as it's aged
- Carefully removed some of the insulation with a razor where the loom runs under the battery
- Cut the two wires for main and dip beam
- Extended the 'switch' side of both wires with 5amp wire which I think should be enough for just running a relay (please yell at me if I'm wrong and about to start a fire!)
- Ran two earths from the main body earth above the battery
- Took a live feed with 30amp wire with an inline fuse (30amp too at the moment until I get a 20amp replacment)
- Wired in the relays

The relays sit nicely out of site next to the battery, I just need to find some brackets or clips to hold them in place and get some heatshrink to finish the job off. I'm happy with it because it doesn't notice unless you look and everything is accessable too. The lights are a lot brighter than before too. I'll put some photos up when it stops raining.

I also put on the new rubber gatior on the balljoint and adjusted the wheel bearing which feels a lot better now.

It then started raining so I painted up the raditor and replaced the diode pack in the alternator.

If it stops raining for long enough I'll go and take some photos of get the carbs off so I can boil them this evening. It needs a tune up anyway and I don't like dirty carbs!

JPB: your expansion tank looks like the metal ones fitted to Midgets, is that a modification or something that was dropped on later cars? Either way it looks a lot better than the plastic one on my car (although you can't see the coolant level without taking the cap off).


Top
   
PostPosted: Tue Apr 03, 2012 6:13 pm 
Offline
Future Club member hopefully!
User avatar

Joined: Tue Oct 03, 2006 5:52 pm
Posts: 7567
Location: Halifax, West Yorkshire
Early ones were brass. I presume the BL beancounters made them switch to plastic to claw back some money.

_________________
Toledo Man

West Yorkshire Area Organiser & forum moderator
Meetings take place on the first Wednesday of the month at 8.00pm at The Old Brickworks, Wakefield Road, Drighlington, Bradford, BD11 1EA

1972 Dolomite 1850 auto (NYE 751L - Now for sale)
2003 Volvo XC90 D5 SE (PX53 OVZ - The daily driver)
2009 Mercedes-Benz W204 C200 CDI Sport (BJ58 NCV - The 2nd car)
1991 Toyota Celica GT (J481 ONB - another project car)
Former stable of SAY 414M (1974 Toledo), GRH 244D (1966 1300fwd), CDB 324L (1973 1500fwd), GGN 573J (1971 1500fwd), DCP 625S (1977 Dolomite 1300) & LCG 367N (1975 Dolomite Sprint) plus 5 Acclaims and that's just the Triumphs!

Check my blog at http://triumphtoledo.blogspot.com
My YouTube Channel with a bit of Dolomite content.

"There is only one way to avoid criticsm: Do nothing, say nothing and BE nothing." Aristotle


Top
   
PostPosted: Tue Apr 03, 2012 6:40 pm 
Image

Wiring diagram of how I did the conversion. I have a feeling that the standard loom may be slightly under specced for the headlights, it doesn't look like 20amp wire to me :roll:

Thanks Toledo Man, something to keep an eye out for then...


Top
   
PostPosted: Tue Apr 03, 2012 7:14 pm 
Stopped raining long enough to take some photos...

Image
Needs tidying up and heatshrinking. The loose connection is the positive feed from the battery btw

Image
With battery removed

Image
Flushed, cleaned and painted radiator ready to refit


Top
   
PostPosted: Tue Apr 03, 2012 11:36 pm 
For comparison, my relays were fitted to the o/s inner wing and wired so that both dipped and main beams would be on when main beam was selected, just like the ones on a Rover P6 and many modern cars, and all perfectly legal. I connected the additional loom that I made for the purpose into the female terminal blocks behind the o/s headlamp. As I knew by then that production of 5.75" sealed beams would be ending soon afterwards and that I'd be replacing both pairs of lamps with the Wipac Halogen ones, I also fitted a discrete switch to enable the use of all four dipped beams which proved useful for the unlit, potholed stretches of loose rubble that pass for roads hereabouts. They passed two MOTs like that as the beam patterns were sufficiently well defined but may technically have been in breach of C&U regs, hence that discrete switch. :D
Image

The thicker, orange cables supply the relays direct from the battery positive and each contains an inline fuse. And yes, a cover for the battery positive clamp was made and fitted after the picture had been taken, just in case. :wink:


Top
   
PostPosted: Wed Apr 04, 2012 12:41 am 
Those sound like very useful conversions, I was tempted to set them up so that both dim and full came on together but I only had 27 amp wire and 6 lights running together would be drawing 30 amps. When I have to change the inner lights to halogens I think I'll wire them in so that they have dip as well as full beam though. What rating wire did you use for your conversion?

James


Top
   
PostPosted: Wed Apr 04, 2012 12:57 am 
Off the top of my head I'm not too sure, will have a look at the labels on the reels that the wire comes on and get back to you with the answer to that. What I am sure of is that every length of cable used is at least 30% over rated when allowing for the maximum load that I could possibly place on the new wiring. None of it would become even slightly warm when it was all switched on and every one of the spade and the bullet terminals was a soldered brass one to keep the resistance as low as possible throughout.


Top
   
PostPosted: Wed Apr 04, 2012 10:16 am 
Offline
Future Club member hopefully!

Joined: Tue Oct 03, 2006 9:45 pm
Posts: 11179
Location: Middlesex
I would doubt very much that a P6 was meant to have both filaments on at the same time in the dual beam sealed beam unit. The heat would have melted the soldered
on connections on the back of the "bulb". I have seen that happen to a few units anyway in my time.

You could wire it up so that the outers stayed the same regardless. My stag was bodged with its outer halogens like this, but only a single filament of course.

My P6 is wired like a dolly....outers have 2 filaments that change over and the inner one is 75W or should be, main beam only. Most dollies only had 50-60w inners.

75 w sealed beams are now a tad scarce.

Jonners

_________________
Note from Admin: sadly Jon passed away in February 2018 but his humour and wealth of knowledge will be fondly remembered by all. RIP Jonners.


Top
   
PostPosted: Fri Apr 06, 2012 12:07 am 
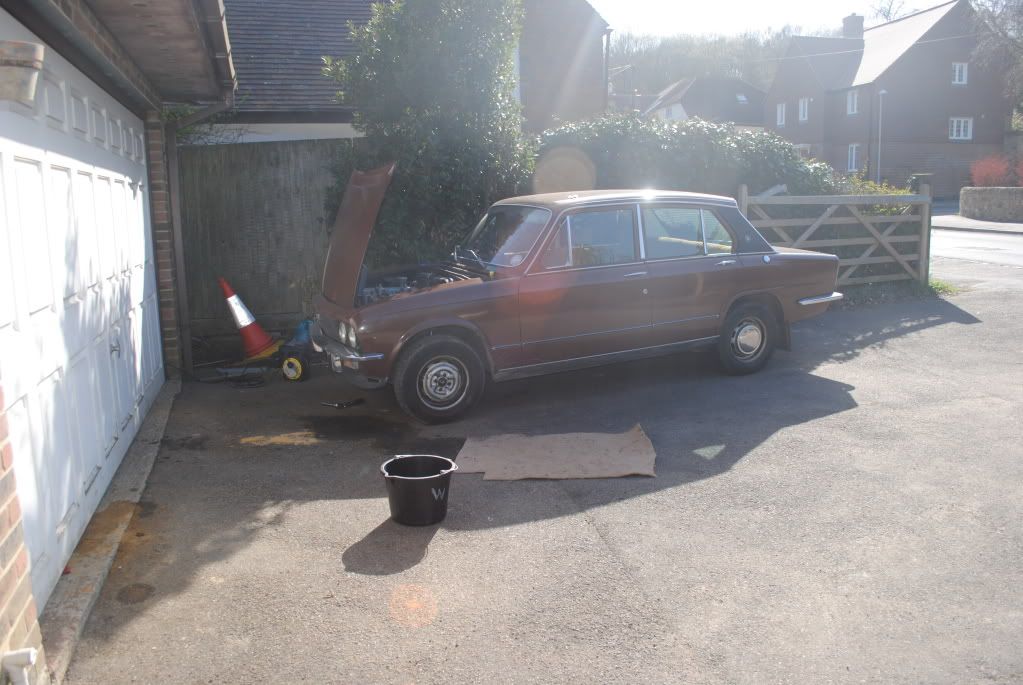
The car is now ready to go for an MOT! The only thing I think it may fail on is the rear radius rod bushes which I haven't replaced yet and the indicators which are rather slow (bad earth?), I'll probably do them tomorrow as it's a bank holiday so I can't MOT till then.

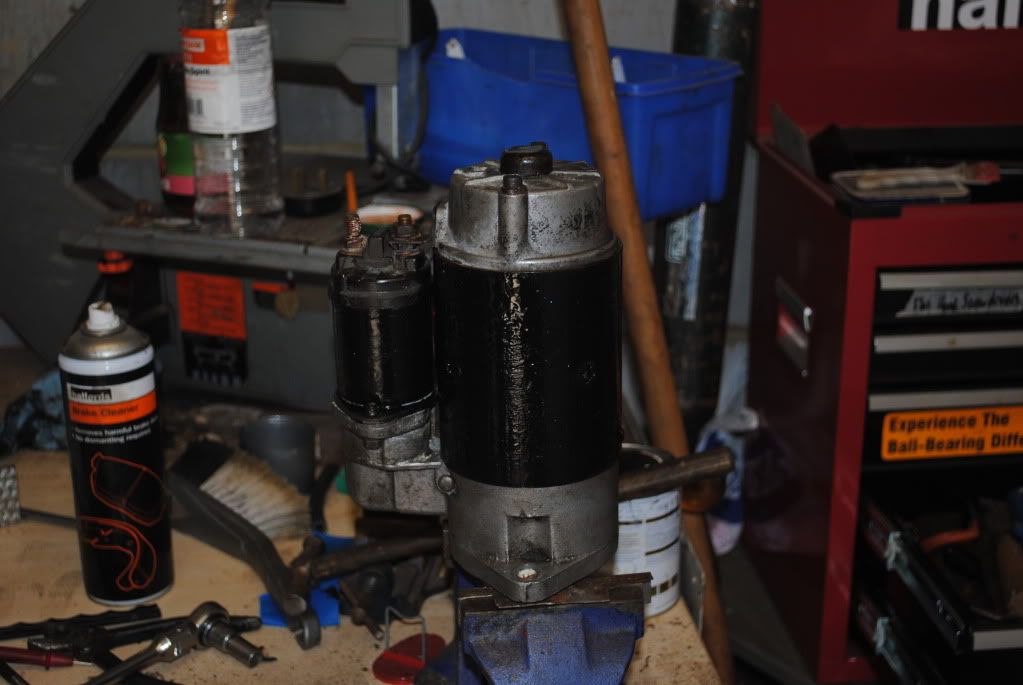
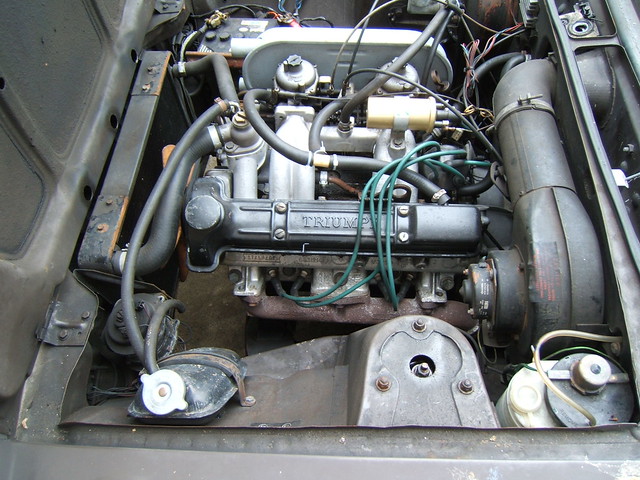
The problem with the starter spinning but not engaging was down to the solenoid not being linked with the arm going through the push rod. The Haynes manual wasn't clear in it's diagram about this but the one in the Leyland workshop manual was a lot better. I'll know better next time :oops:

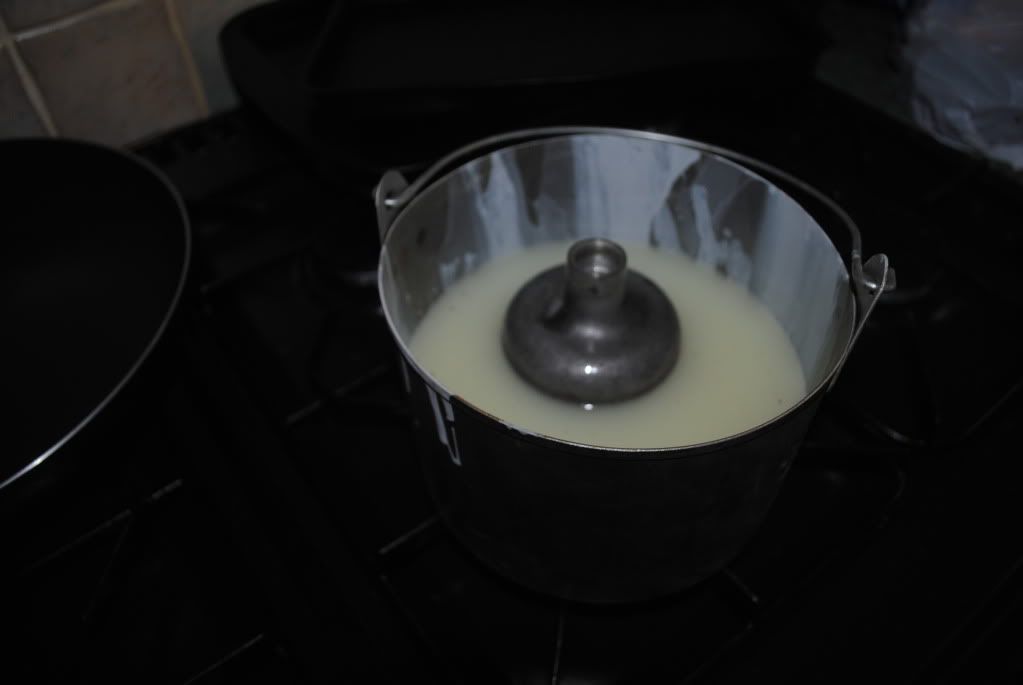
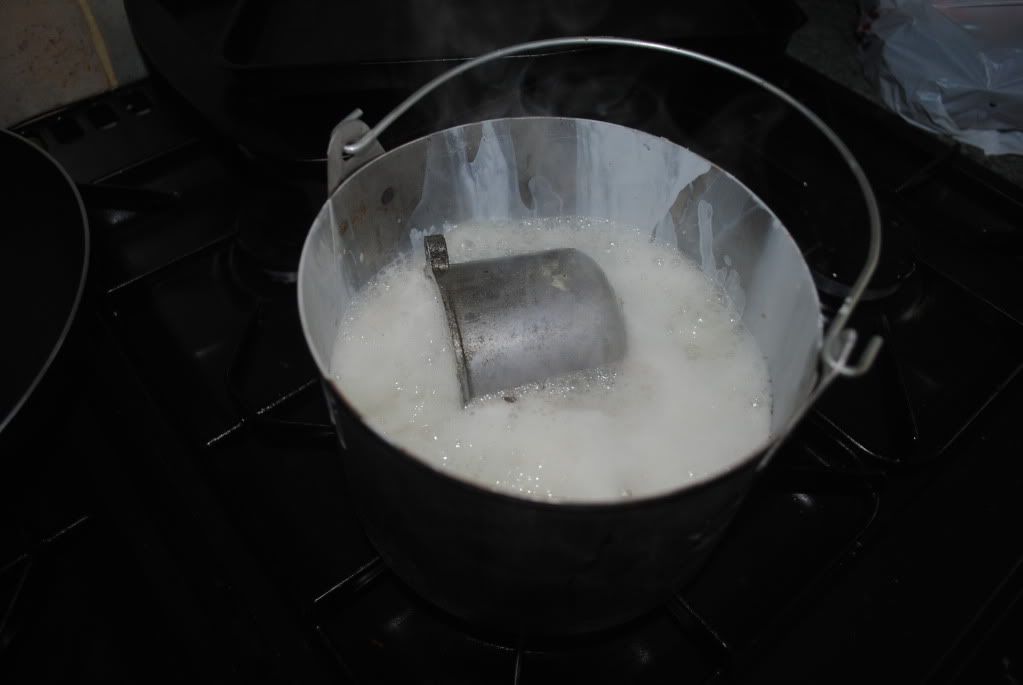
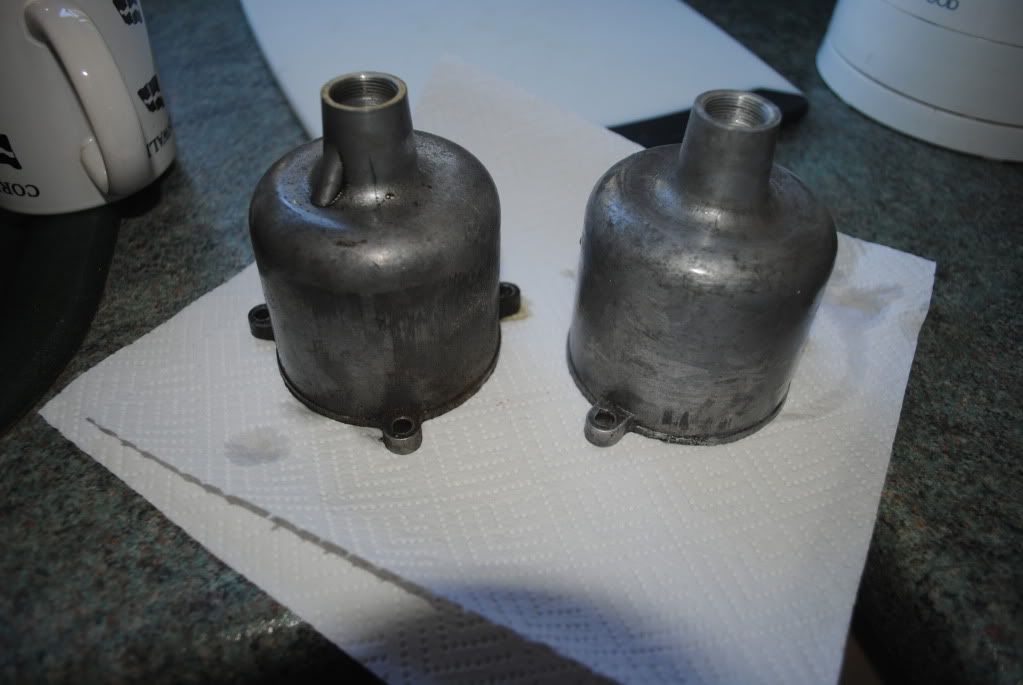
I removed the carbs, stripped them down and boiled them in lime juice which was really effective which are now refitted along with everything else. On refitting I found that the linkages were badly out of adjustment and the cables bunged up. The throttle was only opening up to about 70% as well so it should be a bit quicker now! I sprayed grease into the cables and lubricated all of the springs and linkages which has made the peddle much smoother - before it was very stiff.

On refitting the spark plugs I found two are partially cross threaded and were quite difficult to get in on the proper threads. I'm guessing I'll just have to be very careful until I have time to get the head off and helicoil it or replace it with the spare 1850 head I have. I am assuming that 1850 and 2.0 heads are interchangeable.

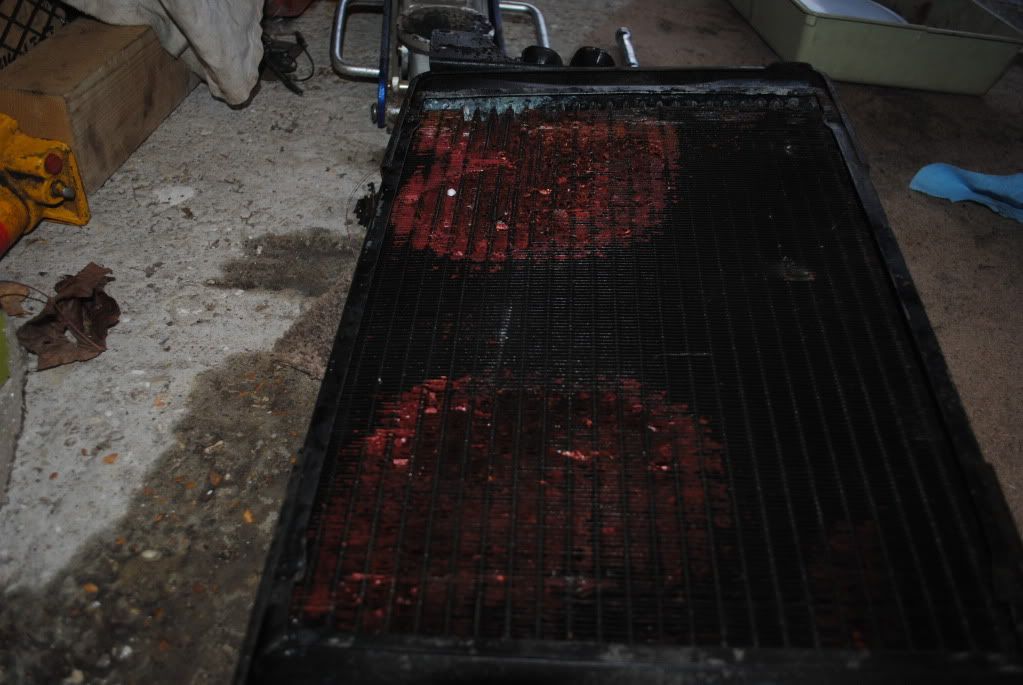
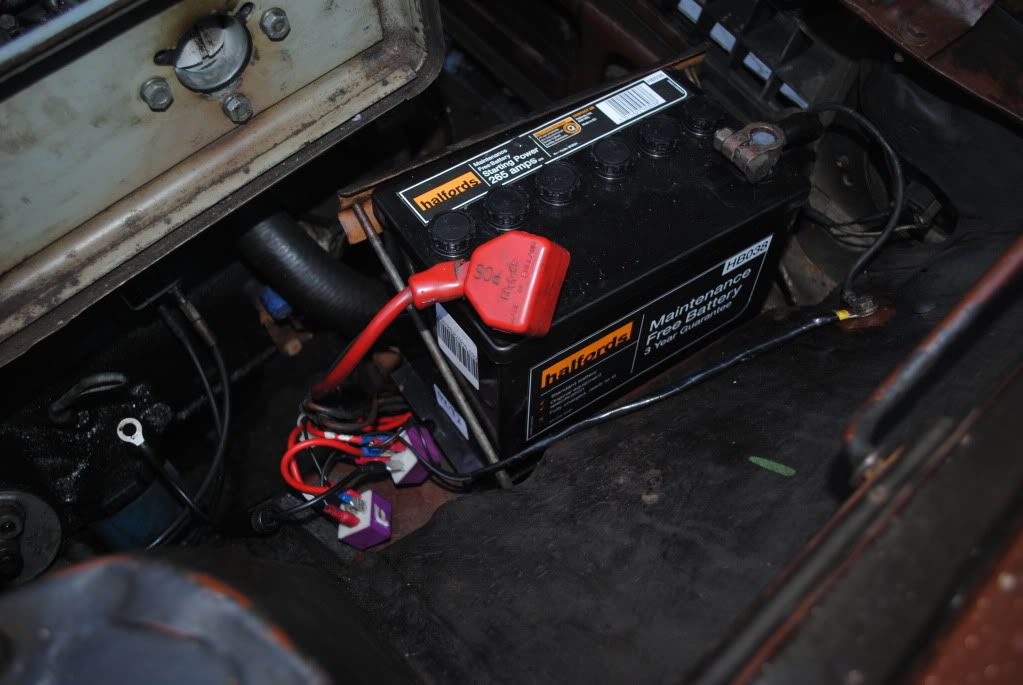
I topped the rad up with plenty of antifreeze and turned the key, after a few turns to refill the float chambers it fired up and ran really rather nicely. The no charge light is solved now which is good. I may swap the old battery in tomorrow to find out if it's the new diode pack of a duff battery that solved that issue. My guess is it's the battery.

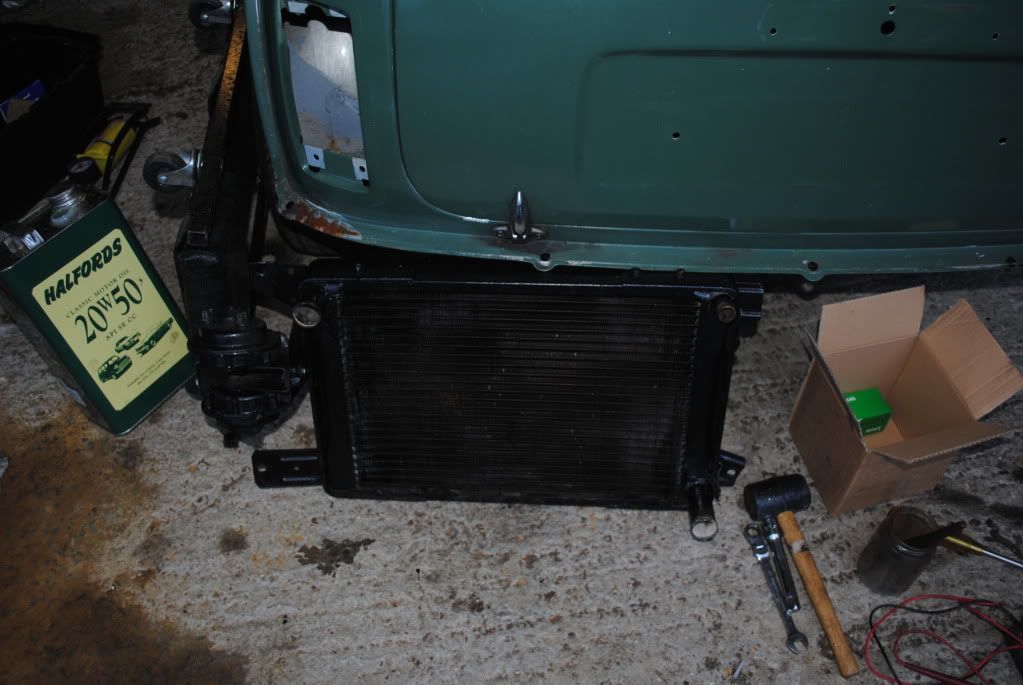
The other problem is the fan - I think it must be a TR7 fan because it's too big to fit with the radiator bolted in. I'll give it another go tomorrow but I'm seriously considering an electric fan conversion.

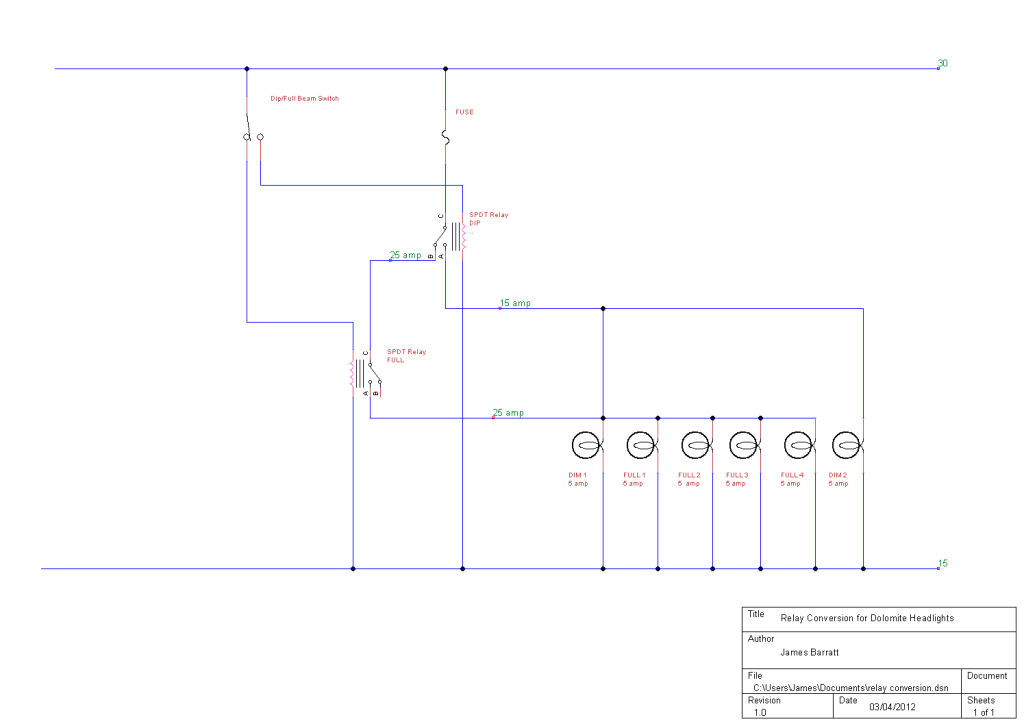
As far as lights go I'm going to stick with the 'standard' setup for now as the halogens seem pretty good and I don't know how far I trust the original loom! :?

Pictures to come tomorrow...

James


Top
   
Display posts from previous:  Sort by  
Post new topic  Reply to topic  [ 54 posts ]  Go to page Previous 1 2 3 4 Next

All times are UTC+01:00


Who is online

Users browsing this forum: No registered users and 25 guests


You cannot post new topics in this forum
You cannot reply to topics in this forum
You cannot edit your posts in this forum
You cannot delete your posts in this forum
You cannot post attachments in this forum

Search for:
Jump to:  
Powered by phpBB® Forum Software © phpBB Limited