my track sprint project

Restoring your car? Tell us about it here!
Post Reply
Message
Author
Neil907

my track sprint project

#1 Post by Neil907 »

As requested by Stanpart
As some of you know I have a Dolomite Sprint that I'm turning into a track and auto test car.
I've had it since December and progress has been a bit slow but I'm getting stuck into it now.
The planned mods are:
race grade Poly bushes fitted to strengthened suspension components.
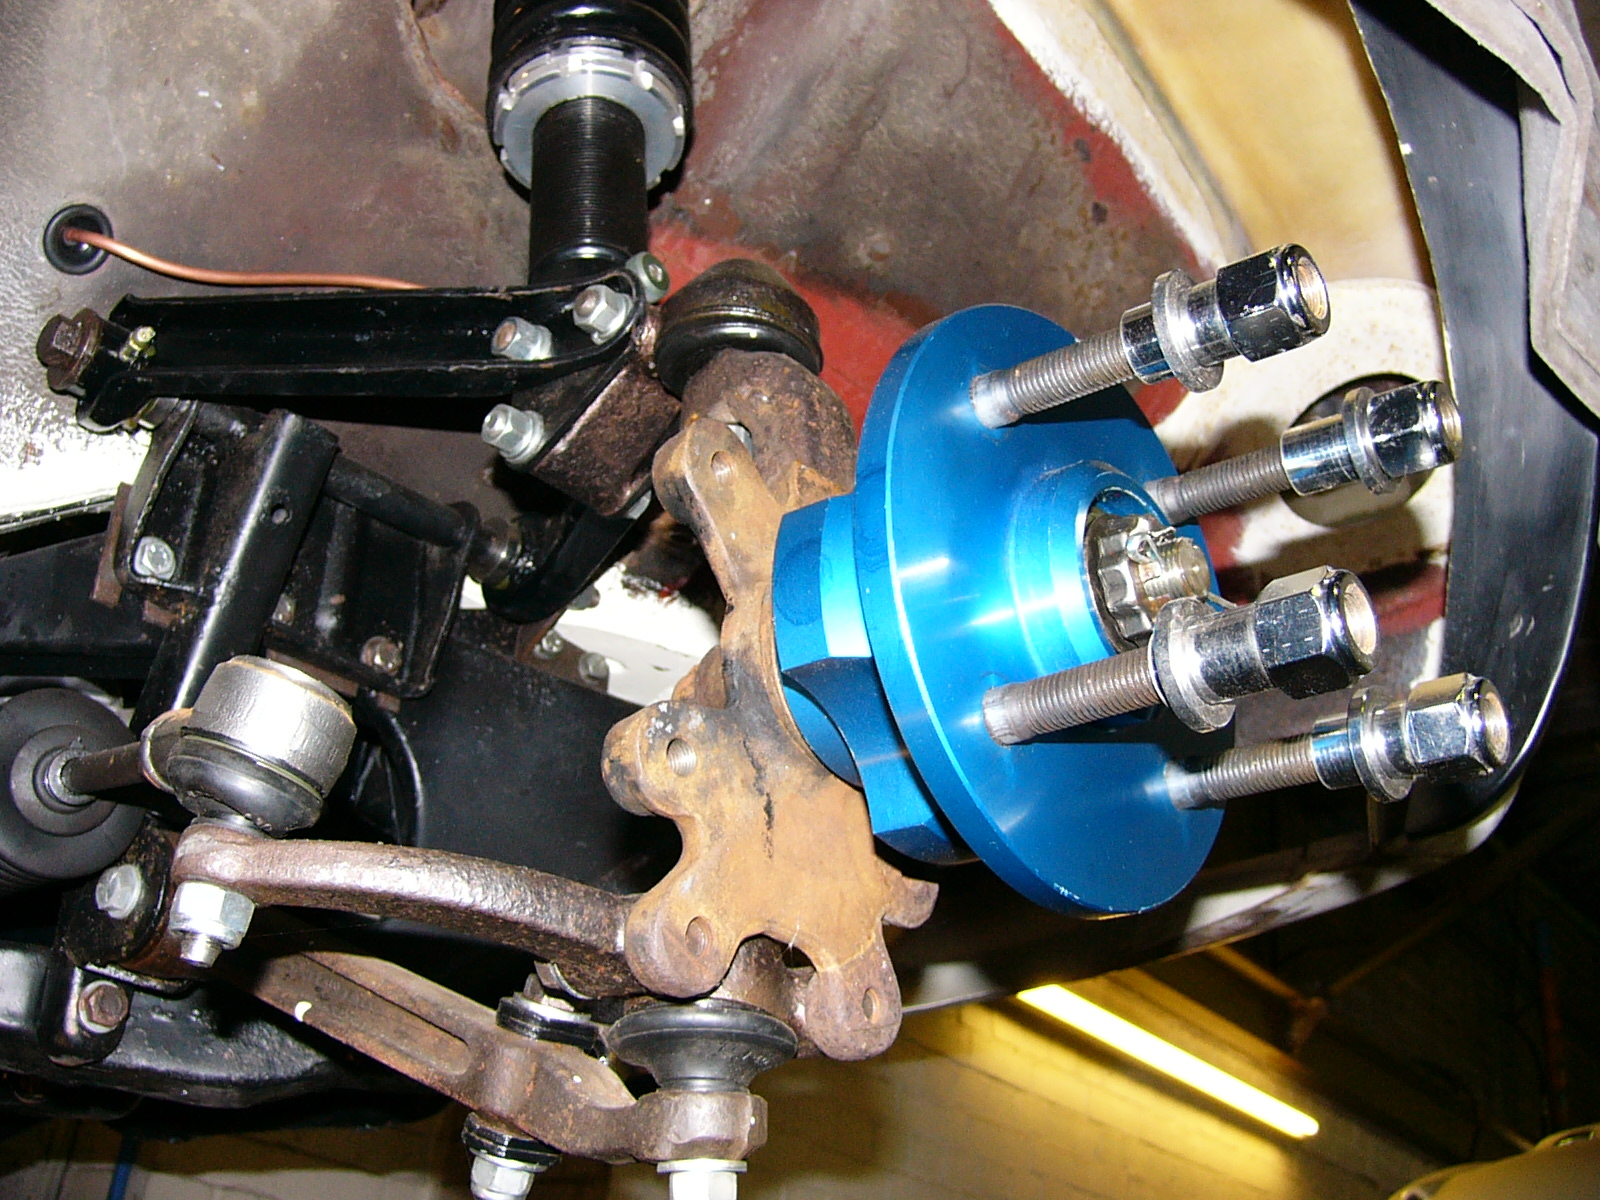
4 pot callipers and larger vented discs on the front and ford hubs to reduce flex and increase the choice of wheels.
uprated servo and master.
hydraulic handbrake.
quick rack and solid mounts.
AVO coil overs with uprated and lowering springs.
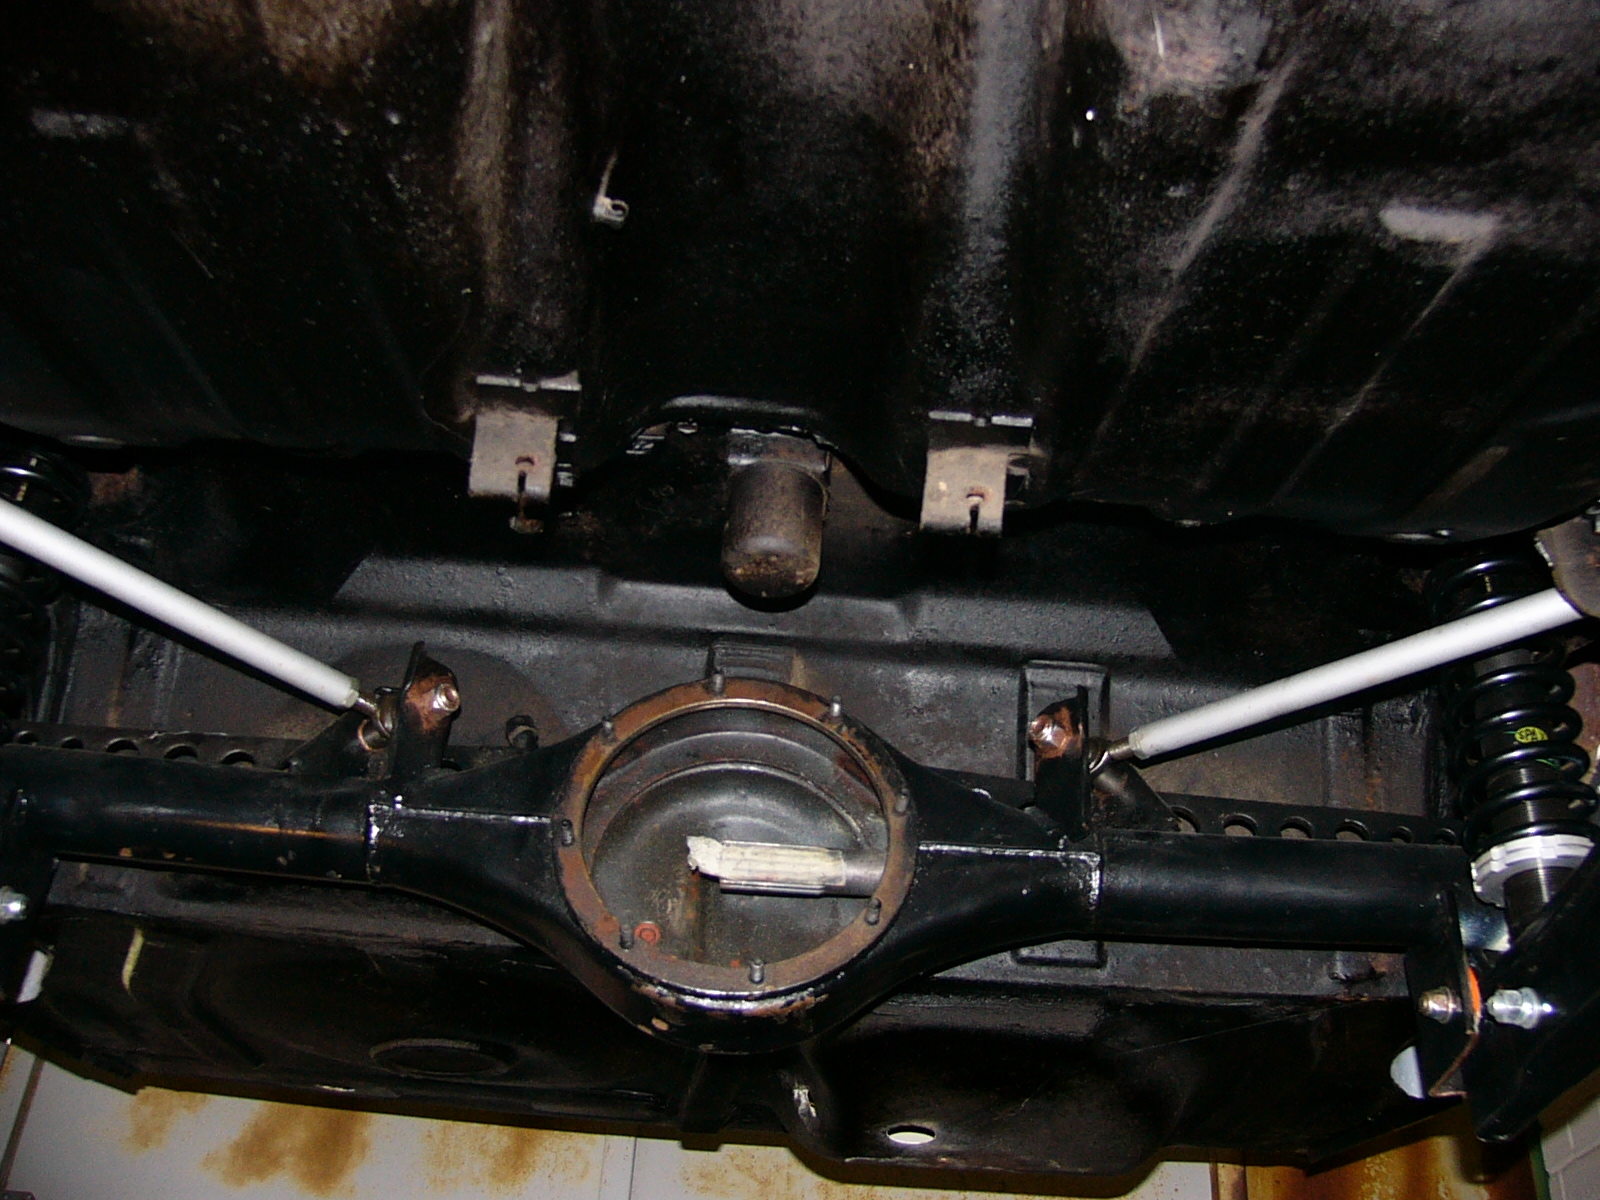
Ford atlas back axle with LSD modified to fit ( maybe 4 link and watts linkage).
maybe disc conversion on the back as well.
Roll cage.
seats.
harnesses.
15" wheels to fit the brakes under.
group 2 arch kit to fit the wider wheels and back axle under.
strut brace.
remove as much weight as possible from the car.
lightweight bonnet and boot lid.
plastic windows.
oil cooler.
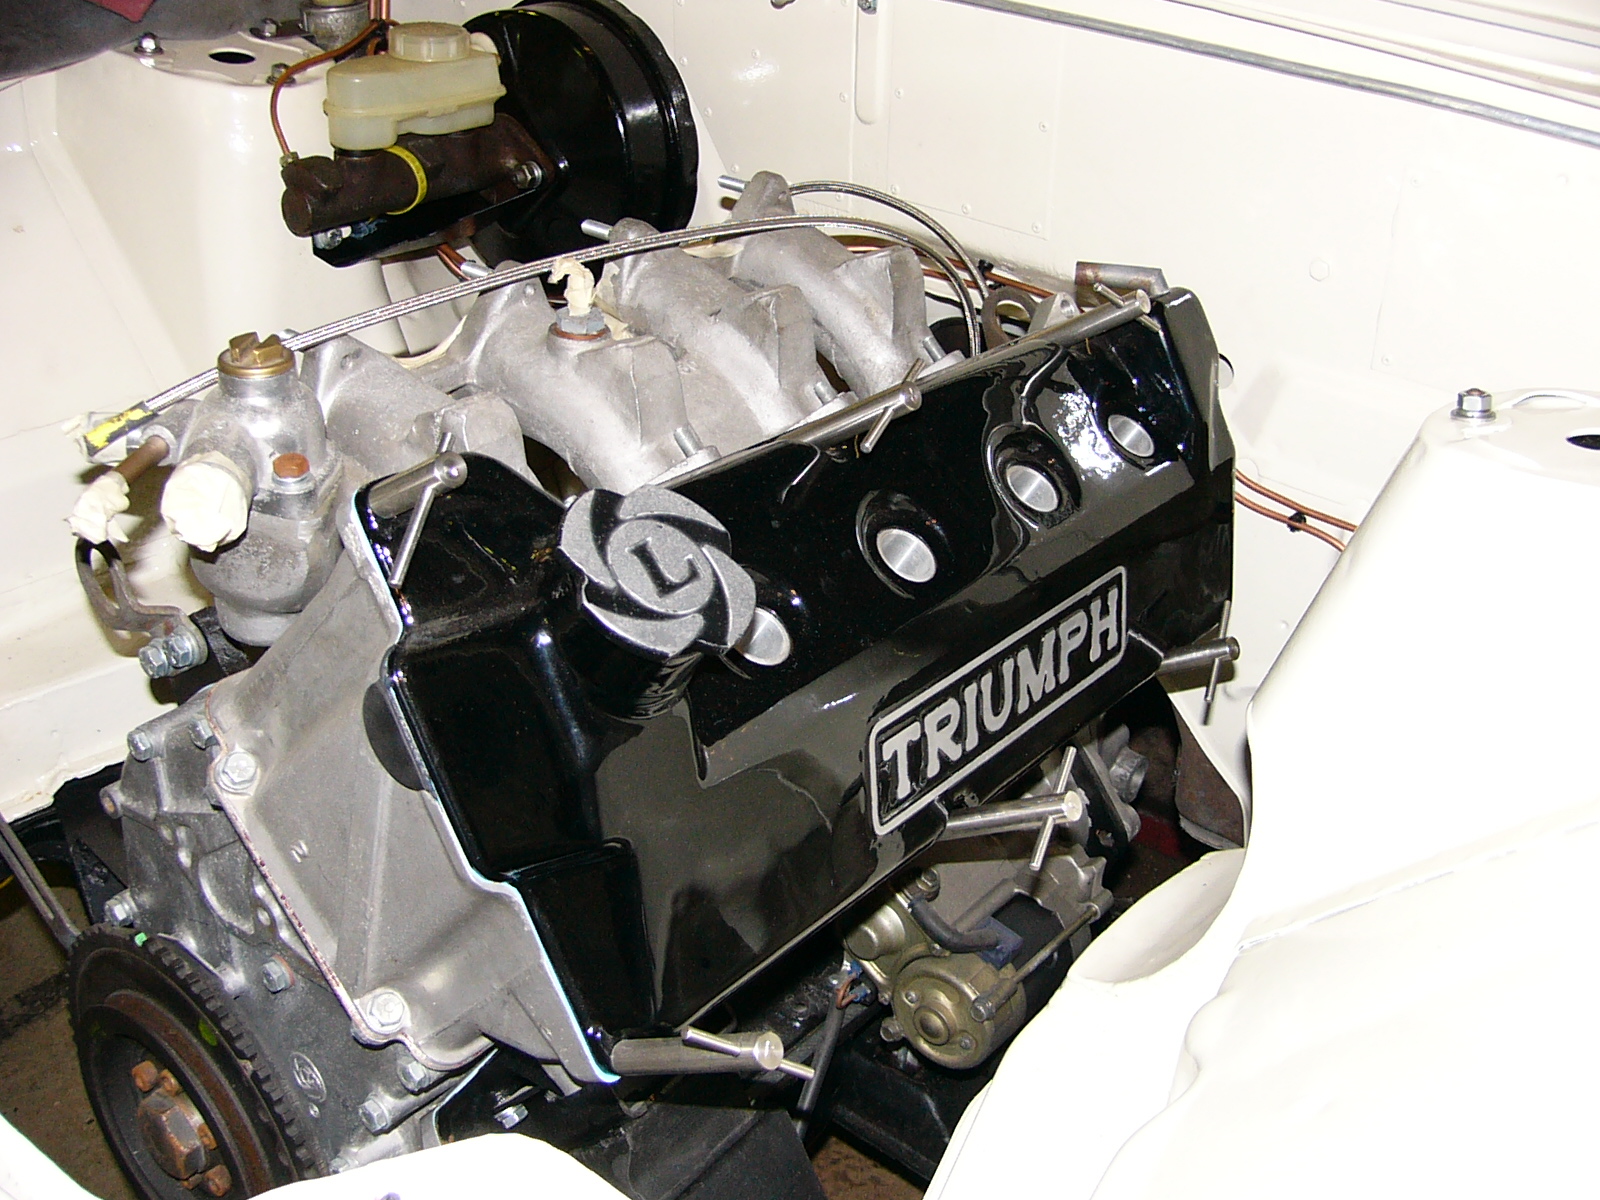
I intend to leave the engine stock to start with and just get the car running and then rebuild my spare to get some more poke.

Having stripped the car I have found that both sills need to be replaced and the front end needs completely rebuilding after some moron has bodged it back together after a small crash.
The rest of the body work seems remarkably solid though.

Image
Uprated brakes before cleaning

Image
Image
Image
Image
Uprated suspension components

Image
Group2 arches

Image
Just a few bits removed

Image
Image
Stripped ready to be moved into the garage

Image
Image
floor with sound deadening removed

Image
On the spit ready to start hacking bits off

Image
Image
Image
Image

I have removed the front wings in order to replace the sills, seam weld and fix the bodged front end. I may reuse the wings as they are in ok condition or I might replace with light weight GRP ones.
Image

Image

After removing the replaced front wing I then had to remove the remains of the original wing.
Image

I cut the outer sills off to reveal more rust so will be replacing inner, reinforcement and outer sills.
Image

Image

Image

Image

Inner wing taken back to bare metal read for minor repair and seam welding
Image

Image

I bought some harnesses off of ebay which came with some seats that I may or may not fit.
Image

I have also bought the Atlas back axle with LSD now.
I have also ordered my weld in roll cage which will take 6 to 8 weeks.
Last edited by Neil907 on Fri Sep 19, 2014 7:55 am, edited 4 times in total.
User avatar
tinweevil
Guest contributor
Guest contributor
Posts: 3936
Joined: Tue Oct 03, 2006 5:42 pm
Location: Forest of Dean

#2 Post by tinweevil »

Awesome progress in such a short time. Hat well and truly taken off to you sir!

What did you use to clean that inner wing?

Tinweevil
1978 Pageant Sprint - the rustomite, 1972 Spitfire IV - sprintfire project, 1968 Valencia GT6 II - little Blue, 1980 Vermillion 1500HL - resting. 1974 Sienna 1500TC, Mrs Weevils big brown.
Neil907

#3 Post by Neil907 »

nitromoors, and then a wire brush on the drill but i think the pics where before the wire brush.
User avatar
tinweevil
Guest contributor
Guest contributor
Posts: 3936
Joined: Tue Oct 03, 2006 5:42 pm
Location: Forest of Dean

#4 Post by tinweevil »

How do you get rid of the nitromors? I've never had the courage to try it as it seems alien to me to wash freshly exposed steel with water. Whats the trick?

Tinweevil
1978 Pageant Sprint - the rustomite, 1972 Spitfire IV - sprintfire project, 1968 Valencia GT6 II - little Blue, 1980 Vermillion 1500HL - resting. 1974 Sienna 1500TC, Mrs Weevils big brown.
User avatar
Mad Mart
TDC Member
Posts: 8529
Joined: Tue Oct 03, 2006 5:48 pm
Location: Winscombe, North Somerset, England
Contact:

#5 Post by Mad Mart »

Nice 8) That will be one sorted Sprint.

Are you going to do the mod to the left turret as per Paul Roberts whilst you're there?
Sprintless for the first time in 35+ years. :boggle2: ... Still Sprintless.

Engines, Gearboxes, Overdrives etc. rebuilt. PM me.


2012 Porsche Boxster 981 S


Image
Neil907

#6 Post by Neil907 »

I use a strong degreaser, its only really a good idea if stripping a big area as it's easy to get it somwhere you don't want it
Neil907

#7 Post by Neil907 »

Mad Mart wrote:Nice 8) That will be one sorted Sprint.

Are you going to do the mod to the left turret as per Paul Roberts whilst you're there?
i was thinking about it, its just knowing how much to take off, would be really anoying to do it and then when it comes to fitting the exhaust finding I needed a bit more.
Dollyboy

#8 Post by Dollyboy »

julian - id blast it off with a hose then give it a good towel dry, then rub/wipe over with thinners/xylene or suchlike, leave for an hour or 2 in normal room/spray temp (20 degrees plus) before getting a good coat of red oxide or primer on within an hour or 2

should be fine
User avatar
tinweevil
Guest contributor
Guest contributor
Posts: 3936
Joined: Tue Oct 03, 2006 5:42 pm
Location: Forest of Dean

#9 Post by tinweevil »

:thumbsup:
bodgerben

Looks great

#10 Post by bodgerben »

Great work there.

This is what Rob McGregor has done for a bit more exhaust clearance.

http://www.dollysprint.com/images/P1030315.JPG

And if you don't want to either change the atlas axle to a Triumph stud pattern, or have two types of wheels - Ford rear, Triumph front, use the Ford stub axles that Rob has designed (available from Malc).

Ford rear axle.
http://www.dollysprint.com/images/P1030311.JPG

Ford front hubs
http://www.dollysprint.com/images/P1030303.JPG

More pics of Rob's car are here
http://www.dollysprint.com/track_days.htm
DoloWIGHTY

#11 Post by DoloWIGHTY »

Thanks for the invite Neil, I'll pop over sometime and have a look. :thumbsup:
User avatar
zombeh
Guest contributor
Guest contributor
Posts: 699
Joined: Tue Dec 26, 2006 12:36 am
Location: Isle of Wight

Re: Looks great

#12 Post by zombeh »

bodgerben wrote: And if you don't want to either change the atlas axle to a Triumph stud pattern, or have two types of wheels - Ford rear, Triumph front, use the Ford stub axles that Rob has designed (available from Malc).
The brakes came with ford hubs on them (stub axles looking remarkably like the ones in DM) which is a lot of the reasoning behind the atlas axle
Neil907

#13 Post by Neil907 »

cheers for the pics of robs car bodgerben, thats some cut out for the exhaust. It looks like a nice job. Do you know why he fitted that axle as its an english axle I didn't think they were any stornger than sprint ones.

As my brother said i have ford front hubs all ready with princess 4 pots and I think granada vented disks.
bodgerben

Oops

#14 Post by bodgerben »

Just seen your first post where you state Ford hubs - doh.

Rob has used 2.8i disks with Princess calipers on Triumph hubs, and the ST vented setup - which is fine for a hillclimb car and track days.

The english axle - I think the main point was Ford stud pattern, a Sprint LSD is silly money, and there is not much point is going stronger when using a Sprint lump. Dunno about power, Rob's currently sorting out the injection and ecu for an 8 injector setup, whether that gets much more power than the full race just over 200bhp will have to be seen (it may just make it more driveable - as opposed to twin 48's) Rob's current hillclimb car is over 200bhp with a standard non-lsd Sprint axle.

With the Ford stub axles you can get alloy hubs for sensible money (the alloy Triumph hubs are a silly price) and the Princess calipers can be easily replaced with alloy calipers when and if its ever needed.

Your car looks great, I like the spit (the misssus just bought be one of the CJ Autos basic rollers - I had no room front - rear for mounting on a spit - and it saved me making something, thats my excuse anyway!).
Neil907

#15 Post by Neil907 »

Cheers for its all handy to know.
My main reason for going with the ford parts is as you say the availability of parts for them.
Post Reply