'72 1850 auto aka patch aka tango-fanta-stic

Restoring your car? Tell us about it here!
Message
Author
User avatar
mach1rob
Guest contributor
Guest contributor
Posts: 144
Joined: Tue Oct 09, 2012 10:43 pm

'72 1850 auto aka patch aka tango-fanta-stic

#1 Post by mach1rob »

Well some may remember this from before, but if not, allow me to fill in the details.

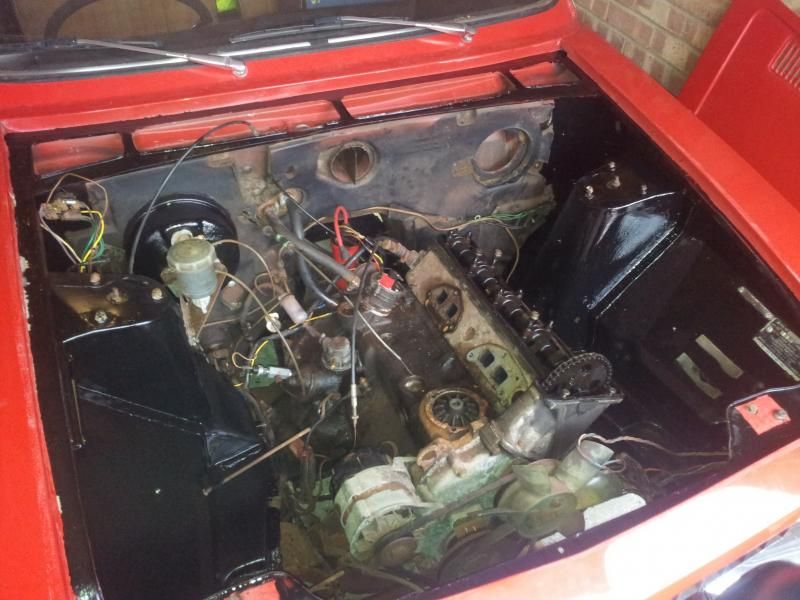
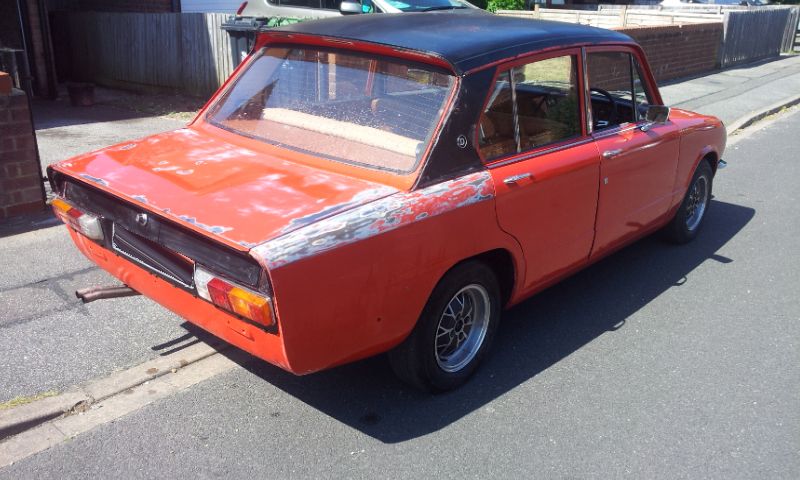
Swapped with Craig for my 2.5 PI, 'Patch' arrived last October. Was put into semi regular service until Christmas, where a slight trickle of coolant was noticed weeping from the block. Took it to a local show on New Year Day, where the trickle became a substantial leak, yes, water pump seals had gone. Was parked up for a while, and due to several other matters, least of which was a house move, it didn't really get touched again until last month, where the job to sort the seals began. That turned into a fairly big job, as seeing as a lot has to be stripped out, it seemed silly not to sort out the engine bay, as it was still in Sienna, and covered with loads of overspray from when it was painted.

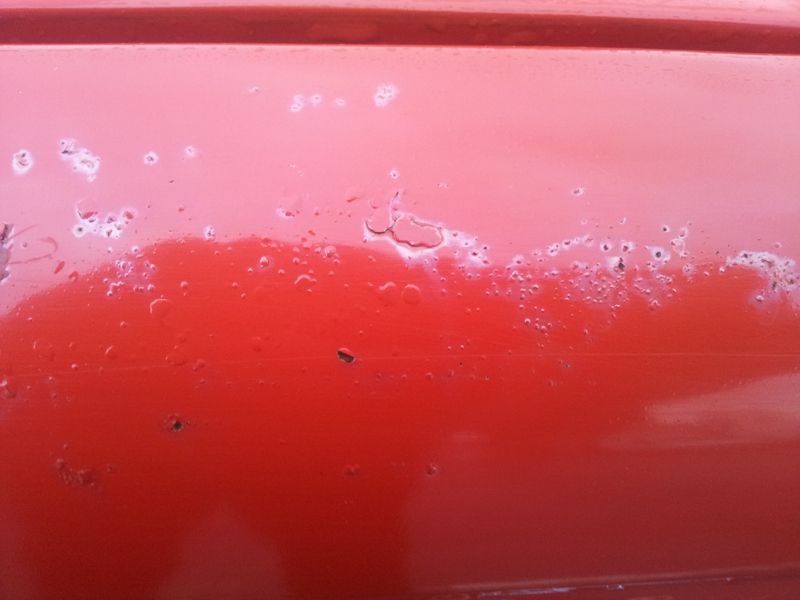
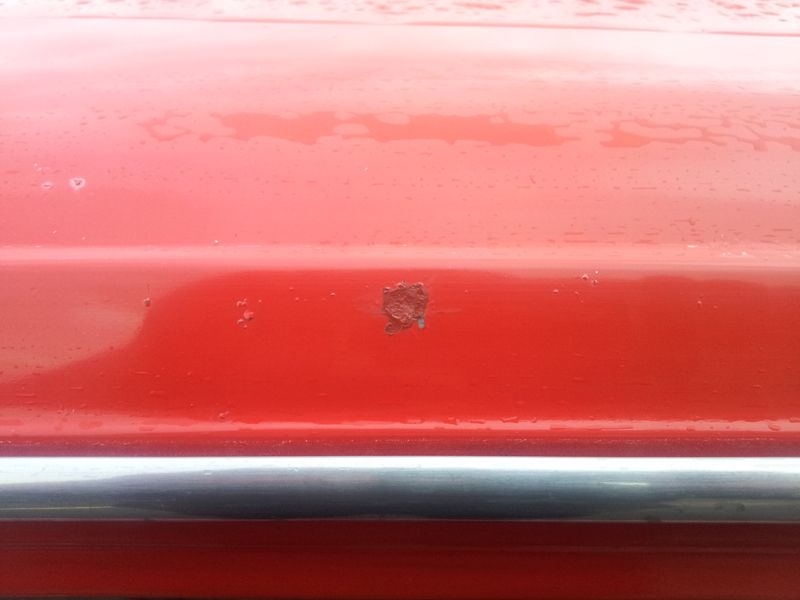
Alas Patch, being Patch decided it was going to suffer with metal acne, and had blistered up in several places including the roof, so work has now started to remedy the rust, hopefully once and for all, but we all know how much it likes coming back.

Anyways, as pictures speak a thousand words, here's a few.

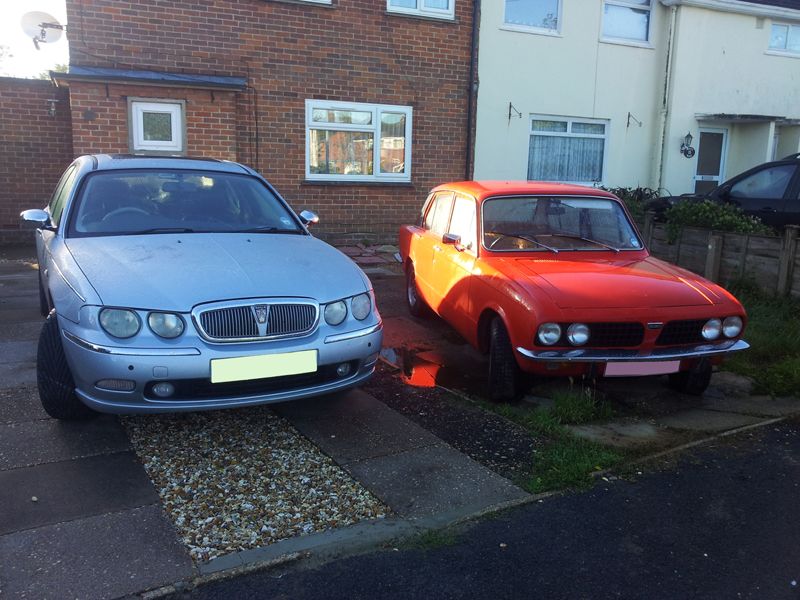
Just a reminder of what it used to look like before Craig painted it
Image

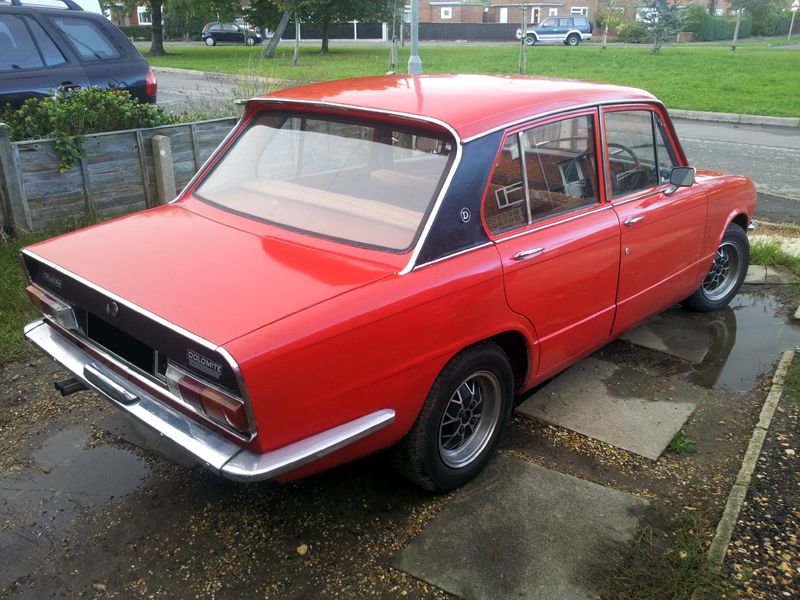
As arrived, all fresh as a daisy
Image
Image

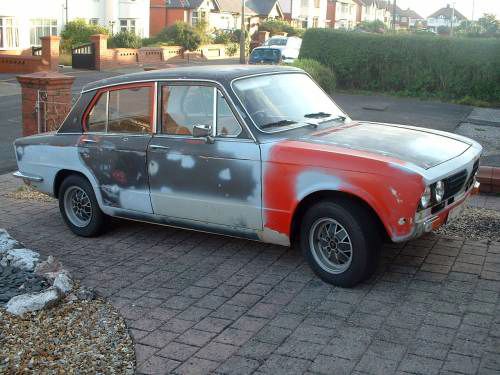
Then the blisters started
Image
Image

After a winter being sat outside, a house move provided Patch with the luxury of a garage, so work began on sorting the waterpump.
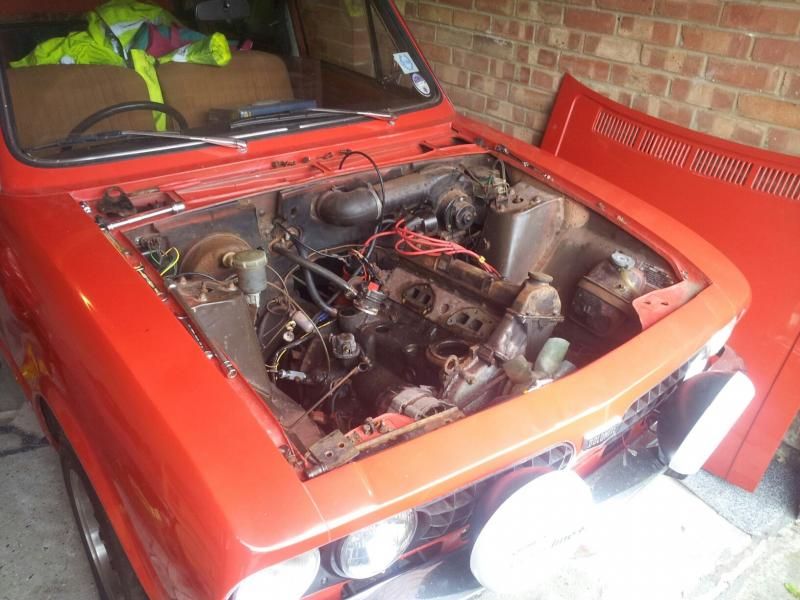
Image

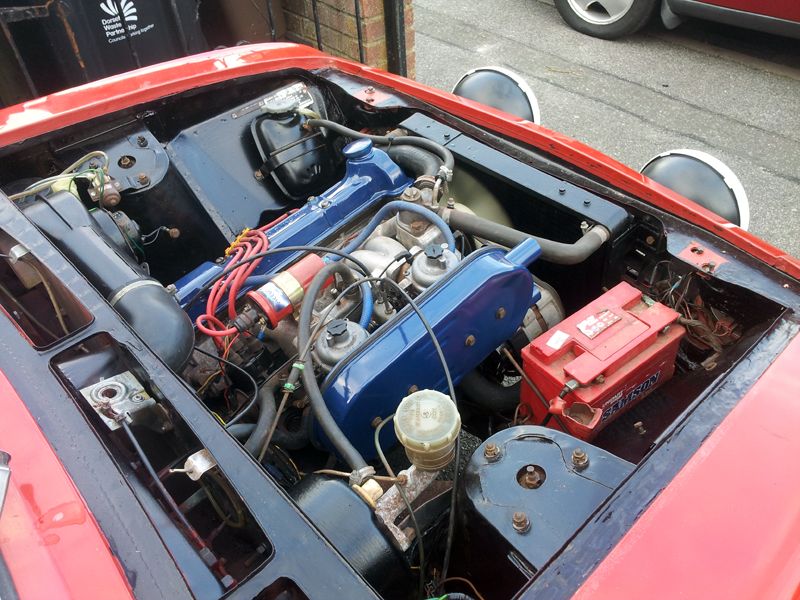
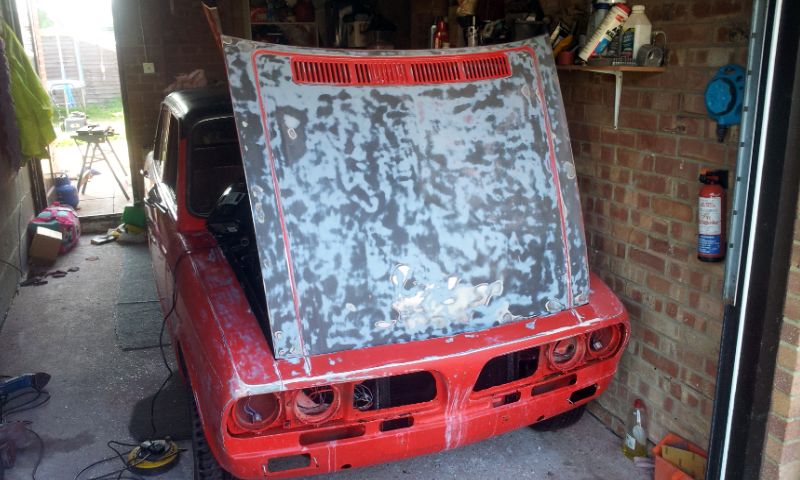
and sorting the engine bay from this,
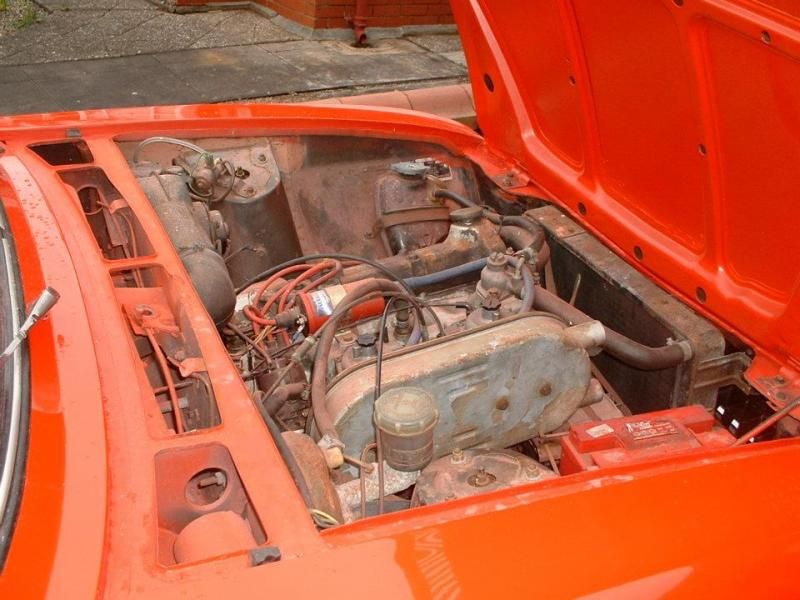
Image

through
Image

ending up like
Image

Alas, removing the masking tape after painting, took paint with it
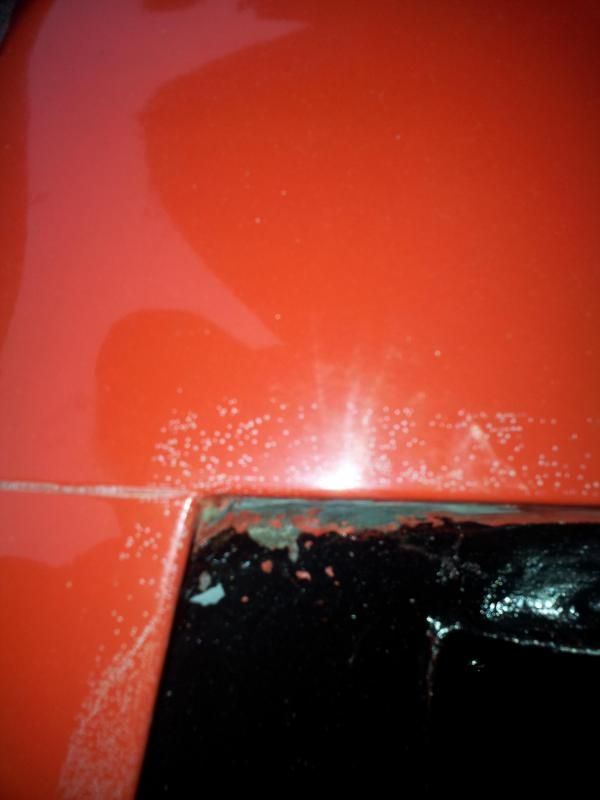
Image

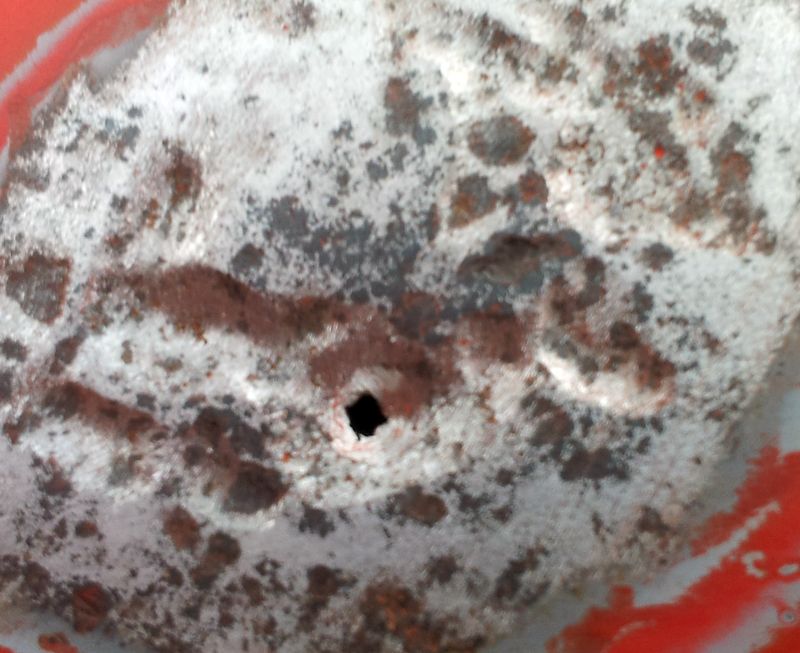
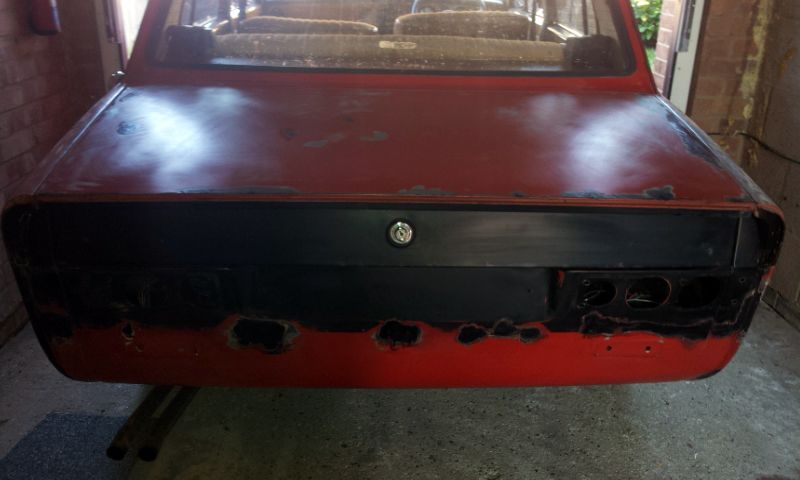
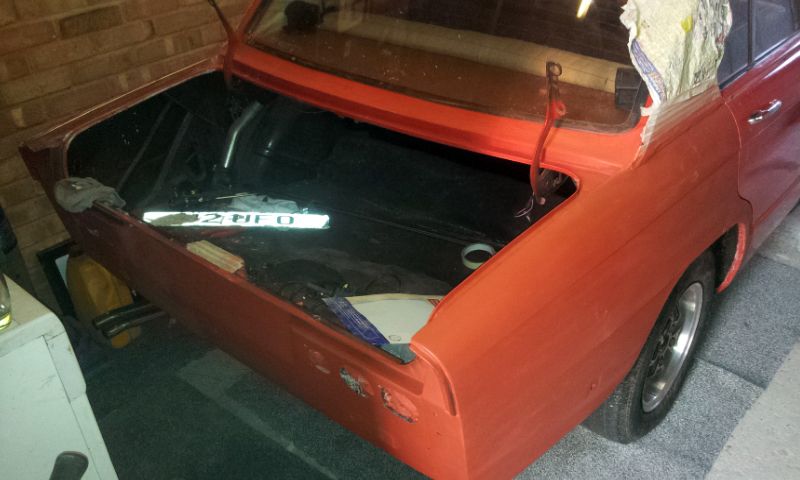
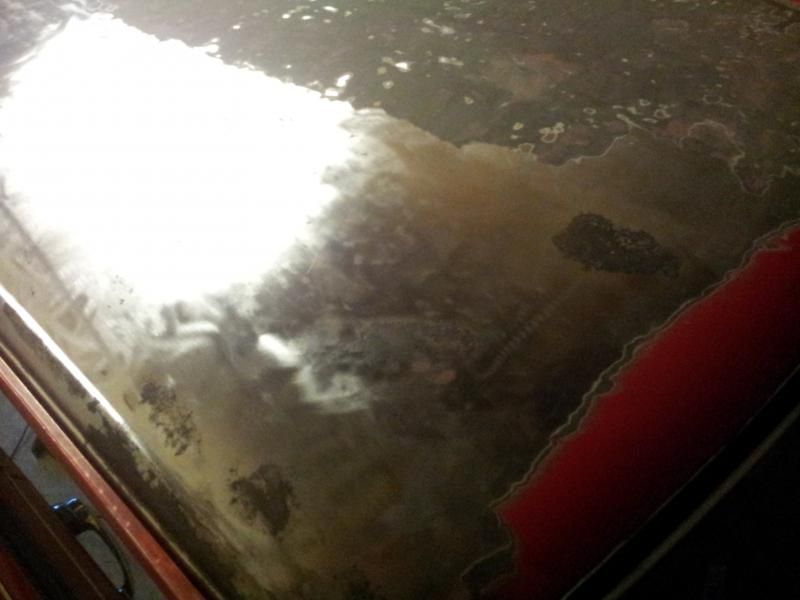
So, a decision was taken to knuckle down and sort the bodywork out, and seeing as there are lots of areas that need attention, rather than attempt to blow each repair in, a full respray would be the best option. The nasty spots on the roof were done first, and on removing the paint we found something that looked like ground down weld
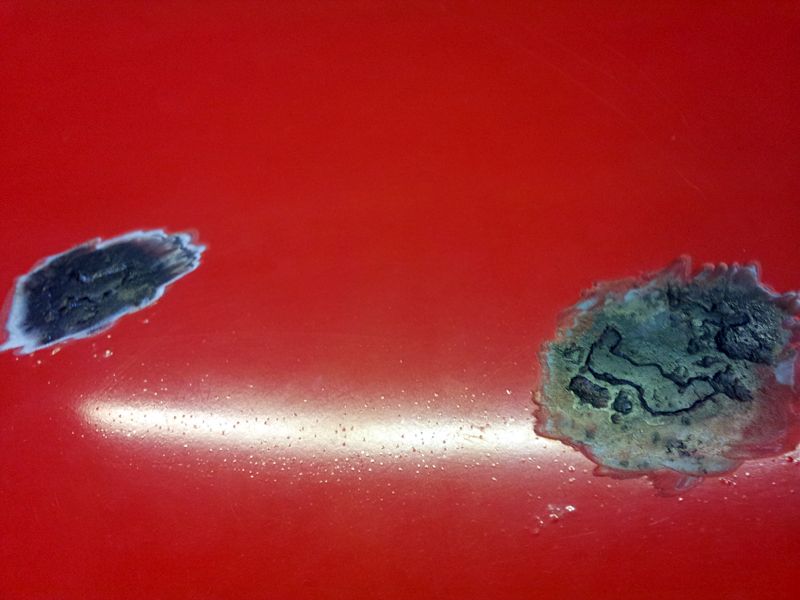
Image

Digging further revealed
Image

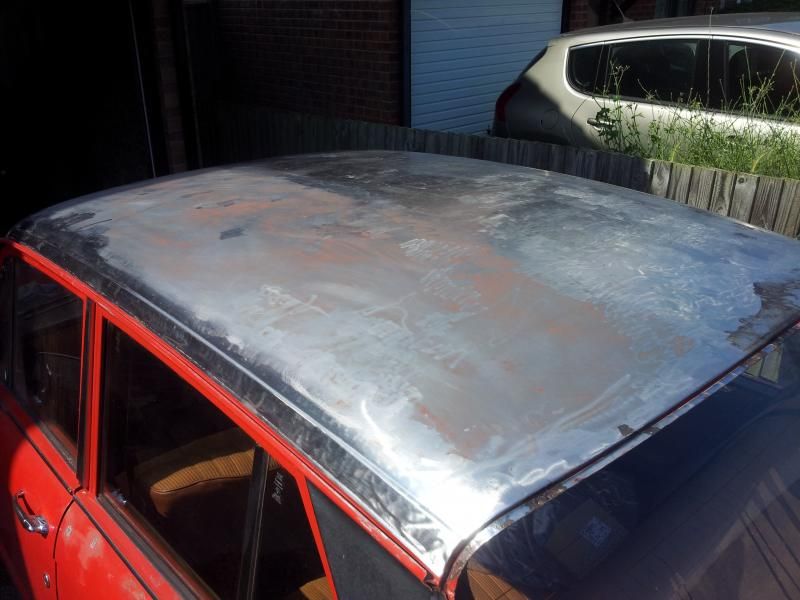
so we decided to take the roof back to bare metal to expose any lurking rust
Image
Image

and rear wing
Image

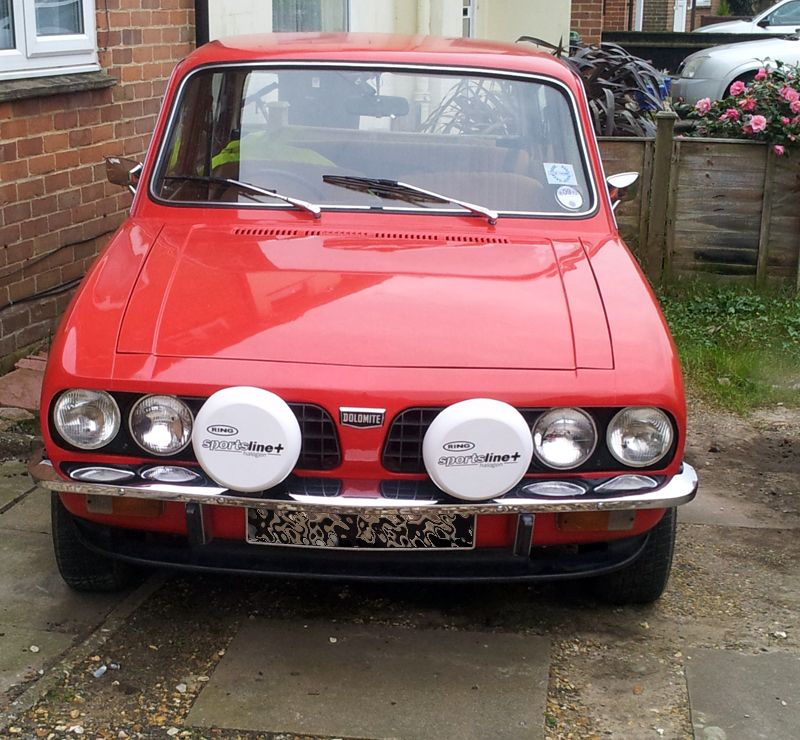
Eagle eyed readers may have spotted a couple of extra additions fitted just before the house move
Image

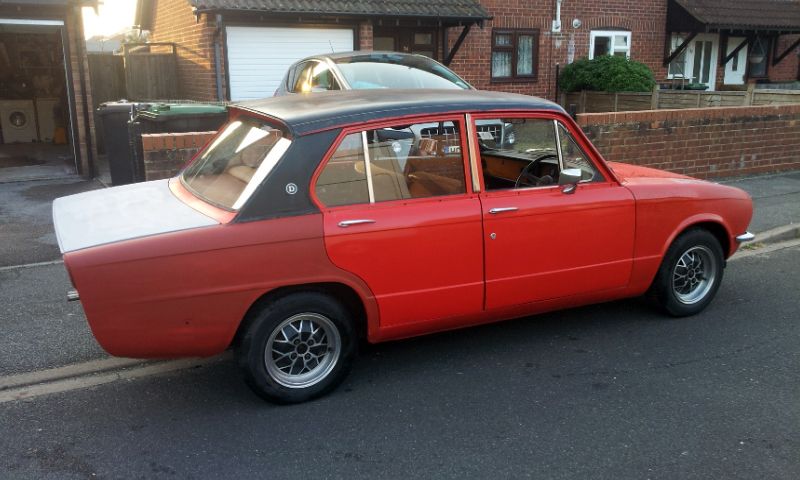
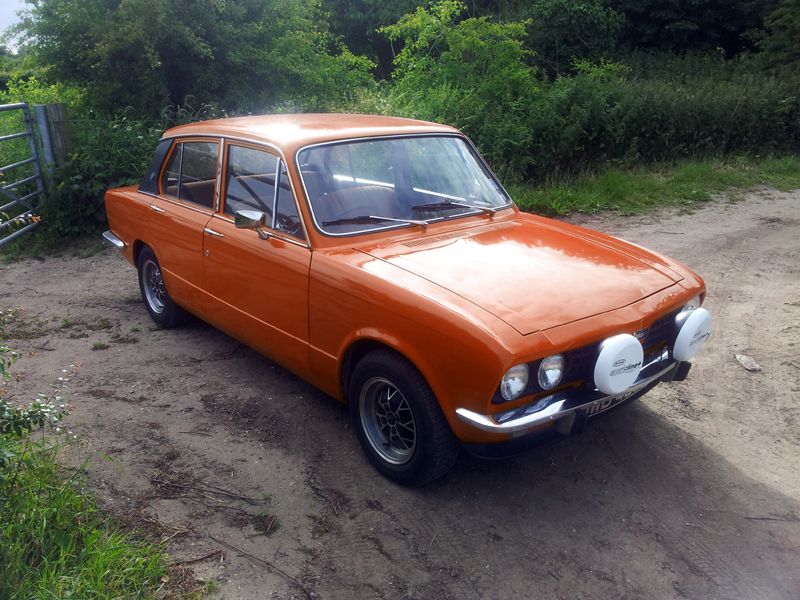
and after much thought final paint colour was decided on
Image

but I'll be sorting a vinyl roof out for it at some point.

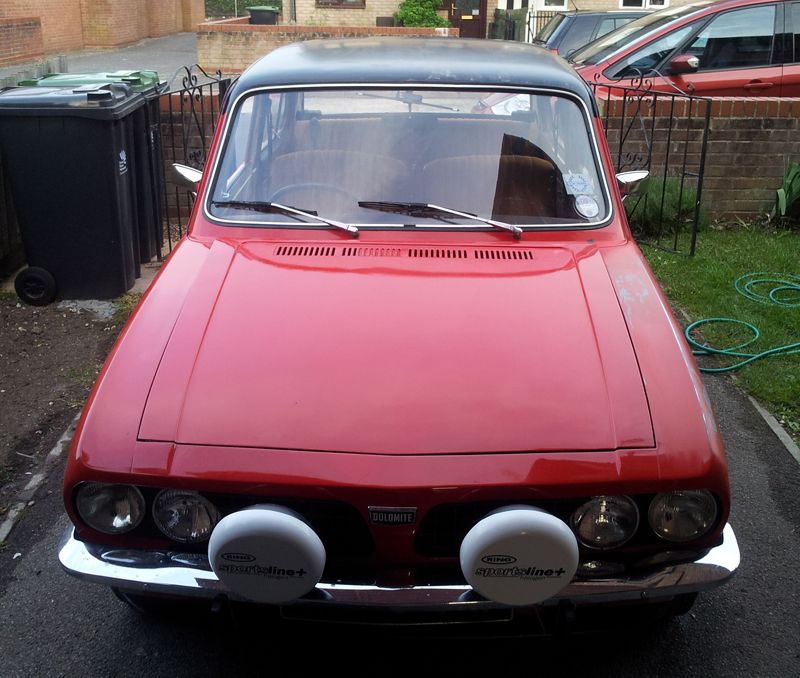
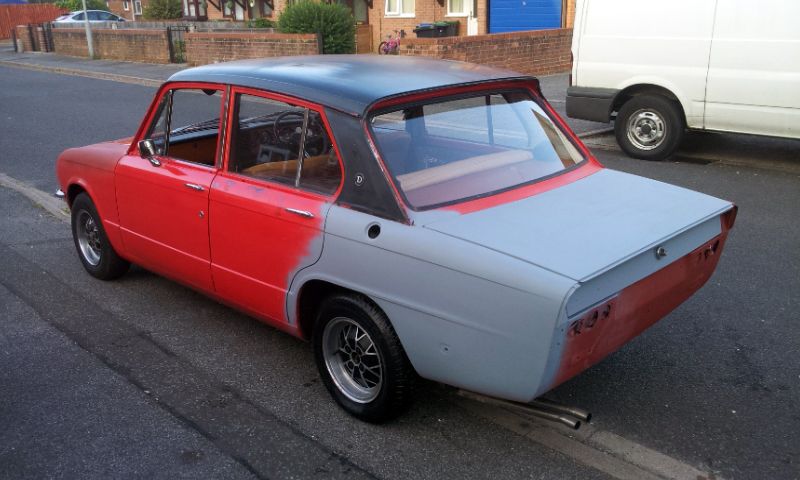
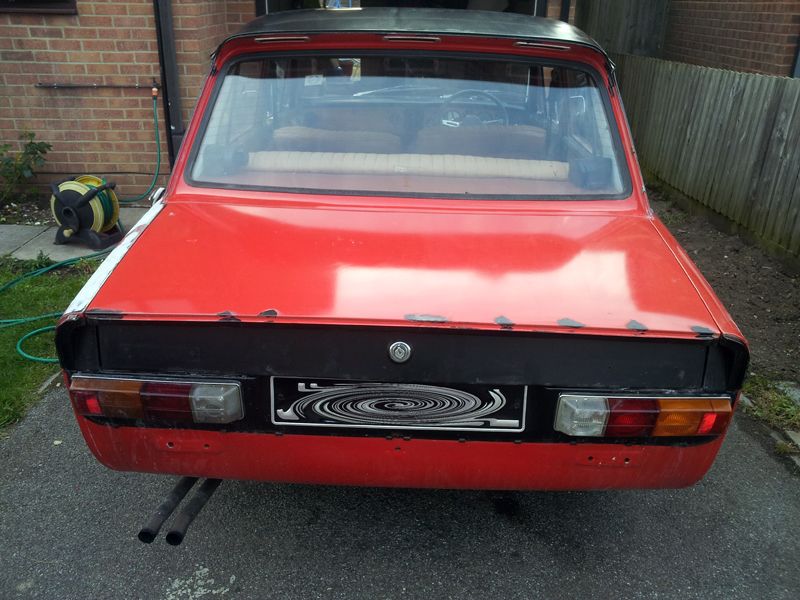
Current state of play is
Image
Image

so I'm hoping to get it sorted over the coming months as time, funds and health allow.
Last edited by mach1rob on Wed Apr 09, 2014 10:19 pm, edited 2 times in total.
DoloWIGHTY

Re: Return of the Patch

#2 Post by DoloWIGHTY »

Nice work. Please keep us updated with the progress. :thumbsup:
User avatar
SprintMWU773V
TDC Staffs Area Organiser
Posts: 5429
Joined: Wed Oct 18, 2006 2:08 pm
Location: The Old Asylum

Re: Return of the Patch

#3 Post by SprintMWU773V »

Looking much better. It does look like a lack of quality prep has caused the blisters. Still you're knuckling down to getting it sorted and the car will tank you for it.
Mark

1961 Chevrolet Corvair Greenbrier Sportswagon
1980 Dolomite Sprint project using brand new shell
2009 Mazda MX5 2.0 Sport
2018 Infiniti Q30
User avatar
Toledo Man
Guest contributor
Guest contributor
Posts: 7542
Joined: Tue Oct 03, 2006 5:52 pm
Location: Halifax, West Yorkshire
Contact:

Re: Return of the Patch

#4 Post by Toledo Man »

Welcome to this forum Rob. I'm in the same boat as you with Brown's paintwork except I'm undecided on the choice of colour. It is a toss up between Sienna, Sapphire or Damson.
Toledo Man

West Yorkshire Area Organiser
Meetings take place on the first Wednesday of the month at 8.00pm at The Railway, 1 Birstall Lane, Drighlington, Bradford, BD11 1JJ

2003 Volvo XC90 D5 SE (PX53 OVZ - The daily driver)
2009 Mercedes-Benz W204 C200 CDI Sport (BJ58 NCV - The 2nd car)
1991 Toyota Celica GT (J481 ONB - a project car)
Former stable of SAY 414M (1974 Toledo), GRH 244D (1966 1300fwd), CDB 324L (1973 1500fwd), GGN 573J (1971 1500fwd), DCP 625S (1977 Dolomite 1300) & LCG 367N (1975 Dolomite Sprint), NYE 751L (1972 Dolomite 1850 auto) plus 5 Acclaims and that's just the Triumphs!

Check my blog at http://triumphtoledo.blogspot.com
My YouTube Channel with a bit of Dolomite content.

"There is only one way to avoid criticsm: Do nothing, say nothing and BE nothing." Aristotle
User avatar
mach1rob
Guest contributor
Guest contributor
Posts: 144
Joined: Tue Oct 09, 2012 10:43 pm

Re: Return of the Patch

#5 Post by mach1rob »

Well progress has been pretty much zero recently as the back flared up again and rendered me useless, but hopefully I can carry on sorting the boot lid and rear wing then carry on around the car, but I want to keep it useable as much as possible.

I may look at sorting the exhaust, it needs another silencer I think, it sounds a bit well, farty! From what I can see, it has the silencer that's mounted under floor, before going into a twin pipe Sprint item, I believe the normal 1850 system has a second silencer at the rear?
User avatar
Toledo Man
Guest contributor
Guest contributor
Posts: 7542
Joined: Tue Oct 03, 2006 5:52 pm
Location: Halifax, West Yorkshire
Contact:

Re: Return of the Patch

#6 Post by Toledo Man »

The early 1850 exhausts have 3 sections and run straight through with a silencer on the middle section and one on the rear section. The later 1850s have 4 sections with the 2nd section with the silencer that is situated beneath the driver's seat and a silencer on the rear section.
Toledo Man

West Yorkshire Area Organiser
Meetings take place on the first Wednesday of the month at 8.00pm at The Railway, 1 Birstall Lane, Drighlington, Bradford, BD11 1JJ

2003 Volvo XC90 D5 SE (PX53 OVZ - The daily driver)
2009 Mercedes-Benz W204 C200 CDI Sport (BJ58 NCV - The 2nd car)
1991 Toyota Celica GT (J481 ONB - a project car)
Former stable of SAY 414M (1974 Toledo), GRH 244D (1966 1300fwd), CDB 324L (1973 1500fwd), GGN 573J (1971 1500fwd), DCP 625S (1977 Dolomite 1300) & LCG 367N (1975 Dolomite Sprint), NYE 751L (1972 Dolomite 1850 auto) plus 5 Acclaims and that's just the Triumphs!

Check my blog at http://triumphtoledo.blogspot.com
My YouTube Channel with a bit of Dolomite content.

"There is only one way to avoid criticsm: Do nothing, say nothing and BE nothing." Aristotle
User avatar
mach1rob
Guest contributor
Guest contributor
Posts: 144
Joined: Tue Oct 09, 2012 10:43 pm

Re: Return of the Patch

#7 Post by mach1rob »

I'll have another check in a bit when I water the garden, but I'm sure there's only one box on it currently.
User avatar
mach1rob
Guest contributor
Guest contributor
Posts: 144
Joined: Tue Oct 09, 2012 10:43 pm

Re: Return of the Patch

#8 Post by mach1rob »

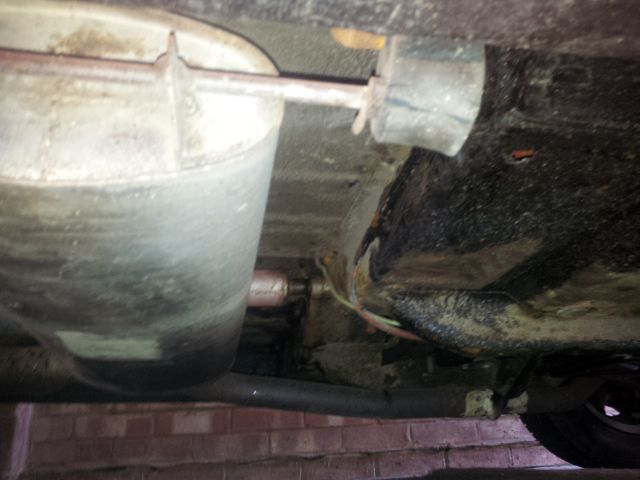
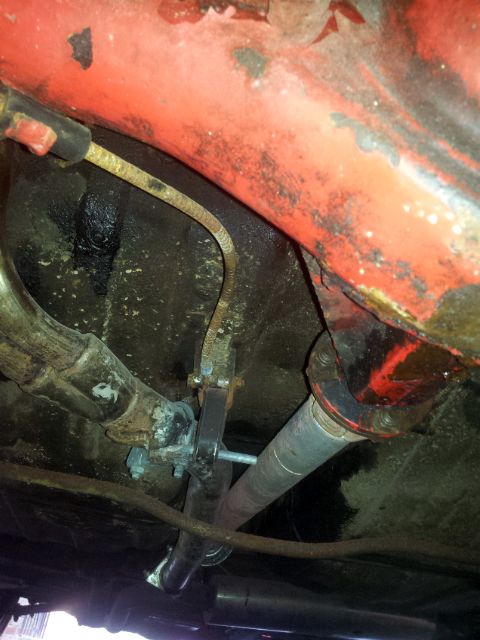
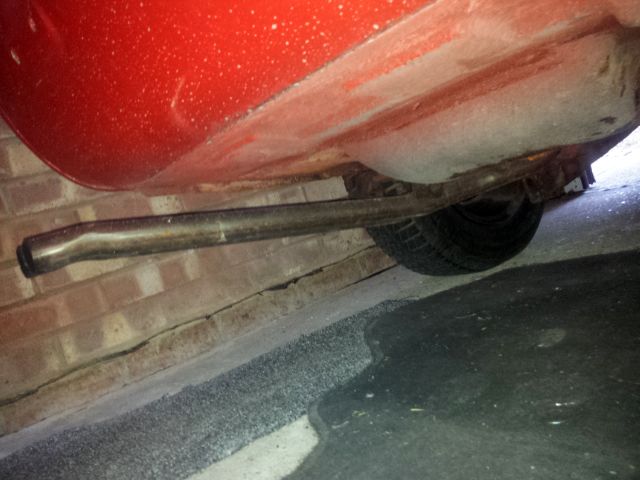
So, this is what's fitted

Image

Image

Image

went out for a little run too, and it is a bit too boomy for my liking, especially as we had all the windows down, think we may have to look for a rear box, or save up for a nice stainless sports system. :)
Jon Tilson
Guest contributor
Guest contributor
Posts: 11179
Joined: Tue Oct 03, 2006 9:45 pm
Location: Middlesex

Re: Return of the Patch

#9 Post by Jon Tilson »

looks like you have a sprint tailpipe with a later dolomite centre section.

Interesting idea....I may try that myself....

You would probably do better with a straight pipe and one box under the boot.

Jonners
Note from Admin: sadly Jon passed away in February 2018 but his humour and wealth of knowledge will be fondly remembered by all. RIP Jonners.
User avatar
mach1rob
Guest contributor
Guest contributor
Posts: 144
Joined: Tue Oct 09, 2012 10:43 pm

Re: Return of the Patch

#10 Post by mach1rob »

I'd not recommend it, it sounds like fart in a baked bean can! Whether a Sprint would have a nicer tone to it, wouldn't like to say, but it does the 1850 no favours.

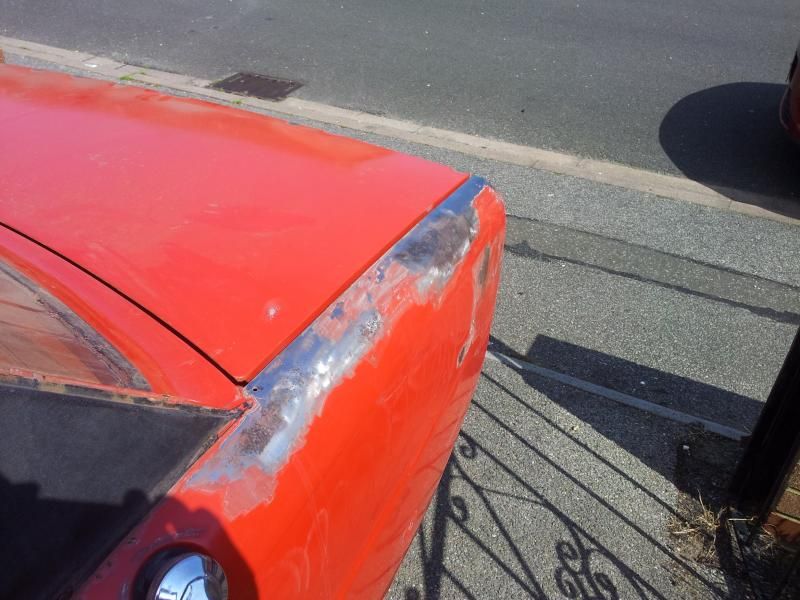
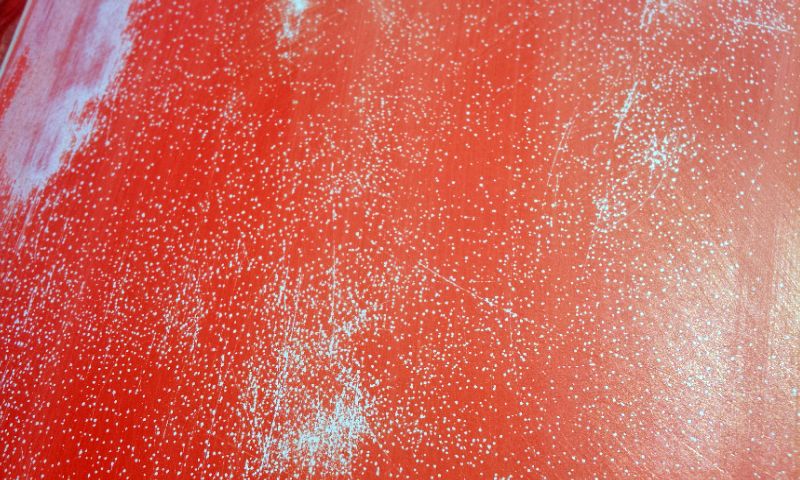
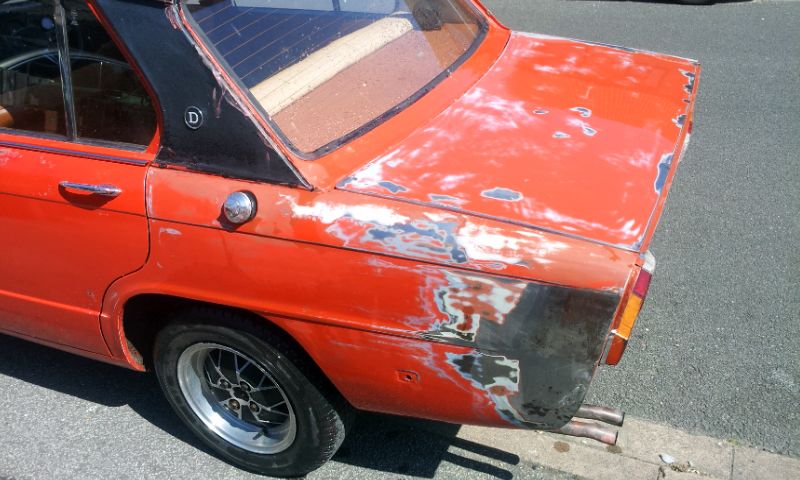
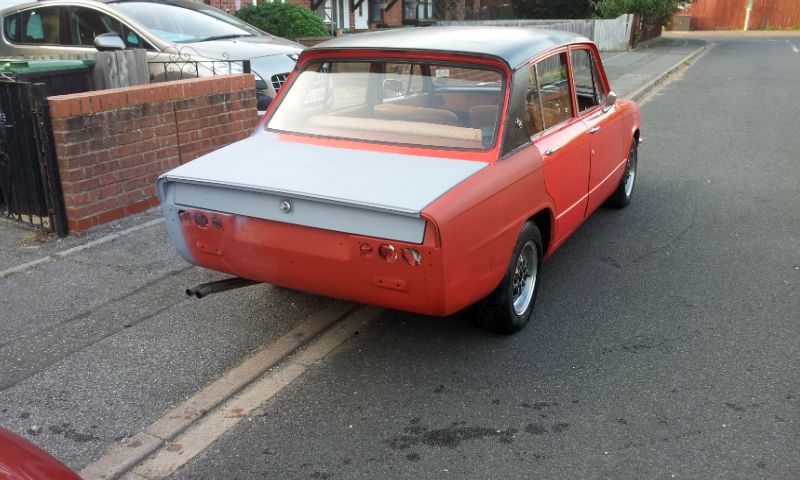
As an aside, spent a bit of time on the rear end, hopefully manage to rub the couple of skims of filler down tomorrow and get some primer on the rear end. Thankfully, once the top coat and primer is rubbed down, there's a fairly solid base underneath. Just to show why it needs doing and just not the odd bit sorting and blowing in, this photo taken mid rub down of the bootlid explains wonderfully!

Image

Image

Image

Image

Image
Jon Tilson
Guest contributor
Guest contributor
Posts: 11179
Joined: Tue Oct 03, 2006 9:45 pm
Location: Middlesex

Re: Return of the Patch

#11 Post by Jon Tilson »

Nice work there Rob.

Is this car pimento?

Jonners
Note from Admin: sadly Jon passed away in February 2018 but his humour and wealth of knowledge will be fondly remembered by all. RIP Jonners.
User avatar
mach1rob
Guest contributor
Guest contributor
Posts: 144
Joined: Tue Oct 09, 2012 10:43 pm

Re: Return of the Patch

#12 Post by mach1rob »

Jon Tilson wrote:Nice work there Rob.

Is this car pimento?

Jonners
Ta, as for colour, well, you tell me! ;)

viewtopic.php?f=4&t=21570
Edin Dundee

Re: Return of the Patch

#13 Post by Edin Dundee »

Hi Rob,

Unfortunately 1850's can sound farty - search for a you tube video posted by some Dutch guy with exactly that description!
I would be very interested in anything that sounds quiet without restricting 'performance' and doesn't cost a fortune.
Yours has the later transverse centre box ( as does mine) I had to replace the original mild steel and used a second hand stainless item -it's noisy and crap!
User avatar
mach1rob
Guest contributor
Guest contributor
Posts: 144
Joined: Tue Oct 09, 2012 10:43 pm

Re: Return of the Patch

#14 Post by mach1rob »

Found the vids, I shall have to try and find one of an 1850 running a stainless system to see if that's any improvement. That was one good thing about the 2.5, it did sound nice :) It's something that can be done as and when, few more important bits still to be done yet.

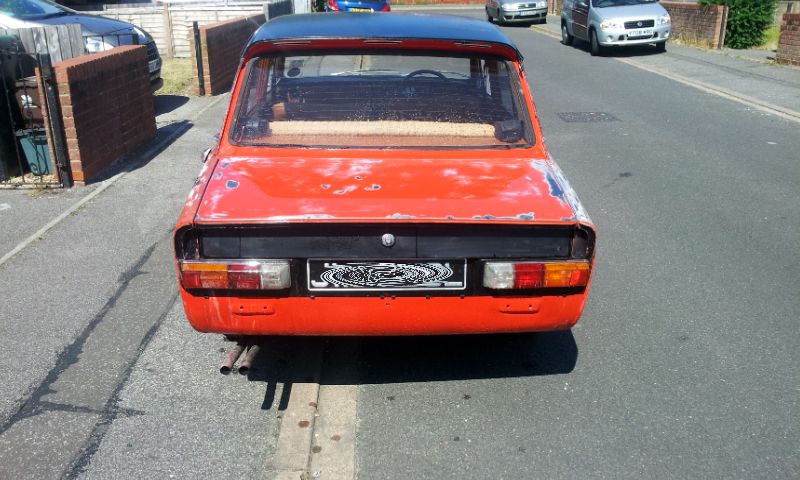
Sanding down has continued on and off, and the front end is just about ready to be primered up. I'm now toying with not bothering with a vinyl roof and just painting it black, possibly metallic???

Nice to find that the front panel is 99% metal, as are the wheel arches, so I think a good coating of wax proofing will be in order once it's all painted will be in order to tery and keep it that way.

Will move onto the doors next, but seeing as it's just a couple of bolts holding them on, it'd be rude not to do them on the bench. Rear door cards are off, one looks good in there, other has a nice coating of rust, which may be the cause of the blisters on the outside, suppose we'll find out soon enough.

Anyway, money shots

Image

Image

Image

Image

Image
DoloWIGHTY

Re: Return of the Patch

#15 Post by DoloWIGHTY »

Looks amazingly solid under the paint?
Post Reply