The Triumph Dolomite Club - Discussion Forum
http://forum.triumphdolomite.co.uk/

RUK - Project Recommission 1972 'Dolomite' Auto
http://forum.triumphdolomite.co.uk/viewtopic.php?t=32242
Page 33 of 55

Author:  Jon Tilson [ Sat Aug 19, 2017 5:09 pm ]
Post subject:  Re: RUK - Project Recommission 1972 'Dolomite' Auto

Another senior or chemo moment...

Molesworth it is .....

Jonners

Author:  Carledo [ Sat Aug 19, 2017 6:14 pm ]
Post subject:  Re: RUK - Project Recommission 1972 'Dolomite' Auto

Quote:
Quote:
Not quite! Its from "The secret diary of Adrian Mole (aged 13 and three quarters)" a book I first read at the age of 12 ( the year we won the world cup) As you can tell from the speeling, child illiteracy was already gaining a hold in the 60s!
Steve
I think you're confusing Adrian Mole (which wasn't published until 1982) with Nigel Molesworth ....
You're quite correct! As eny fule knoe! Wizz for Atoms ect!

I'll have to settle for senior moment!

Steve

Author:  James467 [ Tue Aug 29, 2017 7:31 pm ]
Post subject:  Re: RUK - Project Recommission 1972 'Dolomite' Auto

It's the race to be ready for TDCIR on Sunday!

Part 1! :lol:

Seats.....

So I have seen numerous posts about people who have fitted different seats to their dolly. So as you know I have a set of brownish beige MGF seats which I am going to fit.

I'm funny about my driving position, the original seats sat central to the steering wheel and a few people who have fitted modern seats seem to have used the inner mounting points and then drilled new outer mountng points or made a bracket to fit to the originals. From what I can fathom this makes the seat sit off centre, this would annoy me so I wanted to avoid that.

I also wanted to avoid welding so people could easily copy me, MGF seats are readily available quite cheap online and are a great fit in my opinion.

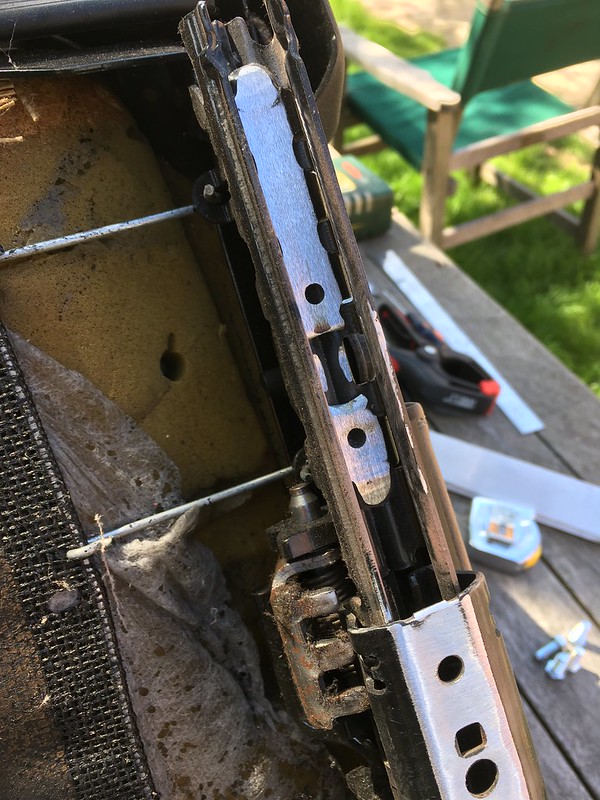
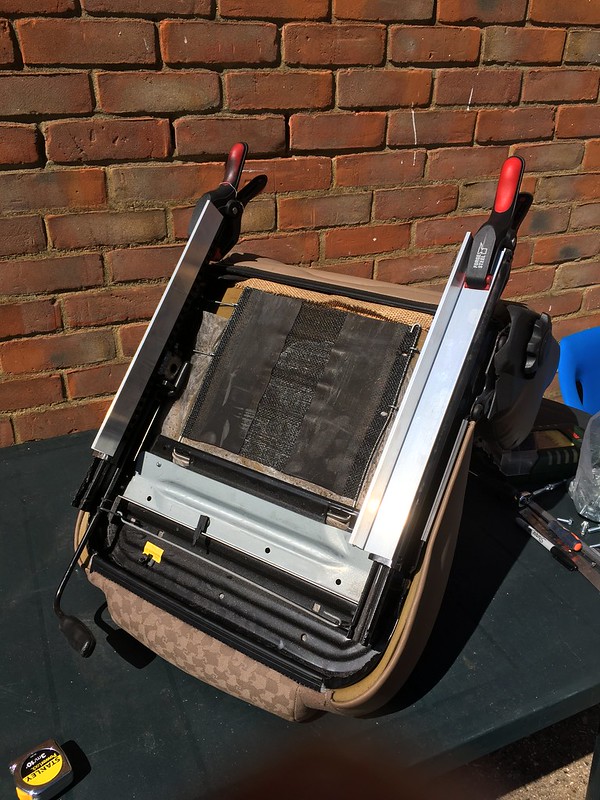
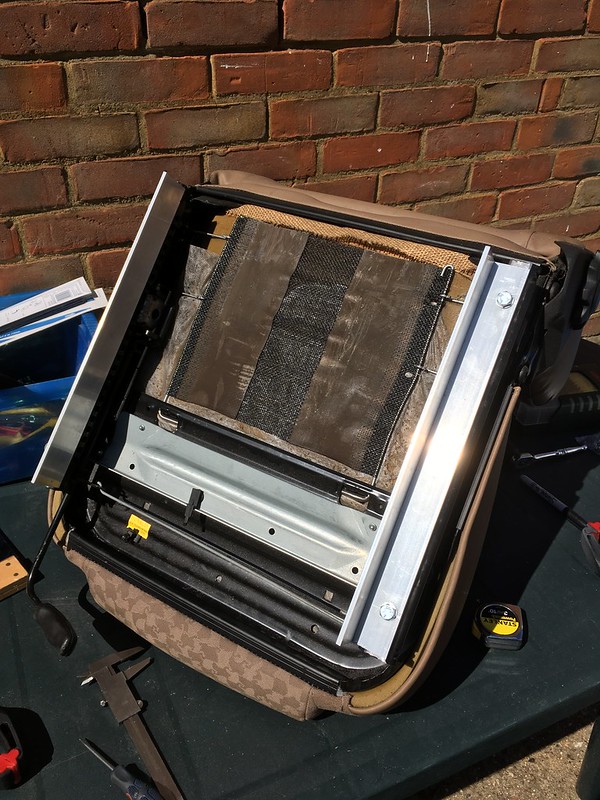
So, on with it. Here we have your standard MGF seat, I believe its the "MK2" seat with the slightly raised rear centre section.

Image

The runners are covered with various mounting brackets specific to the MGF

Image

So the first job is to remove all of them...

Image

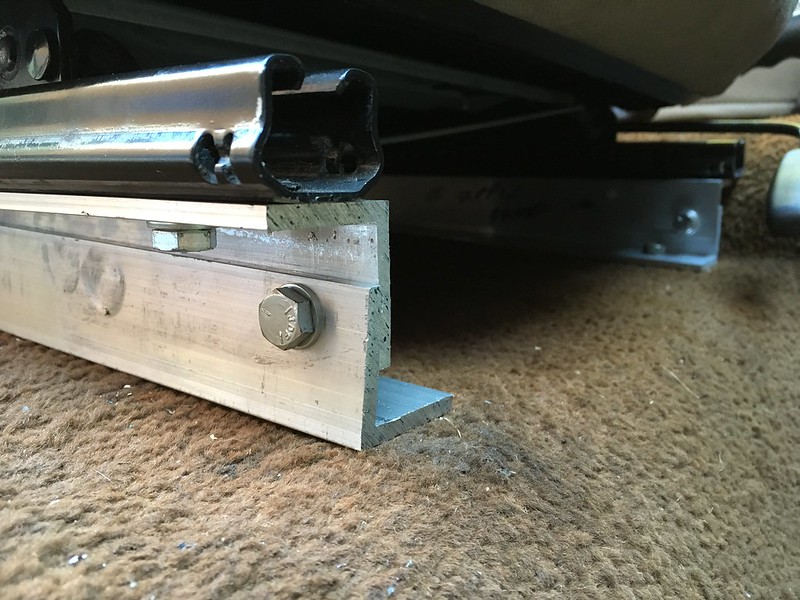
You will also need to grind back the runner stops as well to allow the bolts to pass and the seat to move backwards and forwards.

Image

If you at these in the car they'd be too low, by about an inch and a half, well for me anyway, others may be different.

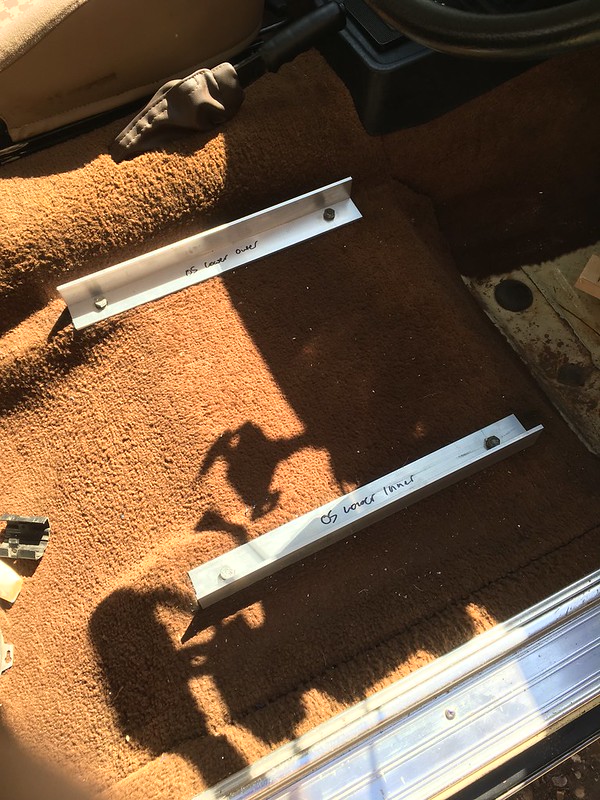
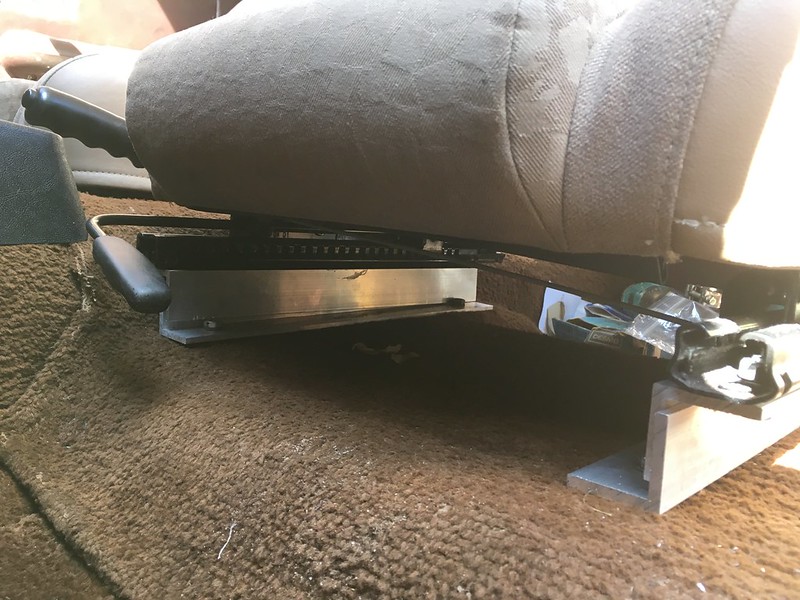
To mount them I used 1.5" x 1.5" x 3/16" Aluminium Angle. This give me the height I need plus allows me to angle the front to support my legs.

Image

First thing to do is to mount them to the existing mounting holes in the floorpan.

Image

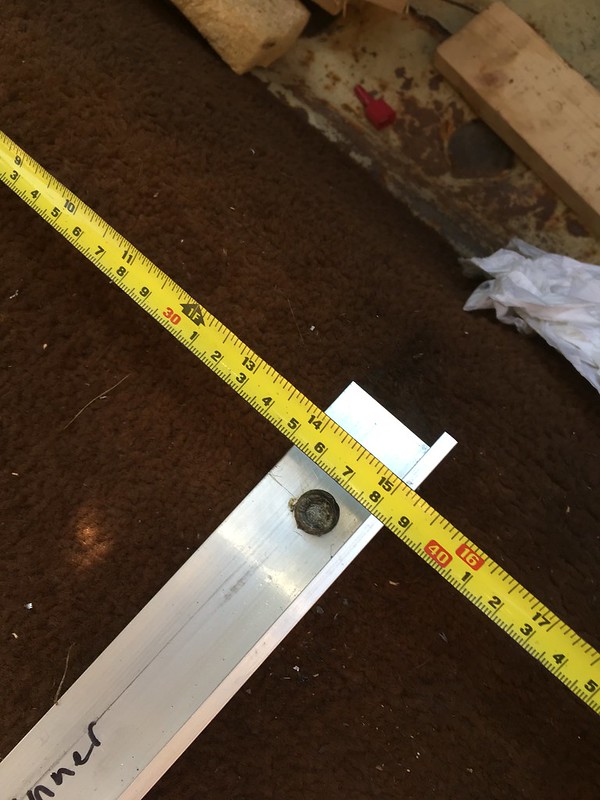
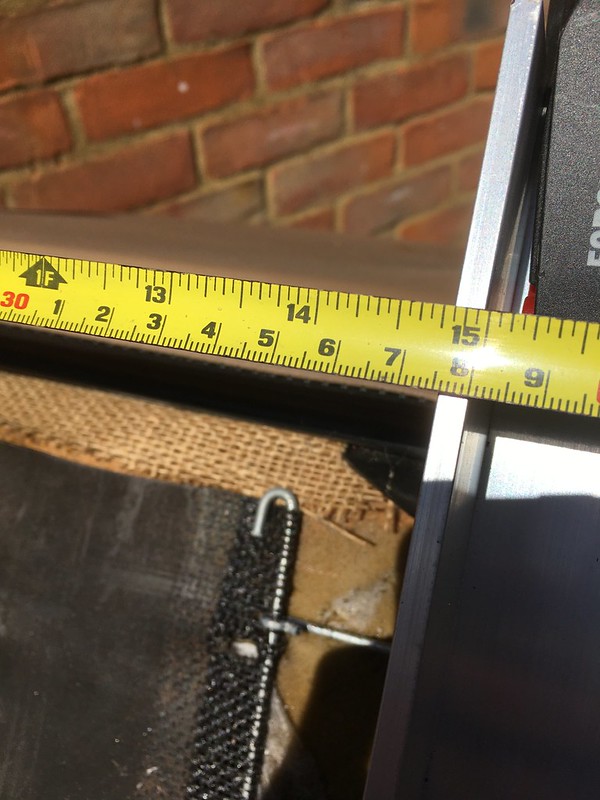
I found that the optimum width was to set the inner faces to 380mm wide. Everyone's cars will be different so I would make your own measurements to achieve this.

Image

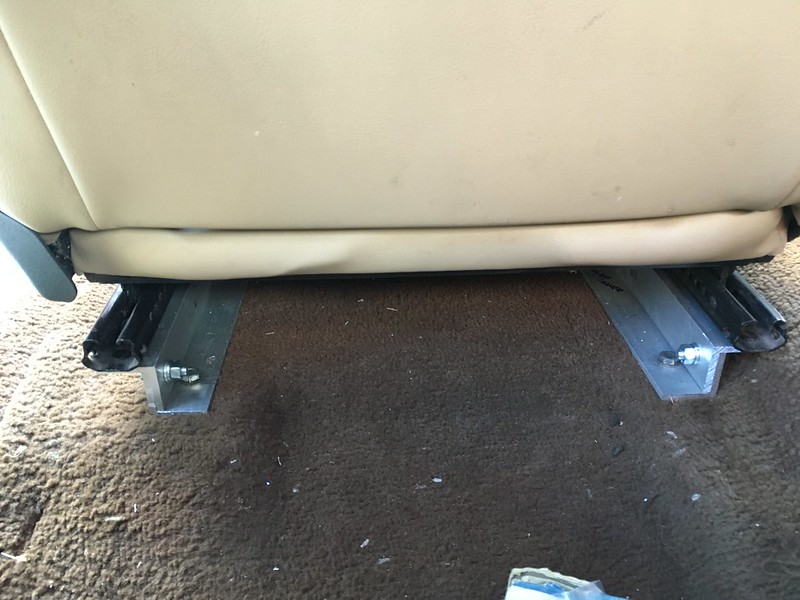
Another length of angle the same size as the one you mounted to the floor is bolted to the runners on the seat, again, I found that seat runner dimensions vary so measure first before drilling.

Image

Image

Drill holes, bolts through.

Image

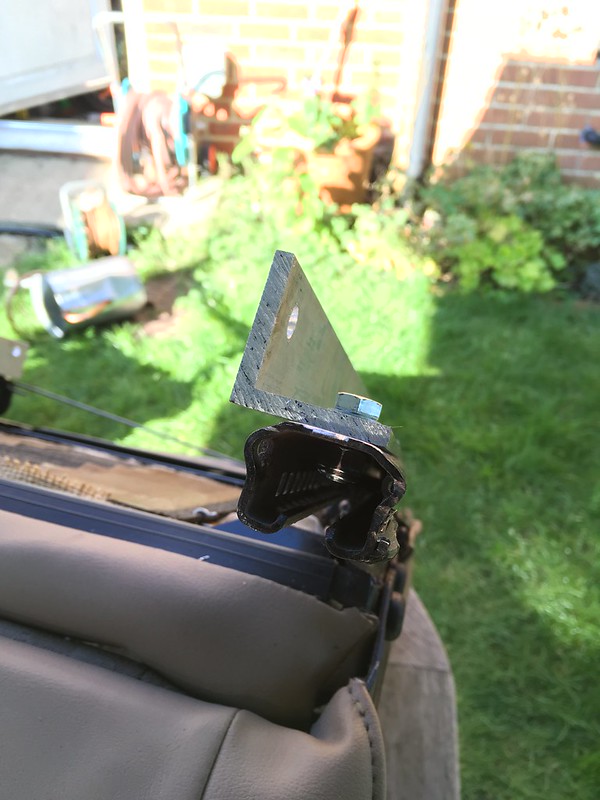
You have to fit the bolts this way as they wont fit through the runners, I don't like it but the should be fine as I have used nylocs.

Image

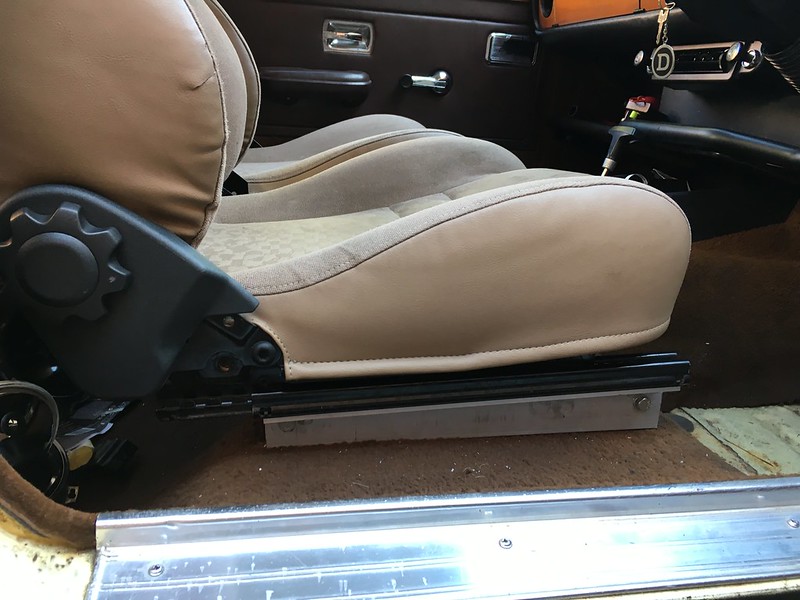
Pop the seats in the car for a test fit and to finalise the angle.

Image

Image

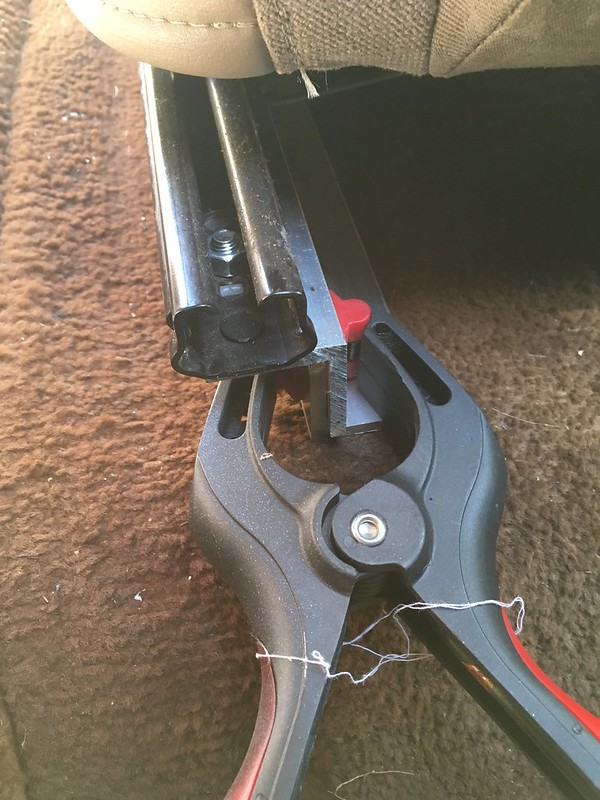
Pull them out, disassemble everything, drill holes to mount the two angle sections together. I settled on a 12mm rise which was comfortable for me, sorry I can;t be bothered to go and calculate the angle! :D

Image

Put them back in the car, loosely bolt everything together and test it fits...

Image

Image

Bolt everything up nice and tight and hey presto we have MGF seats in the RUK, colour almost matches as well! :lol:

Image

Image

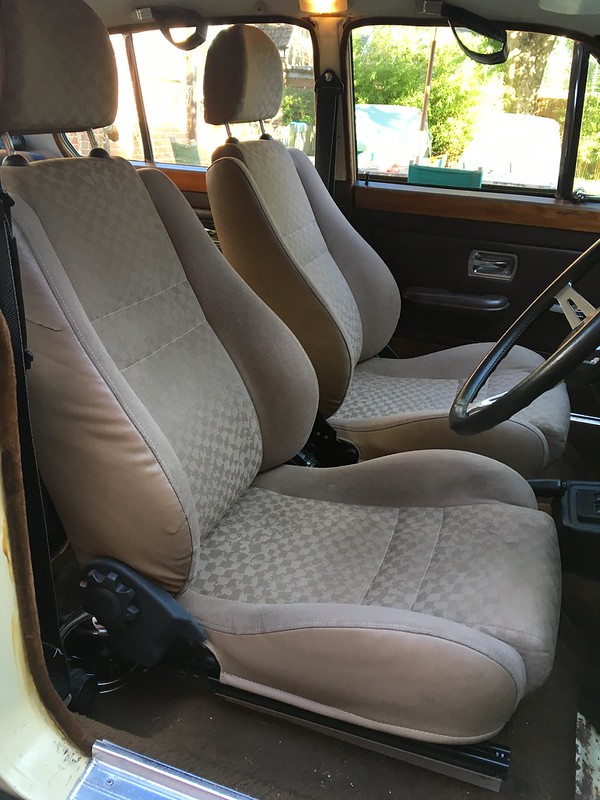
Extremely comfortable and they sit central to the steering wheel, excuse the mess but rear legroom isn't really affected either. I will add another nut and bolt clamping the angled sections at the recommendation of Bruce to counter any torsional forces but they don't move at all.

Image

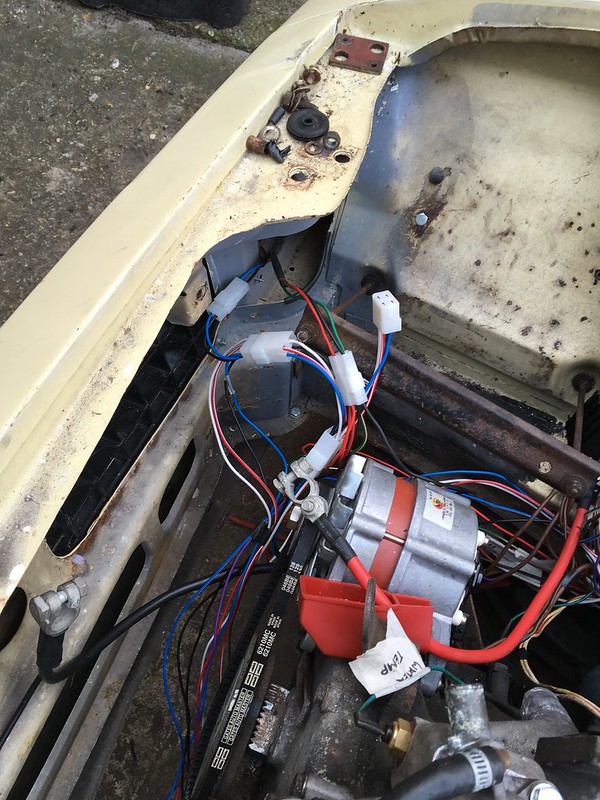
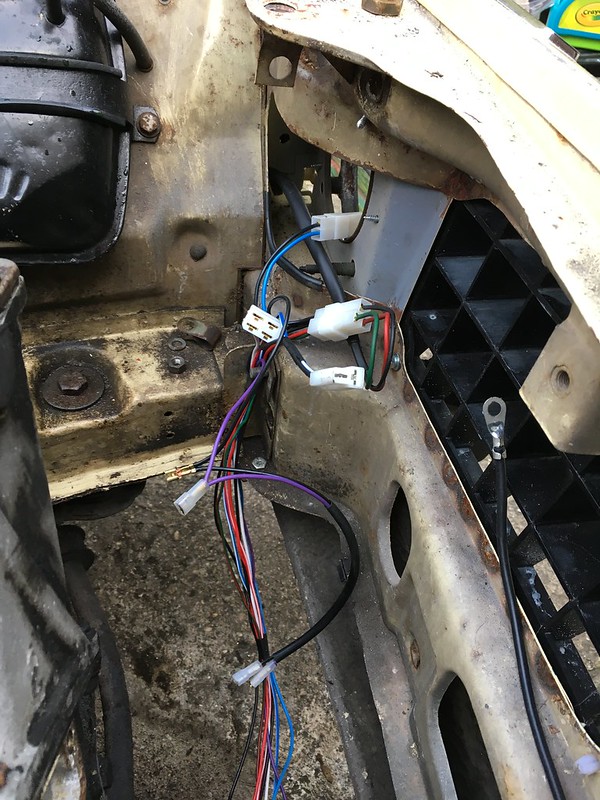
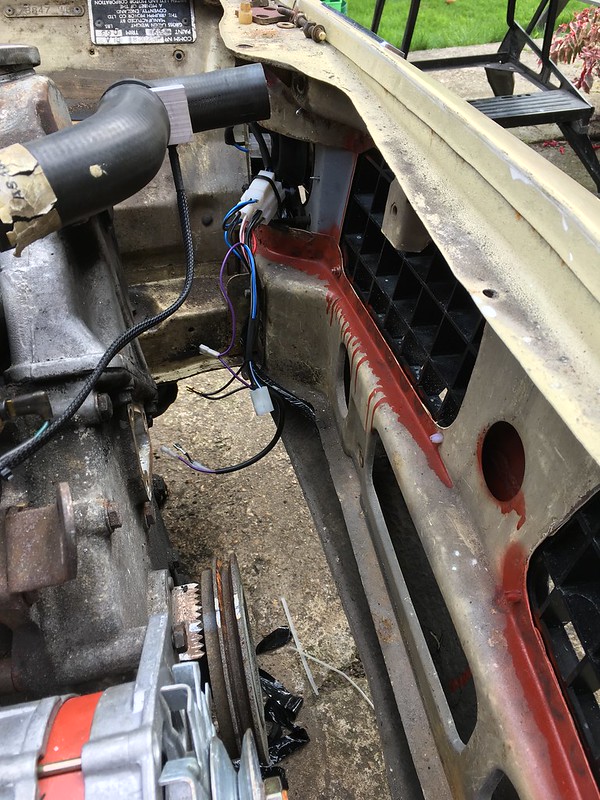
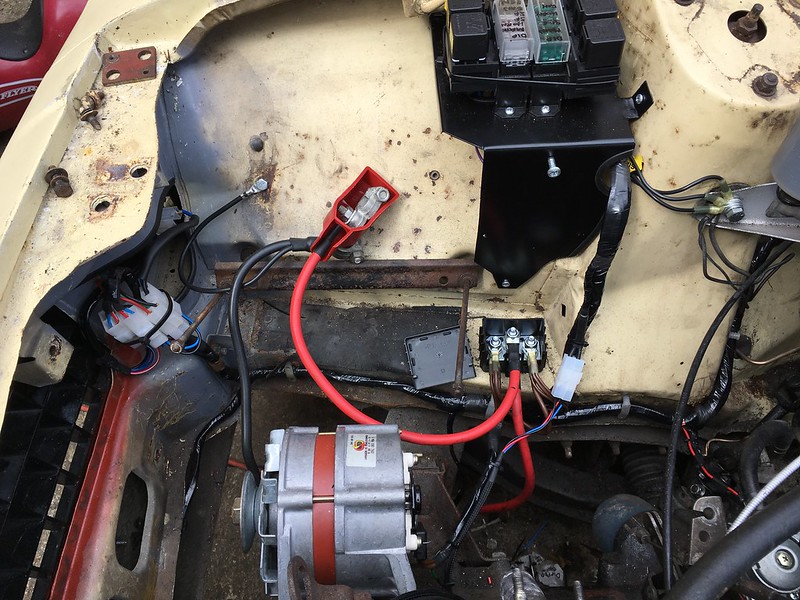
Right, part 2 onto the rest of the wiring! :D

Author:  James467 [ Tue Aug 29, 2017 8:46 pm ]
Post subject:  Re: RUK - Project Recommission 1972 'Dolomite' Auto

Part 2 - finish the wiring!

I have ditched the bullet connectors on the front of the car for connector blocks. I'm not sure if they are the best but they seem to be up to the job, time will tell.

Image

Image

So with everything tested and working I wrapped the loom and attached it to the body.

Image

Image

I'm quite pleased, it looks quite factory!

Image

Image

I double checked and the relays don't touch the bonnet, it's close but they are clear by about 4mm.

Image

The sidelights work really well, the camera makes them look more bluey green than they really are...

Image

Image

On to the cooling system, Volvo 850 header tank ready to be fitted...

Image

I copied Tony Burds fitting position because It looks rather neat. It's just higher than the thermostat, needs a recess cut in the bonnet reinforcer to clear the cap otherwise I think it rubs. It needs another bracket to support it.

Image

It's connected via a t piece to the bottom hose, I re-did this with a new hose to get the join closer to the rad then wrapped the hose in plastic spiral to protect it, it needs a P clip to attach it to the bottom of the rad, it clears the crank pulley though.

Image

Image

Kenlowe plumbed in, it's close to the air box so I may reroute that top hose, for now the plastic will protect it.

Image

New stainless return hose from Chris Witor...

Image

Carbs on, cooling system filled, ready for a start up!

Image

Well that was an anticlimax, no not a cooling leak, that was my lack of control with the antifreeze container! The rubbers on the float chamber plugs are shot and fuel is dripping out of them. Bugger! The only thing I didn't replace! That'll teach me! :lol:

Image

New pair ordered and the carbs will have to come off to do them properly. Not too worry, it's an easy job.

Left to do for TDCIR.

Recess bonnet, support header tank properly.
Remove exhaust and refit fixing manifold blow
Carbs - float plug and tune
Set fan cut in.
Change oil
Tracking
Finish rear brake light
Fit new mirrors
Give it a run, hopefully Saturday.

Feeling the heat! 8-[

Author:  Triumph1300 [ Tue Aug 29, 2017 9:27 pm ]
Post subject:  Re: RUK - Project Recommission 1972 'Dolomite' Auto

You can do it, I'm looking forward to seeing this on Sunday

Author:  Mahesh [ Tue Aug 29, 2017 10:30 pm ]
Post subject:  Re: RUK - Project Recommission 1972 'Dolomite' Auto

At your speed James, waiting for the posted items will be
the greatest delay.

Author:  Jon Tilson [ Wed Aug 30, 2017 11:05 am ]
Post subject:  Re: RUK - Project Recommission 1972 'Dolomite' Auto

Oh and paint camshaft cover.....

You have your standards.....

Lovely job...and a bummer on the plugs. I missed them too when you did the rebuild....

Jonners

Author:  James467 [ Wed Aug 30, 2017 12:19 pm ]
Post subject:  Re: RUK - Project Recommission 1972 'Dolomite' Auto

Quote:
Oh and paint camshaft cover.....
Yes sir! :lol:

I put new O rings on the plugs and started it up this morning - no leaks! I didn't even have to take of the carbs either.

I warmed her up, even out of tune the carbs feel so much better, I'm wondering if there was always some leakage from the float chambers, not too worry I'm excited to get it tuned now.

Whilst warmed up I set the fan to cut in, this will probably need some fine tuning when the weather is warmer.

I'll do the tracking when I fit my trackerjack brakes as I'll have to crack off the nuts and I may have to put new rod ends on. The tracking's ok, it was just a belt and braces approach really.

So that's three jobs off the list. I'll do the exhaust next, weather is supposed to be better tomorrow.

Author:  SprintMWU773V [ Wed Aug 30, 2017 1:43 pm ]
Post subject:  Re: RUK - Project Recommission 1972 'Dolomite' Auto

I can't come to TDCIR as I'm at a wedding this weekend but I hope you get it there and look forward to seeing some pics.

Author:  sprint95m [ Wed Aug 30, 2017 1:55 pm ]
Post subject:  Hmm….

Quote:
On to the cooling system, Volvo 850 header tank ready to be fitted...
I copied Tony Burds fitting position because It looks rather neat. It's just higher than the thermostat, needs a recess cut in the bonnet reinforcer to clear the cap otherwise I think it rubs. It needs another bracket to support it.
The reason I sited the header tank next to the heater's blower is that this is the highest position that can be achieved on the nearside.
This takes advantage of the space within the bonnet's skeleton so no cutting is required. I made a bracket to use the header tank's own mounting slot.
The entire contents of the header tank are above the thermostat and therefore, should the level drop, the low level sensor will be triggered
before the level drops within the engine.


Ian.

Author:  James467 [ Wed Aug 30, 2017 2:54 pm ]
Post subject:  Re: Hmm….

Quote:
Quote:
On to the cooling system, Volvo 850 header tank ready to be fitted...
I copied Tony Burds fitting position because It looks rather neat. It's just higher than the thermostat, needs a recess cut in the bonnet reinforcer to clear the cap otherwise I think it rubs. It needs another bracket to support it.
The reason I sited the header tank next to the heater's blower is that this is the highest position that can be achieved on the nearside.
This takes advantage of the space within the bonnet's skeleton so no cutting is required. I made a bracket to use the header tank's own mounting slot.
The entire contents of the header tank are above the thermostat and therefore, should the level drop, the low level sensor will be triggered
before the level drops within the engine.


Ian.
I don't like your fitting position because it hinders access to the plugs, also mine looks neater. :P

With a bonnet cutout it should sit about 1mm from the bonnet skin.

Author:  James467 [ Wed Aug 30, 2017 3:09 pm ]
Post subject:  Re: RUK - Project Recommission 1972 'Dolomite' Auto

That was me being sarcastic btw!

Sometimes doesn't come across very well on a forum!

Author:  new to this [ Wed Aug 30, 2017 4:50 pm ]
Post subject:  Re: RUK - Project Recommission 1972 'Dolomite' Auto

James

you have done a neat job fitting the seats,are you going to change the back seat as well

Dave

Author:  Karlos [ Wed Aug 30, 2017 6:18 pm ]
Post subject:  Re: Hmm….

Quote:
Quote:
Quote:
On to the cooling system, Volvo 850 header tank ready to be fitted...
I copied Tony Burds fitting position because It looks rather neat. It's just higher than the thermostat, needs a recess cut in the bonnet reinforcer to clear the cap otherwise I think it rubs. It needs another bracket to support it.
The reason I sited the header tank next to the heater's blower is that this is the highest position that can be achieved on the nearside.
This takes advantage of the space within the bonnet's skeleton so no cutting is required. I made a bracket to use the header tank's own mounting slot.
The entire contents of the header tank are above the thermostat and therefore, should the level drop, the low level sensor will be triggered
before the level drops within the engine.


Ian.
I don't like your fitting position because it hinders access to the plugs, also mine looks neater. :P

With a bonnet cutout it should sit about 1mm from the bonnet skin.
Ian's position is better as it contributes to more even front/rear weight distribution.
(That is me being sarcastic.)

I am addicted to this thread, good luck for Sunday.
(That is not me being sarcastic)

Author:  soe8m [ Wed Aug 30, 2017 6:33 pm ]
Post subject:  Re: RUK - Project Recommission 1972 'Dolomite' Auto

I'm confused. RUK isn't always RUK.

Jeroen.

Page 33 of 55 All times are UTC+01:00
Powered by phpBB® Forum Software © phpBB Limited
https://www.phpbb.com/