Winging it....

For everything to do with Dolomites, Toledos, FWD cars and Dolomite-based kitcars.
Message
Author
User avatar
Sprintinbits
Guest contributor
Guest contributor
Posts: 1406
Joined: Wed Oct 18, 2006 7:56 pm
Location: Sunny Hertfordshyre

Winging it....

#1 Post by Sprintinbits »

At last!!

Some time and a break in the weather....

So after all the hard work, here's the photo's
Image
Seem to have lost the 'J' along the way... :roll:

Image

Image

Image
Using Alun's tip of a recip saw was the easiest bit of the whole job!!

Image

Image
much more solid than I expected

Image
Small hole in the original cill, oh well, you can't have everything

Image
Check out the club rails 8) and spot the shocking difference between a polished door and a non polished door :shock:

All in all, not the mess that poor old Nathan faced...
User avatar
SprintMWU773V
TDC Staffs Area Organiser
Posts: 5429
Joined: Wed Oct 18, 2006 2:08 pm
Location: The Old Asylum

#2 Post by SprintMWU773V »

it's always nice to see people's resto work pics, those chassis legs look nice in particular. Keep it up!
Mark

1961 Chevrolet Corvair Greenbrier Sportswagon
1980 Dolomite Sprint project using brand new shell
2009 Mazda MX5 2.0 Sport
2018 Infiniti Q30
MalcGE

#3 Post by MalcGE »

Who did the welding on those chassis rails - that looks like a nice job does that. The front of the sill (bit that fits behind the wing looks surprisingly good as well. Was the wing really that bad?, ive seen some nice jobs where people just 'let in' a front section.
User avatar
Sprintinbits
Guest contributor
Guest contributor
Posts: 1406
Joined: Wed Oct 18, 2006 7:56 pm
Location: Sunny Hertfordshyre

#4 Post by Sprintinbits »

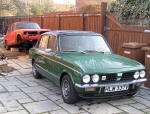
Cheers Mark. Likewise some pukka pics of finished cars helps provide the inspiration to fix the ones needing TLC :D

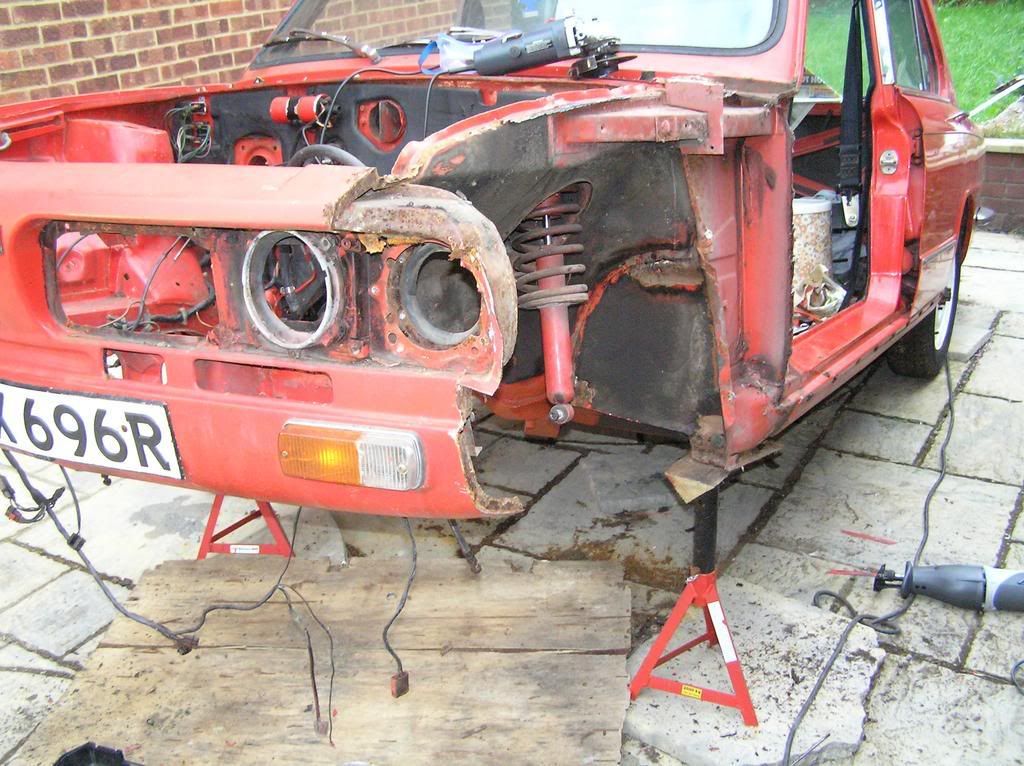
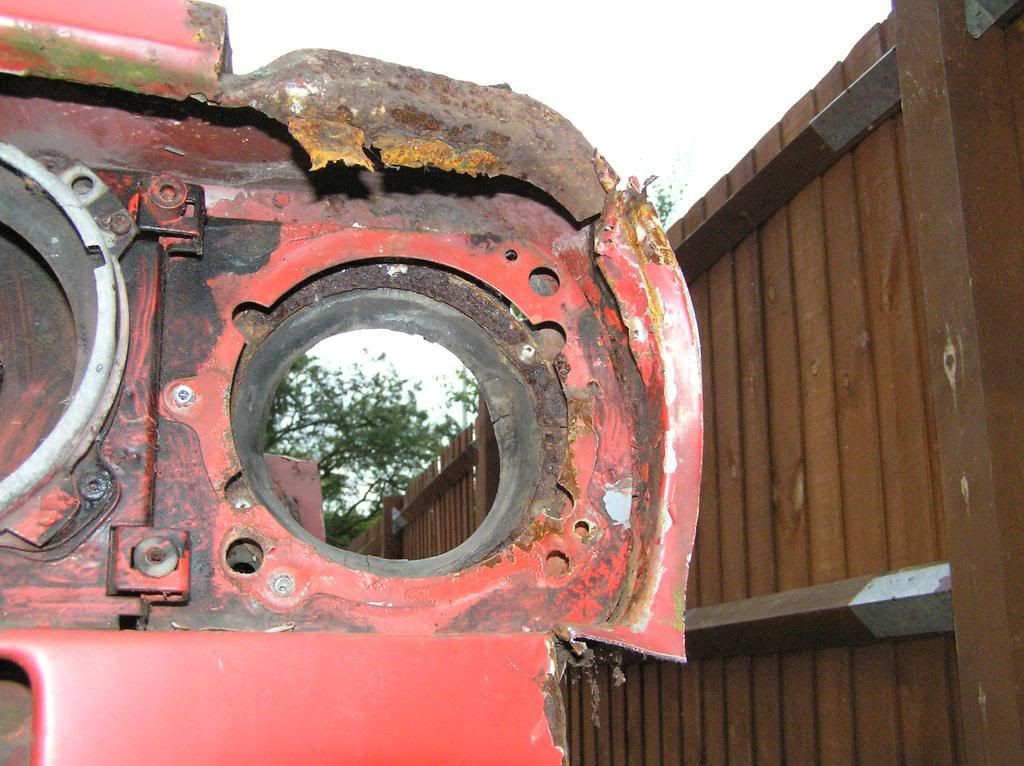
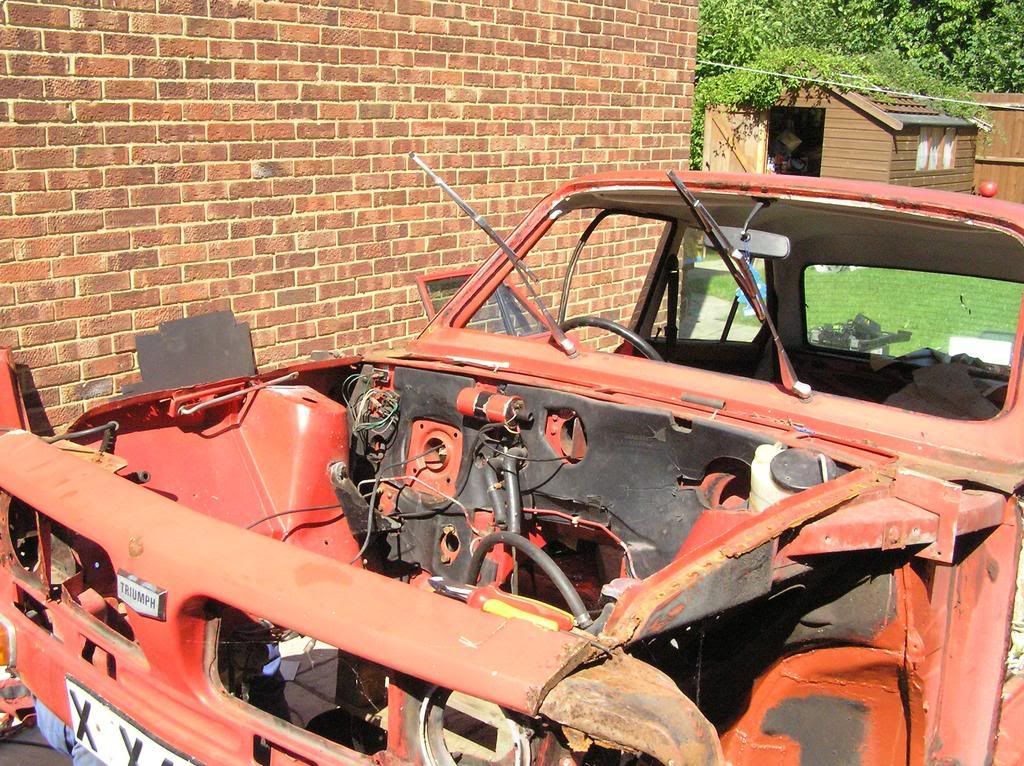
Malc; The wing itself was not 
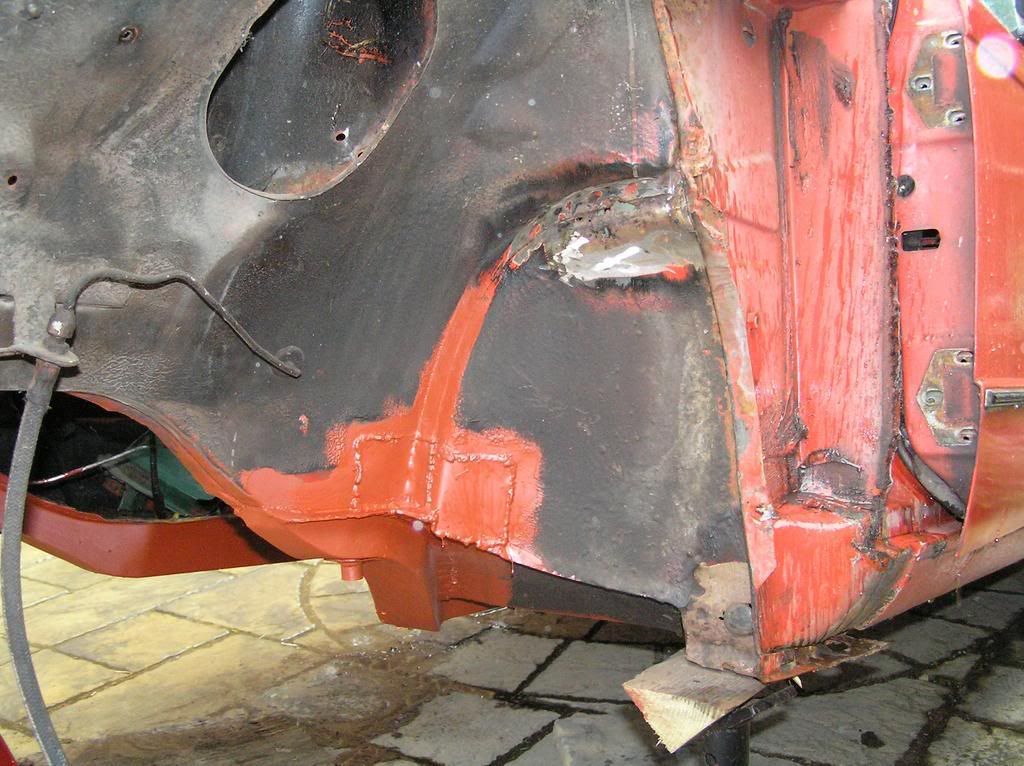
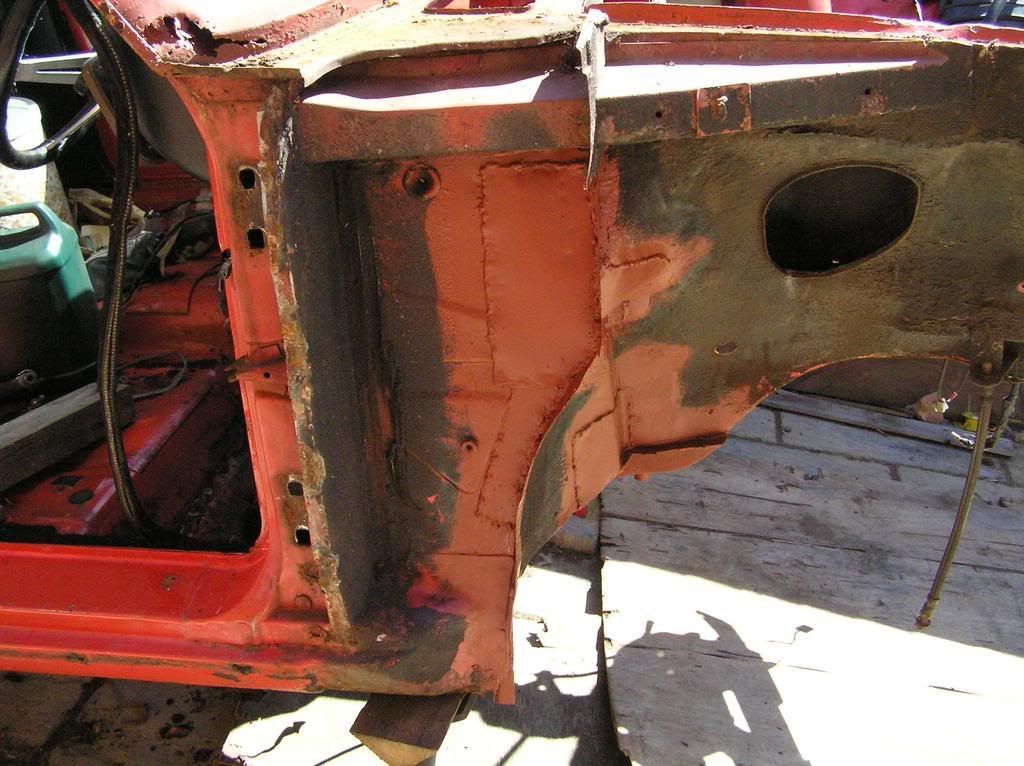
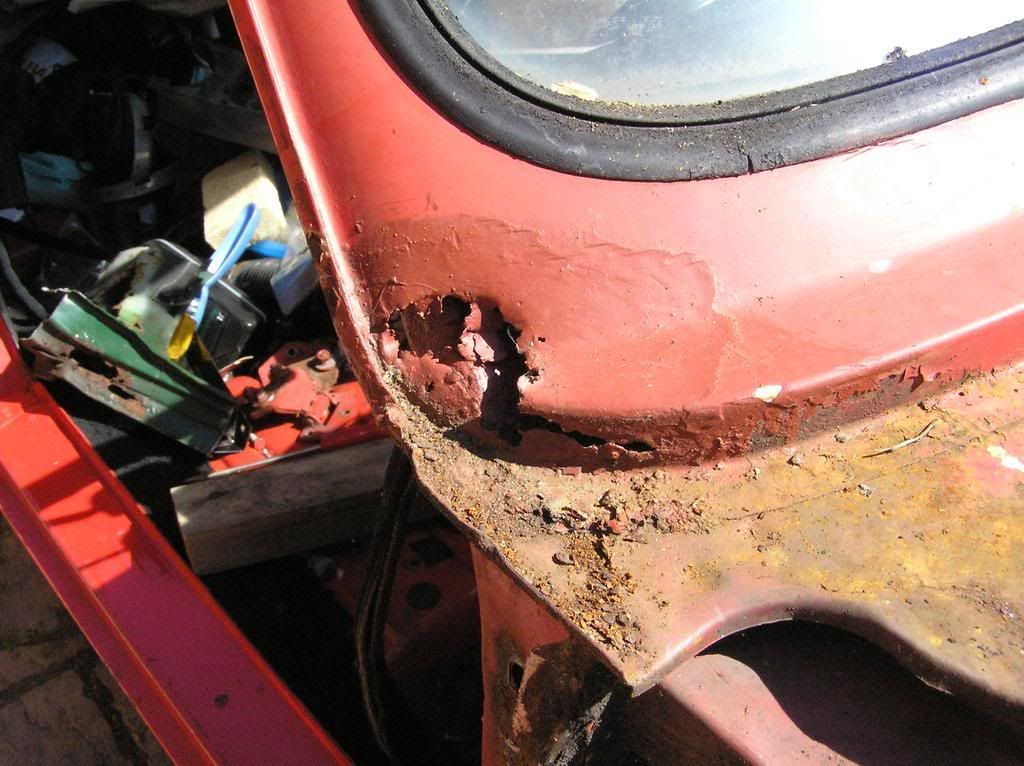
that bad as far as I could see. Although all around the top of the headlamp area was cream crackered. Problem was the inner wing needs attention that can only be done with the wing off. I have the original pic somewhere...
Image
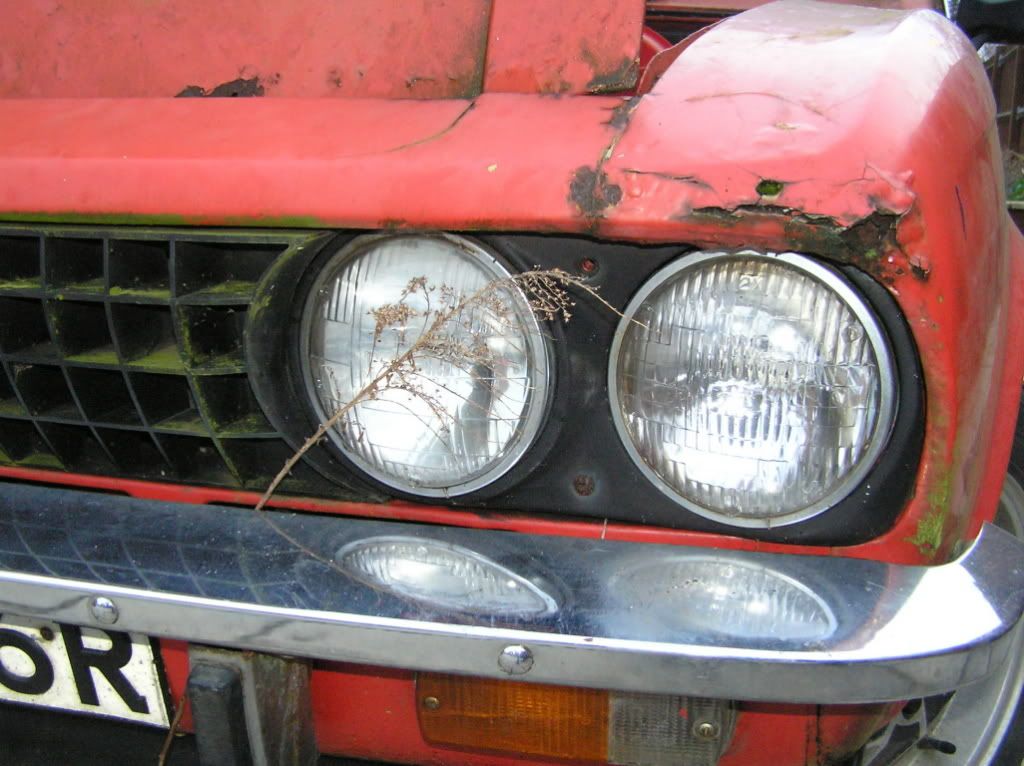
You can see the whole area is filler under the paint. In fact right up to that hairline crack you can see up the wing a bit.

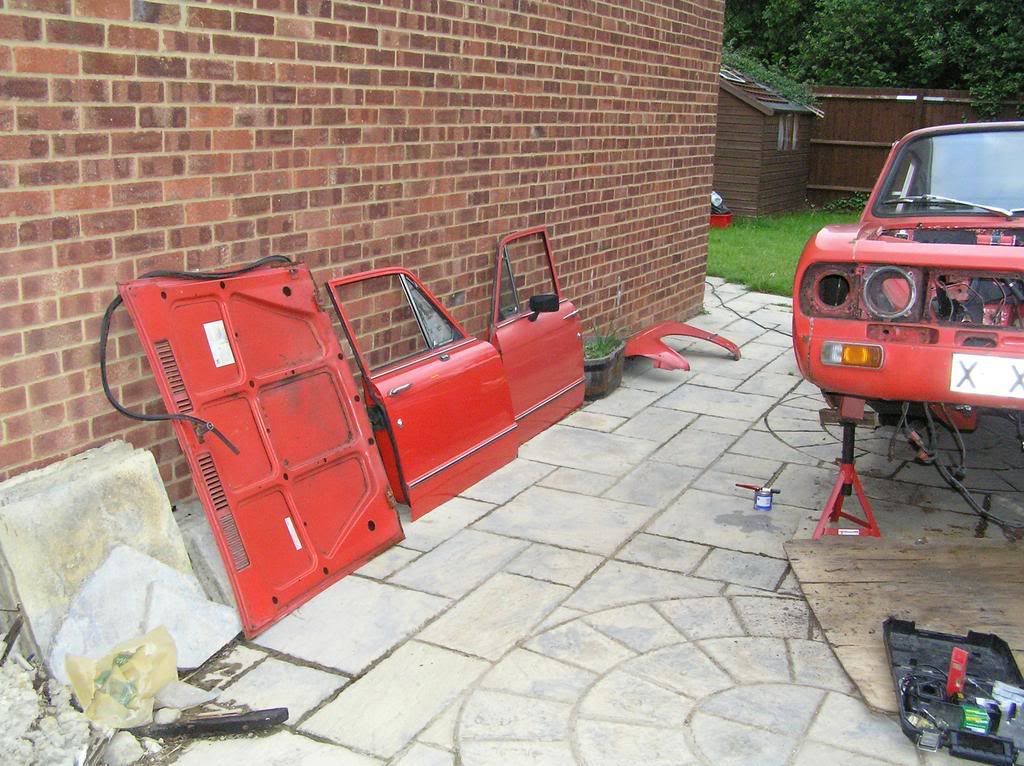
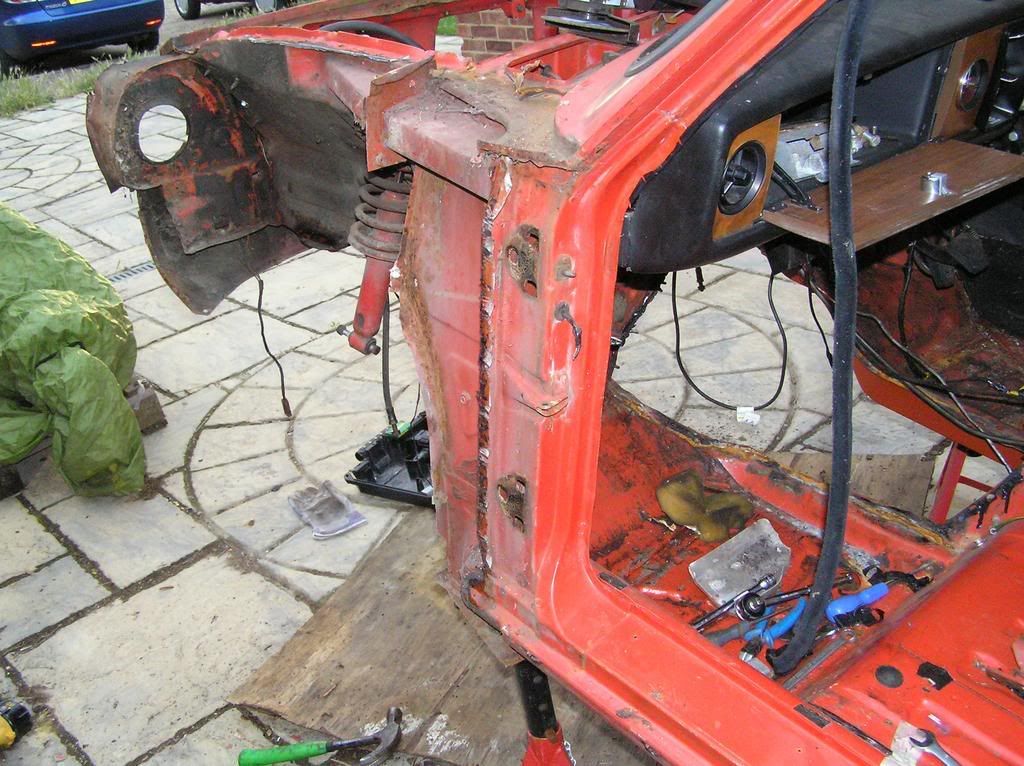
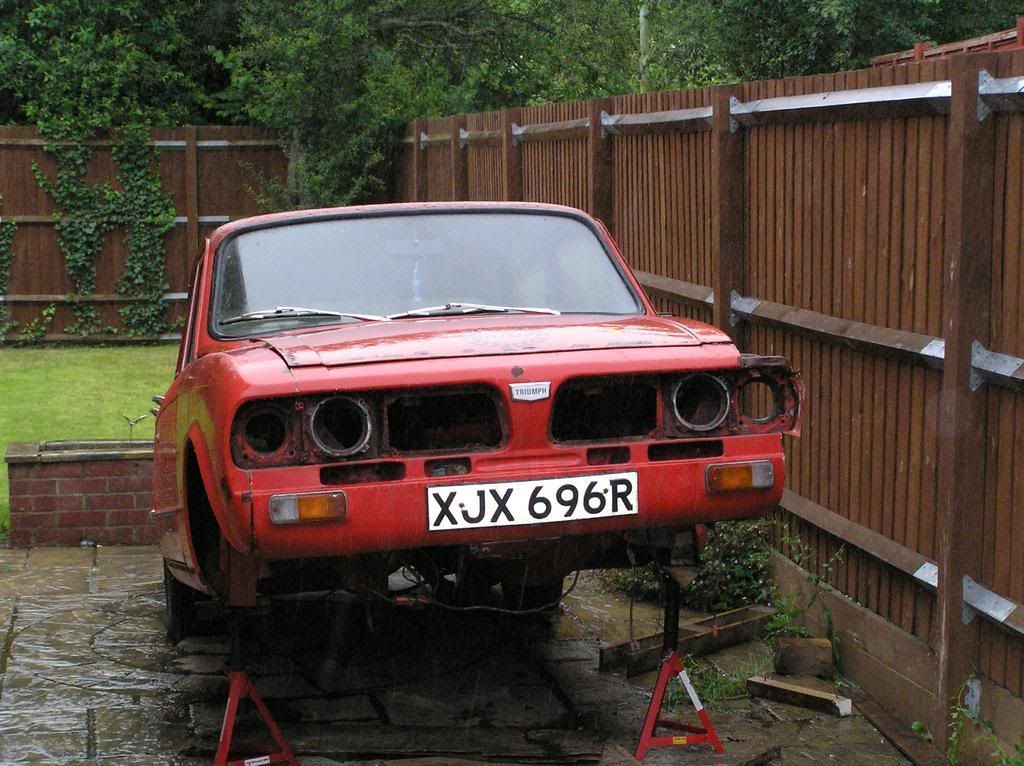
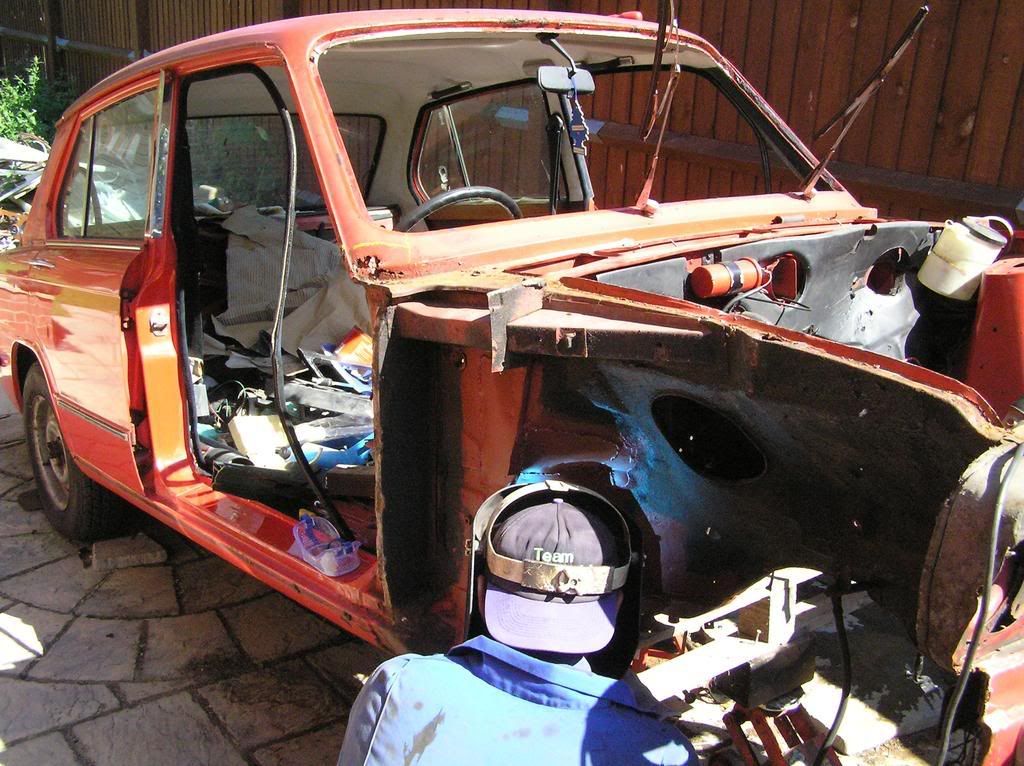
The o/s wing however, is in excellent condition so I tried in vain to get the n/s one off in one bit as practice but failed miserably. I couldn't get it off the curved return by the headlamp. I'm still wondering how to get the o/s one off complete.

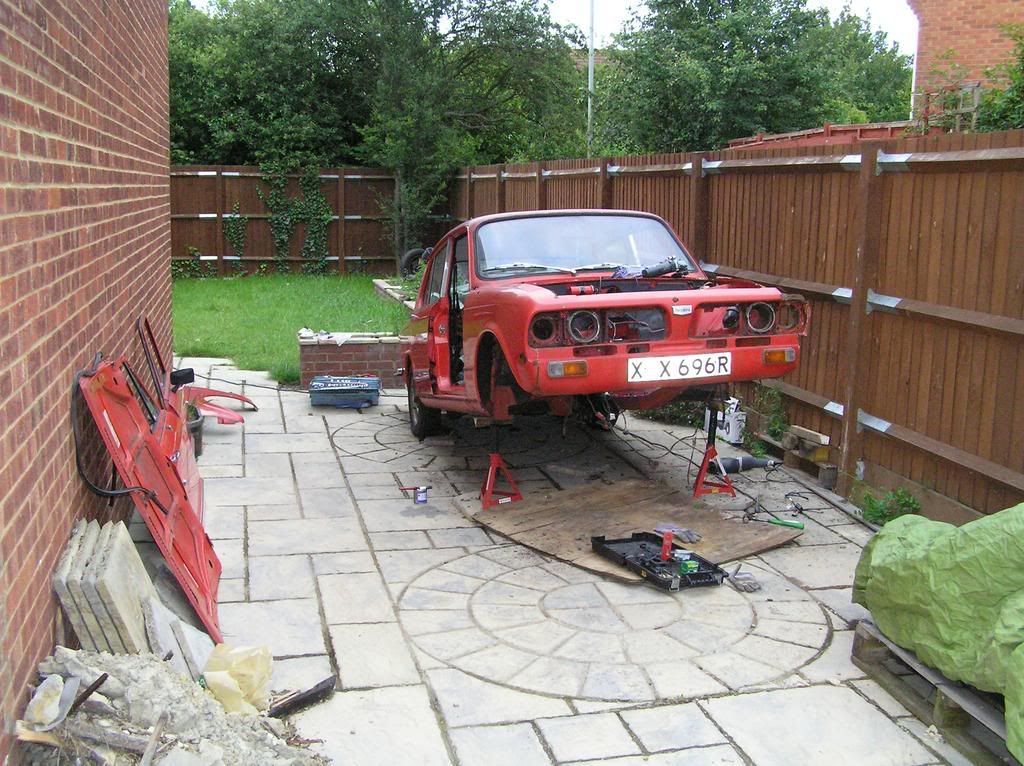
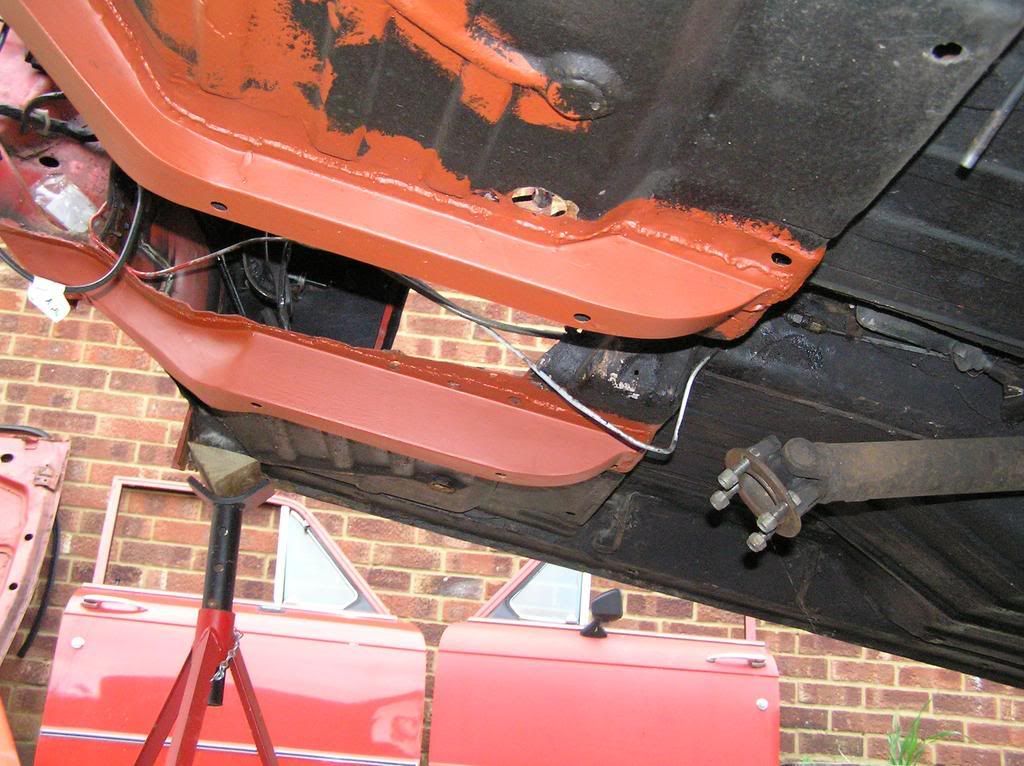
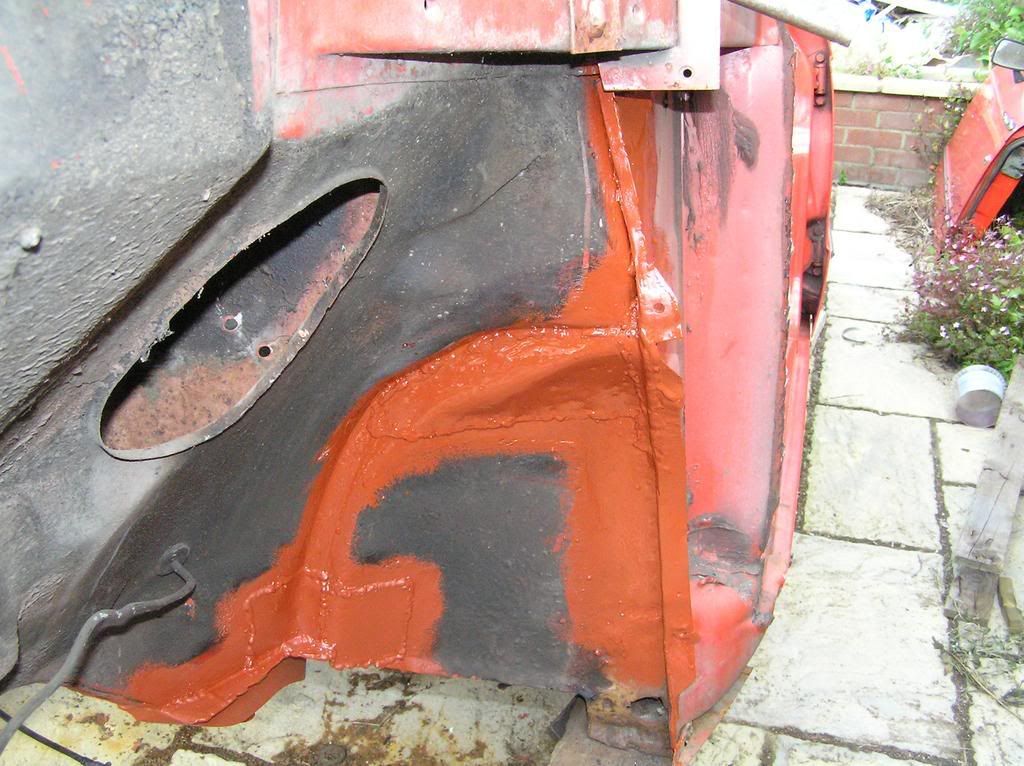
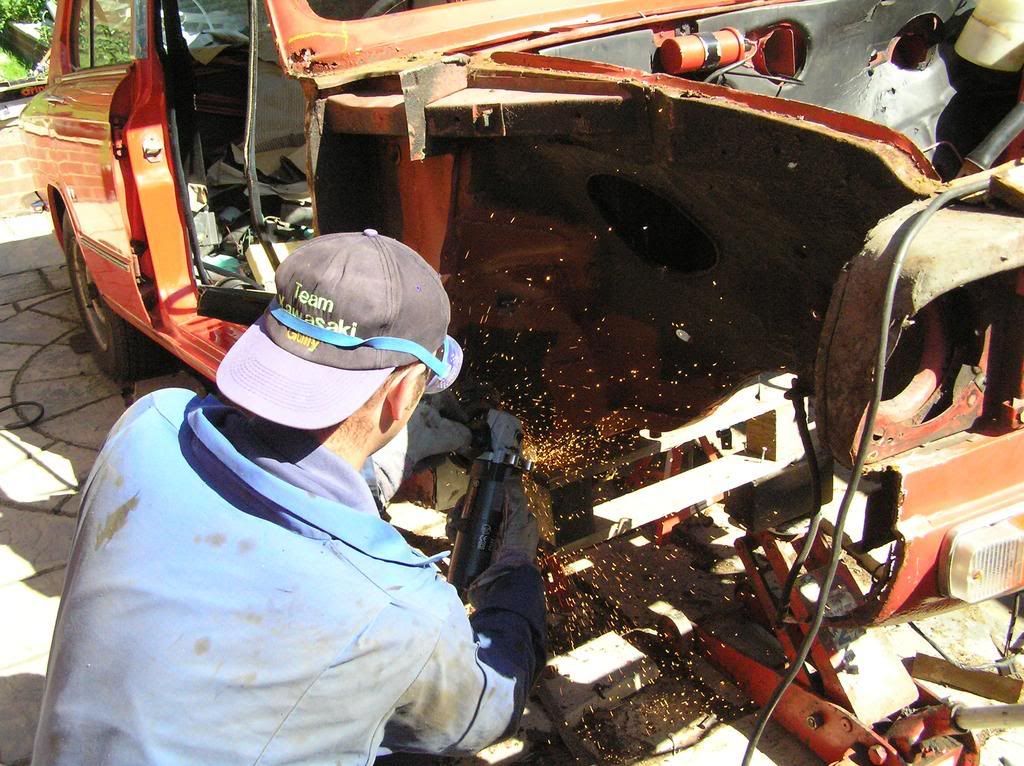
My mate with a MIG did the welding on the driveway but was shielded from the wind by some large sheets of ply (old shed roof!!).

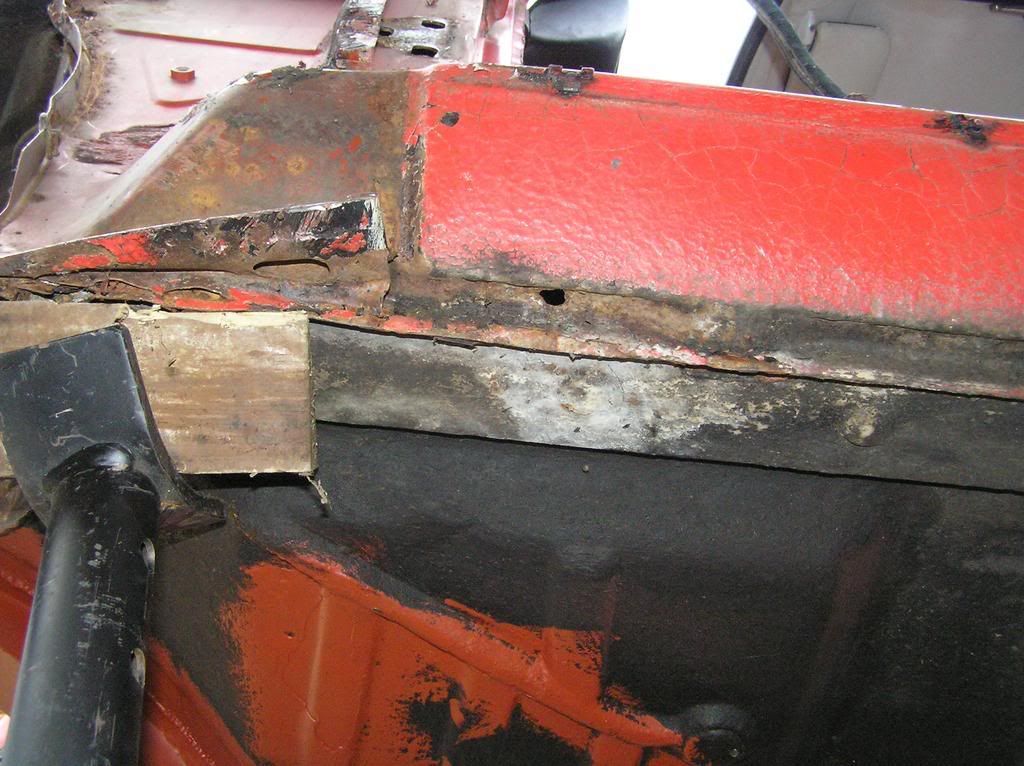
Funny thing is, he really isn't happy with the job. Further up there were some blobbby bits of weld which needed a quick grind up before paint.

I however am well chuffed with the job and cant wait to get him over for more of the same 8)

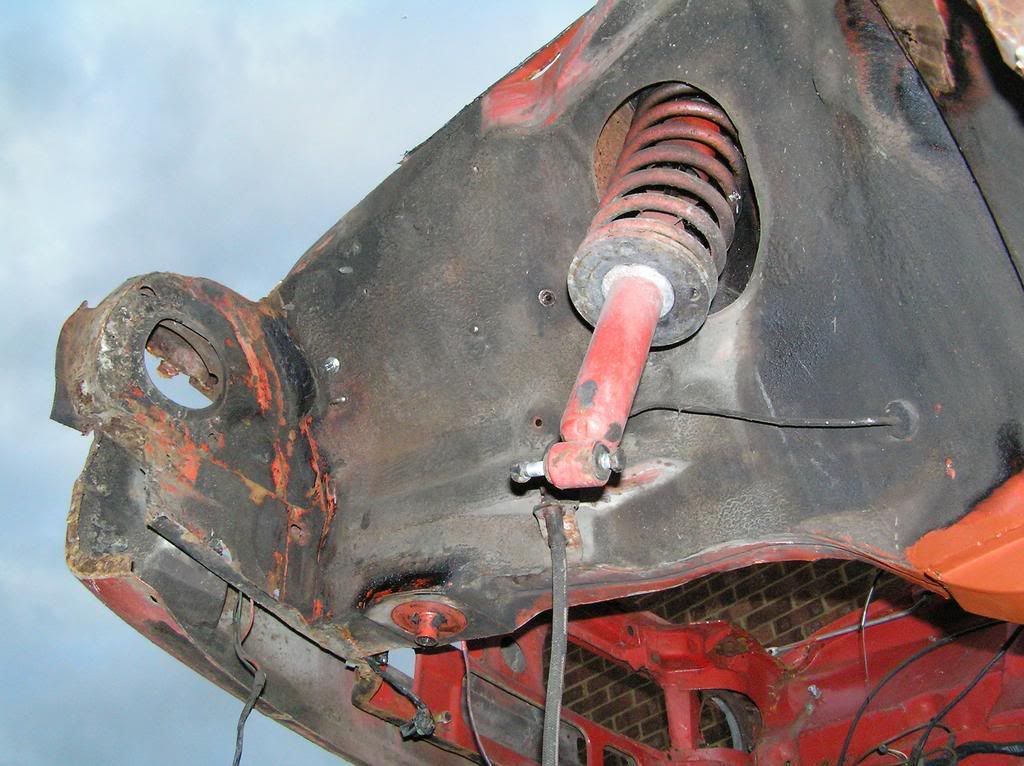
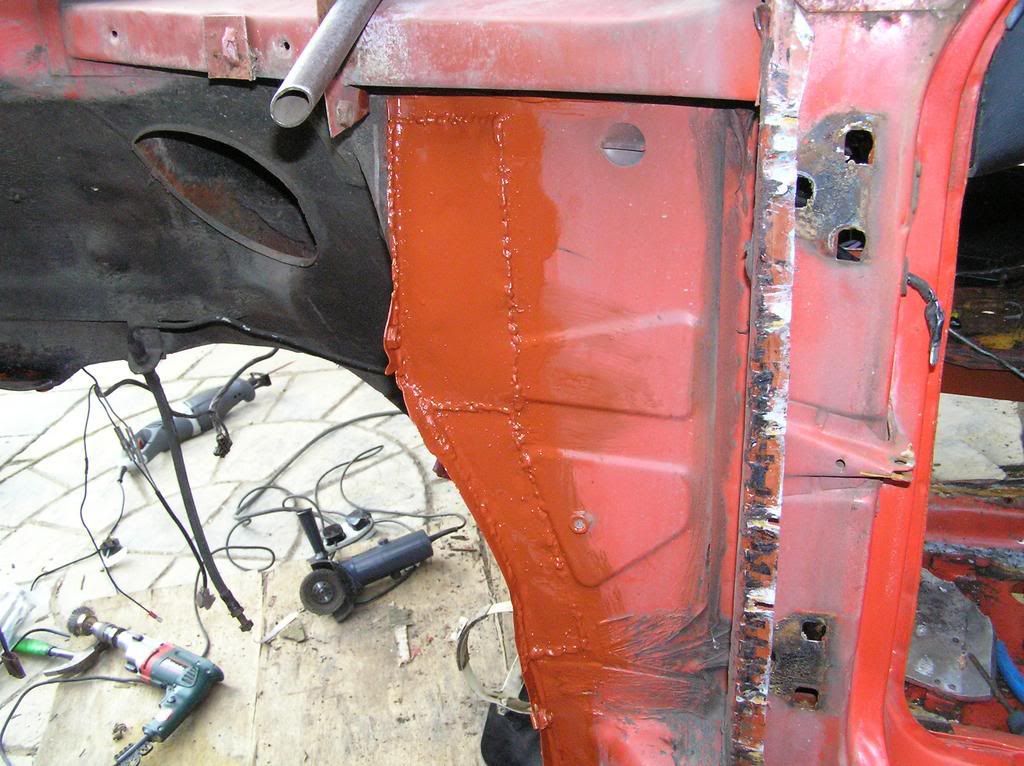
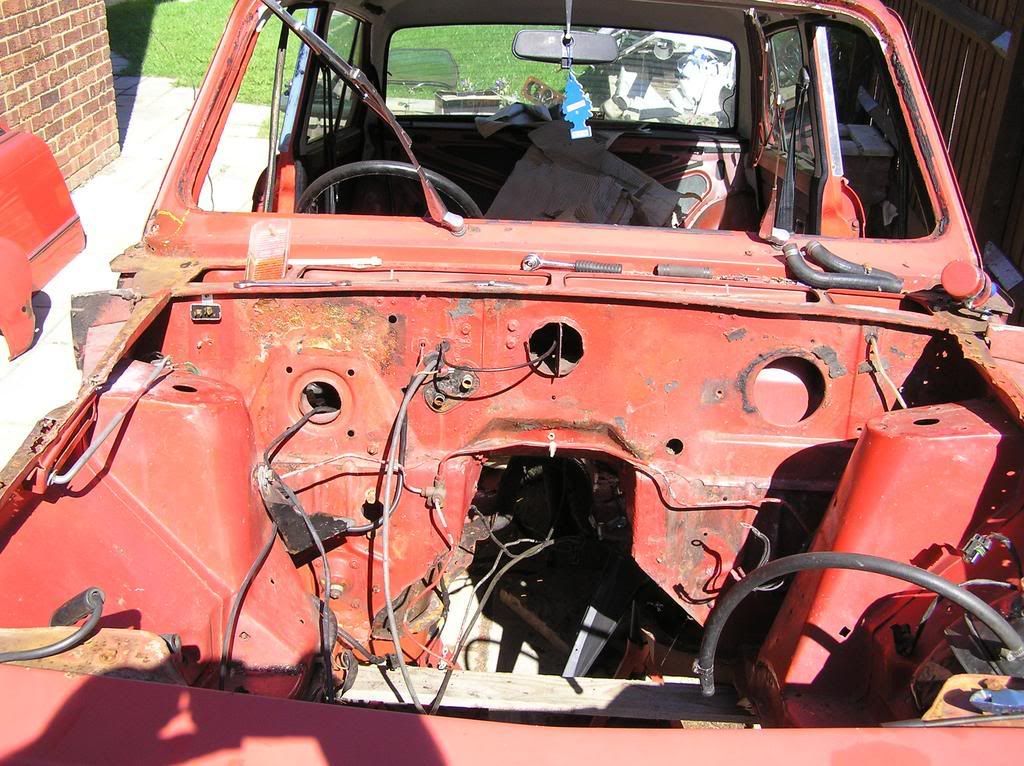
-EDIT: The only real rust on the inner wing is directly behind the arch liner (in front of the A-Post). Not got a clear photo of it but I think you know the area I'm talking about.

Also, the front of the cill (box section bit behind the wing)? Well Alun told me to check that you cant poke a finger up there on the rear hole and the front hole should be half blocked. I remembered to check that bit at purchase time :wink:
User avatar
Mad Mart
TDC Member
Posts: 8529
Joined: Tue Oct 03, 2006 5:48 pm
Location: Winscombe, North Somerset, England
Contact:

#5 Post by Mad Mart »

Keep it up Colin, looking good. Have to agree on the chassis legs. 8)
Sprintless for the first time in 35+ years. :boggle2: ... Still Sprintless.

Engines, Gearboxes, Overdrives etc. rebuilt. PM me.


2012 Porsche Boxster 981 S


Image
hutch76

Resto

#6 Post by hutch76 »

Total respect to you Colin! To take on all that work is daunting enough, but to do it outdoors, you are a real enthusiast.

Agree with everyone else there. Was very impressed as soon as I saw the pics with the chassis legs, very neat work indeed. If the same standard continues through the rest of the car (and i'm sure it will), you'll have a lovely example there.

And to think I was bitching away because I mansged to put a couple of tiny holes in mine!! :oops:
eightiesflamer

Credit where its due.

#7 Post by eightiesflamer »

Well done Colin, chassis rails look very good, make sure you squirt plenty of waxoyl in side em. When can I book my car into Colin's crusty chassis repairs LTD for a replacement chassis rail.
Nathan Mwk 627G

#8 Post by Nathan Mwk 627G »

Colin, the innerwing and sill section (front of) look very solid indeed (iv become an expert in that bit :lol: )

Keep it up mate, always looks horrible and you wonder if it will ever end......

keep up the good work it'll be a beauty when she's finished!!

Nathan

PS keep taking the photos, iv just made a folder of all the work done on MWK! its nice to see the start and finished results!!
Neil907

#9 Post by Neil907 »

Colin wrote: I couldn't get it off the curved return by the headlamp. I'm still wondering how to get the o/s one off complete.
It is possible with some carefull drilling out of spotwelds. I managed to remove both of my wings in one piece but I did do most of that bit with the car on its side.

keep up the good work.
User avatar
Sprintinbits
Guest contributor
Guest contributor
Posts: 1406
Joined: Wed Oct 18, 2006 7:56 pm
Location: Sunny Hertfordshyre

#10 Post by Sprintinbits »

Colin's Crusty Chassis Repairs LTD is back in business.....

Got some more work done today. Spent most of the time dodging the rain and didn't get finished.
Never mind, there is always next weekend

Image

Image

Found my 'J' as well :wink:
Lee Flintoft

#11 Post by Lee Flintoft »

Looking good Colin :thumbsup:
User avatar
Sprintinbits
Guest contributor
Guest contributor
Posts: 1406
Joined: Wed Oct 18, 2006 7:56 pm
Location: Sunny Hertfordshyre

#12 Post by Sprintinbits »

Managed a bit more today.
Image

Image
The plates are far larger than they need to be cos I don't wanna have to do this again.

I say me but it's not me doing the welding yet, my anonymous mate is the one getting stuck in :wink:
I'm trying to get the wing off the other side and fetching tools and making tea :oops:
Getting the drivers side wing off in one piece is proving a little difficult, it's a replacement panel. It's not fixed quite the same but it's coming off slowly but surely.
I called it a day quite early today. I got the hump cos I lost my goggles and couldn't prep the n/s inner wing edges for the 2nd hand wing to go back on :bomb:
User avatar
Sprintinbits
Guest contributor
Guest contributor
Posts: 1406
Joined: Wed Oct 18, 2006 7:56 pm
Location: Sunny Hertfordshyre

#13 Post by Sprintinbits »

Image
My man got the wing off and plated up this side whilst I was on my honeymoon 8) 8) Was well suprised when I got back and saw the progress

Loads more work done in the 4 hours that we had today...
Got the screen out then it was down to business :D
Image

Image

Image
Got this side all done but didn't take a final picture

Image

Image
Got the entire dashboard out, was sooo easy! Only 4 Bolts and a handful of self tappers

Image
Also got the bulkhead pad out but it's in about 5 bits, think I'll look for a replacement

Image
Also started labelling up all the wiring. I'm starting to loose track of what goes where so took a step back to think it all through

Image
This is our next task....
User avatar
DavePoth
TDC Member
Posts: 5723
Joined: Tue Oct 03, 2006 4:50 pm
Location: Next to my Computer

#14 Post by DavePoth »

I'm in the middle of trying to make an autocad template of the bulkhead pad, but I'm having trouble sourcing something like the proper material. Could you measure how thick it is, and give me a vague idea what it's made out of (Mine seemed to be a bit burnt...)
User avatar
Sprintinbits
Guest contributor
Guest contributor
Posts: 1406
Joined: Wed Oct 18, 2006 7:56 pm
Location: Sunny Hertfordshyre

#15 Post by Sprintinbits »

I thought someone was doing a template somewhere, nice one :thumbsup:

PM or Text me your address if you want and I'll cut out a small section to post you.
Post Reply