The Triumph Dolomite Club - Discussion Forum

The Number One Club for owners of Triumph's range of small saloons from the 1960s and 1970s.
It is currently Fri Apr 19, 2024 4:43 am

All times are UTC+01:00


Post new topic  Reply to topic  [ 186 posts ]  Go to page Previous 1 2 3 4 5 613 Next
Author Message
PostPosted: Wed Oct 06, 2010 8:42 pm 
Right some more pics....

Here is a few odds and ends that needed doing;

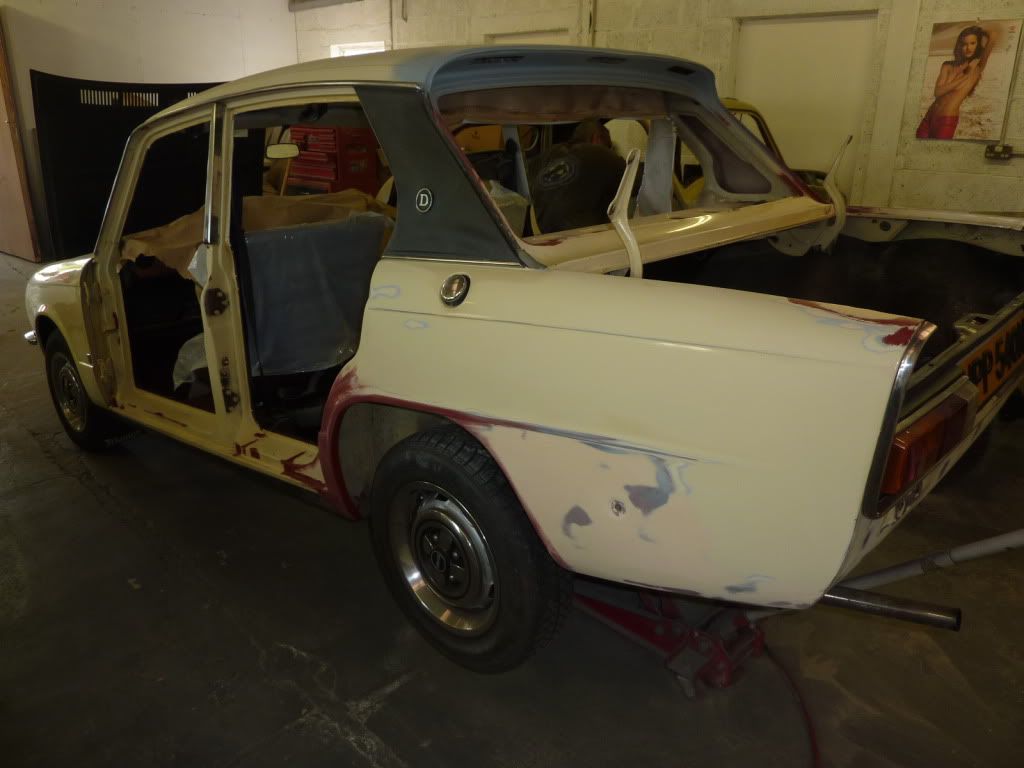
It was noted that the vinyl covering on the C Post was starting to lift, so investigation revealed that there was the start of corrosion under there, the vinyl was carefully lifted off (it was extremely brittle and the use of warm air helped it's removal).

Image

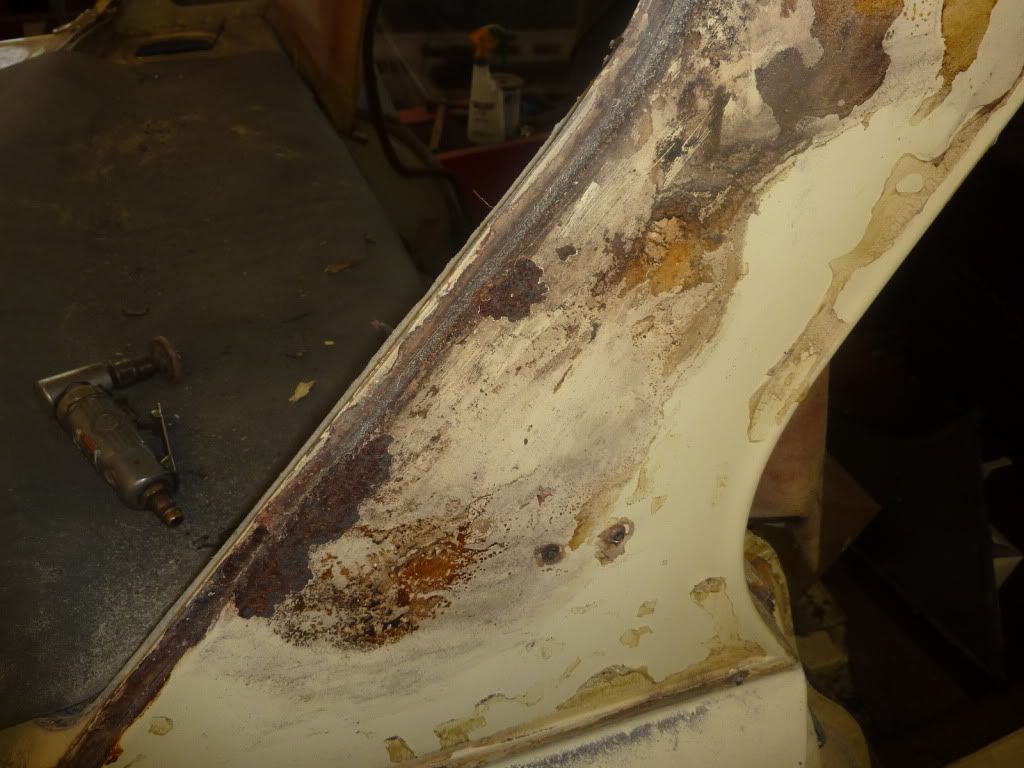
The other side was also removed but it was found to be in excellent order and didn't need any remedial work doing to it.

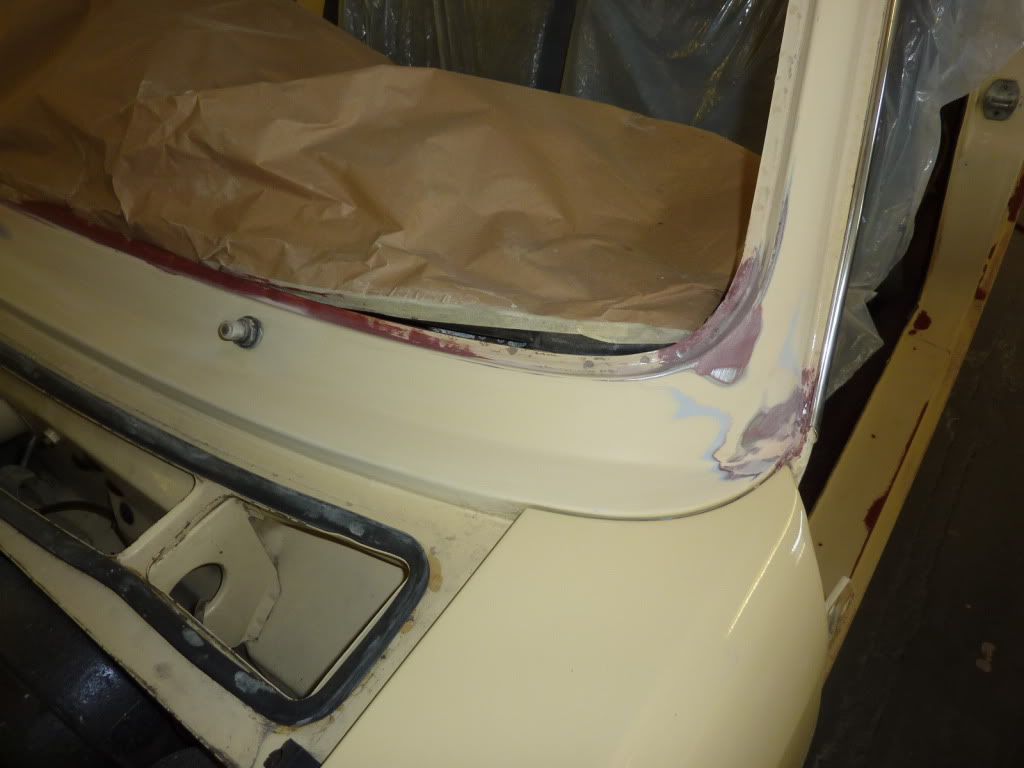
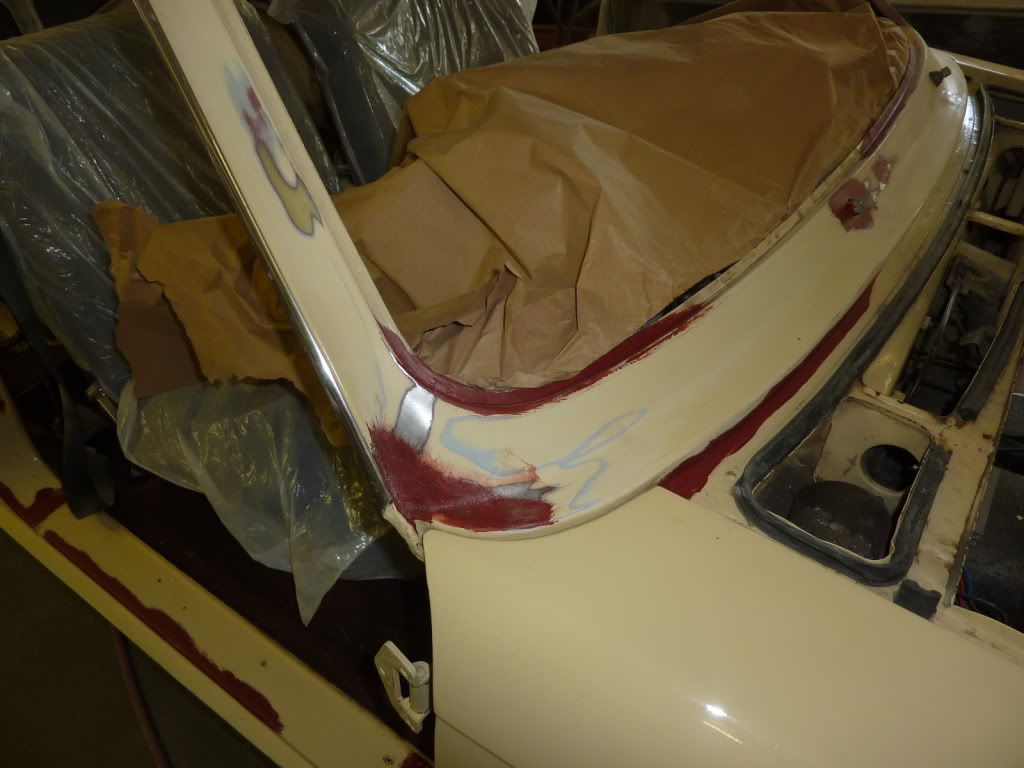
You may recall that the rear quarter bumper mounts had been badly damaged (on both sides), this was probably due to impact damage and then rust setting in.

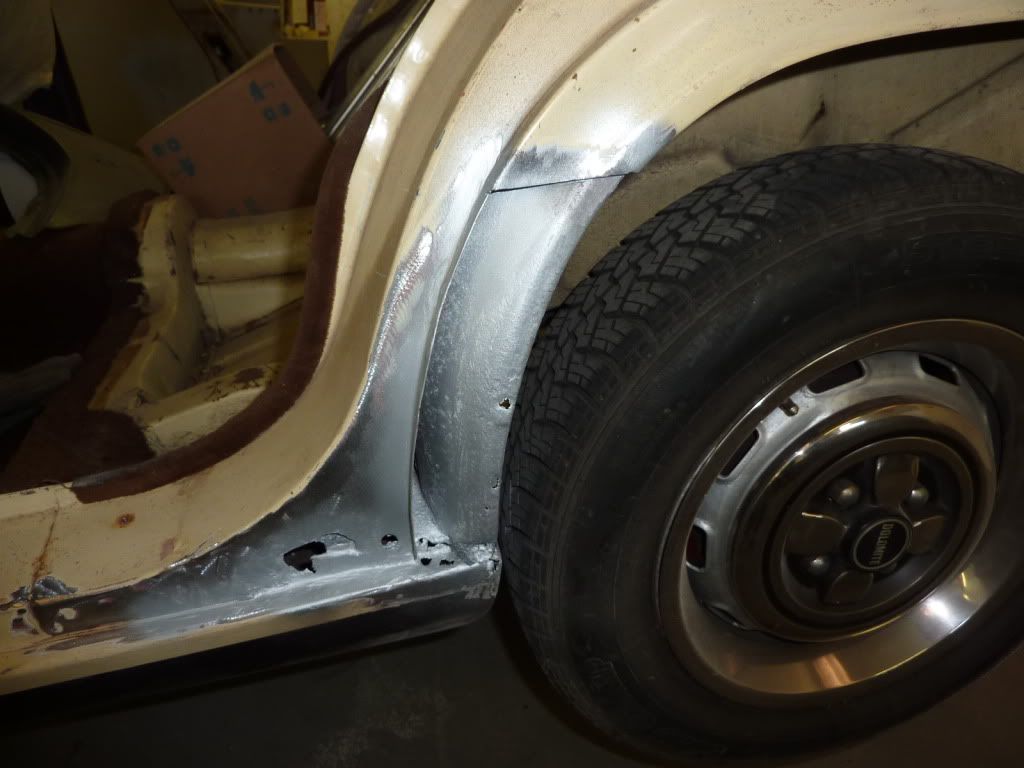
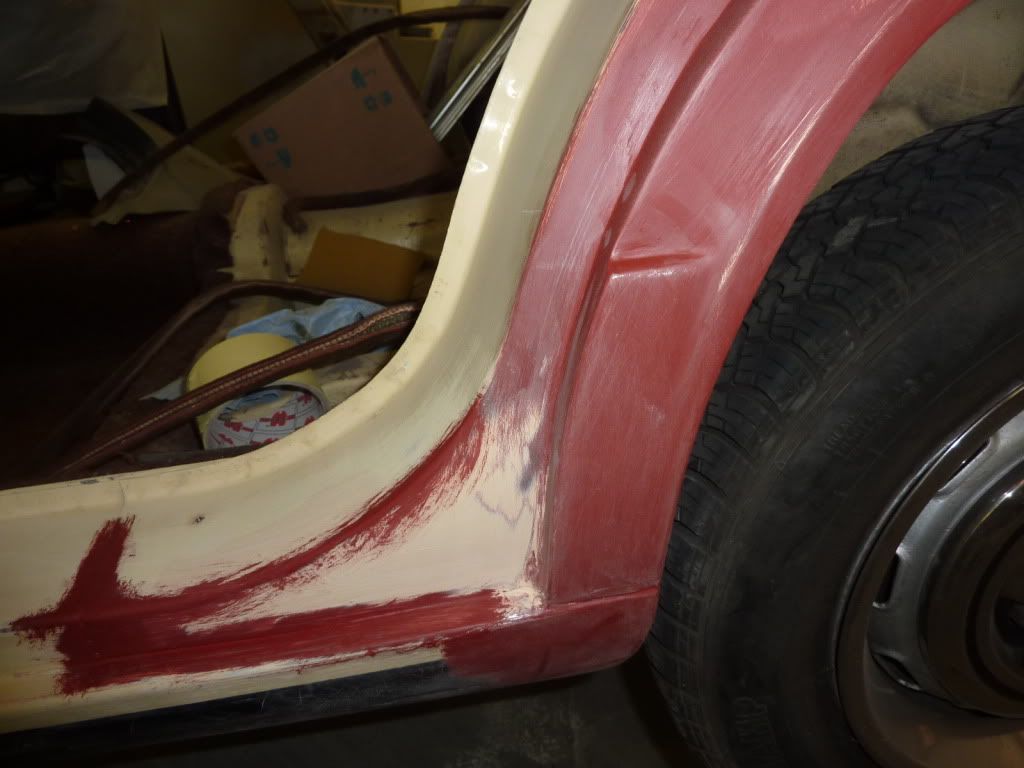
The rusted area was cut out and a new piece formed from sheet steel.

Image

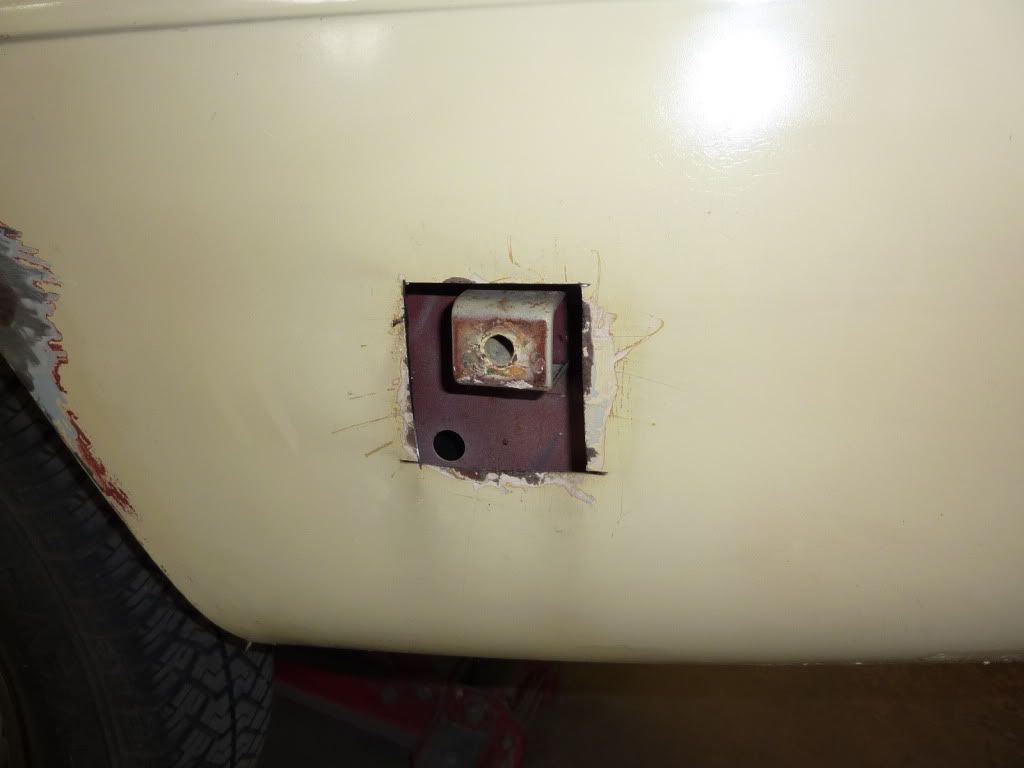
Again (rather like the roof repair) this was then welded into place then the welds ground down to produce a nice even surface.

Image

Image

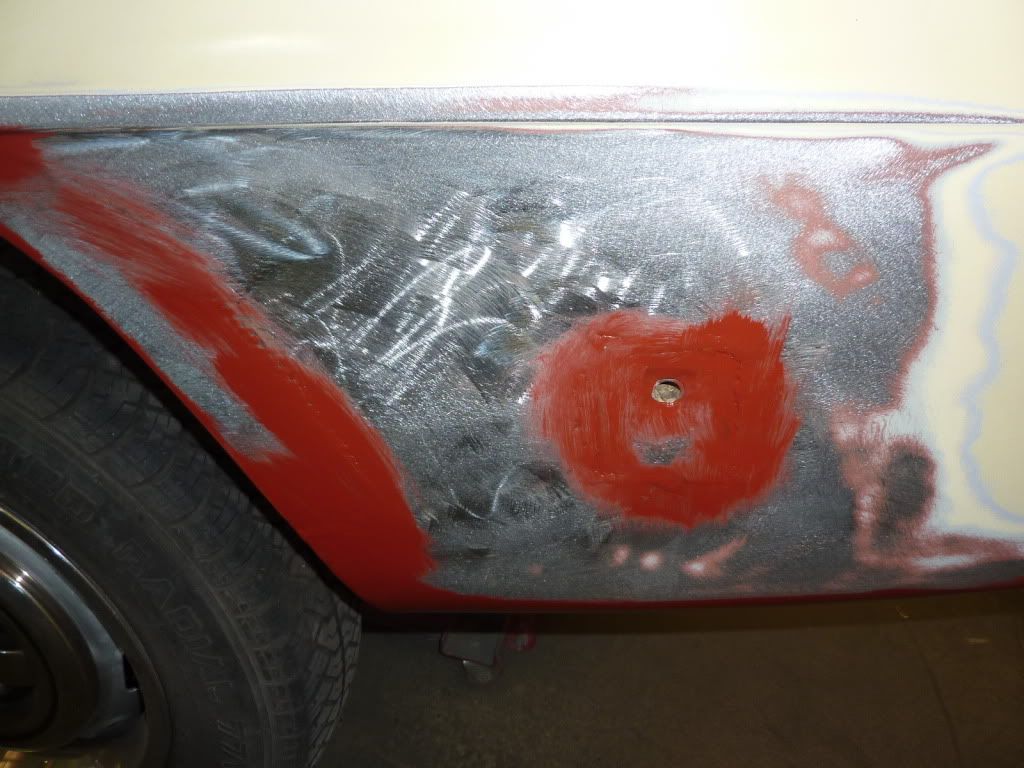
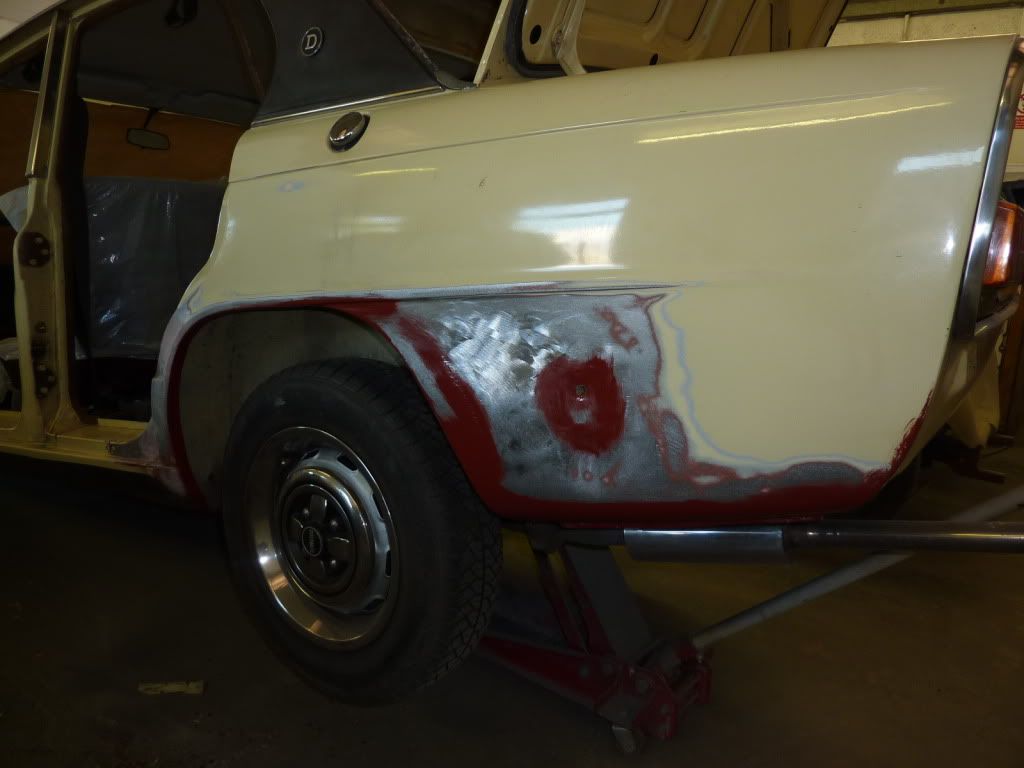
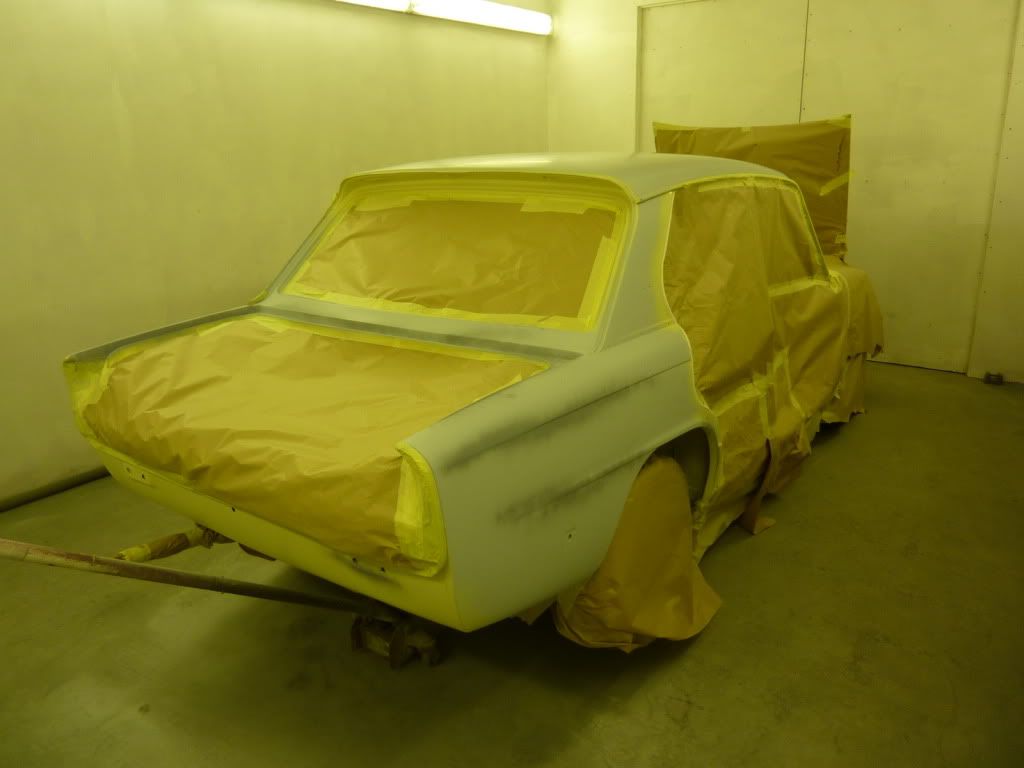
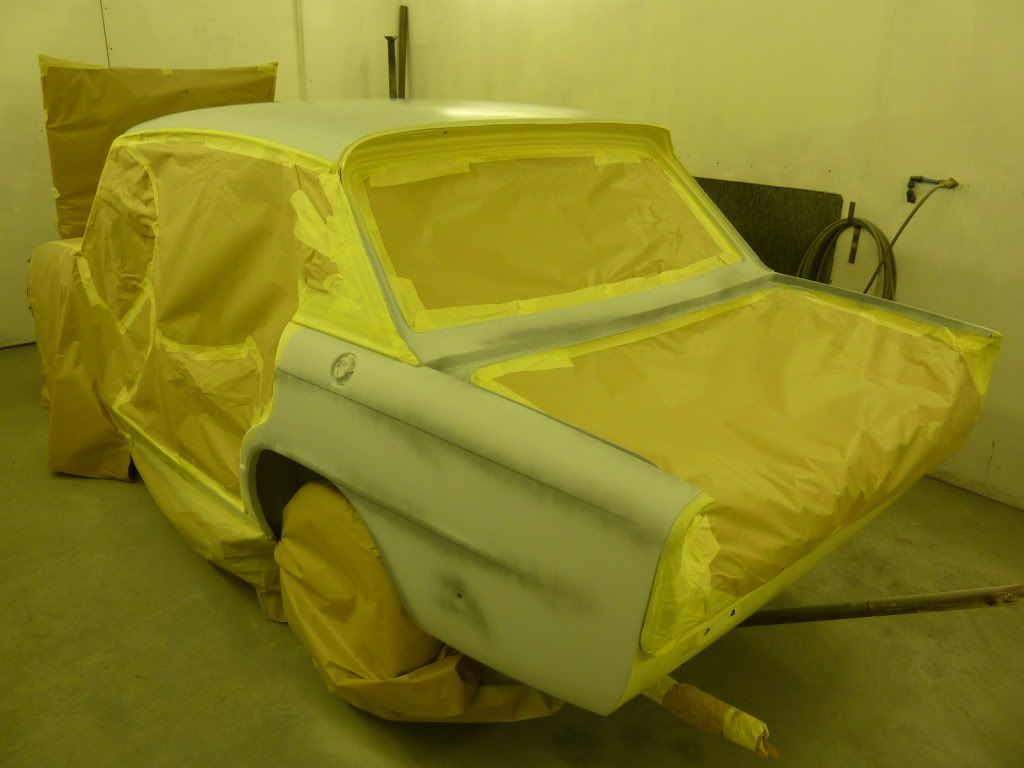
It was also time to tackle that large dent on the underside (above the tail-pipe). this was pulled out using one of those slide hammer things that welds itself to the dent (sorry don't remember what it is called :oops: )

Image

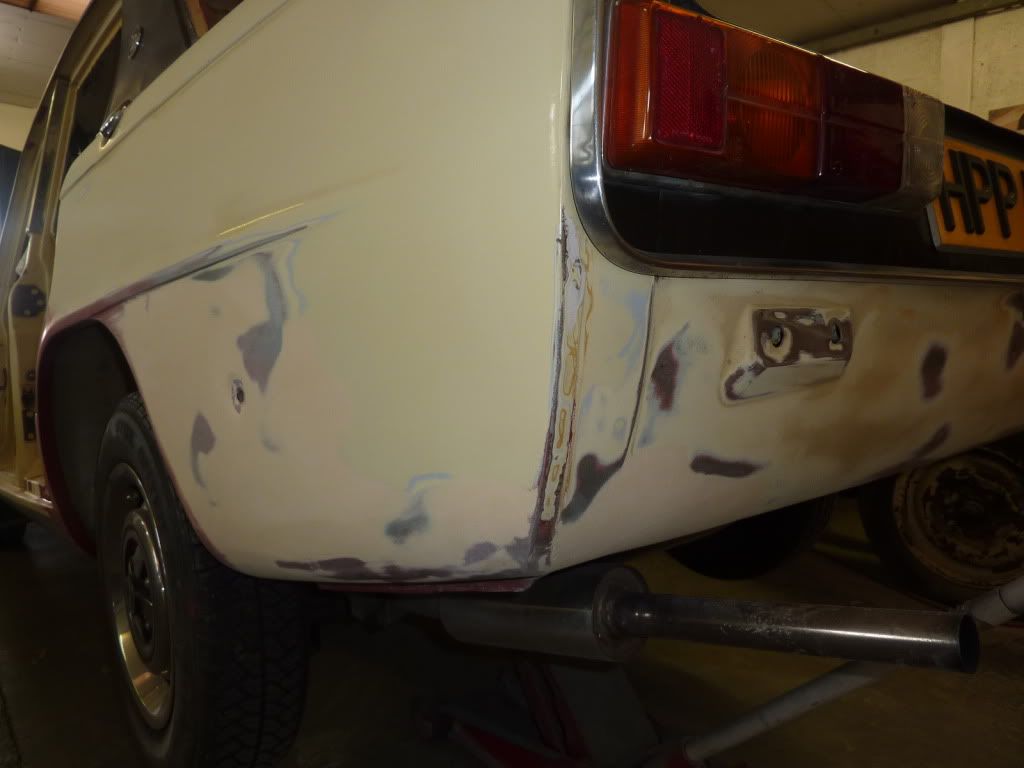
It was also found that the back panel itself was bent slightly and again this was pulled and dressed out to it's original profile.

Image

More to follow :)


Top
   
PostPosted: Wed Oct 06, 2010 9:12 pm 
Uncle frank is great at the metal work 8)
Its only just hit me but please correct if I am wrong,in 2003 Frank rebuilt and painted the front end,Early this year somebody else (un related to Frank) painted the four doors,and in Sept Frank repaired and painted the back end of the car,roof, rear arches? then re-hanged the doors and I presumed mopped the entire car?,


Top
   
PostPosted: Wed Oct 06, 2010 9:24 pm 
Quote:
Uncle frank is great at the metal work 8)
Its only just hit me but please correct if I am wrong,in 2003 Frank rebuilt and painted the front end,Early this year somebody else (un related to Frank) painted the four doors,and in Sept Frank repaired and painted the back end of the car,roof, rear arches? then re-hanged the doors and I presumed mopped the entire car?,
Hi Mike.

Yup you got it mate. :thumbsup:

I got Frank to hang the doors as I knew how very difficult they can be to do.

He admitted that they were a right "basket" to do. He too had said that they would have been hung at the factory as empty door shells, they (the line workers) would have been heaved about with the weight of their bodies to bend the doors and then the hinges clouted with huge lumps of wood to get the fit just right.

He said it was now made more difficult to do in this case as the glass etc had made the doors more rigid and there was less to flex.

Rather him than me!! :lol:


Top
   
PostPosted: Wed Oct 06, 2010 9:43 pm 
In that case you have a fantastic job done not only great looking paint work all over,but repairs that will stand the test of time,(going by the front end work done in 2003) :mrgreen:


Top
   
PostPosted: Sat Oct 09, 2010 4:54 pm 
Added the Tex Chrome door mirrors this morning (on those new plinths), first ever Dolomite I've owned which has a passenger side door mirror. I know it's not strictly correct to have one on one '75 car, but I feel that an owner could have easily added one back then, it sort of balances the car up too.

Oh, also put the rear bumper back on;

Image

And yes I did manage to drop one of the bolts down the back of the petrol tank!! :evil: . Still a good old root about in my biscuit tin of nuts and bolts brought about a direct replacement :mrgreen: . Never lets me down that biscuit tin.

I found that some of the round rubber washers that go between the body and the bumper had broken up so I made up some new ones out of sections of flattened out bicycle inner-tube.

Satisfying mornings work that. :)


Top
   
PostPosted: Sun Oct 10, 2010 9:58 pm 
Offline
TDC Toledo Registrar

Joined: Wed Oct 04, 2006 10:25 pm
Posts: 649
Bang on Alan. She is looking fasntastic. Have you planned to fill her with wax yet?

R


Top
   
PostPosted: Sun Oct 10, 2010 10:45 pm 
Simply lovely. Such a nice colour too.

Ken


Top
   
PostPosted: Mon Oct 11, 2010 8:35 pm 
Thanks fellers! :)

Right last batch of pictures of the repairs for you all.

Wheel arch repair.

The outer skin of the bottom part of the wing section was carefully removed to reveal the inner arch. As we can see once stripped back it was in nice order except for minor holes which were filled with new metal. Sill area was again stripped back and metal added.

Image

The repair panel was then slice and welded into position, luck was again on my side in that the remainder of the outer arch/wing section was in sound condition and only needed prep for new paint.

Here we see the new section in place.

Image

The other side only needed a localised repair (new metal letting in) to the wheel arch lip section.

Next the scuttle.

With the windscreen removed a repair could be made, again I believe we just caught both sides just in time before the metal became perforated.

Image

Image

Once the repair was made, the paint added, a new windscreen (and insert) seal was put in.

And then to paint......

Image

Image

Image

Top coats;

Image

Image

And that as they say, is that.

:clapping:


Top
   
PostPosted: Tue Oct 12, 2010 12:16 pm 
Offline
Future Club member hopefully!
User avatar

Joined: Wed Oct 04, 2006 7:45 pm
Posts: 1282
Location: East Lothian, Scotland
Fantastic work. I am very jealous!!!

_________________
1959 TR3A, 1970 Triumph 1300, 1974 Toledo
Image Thanks Photobucket :(


Top
   
PostPosted: Tue Oct 12, 2010 12:28 pm 
That n/s arch repair section is incredibly neatly done, and is a perfect example of how it's not always a good idea to use a complete repair section when only that amount is needed. I'm not seeing any distortion in there, much respect due to Frank for his keen eye and his knowledge of the shell, both things that no amount of learning can give you. :thumbsup:


Top
   
PostPosted: Tue Oct 12, 2010 1:19 pm 
Image

ah, so thats how you get at the inner arch area !

the repair to the rear roof overhang is fantastic.

great to see these pics Alan, she looks great.

stu


Top
   
PostPosted: Thu Oct 14, 2010 12:30 pm 
Sorry Alan, but somehow I missed this thread :oops:

I've since read the entire thread and can honestly say I enjoyed it immensely, quite a story there, and an interesting one at that. 8)

I have to say well done for bringing this 1850 back to life. The standard of workmanship is superb, it looks truly fantastic. You must be over the moon with your 1850 Alan?

Steve :D


Top
   
PostPosted: Thu Oct 14, 2010 1:13 pm 
Hi Steve

Yes mate, I still can't get over it to be honest. I still feel overwhellmed by it all.

I hope we have some nice weather this weekend so I can get a few more pictures of the car now it has it's mirrors and rear bumper back on.

Of course I'll post them up here once I've uploaded them.

:)


Top
   
PostPosted: Thu Oct 14, 2010 4:41 pm 
:oops: *Still trying to get the other one of those wiper fittings apart without damage but, in spite of past form, haven't (yet) forgotten my promise to help out with those...* :oops:

Alan, I can only echo Steve's sentiments there. You've not only saved a car that would have defeated many other owners - especially given how much work you had already done to make him roadworthy before undertaking this final push toward owning what has to be one of the nicest Dolomites anywhere - but you've also shown us that there are still proper, "old school" panel & paint guys out there who not only produce an incredibly straight result, but do it quickly too.

The end result, as seen in your photos, should last very well indeed as no compromises have been made and no corners cut in the prep stage.
I'll be a happy bloke indeed when mine looks that good. Probably in 2020..... :thumbsup:


Top
   
PostPosted: Fri Oct 15, 2010 5:21 pm 
What a great job and a fantastic finished project. :D
Also many thanks for posting the detailed pictures on some of those repairs - my car will need all of that and more doing, but I'm afraid it will be a bit at a time.
1850s rock! :D


Top
   
Display posts from previous:  Sort by  
Post new topic  Reply to topic  [ 186 posts ]  Go to page Previous 1 2 3 4 5 613 Next

All times are UTC+01:00


Who is online

Users browsing this forum: No registered users and 61 guests


You cannot post new topics in this forum
You cannot reply to topics in this forum
You cannot edit your posts in this forum
You cannot delete your posts in this forum
You cannot post attachments in this forum

Search for:
Jump to:  
Powered by phpBB® Forum Software © phpBB Limited