The Triumph Dolomite Club - Discussion Forum
http://forum.triumphdolomite.co.uk/

Carledo's Way
http://forum.triumphdolomite.co.uk/viewtopic.php?t=20312
Page 2 of 5

Author:  Carledo [ Tue Oct 02, 2012 8:06 am ]
Post subject:  Re: Carledo's Way

Jod,
I will get round to finishing the engine conversion story, I'm doing it on Word whenever I have a few spare minutes so I can send it off to Rob for a Dolly Mixtures article but it will come up on here as well!

Steve

Author:  Carledo [ Tue Oct 02, 2012 9:03 pm ]
Post subject:  Re: Carledo's Way

Today progress is not quite so rapid, mainly due to me shirking on the sill! However I've finished stripping the n/s door and fitted the new skin. The shell is near perfect, another testament to Ziebart

Image

Image

Inside the door bottom, They just don't get much better than this!

Image

The skin fitted like a glove

Image

So now I had no choice but to start on the sill and chopped off the old much patched (in some places double patched) original sill to reveal........

Image

Image

an almost totally intact diaphragm panel though the soffit edge needs a bit of work and the return between the rear sill end and the wheelarch was composed almost entirely of seam sealer! I've cleaned up most of the edge and started modifying the new club sill for the 2 door app which is why i've left an inch or so of the old sill below the quarter panel and aft of the door, the plan is to put a joddle in this strip of still sound metal so the sill can be welded on flush and then skimmed with filler for an invisible join!
Meanwhile Tony has not been idle and has filled, flatted and primed the o/s door I repaired yesterday and has prepared and primed the new bootlid, the bonnet and finally the n/s door

Image

Image

Image

Image

Image

Thats all for now, more tomorrow!

Steve

Author:  2drToledo [ Tue Mar 12, 2013 8:20 pm ]
Post subject:  Re: Carledo's Way

Any updates with this Steve? :D

Author:  Carledo [ Tue Mar 12, 2013 8:38 pm ]
Post subject:  Re: Carledo's Way

Quote:
Any updates with this Steve? :D
Yeah, got loads to put on, I'm just having a bit of a struggle with the "new improved" (it isn't) Photobucket and it's not worth posting without pics!
However the body is now done and the car made its first public appearance at Stoneleigh where it attracted lots of attention! Pics of that to come too!

Steve

Author:  2drToledo [ Tue Mar 12, 2013 9:27 pm ]
Post subject:  Re: Carledo's Way

Excellent. Will look forward to the photos. :D

Author:  DoloWIGHTY [ Wed Mar 13, 2013 8:58 am ]
Post subject:  Re: Carledo's Way

Yeah Photobucket has gone really bad, they are trying to move more towards to being a provider for social media rather than for stuff like this. Up to recently they did have a button to reverting back to their old format - but they have now taken that button away! ](*,)

I find imgur.com very good (and simple to use) if this helps Steve?

http://imgur.com/

Just upload then select Large Thumbnail option (which is a good size for forums) and paste the properties into the forum (as you used to with the old style Photobucket) :) .

Author:  YoungManGoneWest [ Wed Mar 13, 2013 6:50 pm ]
Post subject:  Re: Carledo's Way

Steve's Carledo is looking absolutely fantastic. A couple of photos here: http://www.ymgw.blogspot.co.uk/

Author:  Carledo [ Wed Mar 13, 2013 9:16 pm ]
Post subject:  Re: Carledo's Way

Thanks Alan, Think I'll give it a go!
And Richard, nice pics, thanks mate!

Steve

Author:  shiffty [ Sat Mar 30, 2013 7:33 pm ]
Post subject:  Re: Carledo's Way

love this build will be waiting for the engine conversion write up to be finished as i am looking to do a similar conversion on my tolly

Author:  Carledo [ Thu Apr 18, 2013 10:35 pm ]
Post subject:  Re: Carledo's Way

Due to popular demand, a bit more of the build story.
AH YES! the flywheel! Having lowered the assembled unit back into the engine bay, no mean task in itself as the increased length and altered angles made a couple of subfame mods necessary (more on this later) I immediately joined up the clutch hydraulics to see what was what.
This was very simple, I merely used the Omegas hydraulic pipe in its entirety, only cutting off the flare at the master cylinder end, substituting an imperial union and remaking the flare married the Omega slave to the original Tolly master perfectly. however I wanted to know if it actually WORKED so (with the the whole unit still hanging off the crane) I bled out the clutch and confidently trod on the pedal to be greeted at about the half way mark with POP....GUSH as the slave cylinder piston popped out and emptied the fluid all over the floor!
This was obviously not right so after a brief period of imaginitive cursing, I pulled the lump out again and removed the gearbox to find what I had already guessed, the slave was too far away from the back of the clutch to give enough travel to disengage completely.
A lot of skull sweat later, after I decided there was no practical way to space the slave cylinder forward due to its design which incorporates the front gearbox seal, I reluctantly came to the conclusion that I would need to use a Carlton (cable clutch) gearbox since it MUST be a different length to the Omega one.
So I went out and bought (ebay of course) a whole running Carlton! This is not as daft as it sounds, Carlton gearboxes were fetching around £100 at the time and most were "sold as seen", the complete car only cost me £180 and I got to drive it home for a test (about 80 miles) plus I had a whole carfull of spares and the shell weighed in for £130!
Half a days work saw the Carlton engine and box on the floor and the box split away where 2 minutes with a tape measure convinced me that the gearbox cases were identical lengths, SO WHERE HAD I GONE WRONG????
It was at this point, in the depths of my despair that I noticed that the flywheel sitting innocently and neglected on the back of the discarded Carlton engine, was in fact 10mm thicker than the Cavalier one I had used in my ignorance. SORTED!!!!
Pausing only to get the Carlton flywheel lightened and rebalanced (that extra 10mm was solid steel!) I fitted It to the engine, rebuilt it up and tried again this time to be met with complete success!! Some days are better than others!!!
To be continued.......

Steve

Author:  sprint95m [ Sat Apr 20, 2013 12:46 pm ]
Post subject:  Yes......

Quote:
To be continued.......
:D Sooner rather than later please.......


Ian.

Author:  maximus [ Sat Apr 20, 2013 4:20 pm ]
Post subject:  Re: Carledo's Way

Enjoying this :D

Author:  Carledo [ Mon Apr 22, 2013 9:12 pm ]
Post subject:  Re: Carledo's Way

A bit more story and piccies this time!
So, having bought a whole car to get a flywheel, I robbed the speedo drive from the Carlton box (the Omega speedo is driven electrically off the ABS but the holes are still in the case) then sold the gearbox on ebay for £100 giving me a profit of £50 plus a spare engine, starter, alternator, fan, manifolds, injection system, hoses and fittings, loom and ecu! Neat huh?
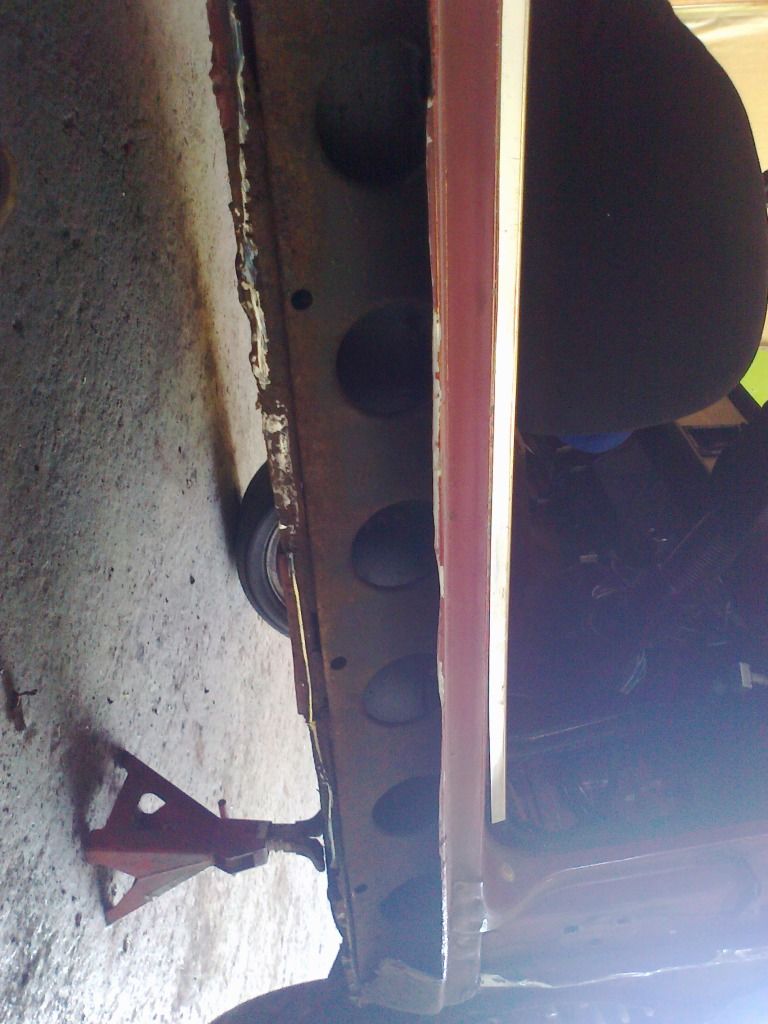
Now that I had successfully sorted out the clutch operating mechanism, I set to mounting the unit with renewed vigour. The first and most obvious mod I needed to do was to the rear section of the front subframe, where I welded a lump of 2.5" x 1.5" box underneath the subframe then cut off everything behind it to clear the almost flat bottom of the gearbox. With hindsight, a Sprint subframe would probably have permitted this unmodified but I didn't have one at the time so I didn't know!

Image

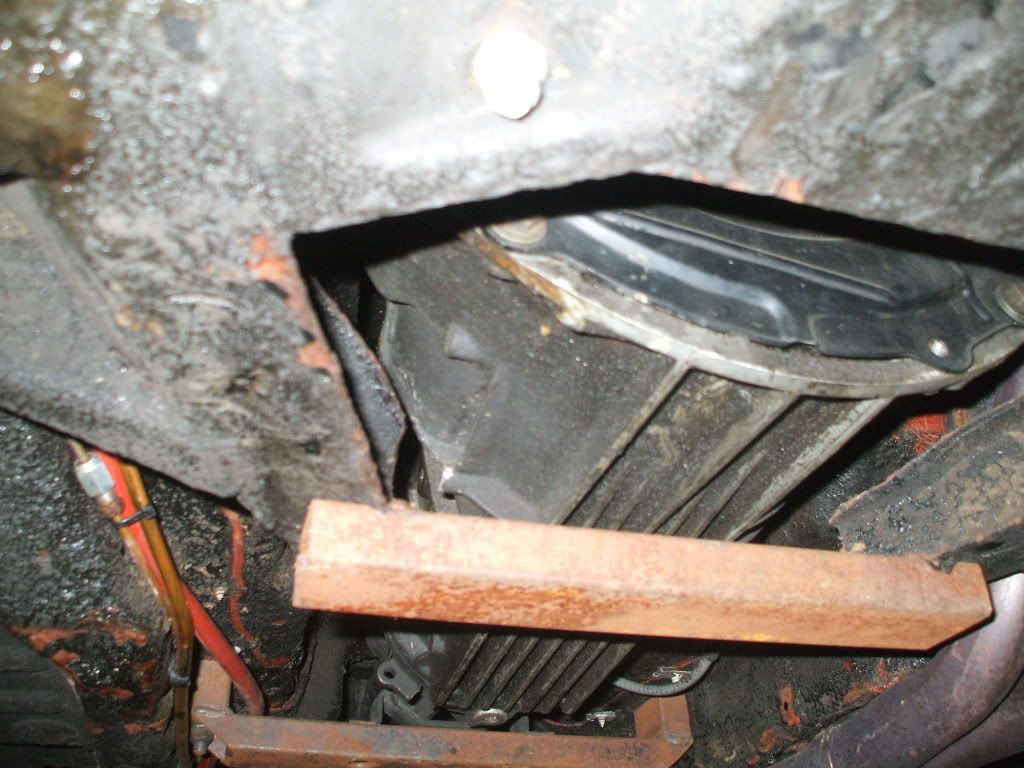
Next came a mod to the front end of the subframe, I had already relieved a section to clear the oil filter (and a bit extra to allow for changing it!) but dropping the unit in and out whole several times whilst sorting the clutch rapidly convinced me that more clearance was required at the front of the sump so I devised this extension piece, built it up in more 2.5x1.5" box then carefully removed the front 2 sides of the roughly triangular box, welded in the extension, then cut away the back piece. Though a bit of a long way round, this method enabled me to maintain the shape and structural integrity of the subframe throughout the process.

Image

Image

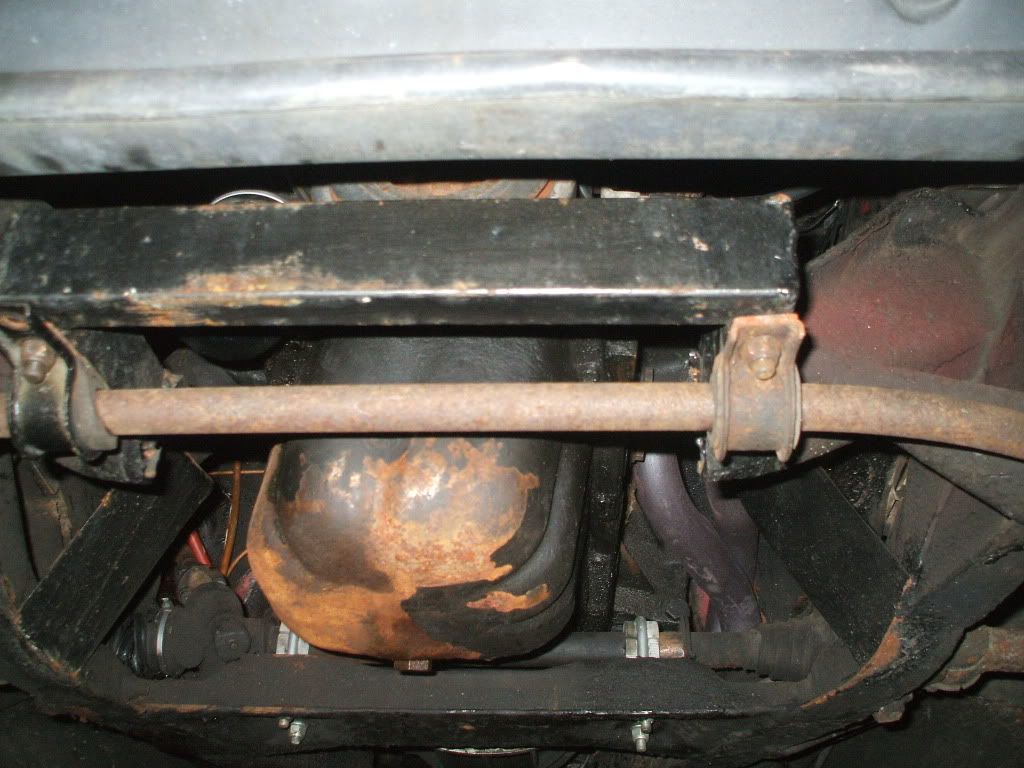
I was very pleased with this result, the engine and box now dropped sweetly and easily into position but, as always, it created another problem! A Toledo doesn't have a front antiroll bar (though all the mount points are there) and I wanted one on my car but I had just built a box section right across the space the A/R bar normally occupies!
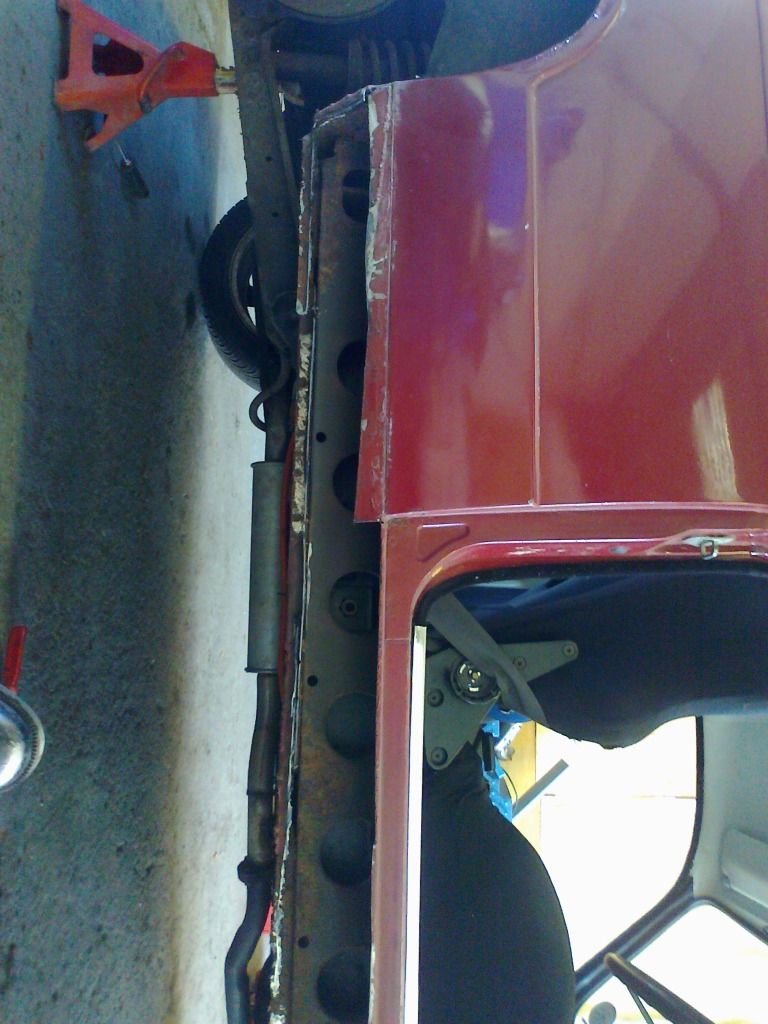
A bit of lateral thinking saw me mount the bar UNDER the tie bars to lower the body fitting point to underneath the extension which was drilled and tubed to allow the bar brackets to bolt up underneath it. Yes it was guesswork at the time but it works very nicely in service. You could say i've been lucky, I prefer to modestly describe it as engineering genius! :woohoo:
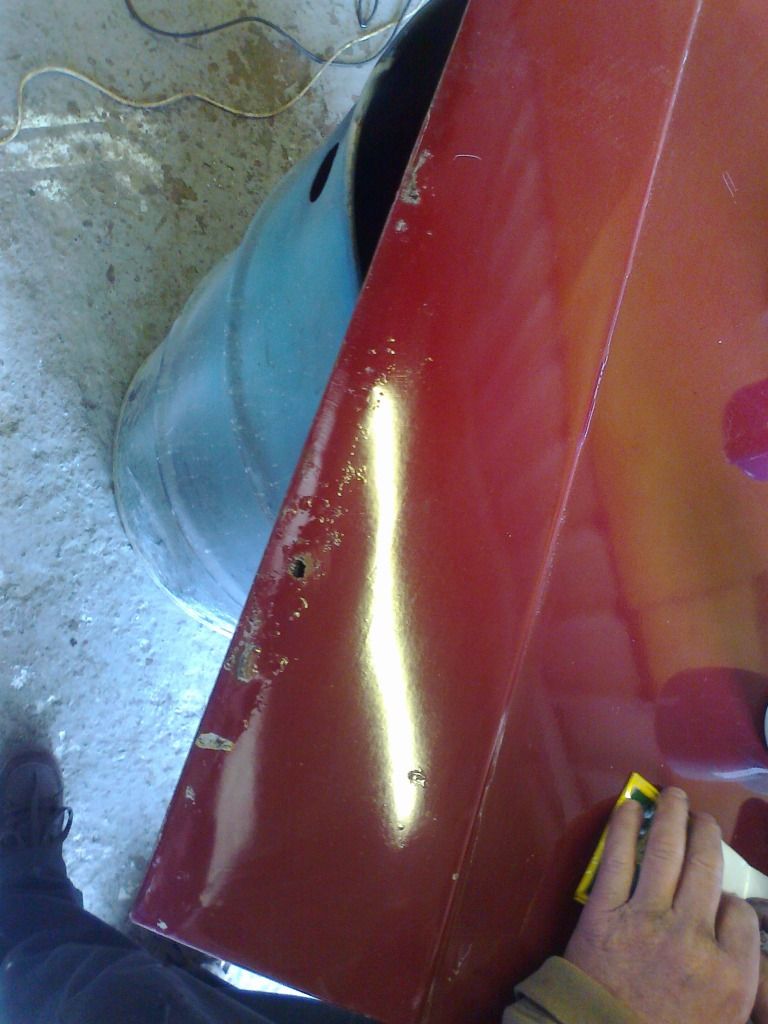
The only thing now stopping me from actually making the engine bearers was solved with the purchase of a new Carlton downpipe (I had identified this early on as a "tight squeeze" to get in and wanted to use a standard bit if possible) Once more I lowered the unit into the car and this time let it off the crane, supporting it in the desired position with a variety of jacks and bits of wood. At this point I temporarily refitted the bonnet to make sure it would shut with the engine and tall inlet in place. Having established that all was "go" here, I removed the bonnet again and turned my attention to the exhaust. I first bolted the downpipe to the manifold then offered the whole assembly to the engine and was amazed to find that, if I got it just so, it missed almost everything, needing just a tickle of relief at 1 point on the subframe and a small dent in the downpipe to clear (I later found it necessary to mod the tunnel housing a bit as well)
With the final position of the engine now established I went back to engineering in its most basic form, cutting a pair of engine bearer templates out of a cornflake packet then making them up in 2mm steel plate and welding them in position.

Thats all for now, in the next thrilling episode, gearbox crossmember, shortened gearshift, prop and more....

Steve

Author:  Carledo [ Mon Apr 22, 2013 9:15 pm ]
Post subject:  Re: Carledo's Way

OH B****R! I've cocked up the pics again! I wish photobucket would get its act together!
Click on the links to see them!

Author:  DoloWIGHTY [ Tue Apr 23, 2013 9:47 am ]
Post subject:  Re: Carledo's Way

I have embedded the images for you Steve.

Page 2 of 5 All times are UTC+01:00
Powered by phpBB® Forum Software © phpBB Limited
https://www.phpbb.com/