The Triumph Dolomite Club - Discussion Forum

The Number One Club for owners of Triumph's range of small saloons from the 1960s and 1970s.
It is currently Fri Apr 19, 2024 3:42 am

All times are UTC+01:00


Post new topic  Reply to topic  [ 589 posts ]  Go to page Previous 119 20 21 22 2340 Next
Author Message
PostPosted: Wed Oct 28, 2015 1:15 pm 
Offline
Future Club member hopefully!

Joined: Tue Oct 03, 2006 9:45 pm
Posts: 11179
Location: Middlesex
SU dashpots were never polished by the factory.
Bling merchants only...

They should be left dull alloy.

Jonners

_________________
Note from Admin: sadly Jon passed away in February 2018 but his humour and wealth of knowledge will be fondly remembered by all. RIP Jonners.


Top
   
PostPosted: Wed Oct 28, 2015 2:24 pm 
Offline
TDC Member
User avatar

Joined: Wed Jul 04, 2007 12:27 pm
Posts: 1911
Location: Hampshire
Quote:
SU dashpots were never polished by the factory.
Bling merchants only...
That's my opinion as well so I'll leave them be, if it causes an argument with a concours judge I'll have to rethink.

Didn't realise that the carb spacing was different so it must be a hybrid Tony. I can't see a receipt for a replacement air box and why would I? Unless the old one got severly damaged in some way. So all the evidence points to the factory using up TR7 Sprint parts!! I love finding stuff like this, it all adds to the history of the cars production!


Top
   
PostPosted: Wed Oct 28, 2015 6:29 pm 
Offline
Future Club member hopefully!

Joined: Tue Oct 03, 2006 9:45 pm
Posts: 11179
Location: Middlesex
I too found out the hard way that a Sprint airbox backplate has different carb spacing to a TR7 one...

You can just use the outer bit with the dipstick thingy no worries...I do on mine.

Later TR7 airboxes dont have tubes like a Sprint as they have a flap valve for pulling heated air from around the exhaust.
Could well have been some spares with the dipstick tube holder knocking about then...
But my Sprint airbox has always been black..
What you get is what you get...:-)

Jonners

_________________
Note from Admin: sadly Jon passed away in February 2018 but his humour and wealth of knowledge will be fondly remembered by all. RIP Jonners.


Top
   
PostPosted: Sat Oct 31, 2015 9:37 pm 
Offline
TDC Member
User avatar

Joined: Wed Jul 04, 2007 12:27 pm
Posts: 1911
Location: Hampshire
I haven't got a huge update, it's been half term this week and most of my time has been spent entertaining the kids and performing my usual house husbandry duties so I haven't had a huge amount of time to work on getting the carbs back together properly. To be honest I'd like to have had them done by now and by the looks of things I'm about a week behind on this.

But you can't rush perfection!! :wink:

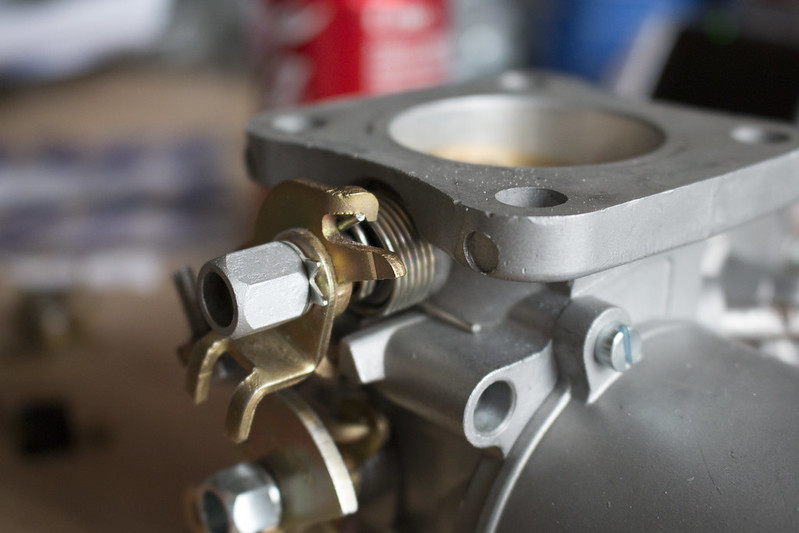
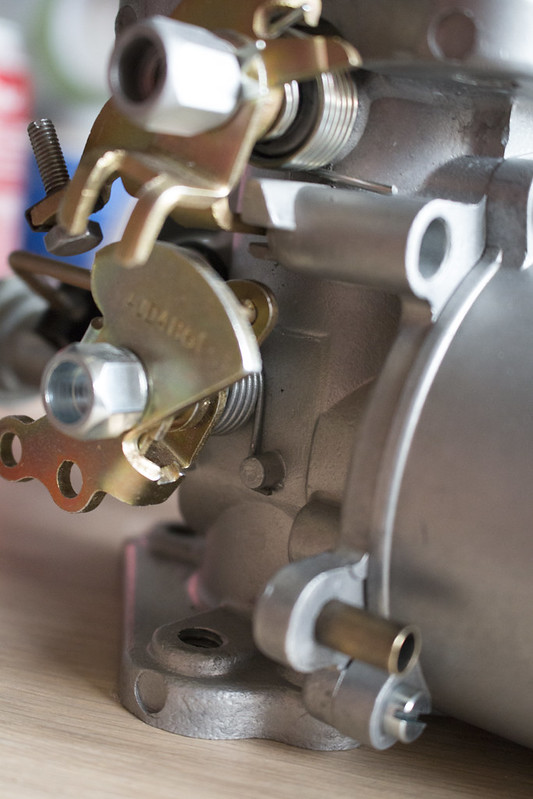
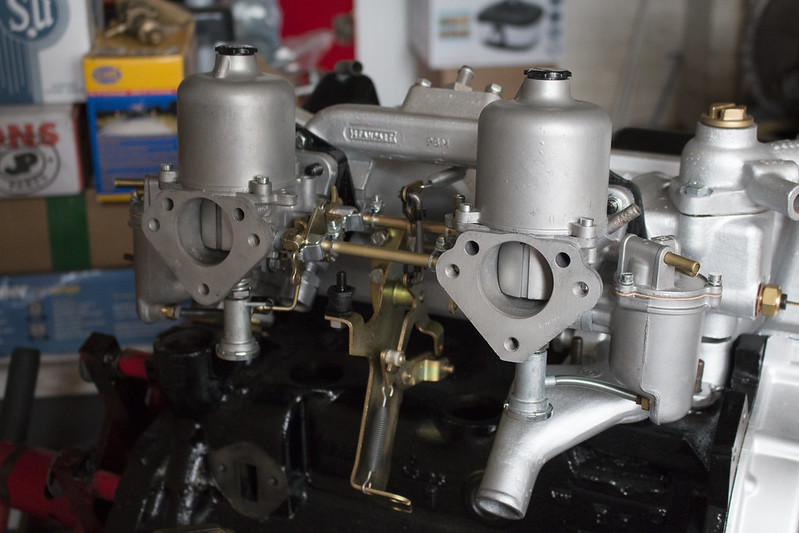
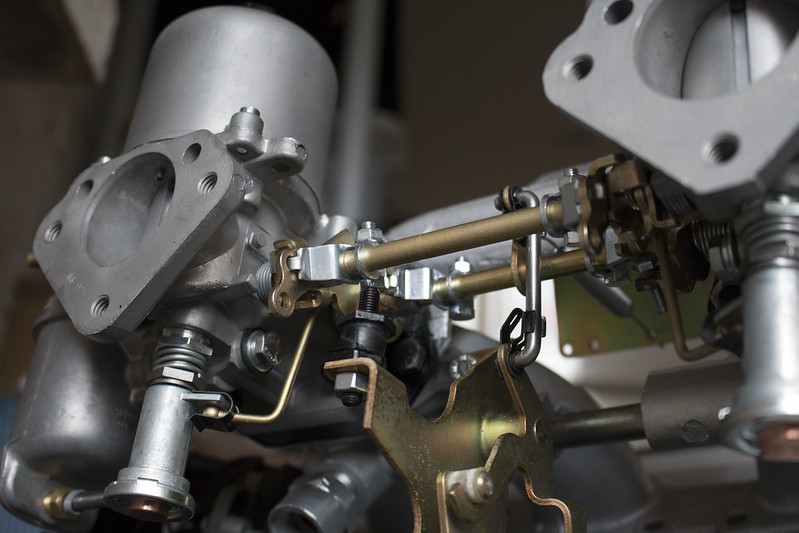
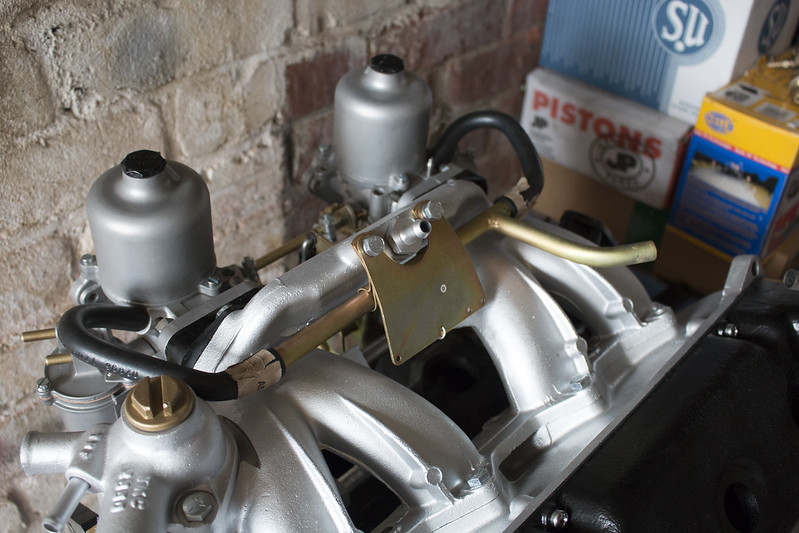
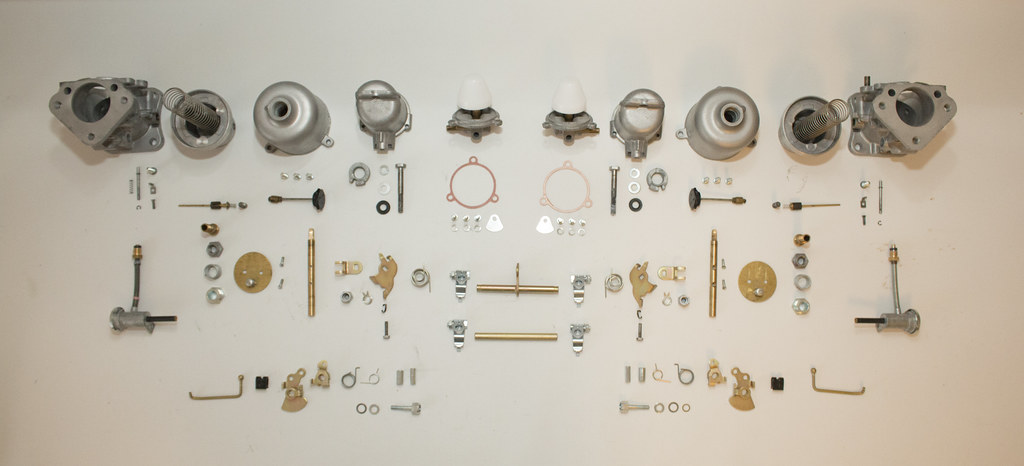
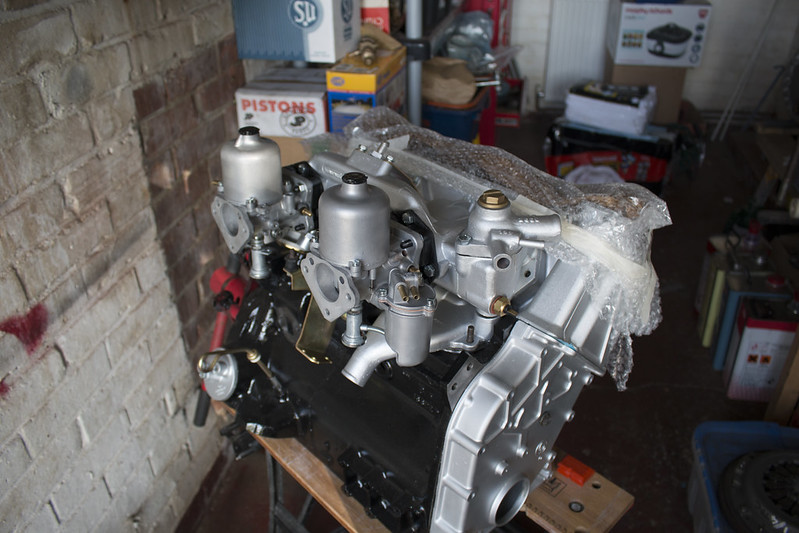
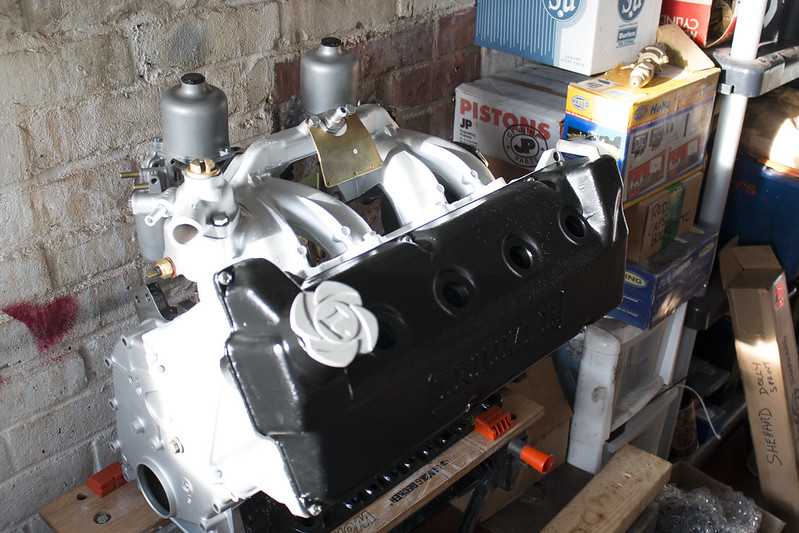
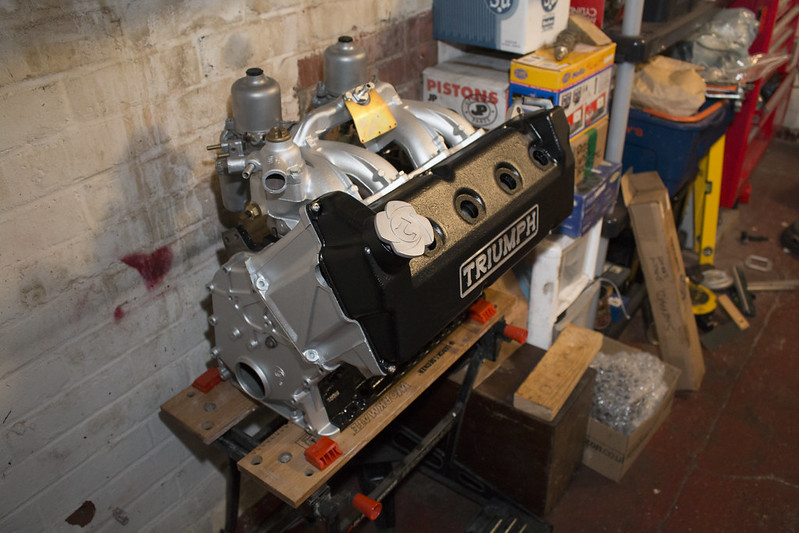
So, as you all know I like to dry assemble everything first just to make sure there's nothing missing or something doesn't look right and needs to be re finished. I have placed the head back on the block with some tape to protect the faces, then mounted the inlet manifold so I can have somewhere to assemble the carbs. It's easier this way, I don't have to have the inlet manifold on the bench at an odd angle and I can make sure everything fits properly.

Image

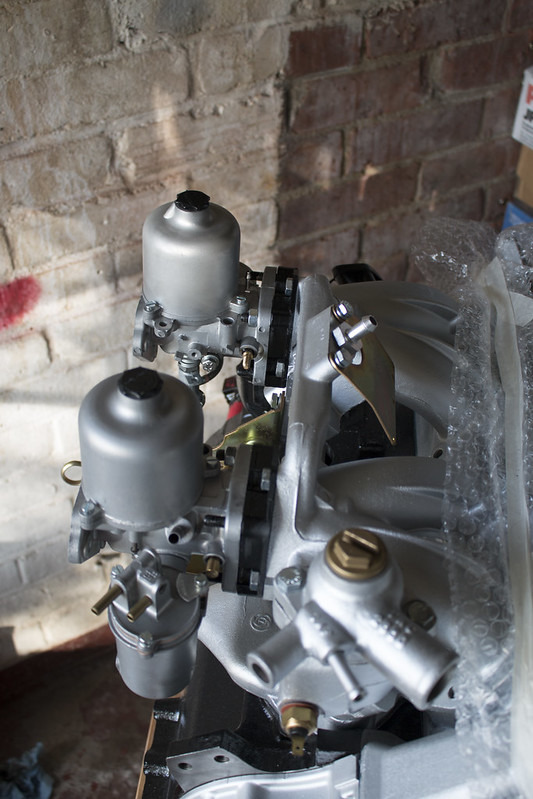
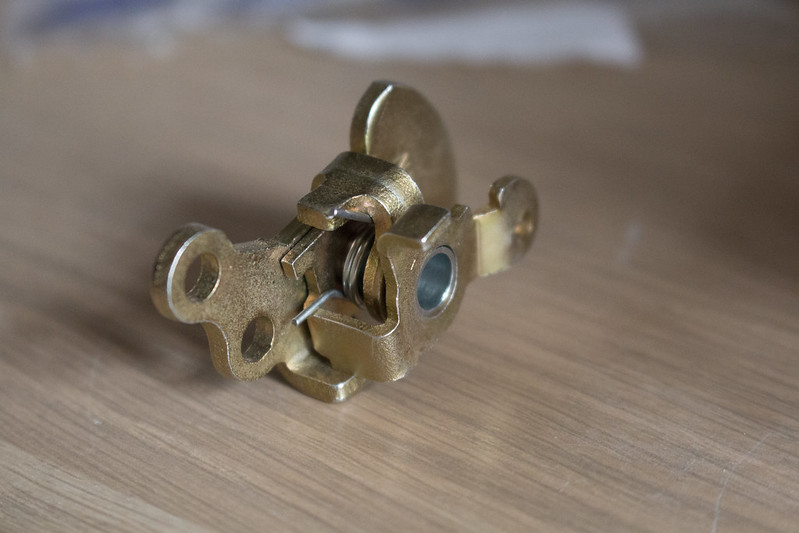
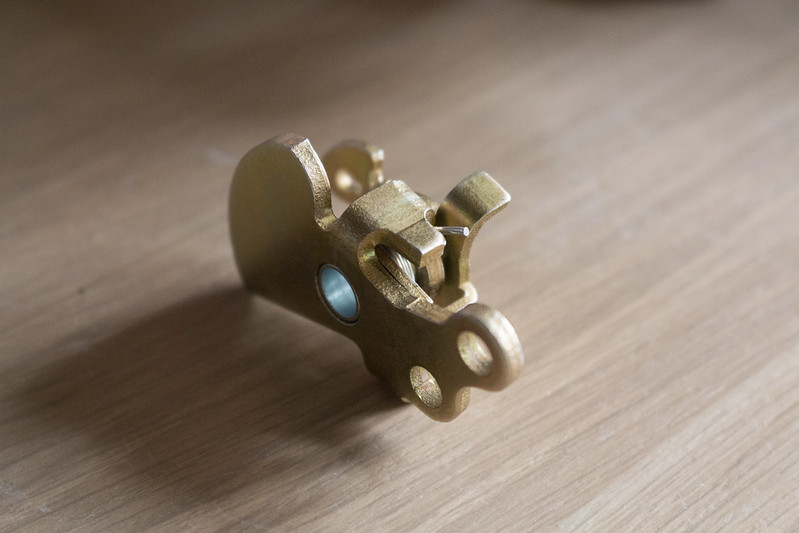
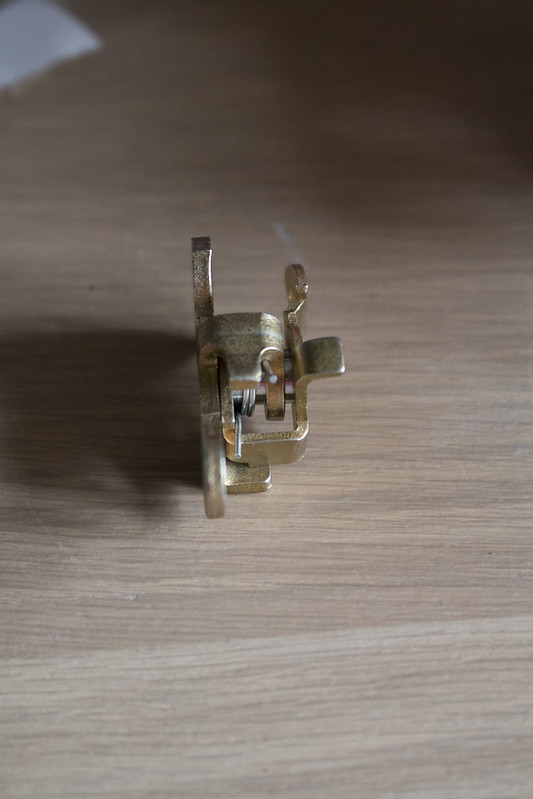
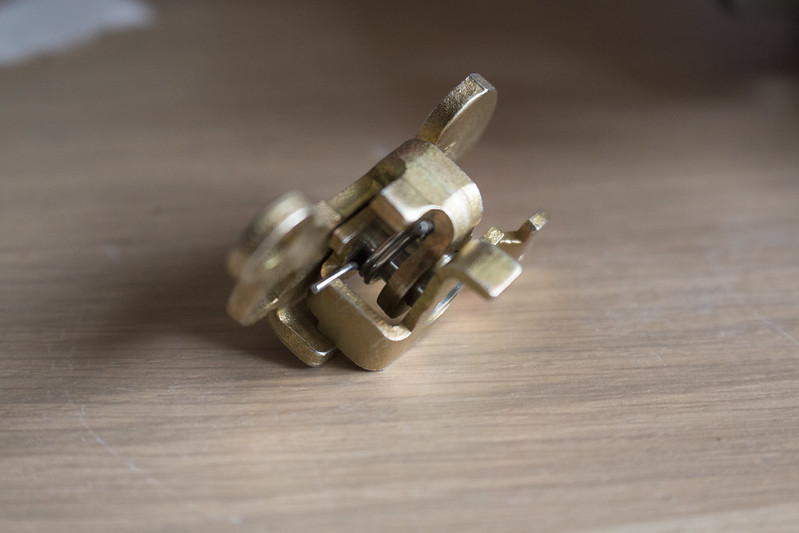
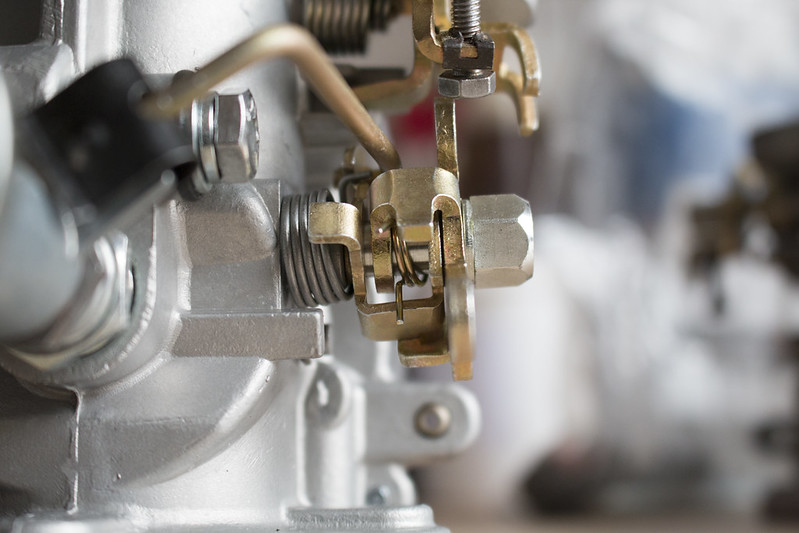
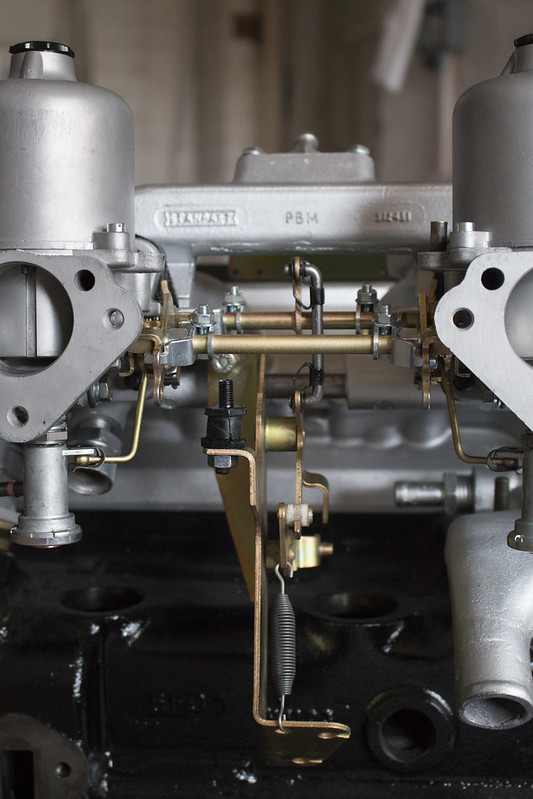
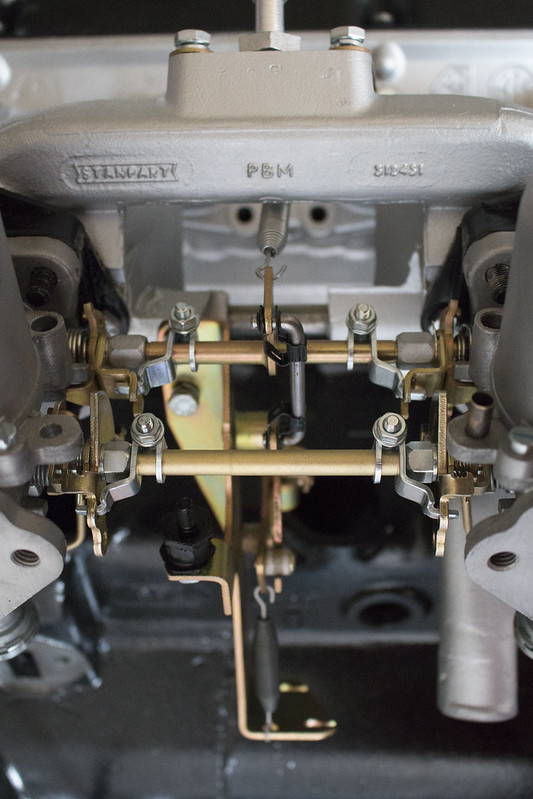
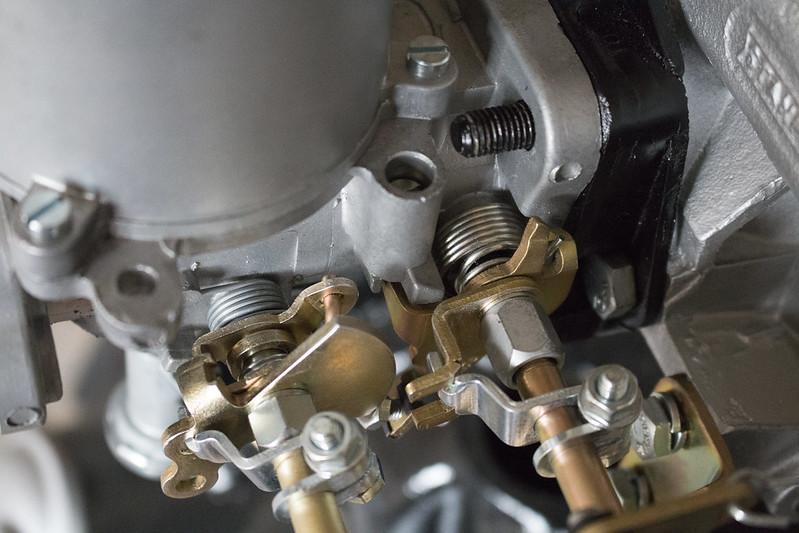
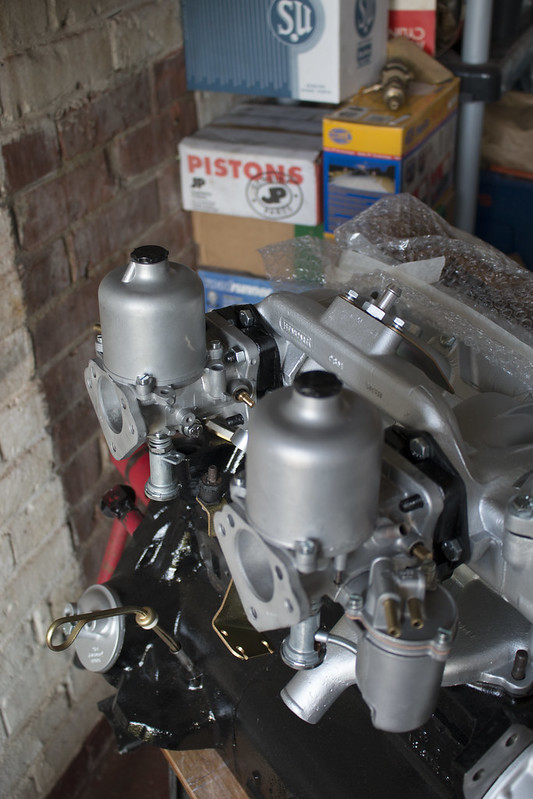
The only thing I haven't done is to fit the linkage, I wanted to make sure that the finish on the carbs matched the inlet manifold and head. To be honest the vapour blasting gives a really nice shiny finish and I'd love the carbs to be a bit better but I think as they are they are bang on factory, any shinier and they would be a bit too bling I think. The rubber mountings are the original ones simply cleaned up, there are no cracks in them so until I can get a set of club ones ordered and anodised black they will be fine.

Image

Image

Image

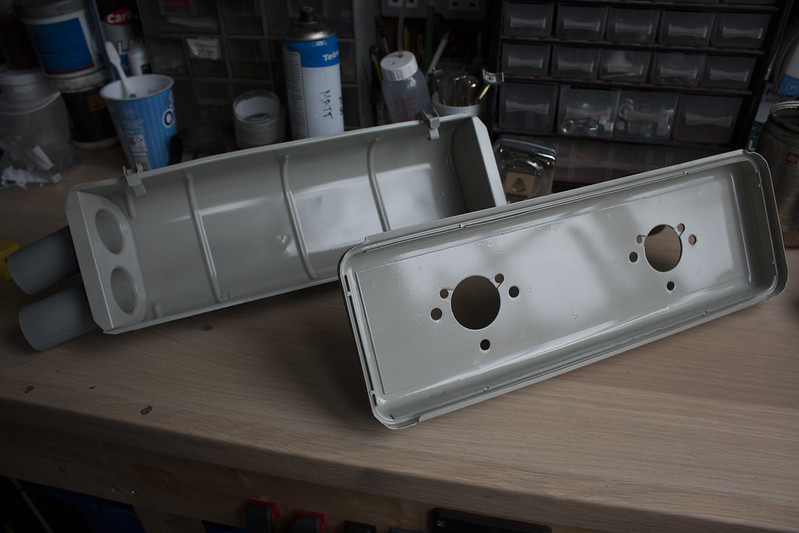
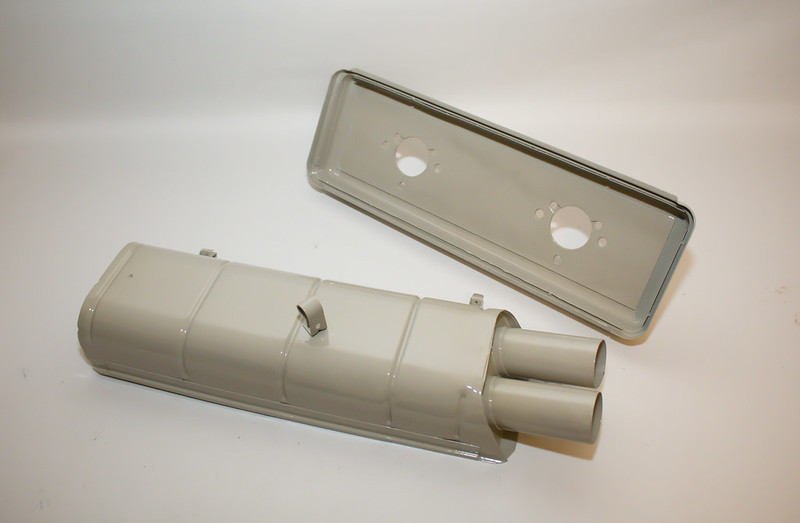
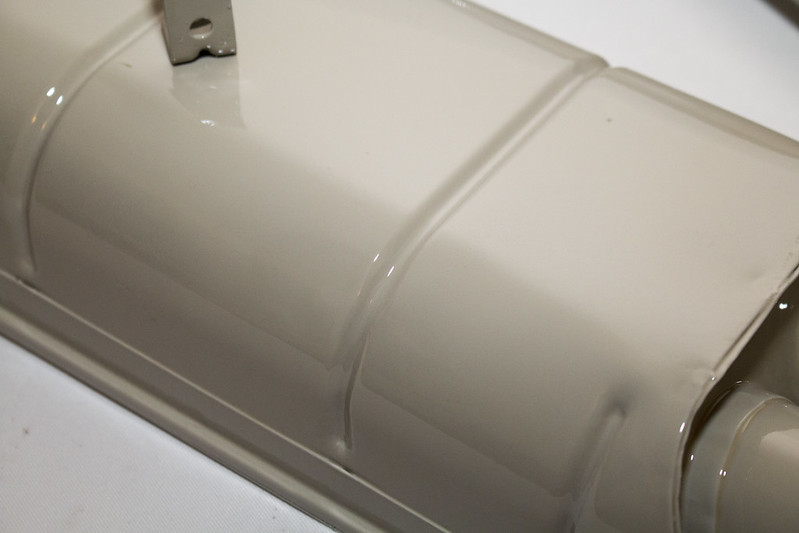
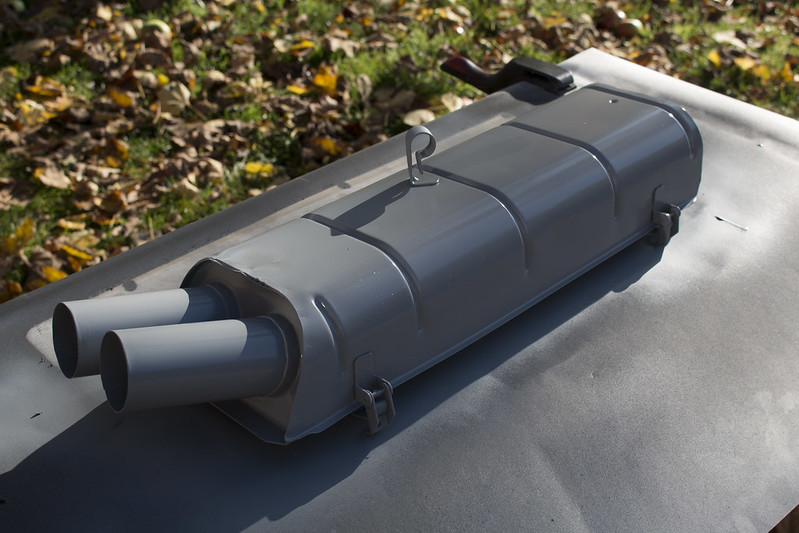
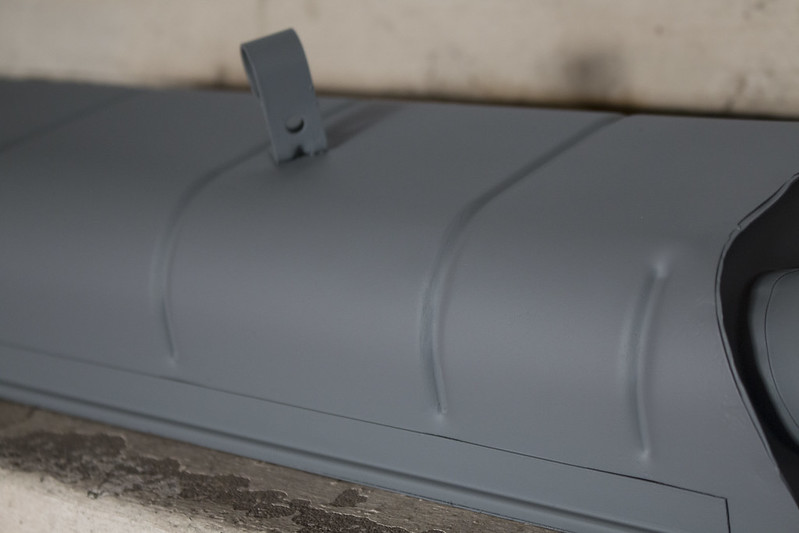
As the weather's been good today I started finishing the air box, I finished the welds off with a flap disc then gave it a skim of filler followed by a coat of acid etch.

Image

Image

Image

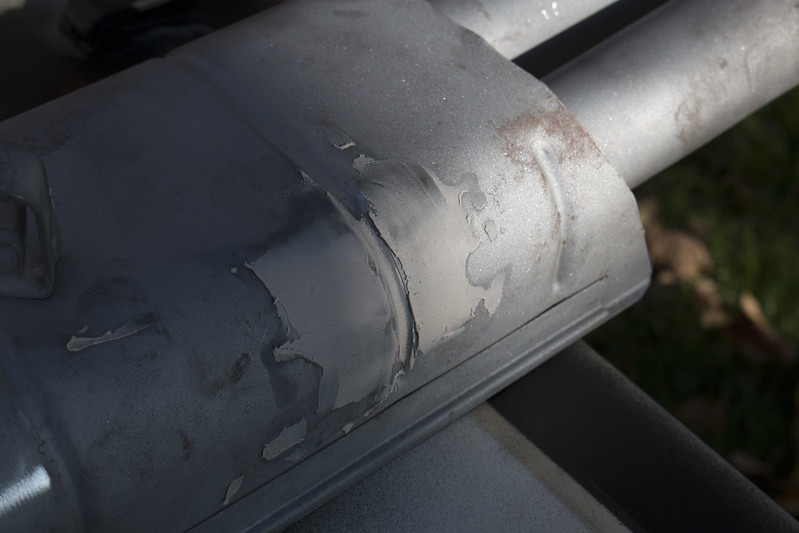
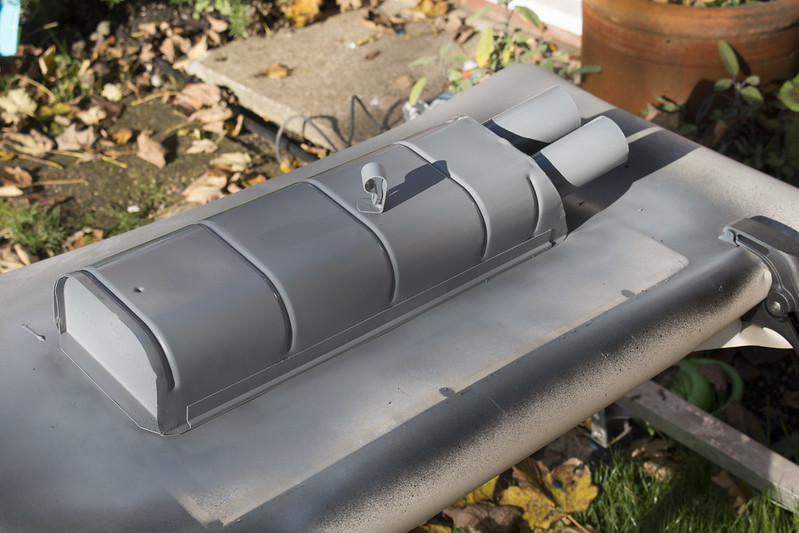
A bit more work to do, it needed another slight skim to round out that flat spot where the weld was.

Image

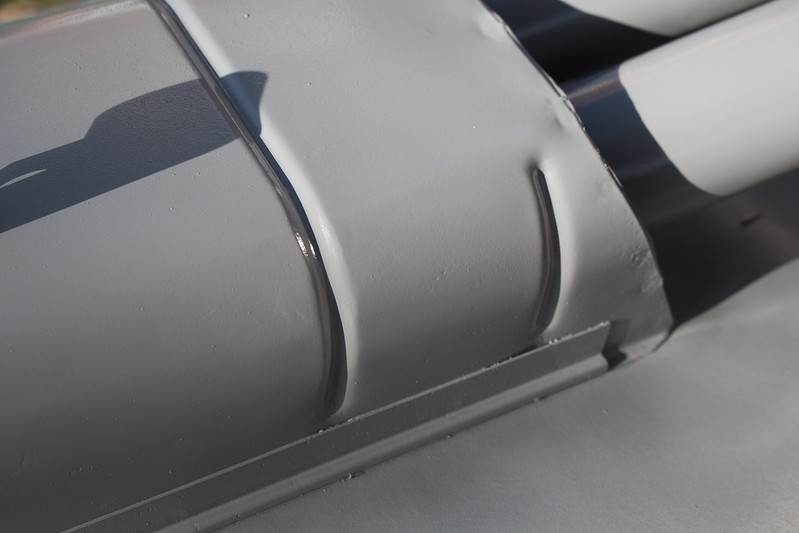
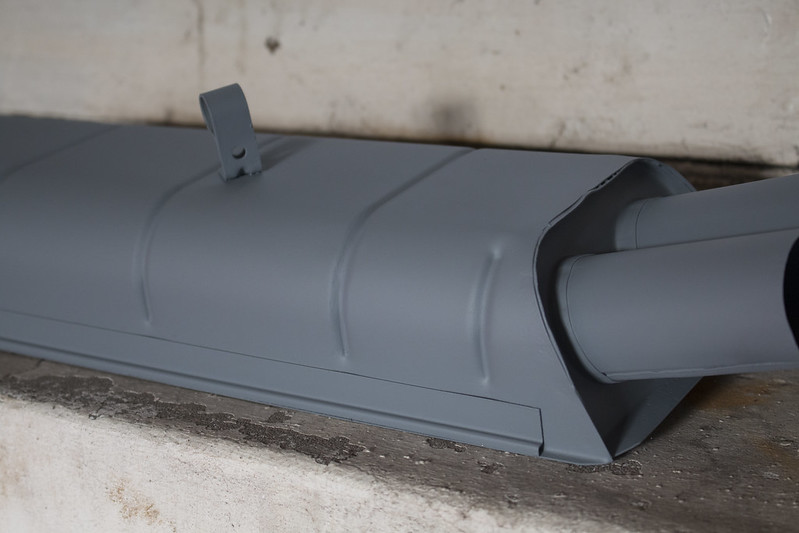
More filler and sanding and it's ready for a final sand and top coat tomorrow.

Image

Image

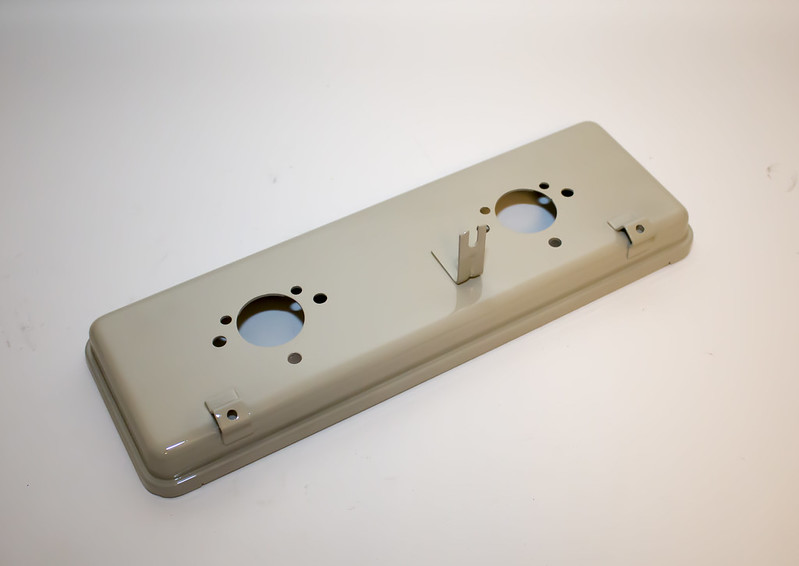
The back plate has had much the same done to it to remove some pitting, I'll post some photos of that tomorrow.

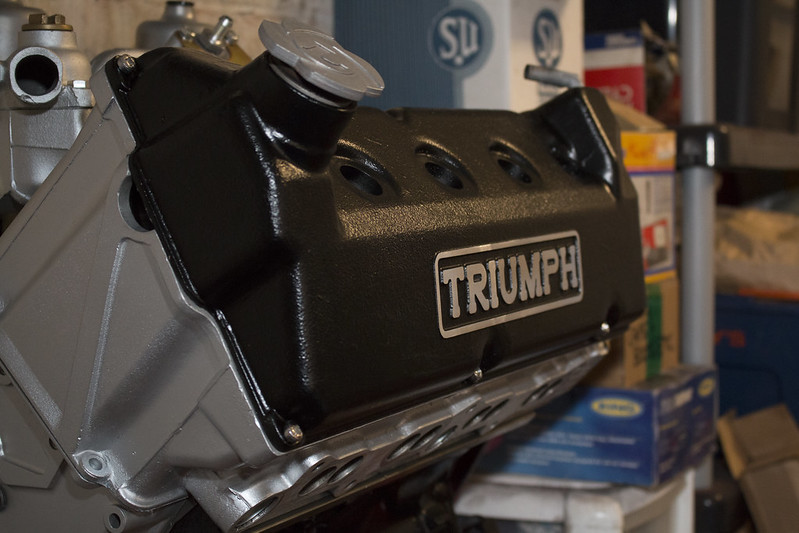
The only other thing I did was to paint the rocker cover in satin engine enamel, this was after a consultation with my powder coater who admitted that I would get a better finish this way.

Image

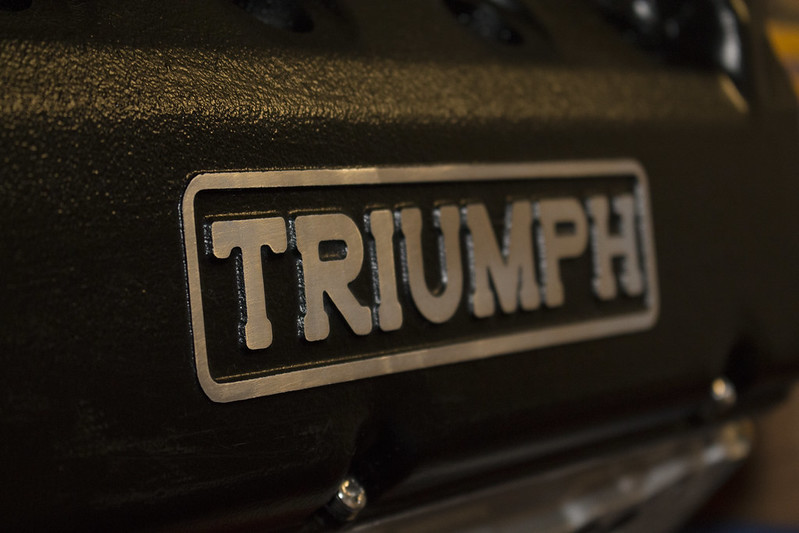
I then masked around the lettering and wet sanded it back with 400 wet and dry on a sanding block.

Image

An 'arty' shot, but it still needs some more work with some 800 then possibly 1000 to get a nice smooth satin finish to it.

Image

But all in all, so far I am quite happy about the way the engine is looking.

Image

I just need to get the linkage on the carbs sorted then they can be finally assembled tomorrow I hope. I'll then spend the next couple of days getting the air box perfect so next weekend I can get the bottom and top ends of the engine assembled.

Happy Halloween everyone!


Top
   
PostPosted: Sat Oct 31, 2015 9:45 pm 
Offline
Future Club member hopefully!
User avatar

Joined: Wed Jul 22, 2015 12:58 pm
Posts: 1293
Location: London
Hope your not going to put oil in that engine and make it greasy :D

Looks exceptional as always.

_________________
NRW 581W Sprint


On the motorway no one can hear me sing!
Construed as a public service, self preservation in reality.


Top
   
PostPosted: Sat Oct 31, 2015 9:48 pm 
Offline
TDC Member
User avatar

Joined: Wed Jul 04, 2007 12:27 pm
Posts: 1911
Location: Hampshire
You haven't seen underneath the rocker cover Mahesh, you could eat your dinner in there!! :lol:

I will add that vapour blasted parts like the head have only been blasted on the external faces, just in case there is the slightest chance of having embedded media within the aluminium.

It took me ages to find those Vandervell bearings, I don't want them eaten up!


Top
   
PostPosted: Mon Nov 02, 2015 8:15 pm 
Offline
TDC Member
User avatar

Joined: Wed Jul 04, 2007 12:27 pm
Posts: 1911
Location: Hampshire
Reassembling the carbs, can someone check that I have fitted the choke cam spring right here? The spring itself is the correct one as the carbs are waxstat.

Image

Image

Image

Image

It's a bugger to fit! I think I have its just that I didn't get a clear photo of it when I stripped the carbs down.

In the basis that I have fitted it correctly (if I haven't it can easily be removed) I completely dry fitted the carbs and linkage to the manifold.

Image

Image

Image

Image

Image

I made a new linkage rod as the old one was badly worn, all the springs are brand new.

Image

Spring detail closeup

Image

Image

Image

Everything will come back off and be properly lubricated before the final fit. Before that I'll do one of my exploded photos for reference.

I have also sprayed the inside of the air box. Just need to coat the outside now and give it a coat of PU lacquer to protect against petrol.

Image


Top
   
PostPosted: Mon Nov 02, 2015 8:43 pm 
Offline
Future Club member hopefully!
User avatar

Joined: Wed Jul 22, 2015 12:58 pm
Posts: 1293
Location: London
I'd send you a pic of my choke cam spring, but it's so covered in grime, you'd be wasting time trying to photoshop the picture.

_________________
NRW 581W Sprint


On the motorway no one can hear me sing!
Construed as a public service, self preservation in reality.


Top
   
PostPosted: Mon Nov 02, 2015 8:50 pm 
Offline
TDC Member
User avatar

Joined: Wed Jul 04, 2007 12:27 pm
Posts: 1911
Location: Hampshire
Thanks Mahesh!

This is what they looked like on the car

Image


Top
   
PostPosted: Mon Nov 02, 2015 9:03 pm 
Offline
Future Club member hopefully!
User avatar

Joined: Wed Jul 22, 2015 12:58 pm
Posts: 1293
Location: London
If that's what your engine and carbs looked like, compared to now, can you come and do mine :D

I've just returned from the car, after removing and stripping the radiator, but will put up a pic in the morning if it helps.

_________________
NRW 581W Sprint


On the motorway no one can hear me sing!
Construed as a public service, self preservation in reality.


Top
   
PostPosted: Tue Nov 03, 2015 8:36 am 
Offline
Future Club member hopefully!
User avatar

Joined: Wed Jul 22, 2015 12:58 pm
Posts: 1293
Location: London
Doubt my pics help,
Attachment:
20151103_075800.jpg
20151103_075800.jpg [ 194.72 KiB | Viewed 1233 times ]
Attachment:
20151103_075807.jpg
20151103_075807.jpg [ 149.35 KiB | Viewed 1233 times ]
Attachment:
20151103_075821.jpg
20151103_075821.jpg [ 179.98 KiB | Viewed 1233 times ]

_________________
NRW 581W Sprint


On the motorway no one can hear me sing!
Construed as a public service, self preservation in reality.


Top
   
PostPosted: Tue Nov 03, 2015 9:48 am 
Offline
Future Club member hopefully!

Joined: Tue Oct 03, 2006 9:45 pm
Posts: 11179
Location: Middlesex
That nicely illustrates what I was going to point out that one of James spring hooks isnt located properly...

James...3rd to last pic at about 8-9 o'clock on the throttle return...

Jonners

_________________
Note from Admin: sadly Jon passed away in February 2018 but his humour and wealth of knowledge will be fondly remembered by all. RIP Jonners.


Top
   
PostPosted: Tue Nov 03, 2015 7:55 pm 
Offline
TDC Member
User avatar

Joined: Wed Jul 04, 2007 12:27 pm
Posts: 1911
Location: Hampshire
Mahesh, you're a legend, massive thanks for that!

Thanks Jonners, is this the pic you're referring to?

Image

If it is, I think I can see what you mean, I've had a check and it may just be due to the nut not being quite tight enough on the spindle yet allowing the spring to move sideways. I'm confident that I have it on correctly though, I'll do the final assembly and see how it fits.

No other pictures yet I'm afraid, hopefully tomorrow.

I have almost finished spraying up the air box, just need to put two coats of PU on the front cover. I'm not 100% with the colour, its a bit beige. Once it's done I'll do the usual pictures and see what you all think, nice and shiny though, probably better than when it left the factory!

I have stripped off inlet manifold ready for final reassembly, I will probably have to order some bolts from Namrick as I'm running a bit low on UNCs, the carbs will be stripped again(!) and I'll do another exploded photo in the daylight before final assembly, when I do this all the linkages will be greased up properly.

So if all goes to plan I should be done by Friday ready to re-assemble the bottom end on Saturday morning, oh no thinking about it, there's some pitting on my sump that I need to address first and I'll need some new bolts so maybe a mock up, clean everything, finish the sump and check I have enough nuts and bolts this weekend!!

I know I have everything for the head though! :D

Oh, and I need to clean the black paint off the carb mounting threads.


Top
   
PostPosted: Tue Nov 03, 2015 7:59 pm 
Sensational work is all I can say!!! Belicimo!!!!:-)


Top
   
PostPosted: Thu Nov 05, 2015 9:45 pm 
Offline
TDC Member
User avatar

Joined: Wed Jul 04, 2007 12:27 pm
Posts: 1911
Location: Hampshire
Thanks Russell, much appreciated!

So it's final assembly of the intake system, warning, this post contains naked pictures of carburettors!

I'll start with the air box, I need some honest opinions on the colour. It has had a skim of filler where the weld was and in a couple of places where there was some really bad pitting, 2 coats of UPol Acid Etch primer, 2 coats of UPol High5, flatted off, then 2 coats of grey primer followed by 4 coats of Ford Dove Grey. Left to cure for a couple of days then 2 coats of polyurethane lacquer to protect it all.

Image

I'm really pleased with the way the crack came out, thanks to Steve (I think, sorry I'm rubbish with peoples names) who welded it up for me at the Restoration Show. I told you that you wouldn't be able to see it once I've finished!! :D

Image

The rear had some bad pitting around the fuel hose brackets, that's now all gone.

Image

I'm going to give this a week or two to allow the paint to fully harden before I mount it.

The anatomy of a pair of SU HS6 Carburettors!

Image

Top down view

Image

Realised that I hadn't got my piston lifting pins yet, so I'm waiting for them to arrive before I can proceed.


Top
   
Display posts from previous:  Sort by  
Post new topic  Reply to topic  [ 589 posts ]  Go to page Previous 119 20 21 22 2340 Next

All times are UTC+01:00


Who is online

Users browsing this forum: No registered users and 64 guests


You cannot post new topics in this forum
You cannot reply to topics in this forum
You cannot edit your posts in this forum
You cannot delete your posts in this forum
You cannot post attachments in this forum

Search for:
Jump to:  
Powered by phpBB® Forum Software © phpBB Limited