Thanks Alun, I’ll have one of those from you when I order all of the body panels I need from the club in the spring.
I’ve been a bit busy the past month looking after the kids and working on various parts of the house that need attention so NWL has taken a bit of a back seat. I’m still waiting on the powder coating and engine so I’m not too concerned.
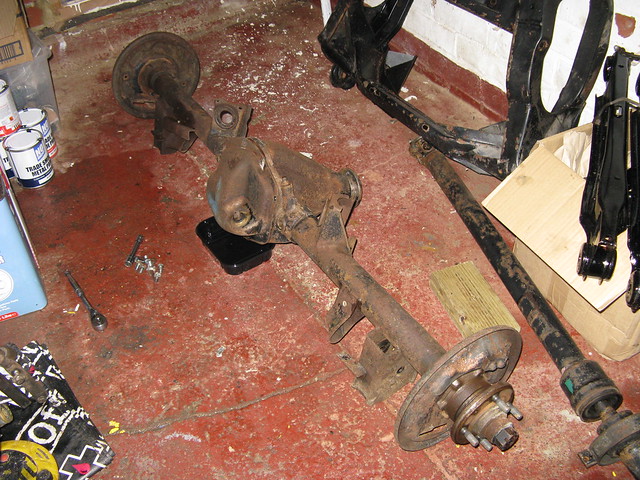
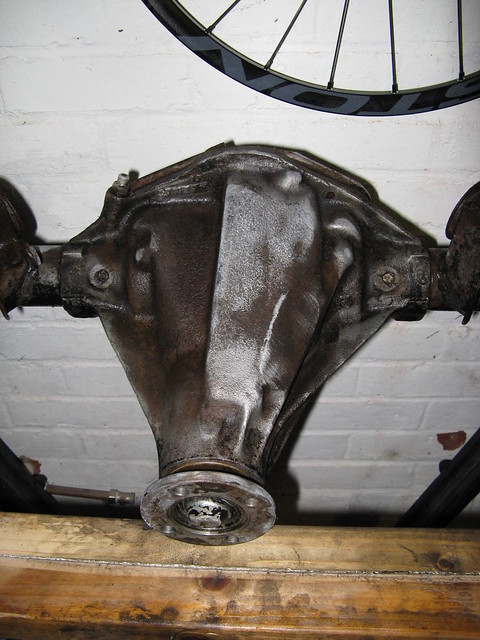
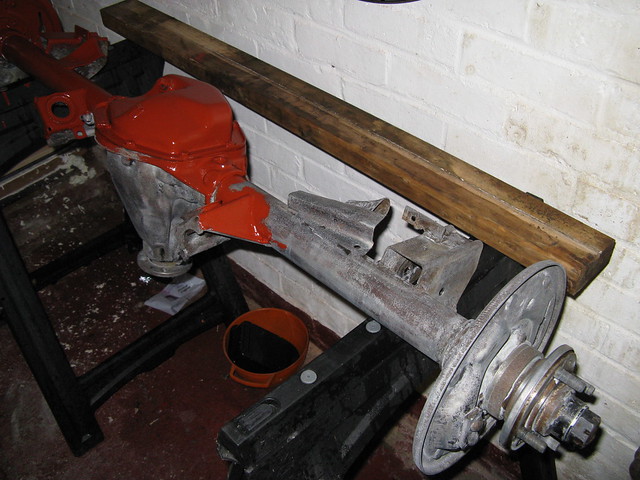
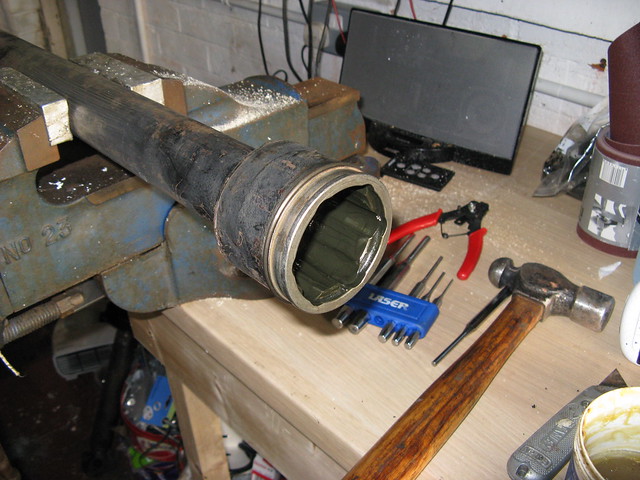
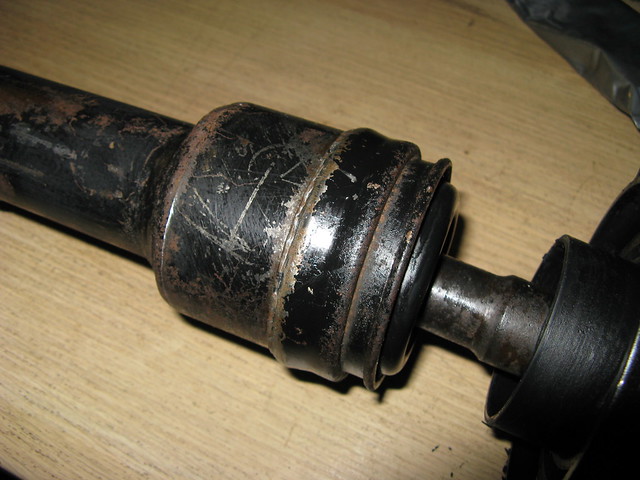
My propshaft centre carrier had seen better days so I ordered a new one from Robsport, I also noticed that the cv joint gaiter/boot had a small split in it so after speaking to a few people and some investigation I managed to source a TR7 kit as apparently they have a cv joint at the diff end which is similar if not the same to the Dolomite one.
First off thanks to Jonners (John Tilson) and Ian (sprint95m) for the Dolly Wiki page covering this which I found after a forum search!
http://www.dollywiki.co.uk/wiki/DOLOMIT ... eplacement
So down to business…
Mark the prop for reassembly alignment.
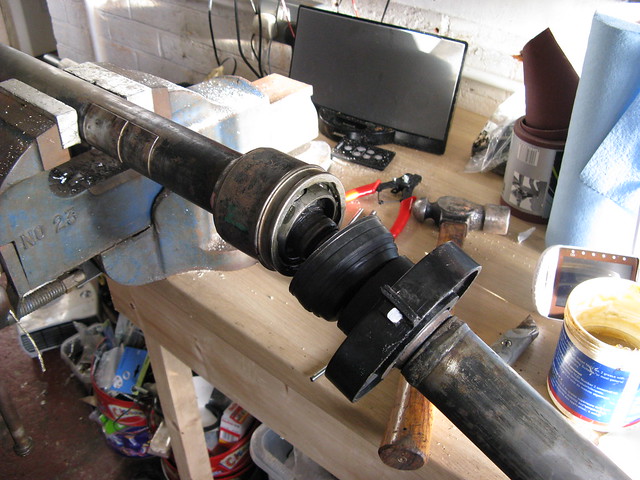
Using a large-ish old screwdriver I removed the press fit collar around the rubber gaiter and snipped off the steel band that holds the smaller end on the shaft.
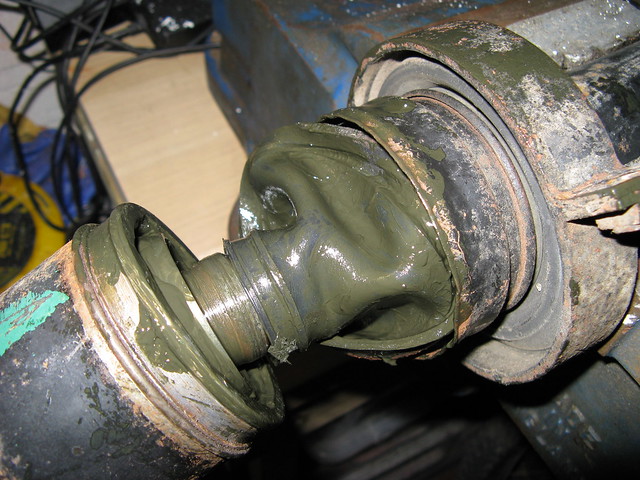
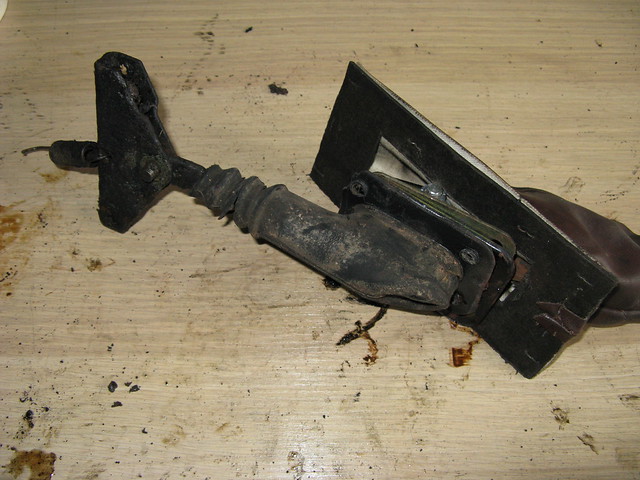
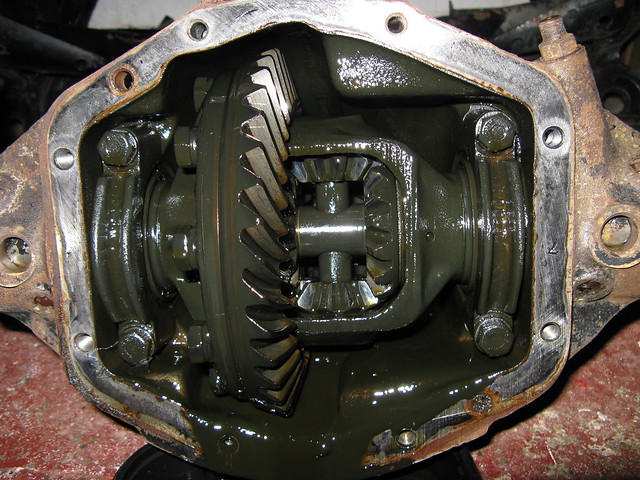
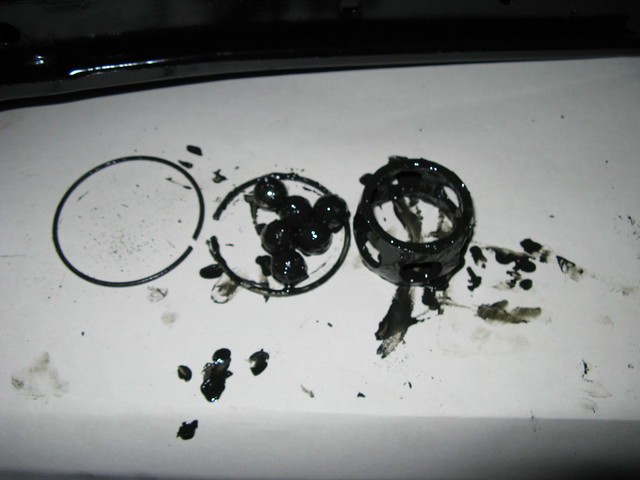
You can see a whole world of nasty cv joint grease down there!

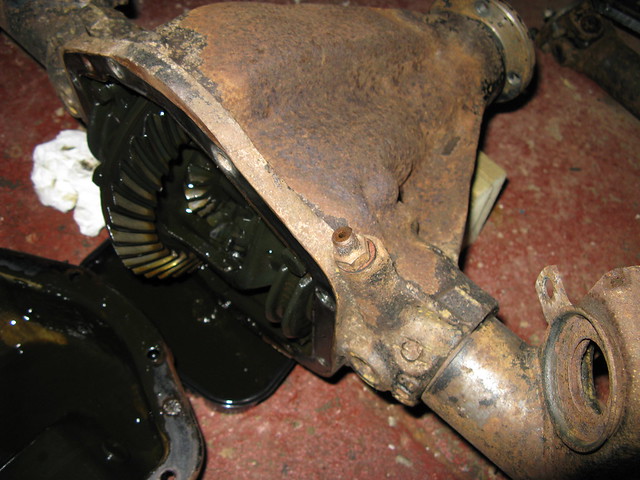
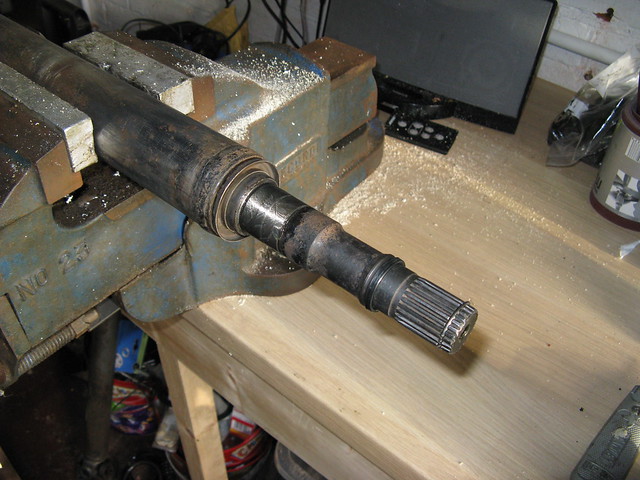
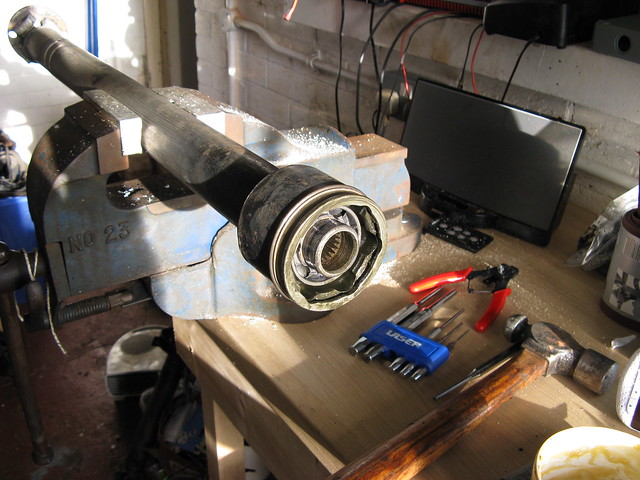
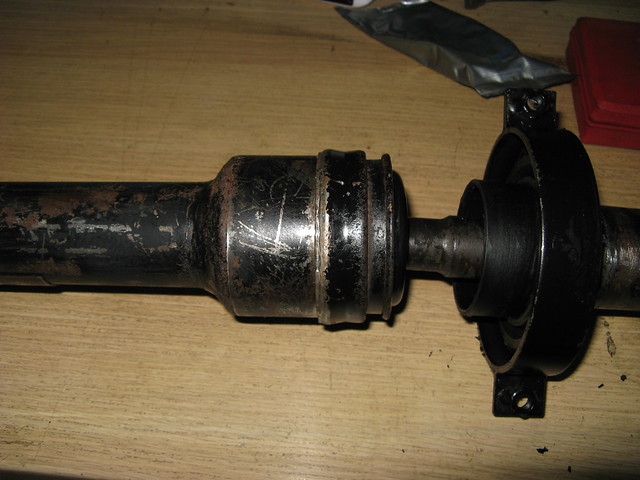
Since the rubber part of the centre carrier was disintegrating I cut it off to get it out of the way and as it was going to be replaced I also cut of the old rubber gaiter.
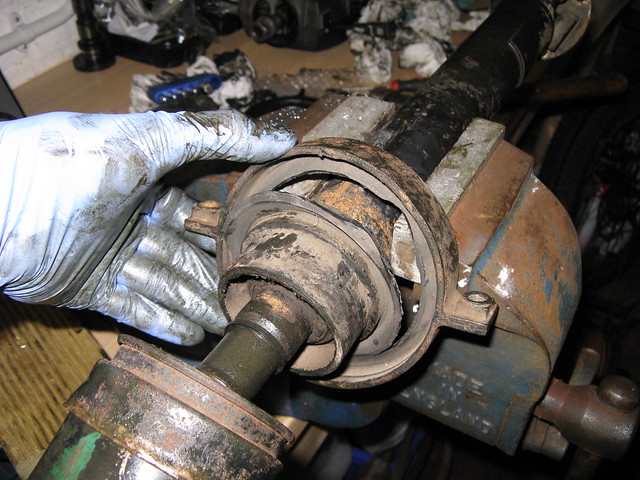
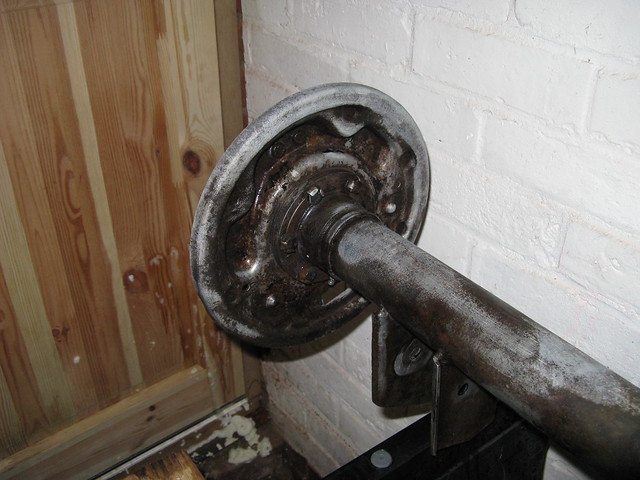
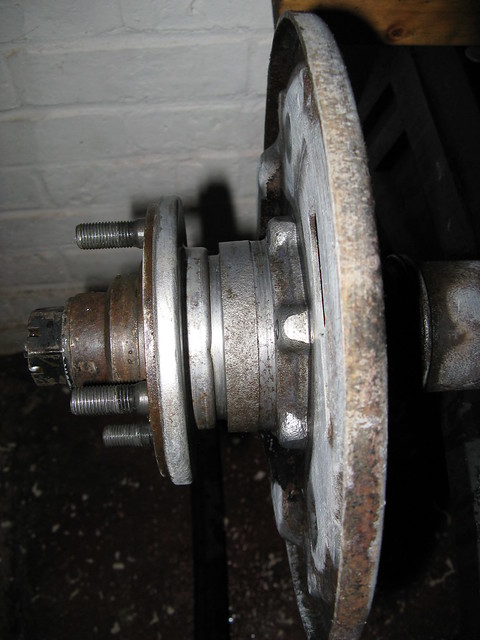
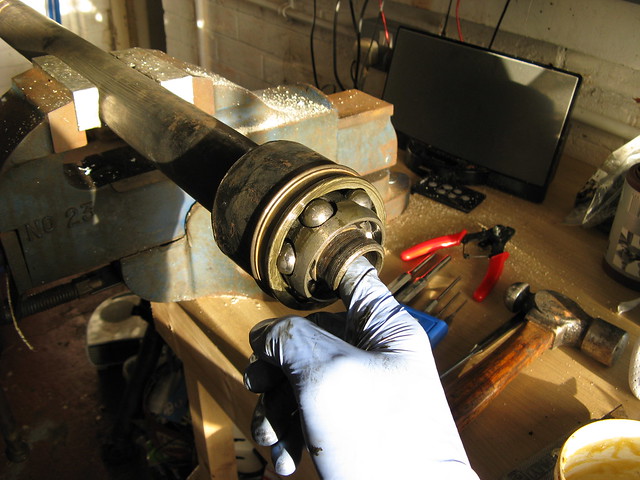
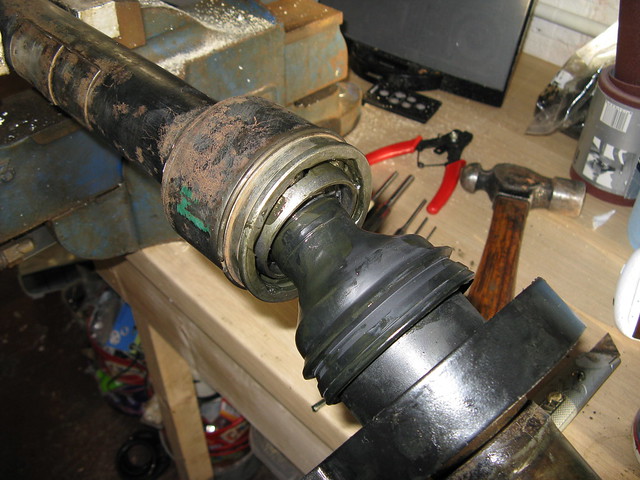
To get the cv joint apart you need to use a suitable drift to force the joint over the internal clip and off the splines.
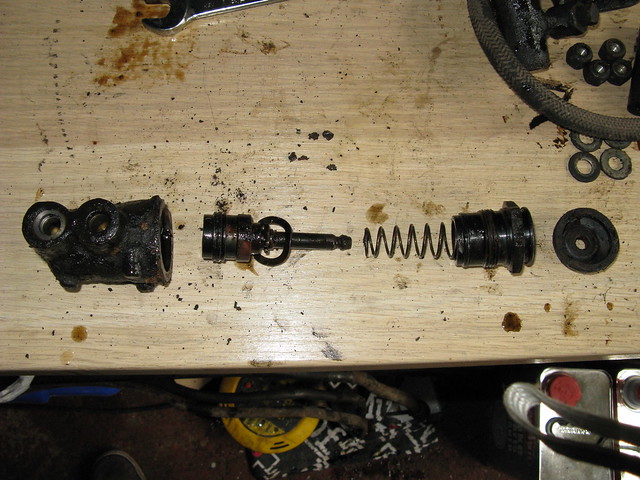
Mine wouldn’t budge so I decided to disassemble the cv joint itself. The joint is held together by a ring that runs around the internal part of the driveshaft; this can be removed carefully with a flat bladed screwdriver. The two halves of the propshaft should then pull apart, make sure you don’t drop and loose the ball bearings.
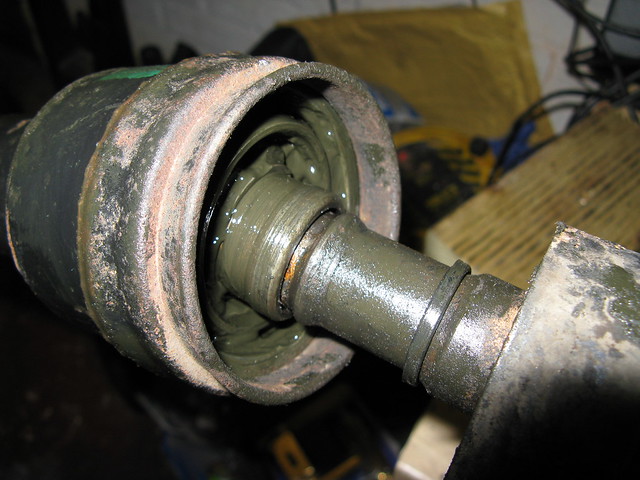
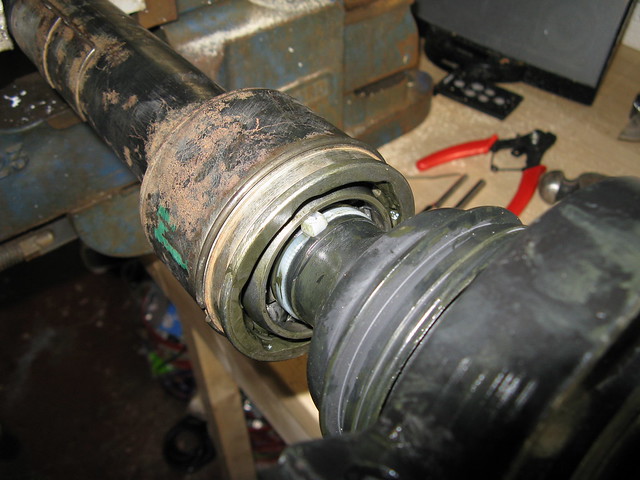
You will then be left with this…
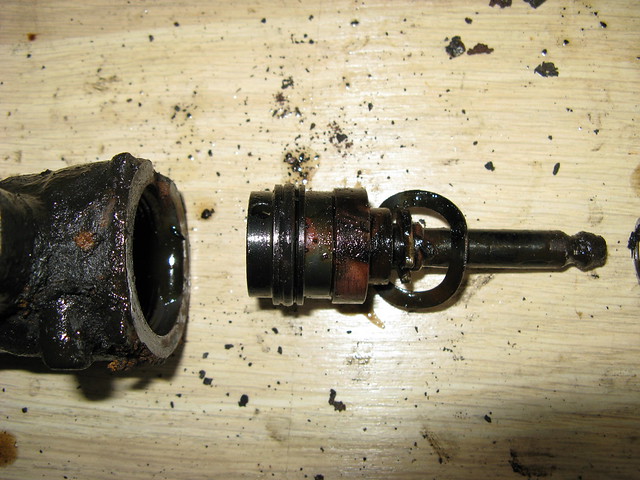
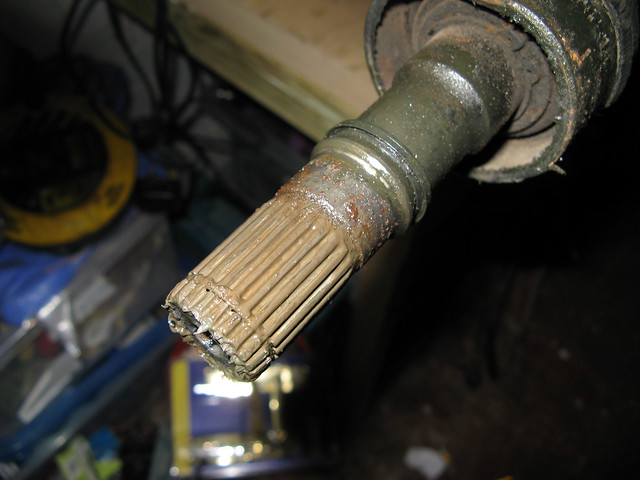
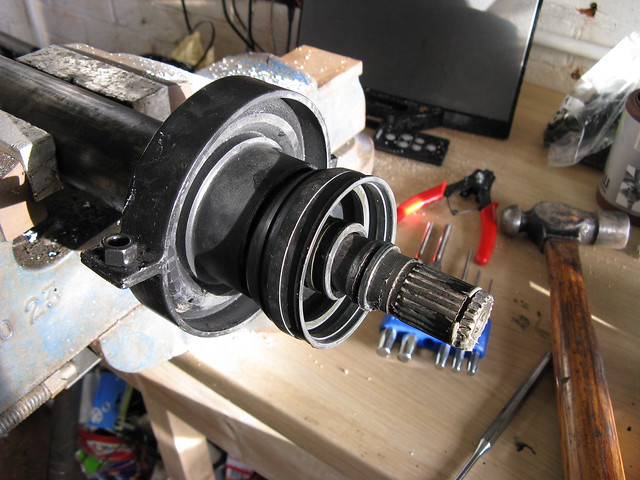
You can then use your drift and remove the inner part of the joint from the shaft.
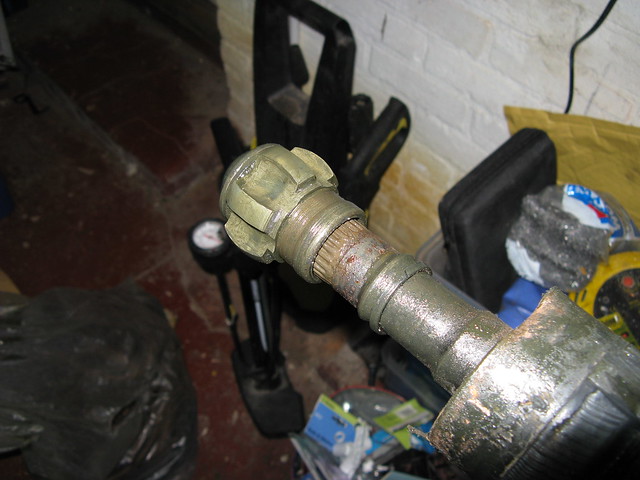
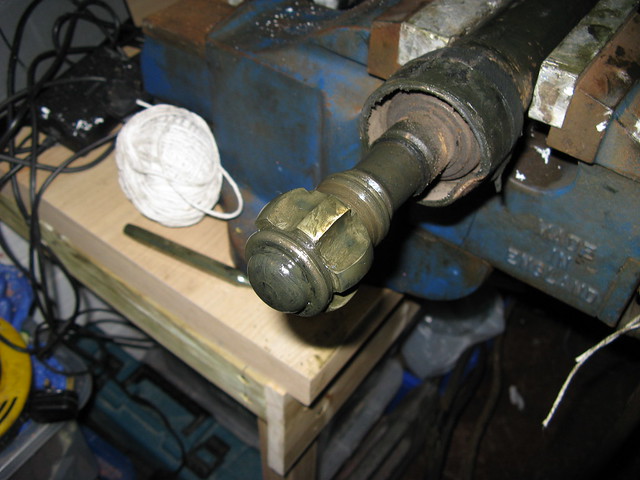
You can see the clip that holds the CV joint in.
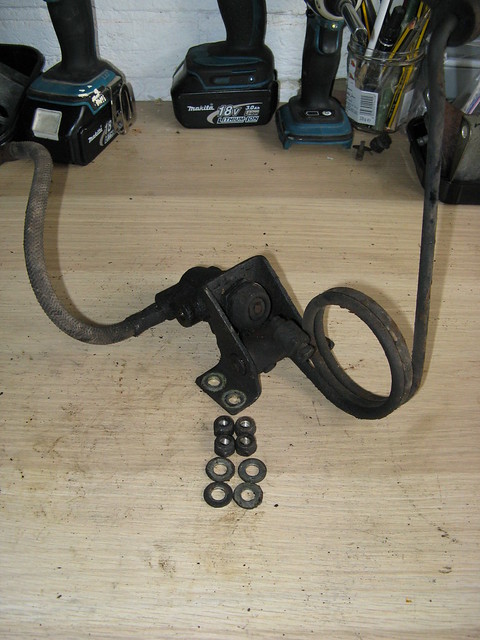
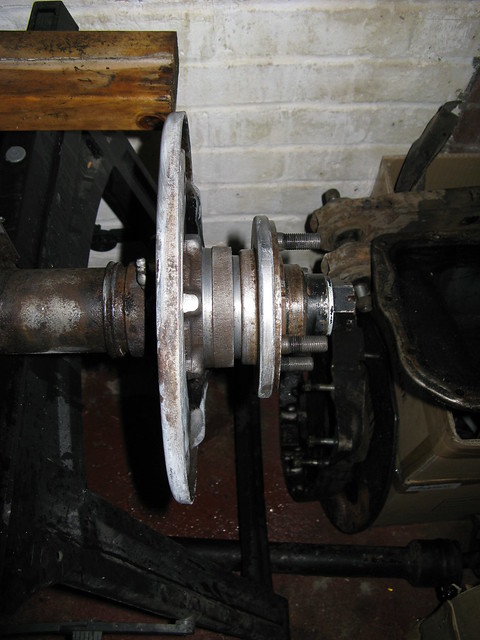
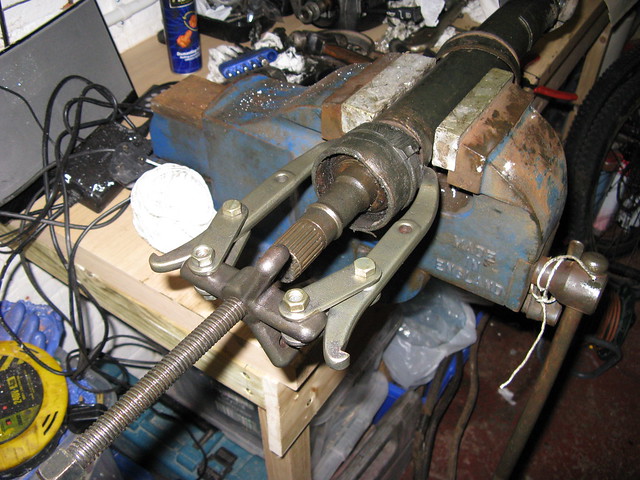
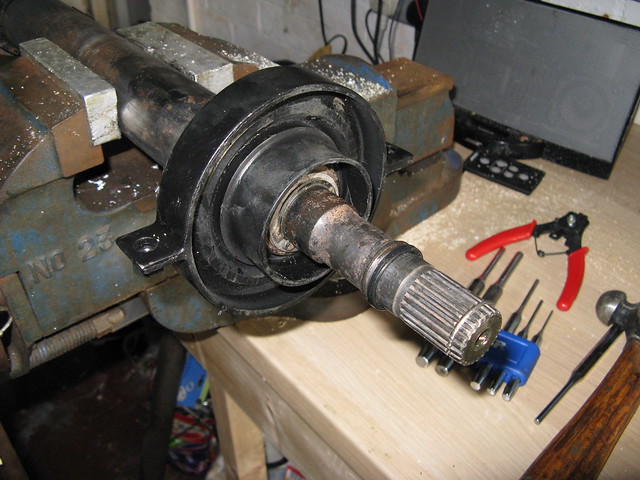
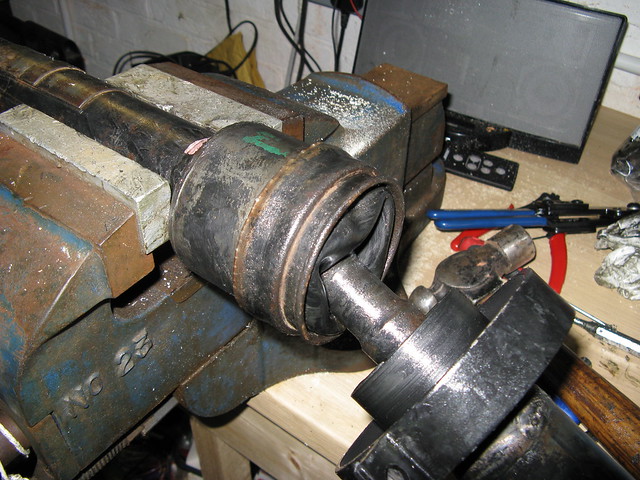
The carrier is held on by a circlip and is a tight fit; I used a puller to remove mine.
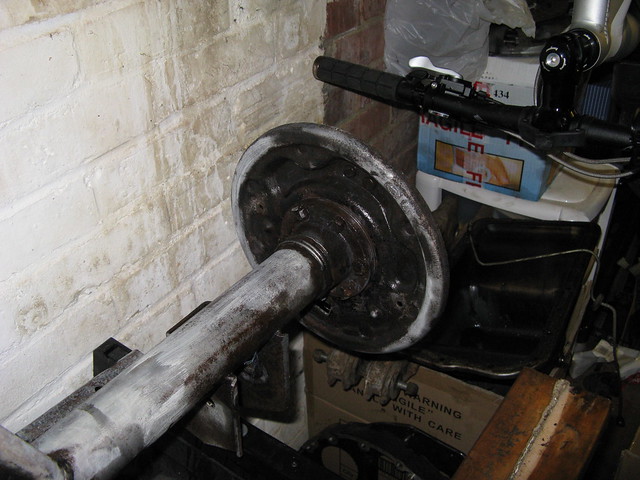
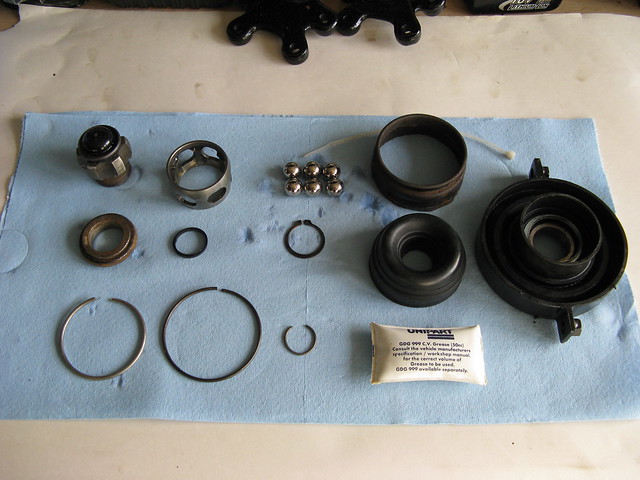
All ready to be cleaned up.

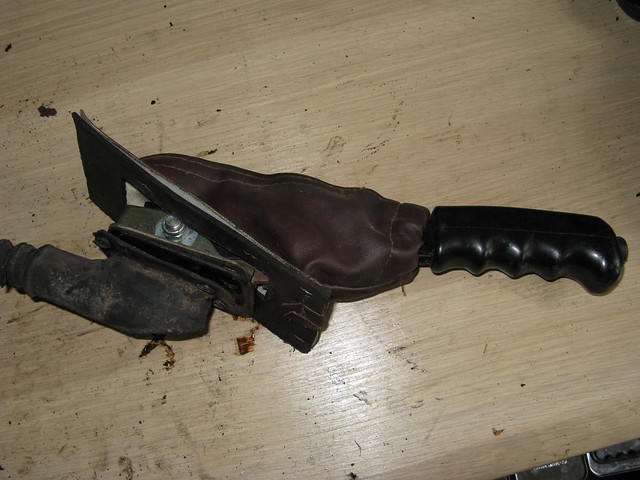
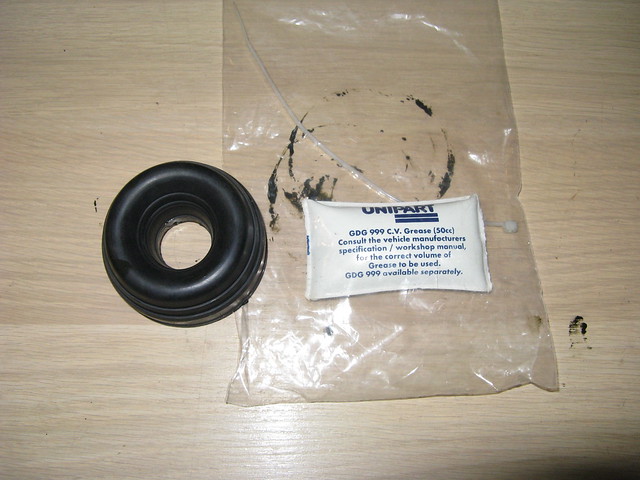
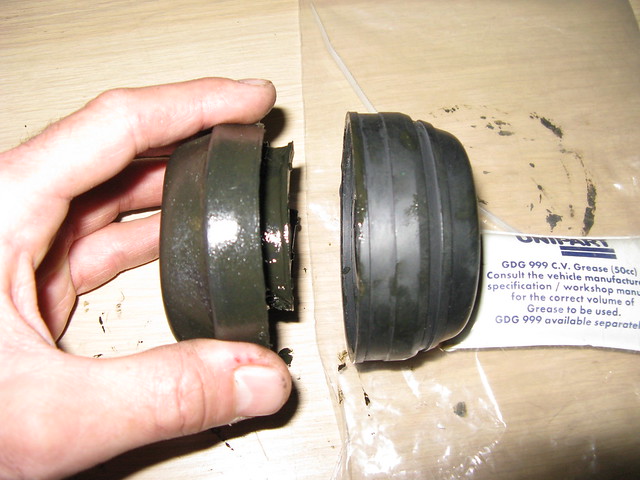
This is the CV gaiter kit that I sourced, looks about the same and as far that I could see it would work nicely.
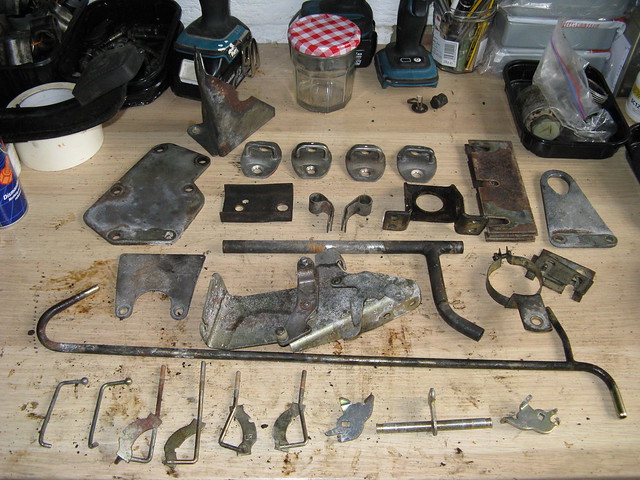
All components cleaned in the parts washer and ready for reassembly
I lightly greased the shaft to aid reassembly of the new carrier.
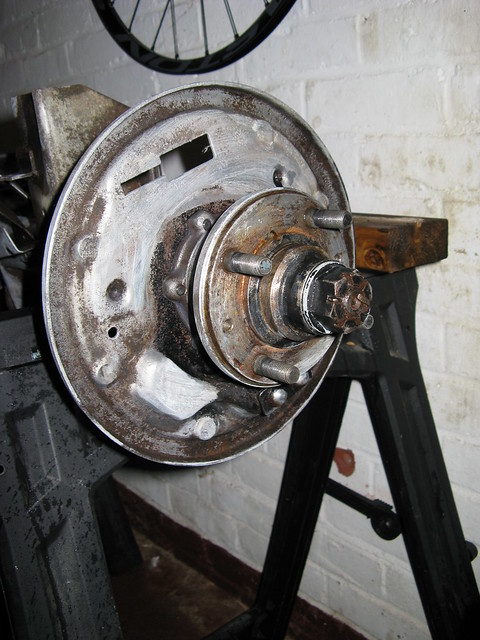
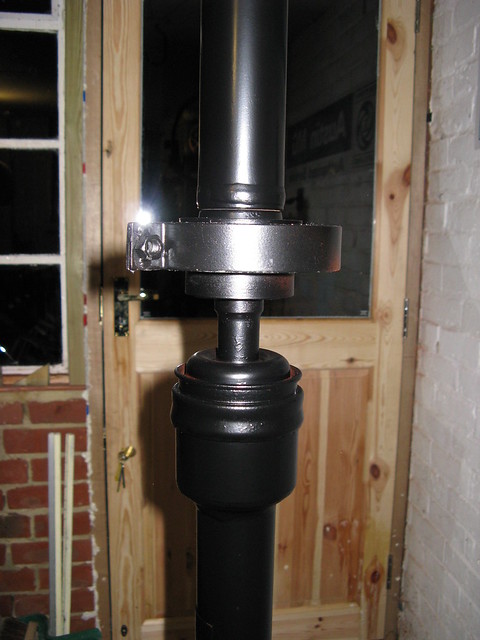
New carrier in place and circlip on.
The CV Joint side of the prop, I have cleaned it and lightly greased inside.
The components simply slide in like so…
Ta dah!!
Don’t forget to refit the circular ring that retains everything and runs in the internal groove
New CV gaiter on and seal in place
I have also greased the splines
Line up the alignment markings that I made on the prop and give it a good shove home, you should hear a click as the circlip is engaged on the splines, you may have to use a rubber mallet to help you.
Feed the gaiter over and onto the flange.
The old one was held in by a circular band, the new one by a zip tie. The one supplied looked like it was going to foul the inner parts of the joint so I replaced it for a lower profile version which should be fine given the range of movement on the prop.
Gently mount the gator into the grooves on the prop and fit the retaining collar. You will probably need to gently tap it into position here.
I then used a chisel to tap the collar back over its retaining ring. You will find that as you gradually crimp it up the collar will move in and clamp the gator into place.
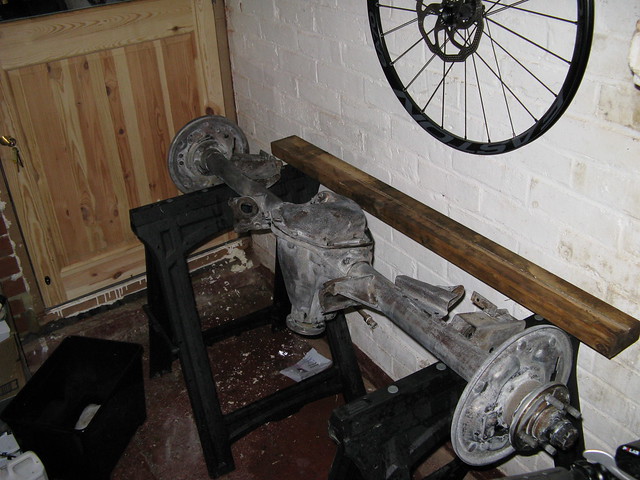
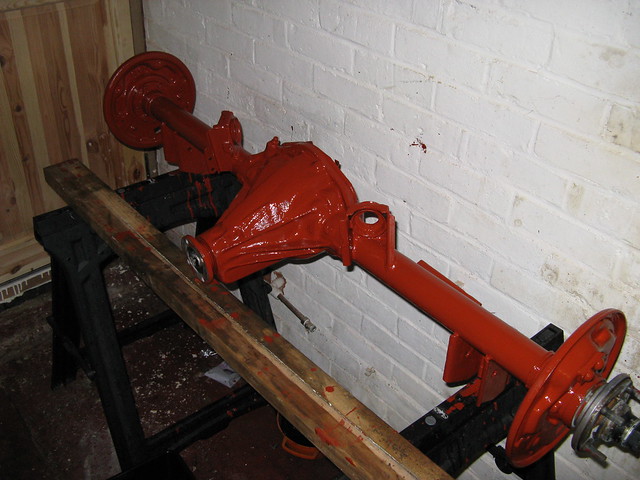
All finished and ready for a coat of paint.
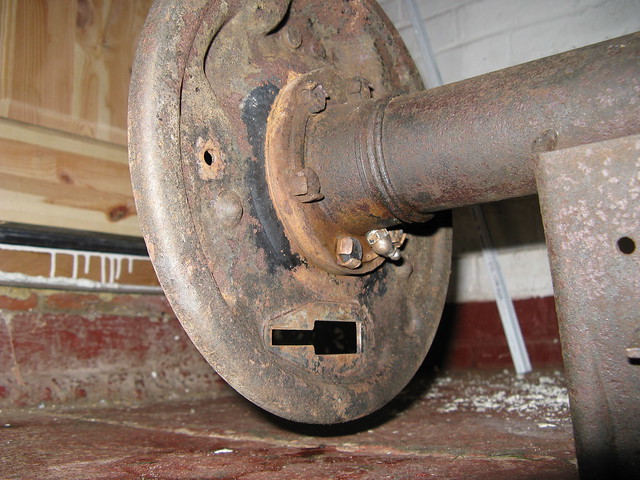
The universal joints were fine, I simply removed the screw and attached a grease nipple and gave them a greasing before replacing the cover screw.
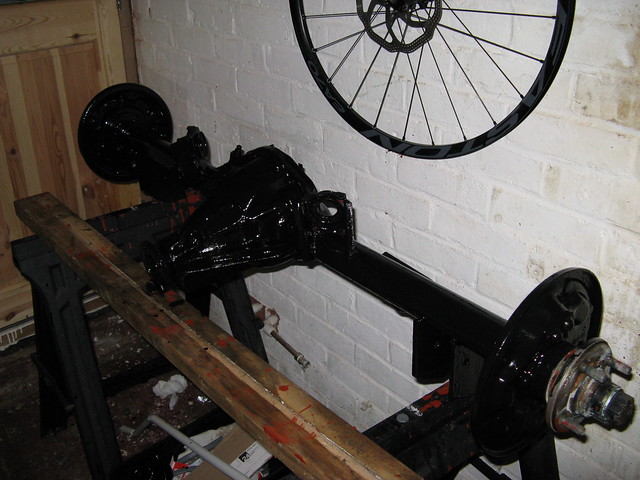
I gave everything a through de-grease and a coat of primer followed by some satin black
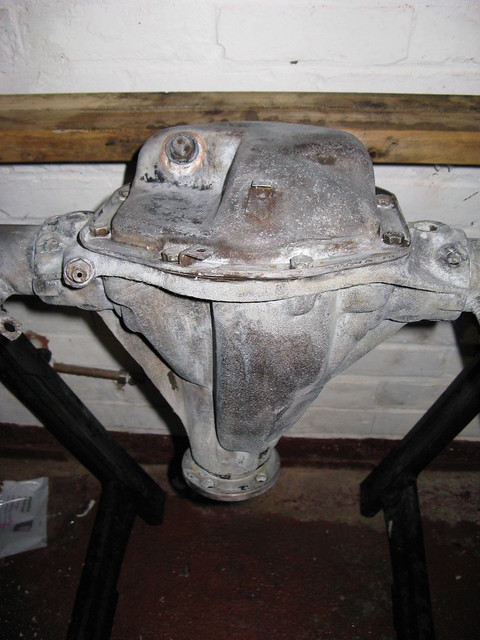
One refurbished propshaft, I’m quite pleased with the result.