The Triumph Dolomite Club - Discussion Forum
http://forum.triumphdolomite.co.uk/

NWL – Project Concours Carmine Sprint
http://forum.triumphdolomite.co.uk/viewtopic.php?t=27969
Page 20 of 40

Author:  Edin Dundee [ Sun Oct 18, 2015 10:27 pm ]
Post subject:  Re: NWL – Project Carmine Sprint

Quote:
I'm getting worried about jizer, it sounds like it's used in porn production :)
.......
I used it a lot in the seventies, made a hell of a mess though. :lol:
These days people are a lot more concerned about this sort of thing being done in public, and rightly so, we have to think of the environment. So please use in a responsible manner. :wink:

Author:  Dolly-Dimple [ Mon Oct 19, 2015 6:00 am ]
Post subject:  Re: NWL – Project Carmine Sprint

Quote:
Quote:
I'm not in the least trying to say that there is or will be anything wrong with your car. It's just with your attention to detail if you could end up chasing your own tail (and blowing an awful lot of dough) trying to get the door fit perfect.
Don't worry Julian, I was just being sarcastic, doesn't come out well on a forum though!! :) That's good advice though.

Thanks for the compliment Malc.

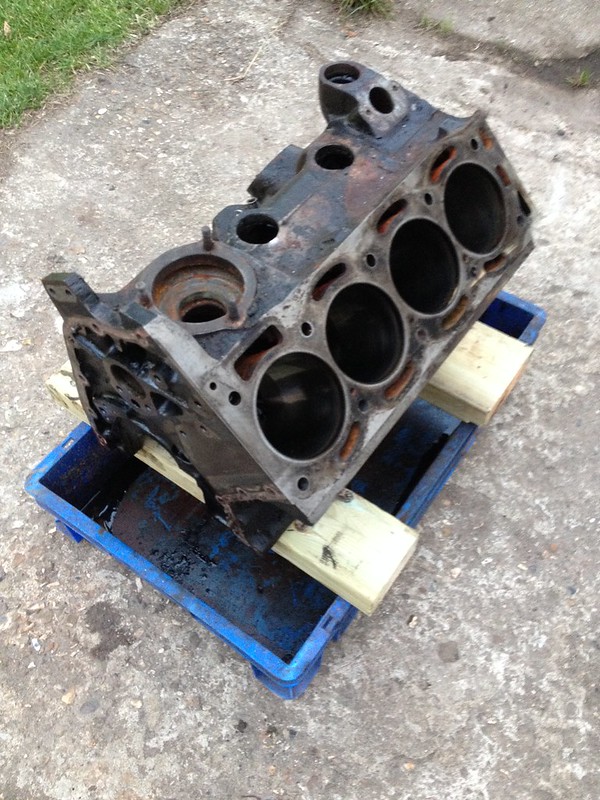
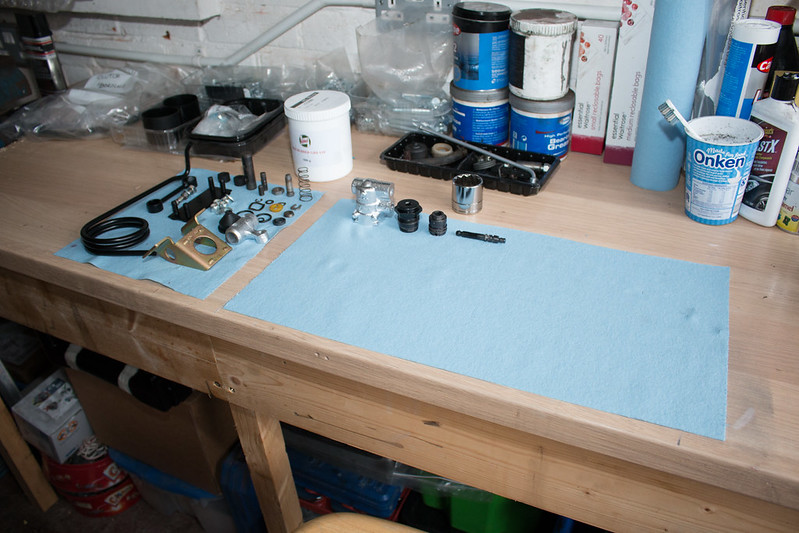
Russell, I used Jizer on the gearbox. Trick is to use a small pressure sprayer like this,

http://www.belmoretools.co.uk/acatalog/ ... Litre.html

Then let it sit for a while to do its work. I then just scrubbed it with a standard 'essential Waitrose' pan scrubbing brush spraying on more Jizer as needed. That was followed by a pressure wash with the Karcher. There was A LOT of caked on grease and muck on there.
Excellent James, many sincere thanks indeed :-) if ever there was an advert for the product: this is it!!

Kind Regards

Russell

Author:  James467 [ Mon Oct 19, 2015 10:21 am ]
Post subject:  Re: NWL – Project Carmine Sprint

Quote:
These days people are a lot more concerned about this sort of thing being done in public, and rightly so, we have to think of the environment. So please use in a responsible manner. :wink:
Bill, Jizer is biodegradable and is not regarded as dangerous to the environment, which is one of the reasons why I use it. See the safety data sheet Section 12 for the product.

To avoid runoff of the neat liquid into drains, I placed the gearbox on its stand over my large plastic crate to catch any neat liquid, oil and deposits, like so...

Image

I then strain this and reuse it, so it goes into another plastic crate where I can place parts to soak.

-

Author:  Mahesh [ Mon Oct 19, 2015 1:11 pm ]
Post subject:  Re: NWL – Project Carmine Sprint

Biodegradable & recyclable, what more is needed.

Author:  Galileo [ Mon Oct 19, 2015 6:38 pm ]
Post subject:  Re: NWL – Project Carmine Sprint

Quote:
...The problem is the rear door bottoms, both have had a flat repair panel welded in and the rear bottom corners just stick out, no contouring at all, almost as good as the leaky inner wheelarch repair that probably caused some of the boot floor corrosion...
Ah-ha! That explains why mine do exactly the same on one side.

Author:  xvivalve [ Mon Oct 19, 2015 6:47 pm ]
Post subject:  Re: NWL – Project Carmine Sprint

Quote:
Biodegradable & recyclable, what more is needed.
Free and plentiful availability from a self sustaining natural source?

Author:  Mahesh [ Mon Oct 19, 2015 7:09 pm ]
Post subject:  Re: NWL – Project Carmine Sprint

Had a look at the spec sheets for Jizer, seems pretty mild, unless you eat it or make skin / eye contact, bleach is more hazardous.

Author:  James467 [ Fri Oct 23, 2015 9:07 pm ]
Post subject:  Re: NWL – Project Carmine Sprint

I wanted to get a update in before the restoration show at the weekend. Looking at the new to do list I had a few loose ends that I wanted to tie up, I have also had some stuff back as well so I can end with a tantalising taste of what's I picked up a couple of days ago....

I wanted to start with the Servo, I needed to replace the foam filter, that happened to be exactly the same size as one of my air compressor filter foam filters. So that's been slotted in, the original rubber bellows have been cleaned up and refitted along with the new one way valve.

Image

This is the new air filter...

Image

The old one which had disintergrated was cleaned out and the new one simply slots in here

Image

Rubber bellows cleaned and refitted, remember the plastic insert inside them

Image

Non return valve fitted and it's ready to go into storage before being refitted to the car

Image

Staying with the brakes, the new master cylinder that I have has obviously been sitting on the shelf for a good thirty years. In my experience with nos parts like this it's a good idea to give it a stripdown and check all the seals are still in good condition. It also gives me an opportunity to photo how the seals are fitted as it isnt entirely obvious if youre rediong you own.

Stripped, cleaned and as you probably guessed, the finish on the cylinder itself wasn't up to my high standards so I decided to re do it. It looks like it was painted gold rather than passivated as the bits under the blue tape were exposed metal.

Image

Here you can see how the seals fit

Image

Image

Image

A fresh coat of paint and everything was reassembled looking better than new

Image

Image

On to the Load Sensing Valve

If you haven't seen it yet, this is what it looked like when it was removed from the car.

Image

Image

Image

Full of water and all the seals were shot, so after a good clean up and a new club seal kit we are ready to reassemble.

Image

Clean and tidy work area...

Image

If this makes any sense, this is how it is supposed to fit together. I made these notes when I took it apart.

Image

Image

Like so…

Image

Image

Image

Image

Image

Then it's a simple case of reassembling the spring mechanism.

Image

Image

Image

Image

I removed the link between the axle and the spring and took out the bushes before blasting it and repainting in satin black. The bushes were perfectly fine and went straight back in, if you needed some replacements these look like a a standard size so with a bit of hunting around I think you could probably pick some of these up easily.

Image

All refurbished and ready to be refitted to the car

Image

On to the clutch hydraulics, this is what the master cylinder looked like when it was reassembled.

Image

To get the large rubber boot on without damaging it I heated it up on the radiator and wrapped the fork in masking tape to create a cone then gently fed it over them.

I have a new slave cylinder and link pipe, I'll need to make up a new pipe that goes to the reservoir as it's not up to my standard.

Image

Image

So that finished the brake and clutch hydraulic systems, I'll do the handbrake assembly next to finish off the brake system.

And finally.....

I collected something from the machine shop a couple of days ago which is now sitting wrapped in bubble wrap to keep it safe, here's a tantalising taster....

Image

Don't worry there's a piece of card protecting the faces!!

Have a great weekend everyone.

Author:  Pippin [ Fri Oct 23, 2015 10:50 pm ]
Post subject:  Re: NWL – Project Carmine Sprint

All these parts you've refurbished are far too clean and shiny to fit to a car - you should put them in a display case at home! :)

Author:  Karlos [ Sat Oct 24, 2015 12:55 pm ]
Post subject:  Re: NWL – Project Carmine Sprint

Skip the display case, do this with it:

Image

Author:  James467 [ Sat Oct 24, 2015 2:09 pm ]
Post subject:  Re: NWL – Project Carmine Sprint

That's our stand at the NEC next year!! :lol:

Author:  tinweevil [ Sat Oct 24, 2015 9:10 pm ]
Post subject:  Re: NWL – Project Carmine Sprint

It's when you look at pictures like all those brake part exploded views above that you begin to realise just how many parts there are in a Dolomite. I wonder if anyone, even those in the factory, ever managed to tot it up?

Author:  Carledo [ Sat Oct 24, 2015 9:14 pm ]
Post subject:  Re: NWL – Project Carmine Sprint

Re=assembly of this car will be be a pure joy, a bit like being in a factory building new Dolomites!

But I can't help feeling the finished article will be "too good to drive" - which would be a shame!

Steve

Author:  James467 [ Wed Oct 28, 2015 11:21 am ]
Post subject:  Re: NWL – Project Carmine Sprint

It was great to see everyone at the Restoration Show last weekend and to put some faces to forum names!!

If you're reading this thread for the first time or aren't a club member this is a taster of the panels that the club can supply.

Image

As far as I am concerned the brake and clutch hydraulic systems are finished and ready to be refitted, the pedals and handbrake still need to be reassembled but I'll do that when everything is back from the powder coaters. So spurred on by the show and my interview with Fuzz Townshend I have been cracking on with the carbs and inlet manifold this week.

A huge thanks to Mr Wilkes for putting a couple of dabs of weld on my air box for me where it was hitting the battery clamp, I can flat that back nicely and you wont see it by the time I'm finished.

Image

What's interesting is that I seem to have a TR7 Sprint air box with the dipstick holder on it. Steve, you were right here. I can only assume that as this is a very late car they ran out of Dolly specific air boxes and as the TR7 Sprint was apparently ready for full production before they closed down the Speke plant they may have been using up excess stock from that. I suppose that the only way of confirming this is to have a look at the final car built at Gaydon.

Image

I have now moved on to a dilemma of dashpot polishing, the inlet manifold and head both look so good that I wonder if it would suit it. I personally don't like it but the problem is that a concours judge my be 'of the opinion' that they were supposed to come with them polished and 'he/she prefers it that way' so if it's the difference between coming first and second I'll probably just have to go with it.

I'm interested in other peoples opinions here though.

Image

Image

Author:  tony g [ Wed Oct 28, 2015 12:43 pm ]
Post subject:  Re: NWL – Project Carmine Sprint

On the TR7 airbox comment James, I bought one recently thinking it would fit my sprint but the carb spacing is different between engines. Using my original backing plate and the TR7 cover it works so yours may be a hybrid too. I did wonder when I saw your pics previously if you had actually fitted it.
I missed you at the show but saw your car on the stand, great project and a nice display too.

Tony

Page 20 of 40 All times are UTC+01:00
Powered by phpBB® Forum Software © phpBB Limited
https://www.phpbb.com/