Quote:
Quote:
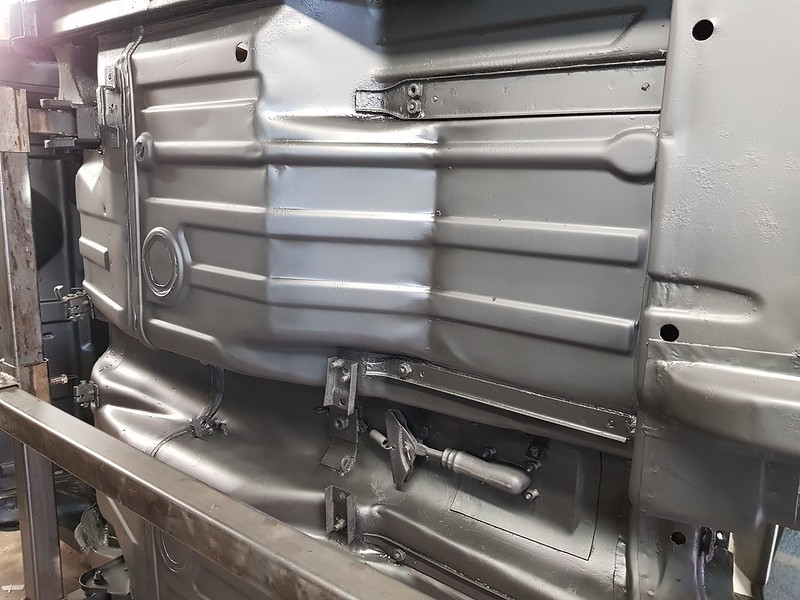
I don't know about James, but I cut it off because a) it's not original and b) it's a rust trap if it's folded up, there are SUPPOSED to be drains in the sill, I always make sure to make some. That's not possible if the lip is folded over.
Steve
Steve
Thanks , didnt know the sill was meant to have drain holes
Dave
If you look at a rare original, you will see there are drains formed in the inner sill, at least 3 of them, maybe more.
This often disappears, along with the lower sill edge when the tinworms bite and the club undersill panel, lovely as it is, doesnt include them. So I make them in the outer sill at the clamping on stage (front, center and rear) by clamping a large screwdriver blade between the outer and inner sill with a panel clamp. Works for me, the drains are regular in shape (so don't look out of place) and slightly larger and more efficient than the originals. Lets out accumulated water AND excess waxoil/whatever you use, so the sills don't disintegrate from tinworm 2 years later!
Steve