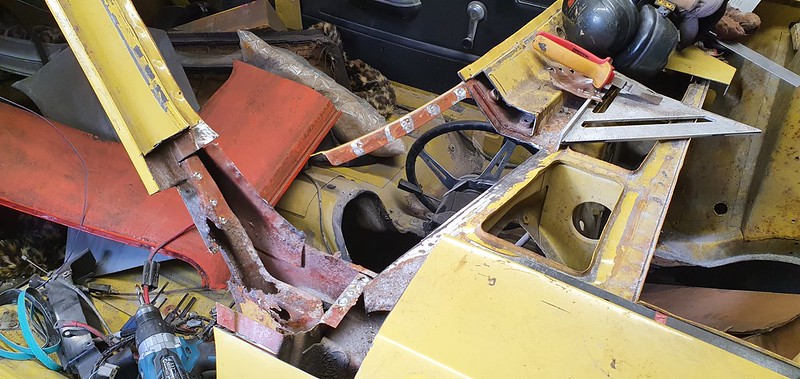
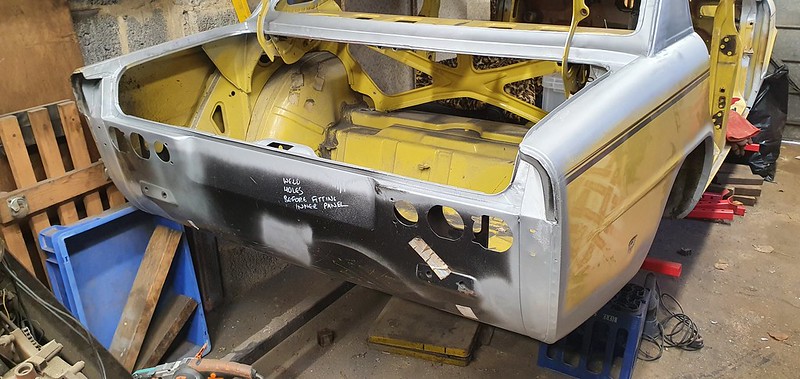
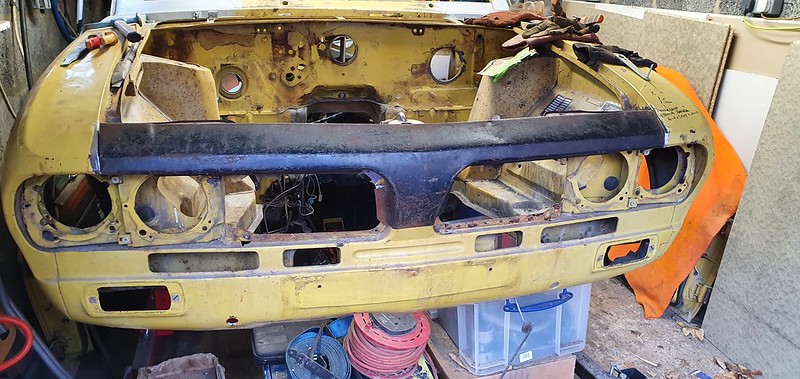
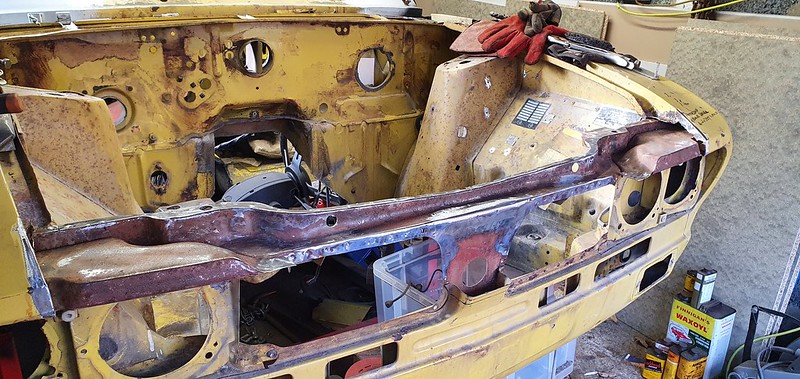
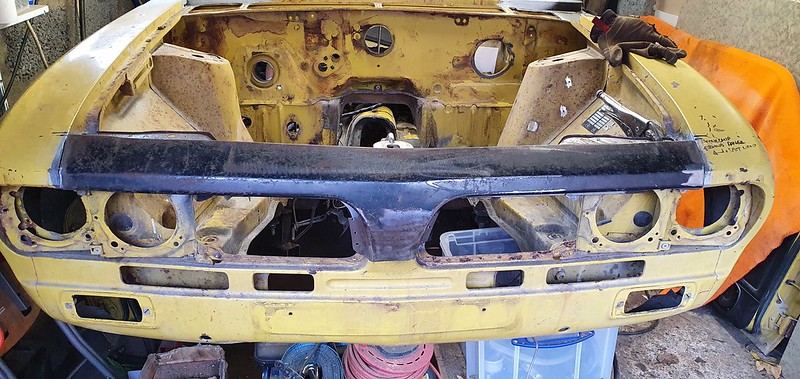
On to the front panel, easiest way to remove it was to cut it off then drill out the spot welds and pull off the seams.

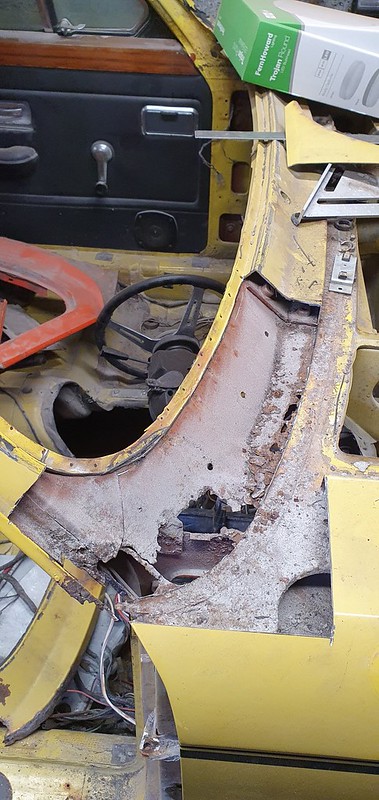
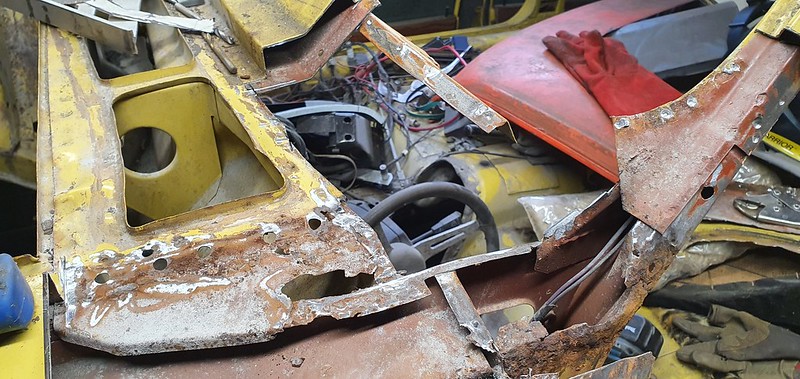
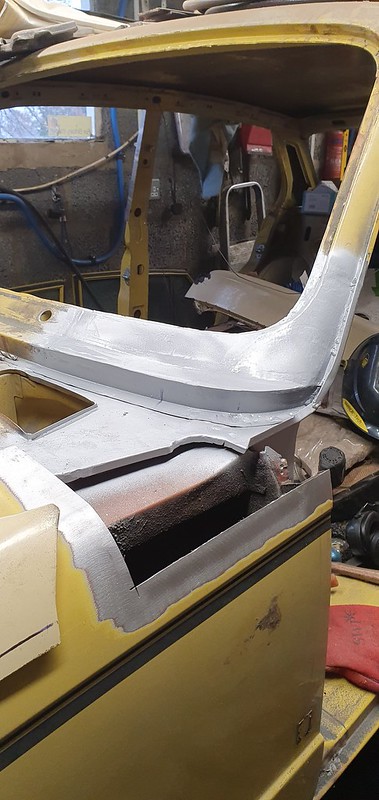
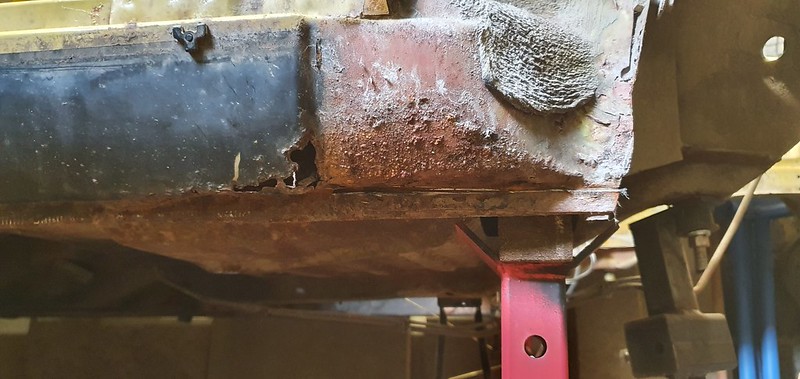
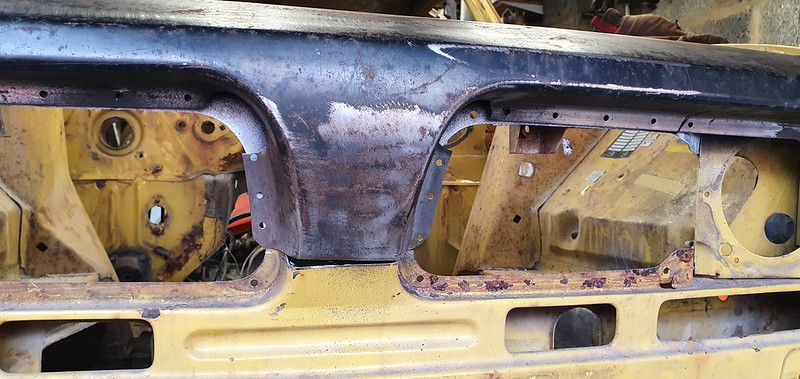
The top of the front inner valence was filled with mud!


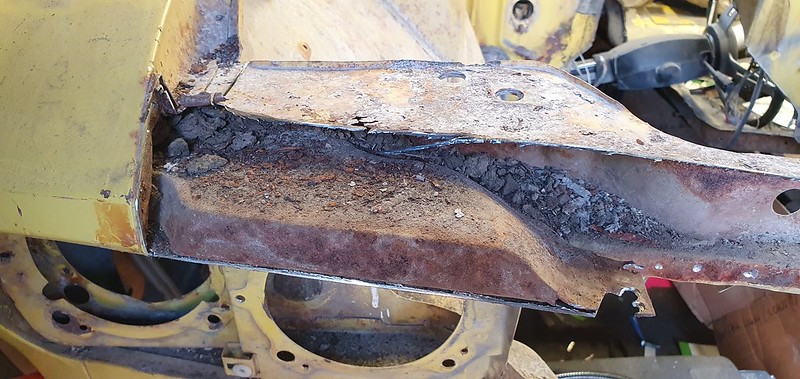
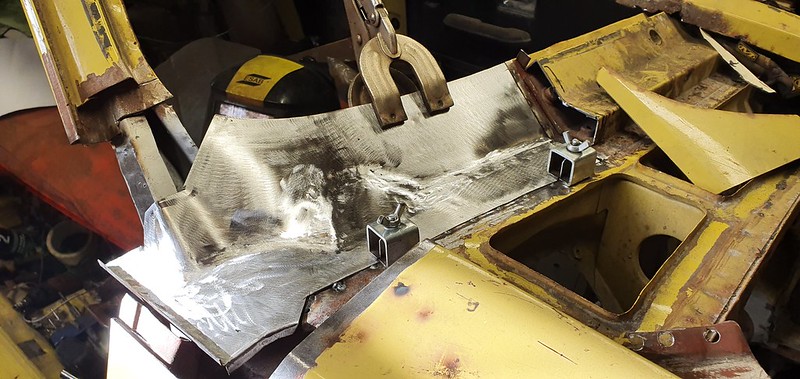
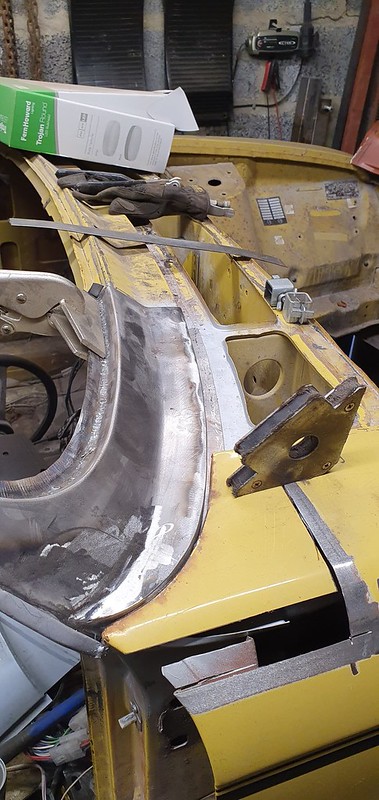
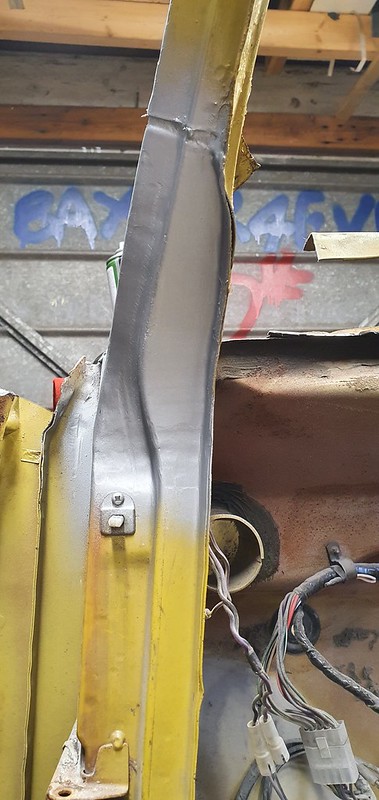
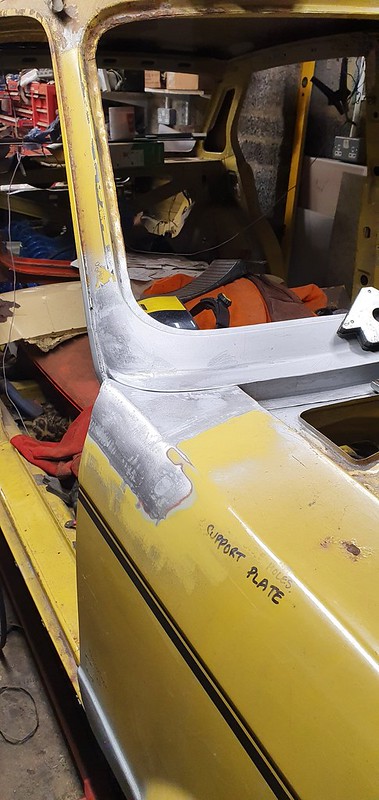
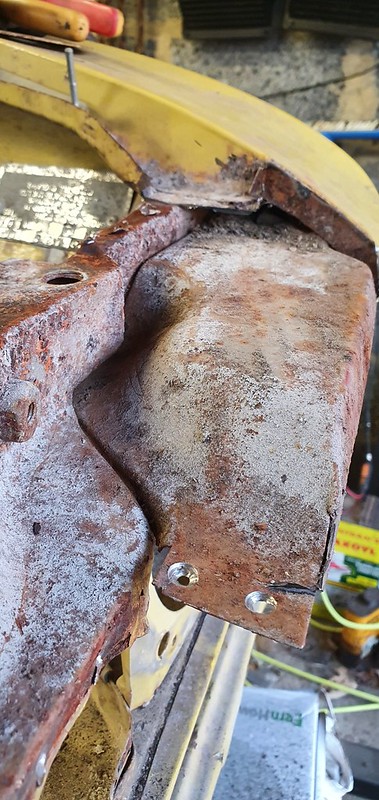
After all of the debris was cleared the inner panels were in remarkably good condition, only a small section of seam and a small patch was required.
The car was supplied with a replacement front panel. I don't think it was original, either that or it was a late one, it needed some fettling to get it to fit.
First fit was ok...
So with that I repaired any rust holes and prepped the panel.


It received a going over with the wire brush or as i call it 'the wheel of death' on an angle grinder, followed by a coat of some Bilt Hamber rust killing solution then a coat of rich Zinc primer.

The inside of the panel received the same treatment

Then both panels received two coats of stonechip.

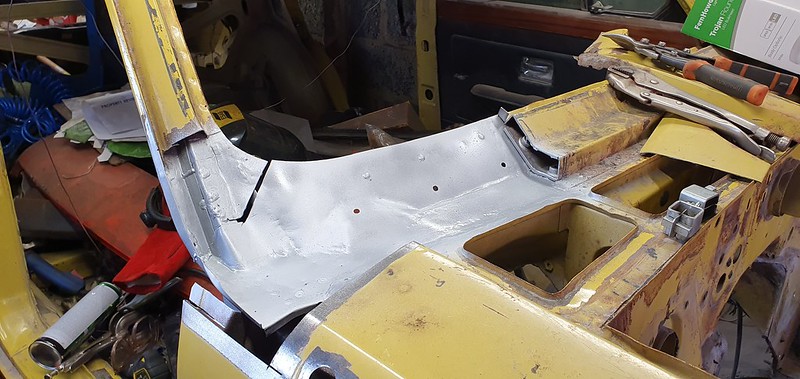
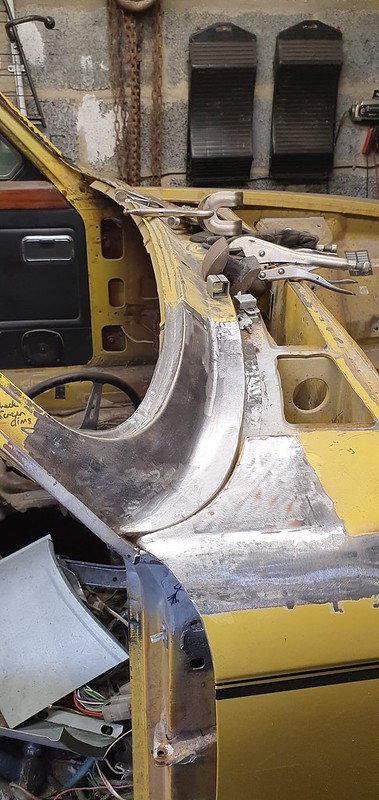
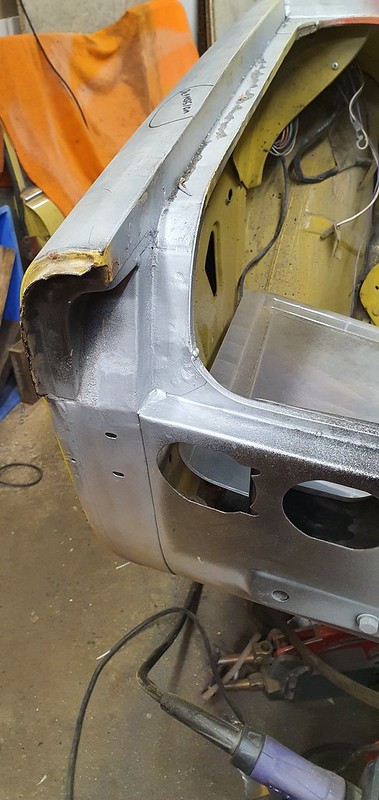
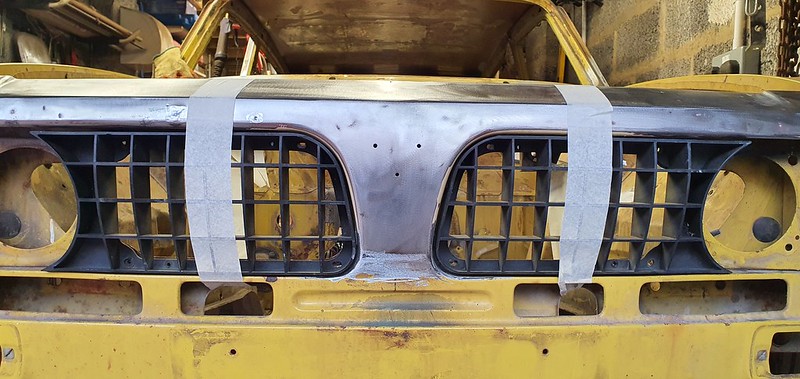
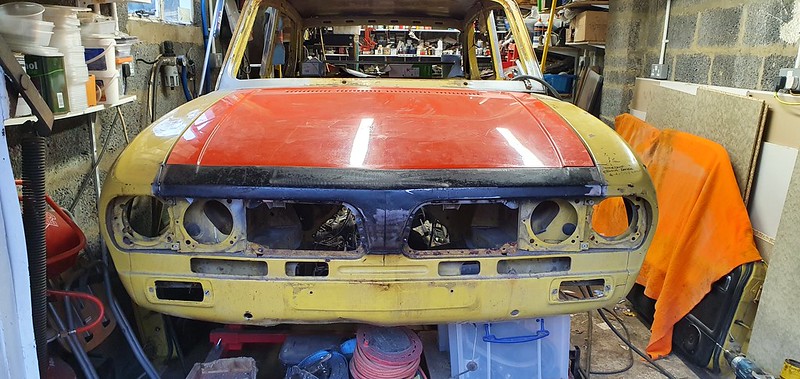
Then I could get the panel on and lined up properly. I tend to start at the top with these, get the bonnet aligned then work down and it all falls into place.

I have had to adjust the seam on one of the sides to get the panel to sit central and square.
It looks like it doesn't line up, that's because I haven't pulled the panel down yet!

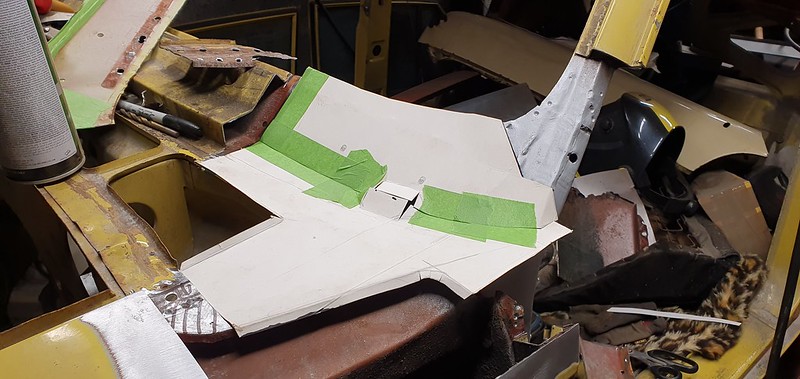
I marked the center lines on both the panel and existing lower valence to ensure that they are perfectly central.

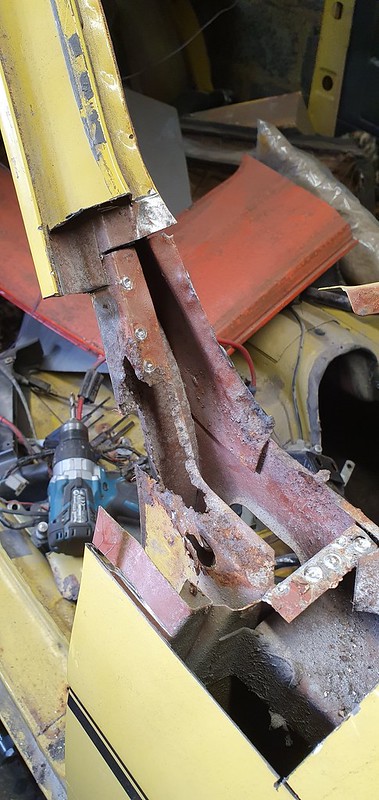
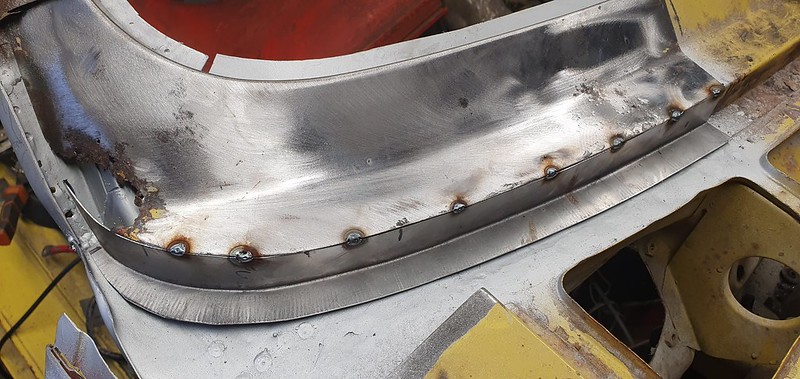
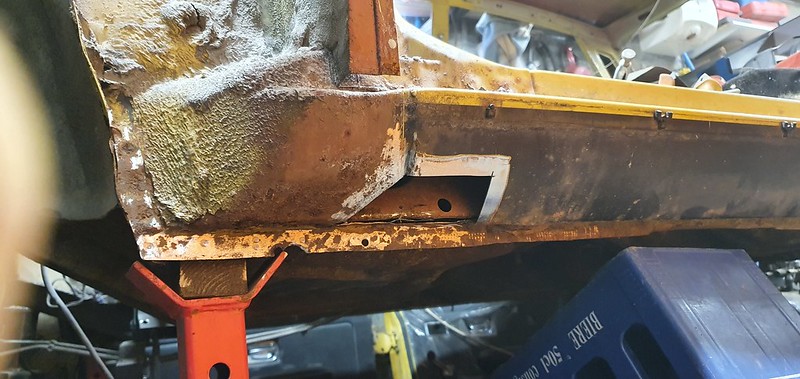
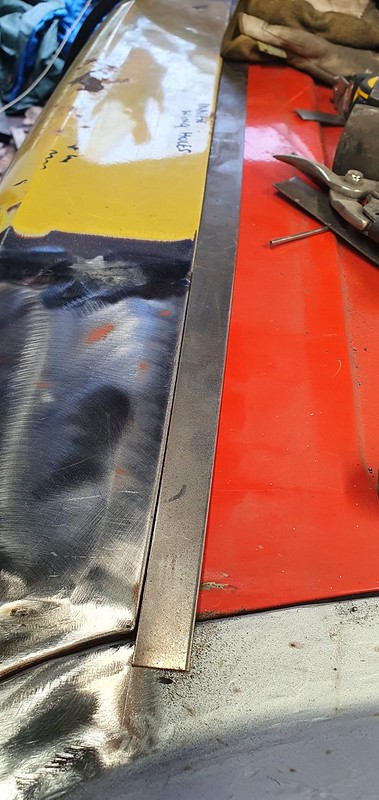
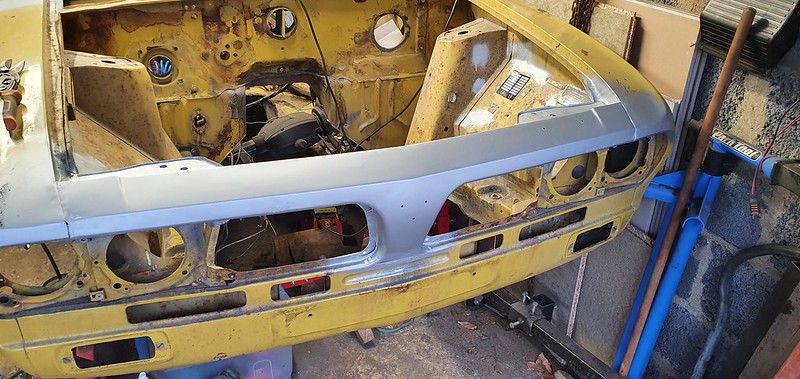
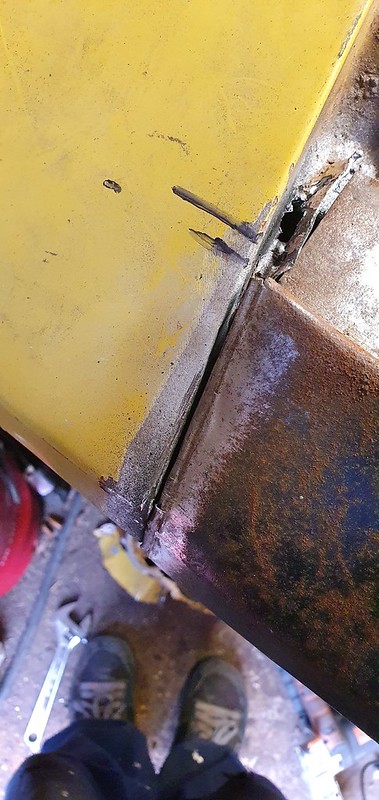
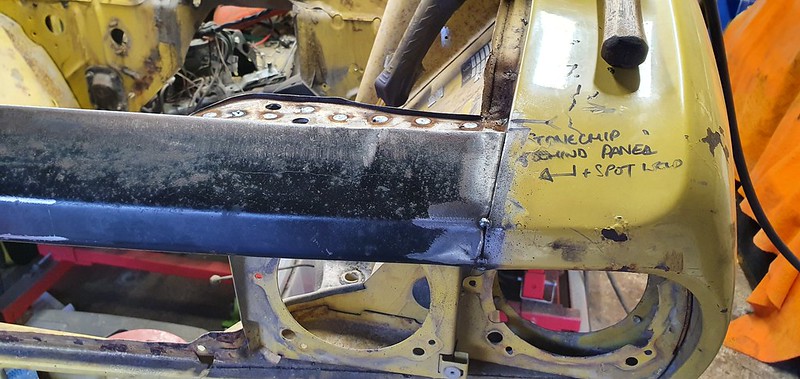
This section is too long and needs to be removed

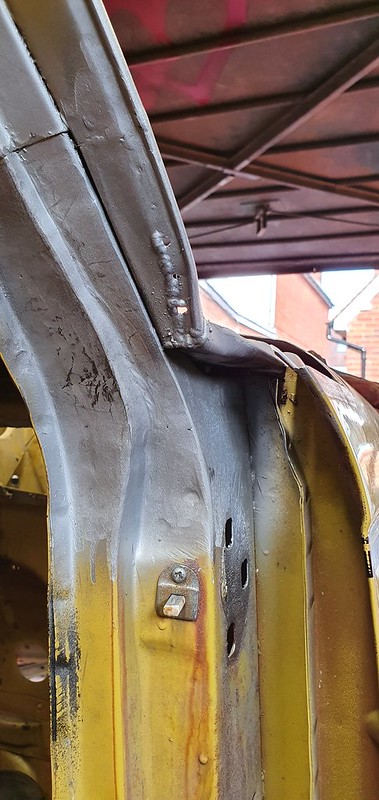
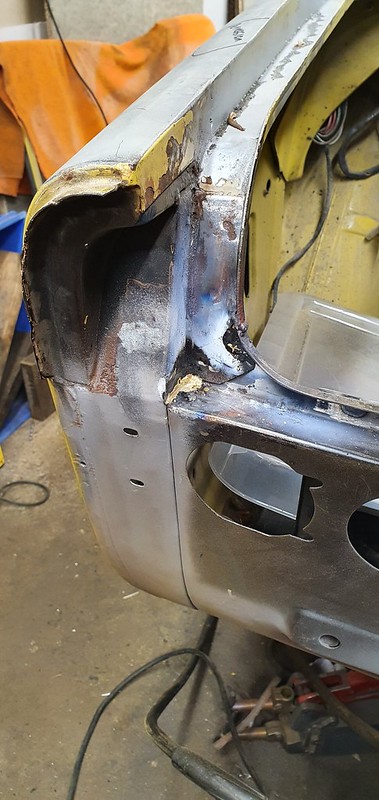
Originally this join is spot welded on the inside, unfortunately it's impossible to replicate this when replacing the panel with the wings in situ. What I do is to tack the corners to hold the alignment, this allows me to fold the panel and dress it down over the front of the wings before spot welding. The tacks get ground off and some flexible adhesive sealer injected into the seam to hold it.
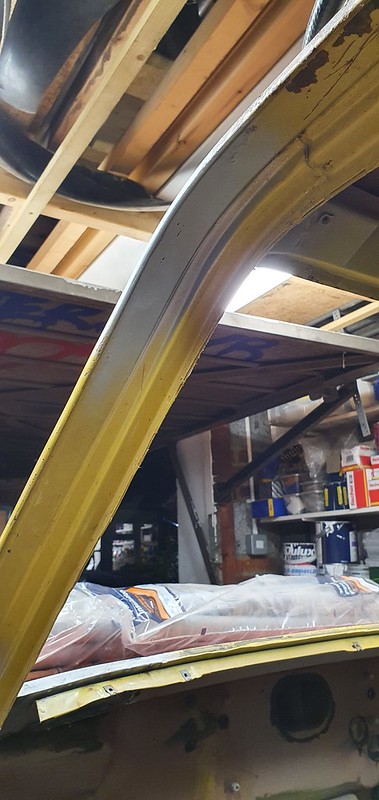
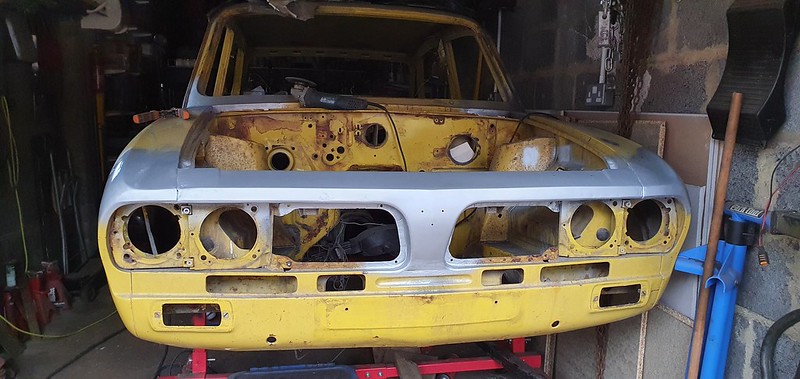
Final check that the bonnet is aligned!

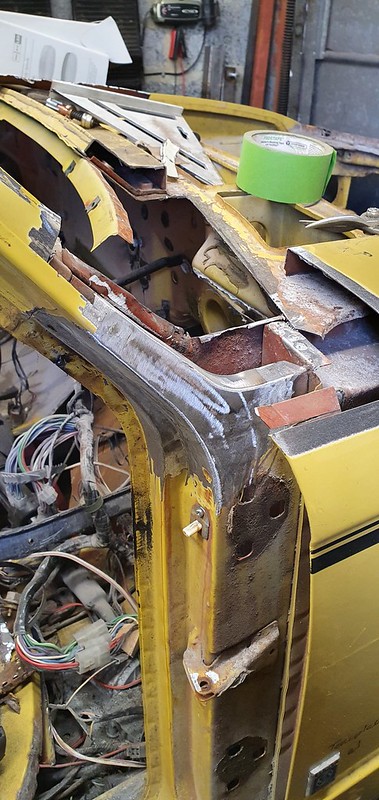
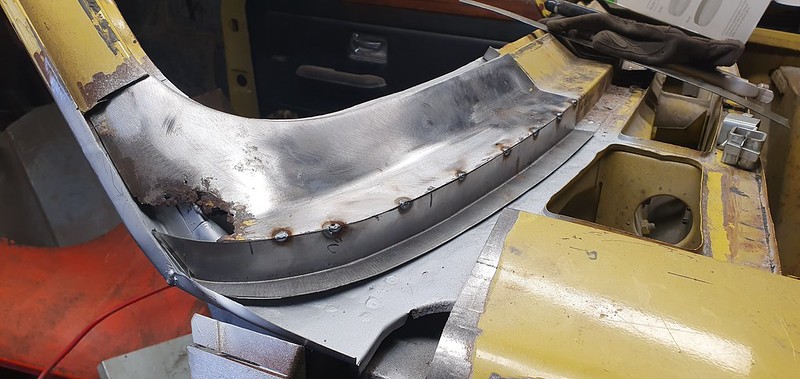
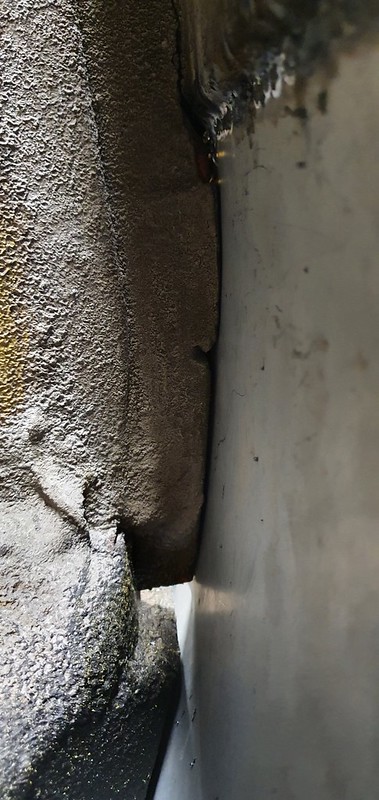
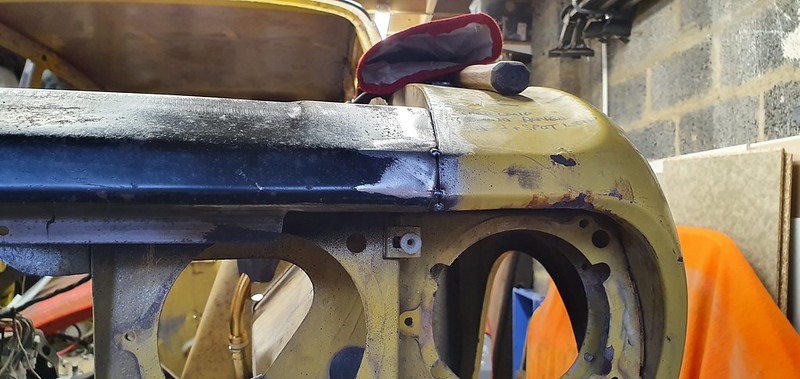
It is then spot and plug welded in

Quite pleased with that
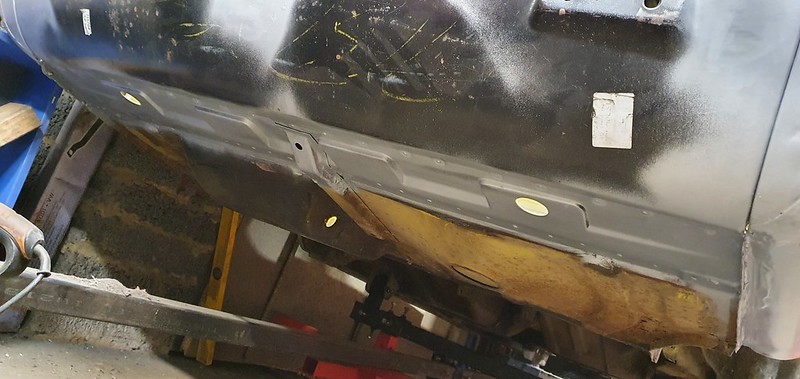
The panel has some small dings from storage so I have removed the paint and pulled out the majority of them, the welds need linishing but I'll do that later.