As my new company is settled now in the new building and all has it place there's finally a bit more time left to continue this project and to finish it. Last week I started with the gearbox. I do not have any 8 valve engined Dolomites anymore but when I had, I had sprint gearboxes attached. I could choose to use a sprint box for this 8 valve also and i did save a shortened propshaft to fit but instead I decided two years ago to use the single rail 1850 type gearbox. Reason one is less modifying because this slant 8v going to replace the original 1300 engine and gearbox and reason two is that I have a lot of new parts for these boxes so why not use these. There's also a lot to choose out of crates full of used parts and in the early day's when one did loose it's theeth it only did cost a gasket set to have a good box again. If this box decides to go I can alway's opt for a sprint box or have a look in the crates again.
This box was cleaned and stored about two years ago but dry stored. When assembling a gearbox it's very importand to have a factory workshop manual and a parts manual. The parts manual to check if all is complete. You can be a star in remembering how all was put together but was it put together the right way by the one before you? The factory workshop manual has all the data about play between bushes and gears. For the overdrive I use the Volvo manual. The Volvo manual J type has a lot more info about the play and assembly than the Triumph manuals. All can be found by Google.
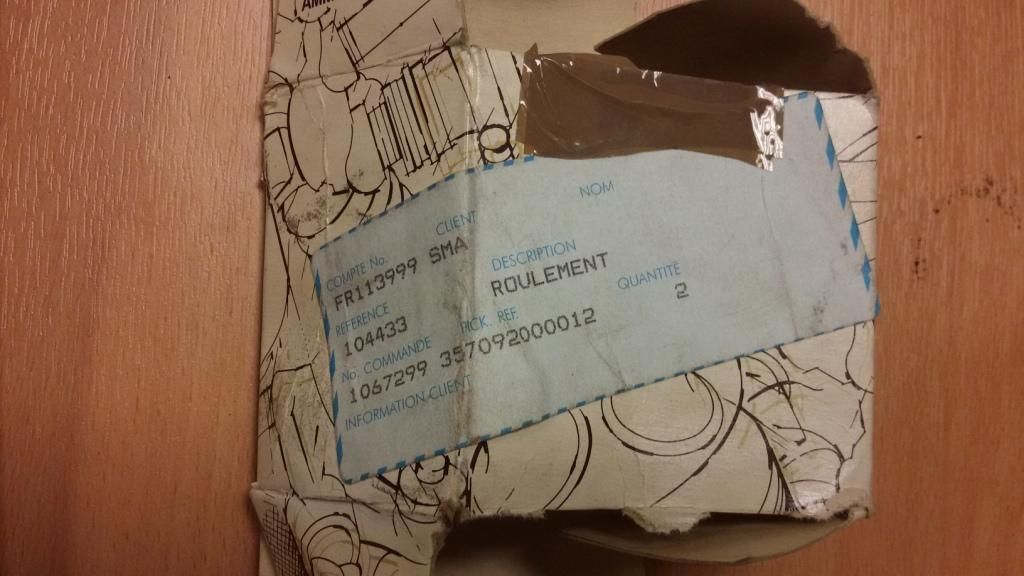
As for the new parts, they are cheap, available and why not use them. Springs, balls, thrust washers and circlips are pennies. For the main bearings it pays off to search NOS ones. The size 1 is available by all branded bearing manufacturers but the one with the groove isn't. Only one Chinese manufacturer and those bearings are rubbish but if none availbe unfortunately the only one you can to use. Easy to identify. The original branded ones like Timken,RHP or SKF have 7 big balls and the cheap aftermarket ones have 8 smaller balls. I do have some stock of various original ones and the ones now fitted are from an ex BL/Rover dealer in France.
This box also gets a new mainshaft and selector shaft. Most of the time these are worn where the plunger runs on. These shafts are still available i thought and were about 20 GBP.
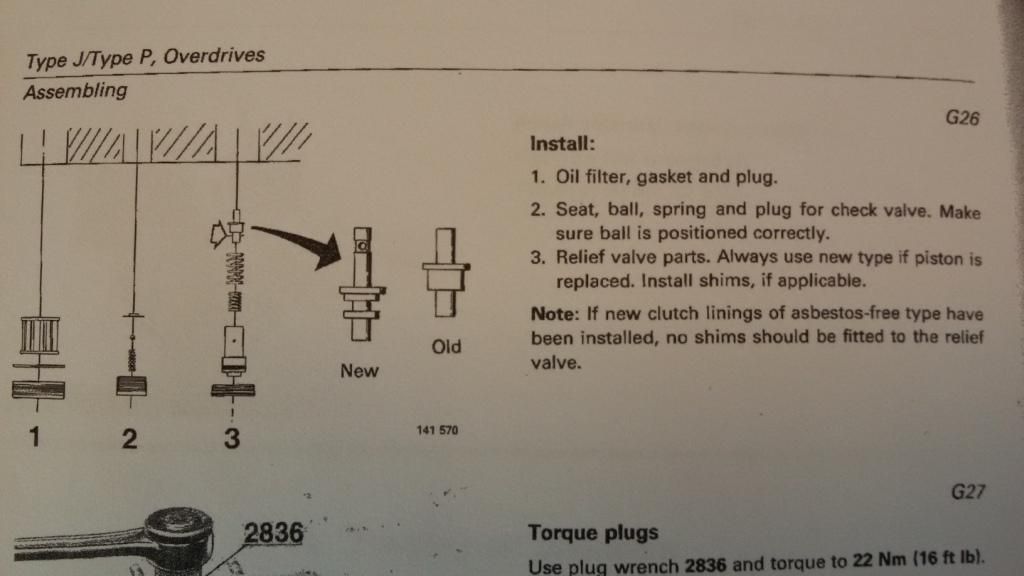
Usefull info not found in any Triumph overdrive manual.
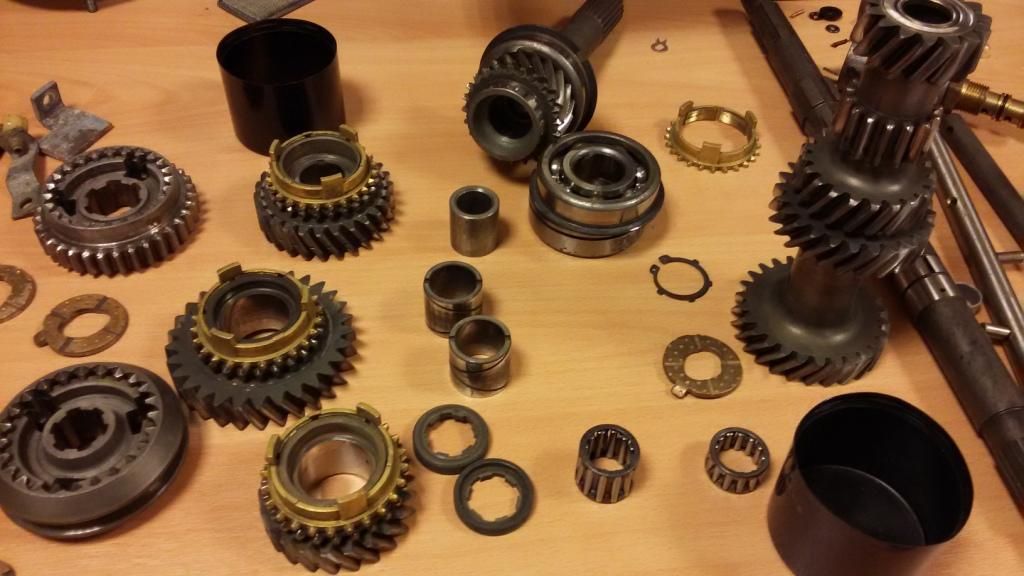
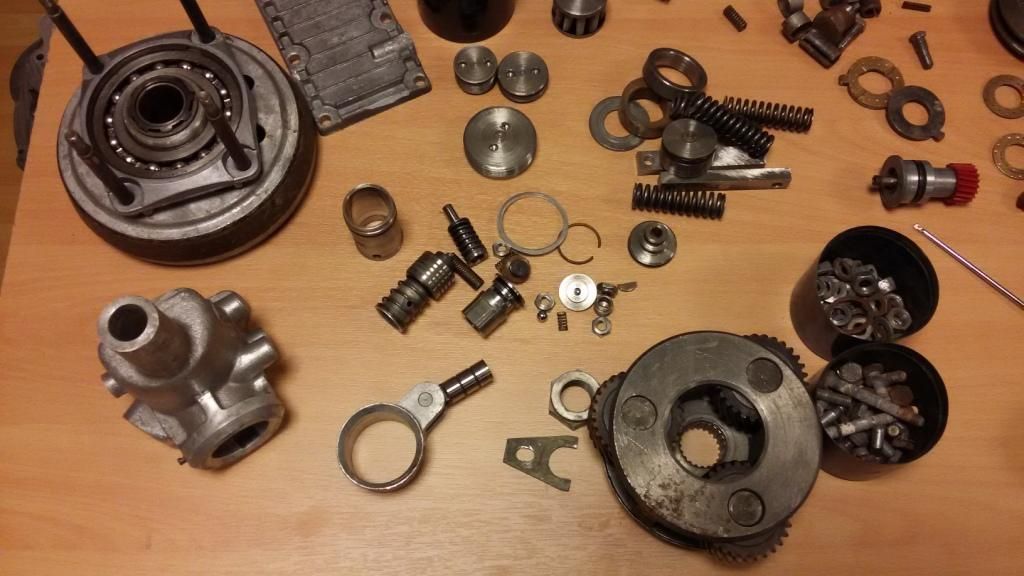
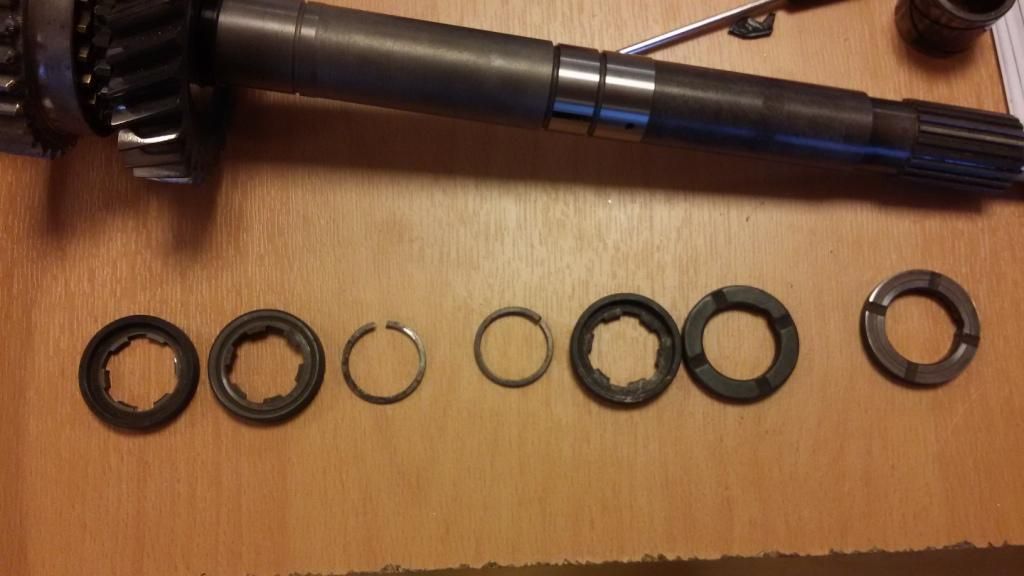
The cleaned parts.
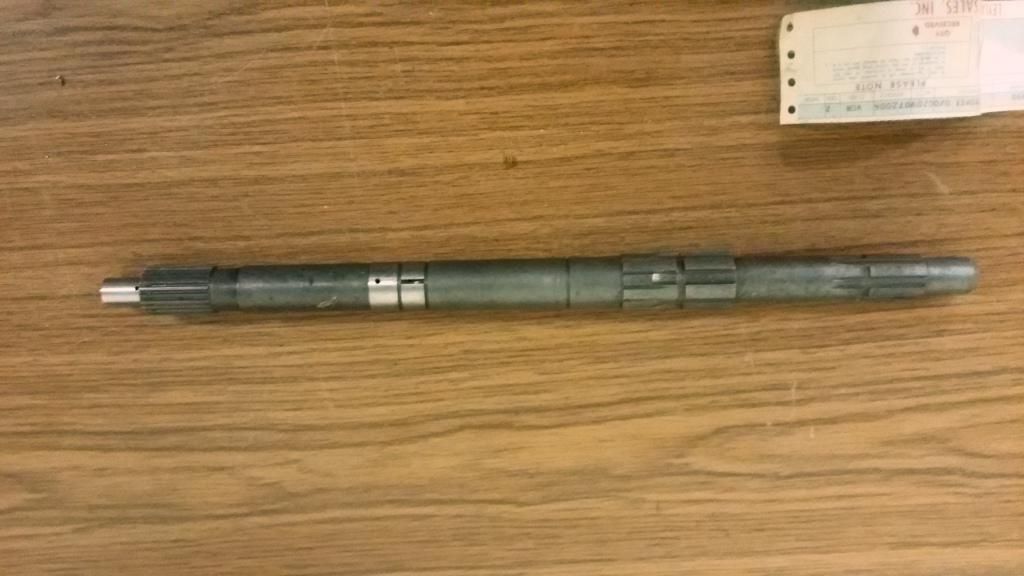
New mainshaft o/d type.
New selector shafts o/d/ type.
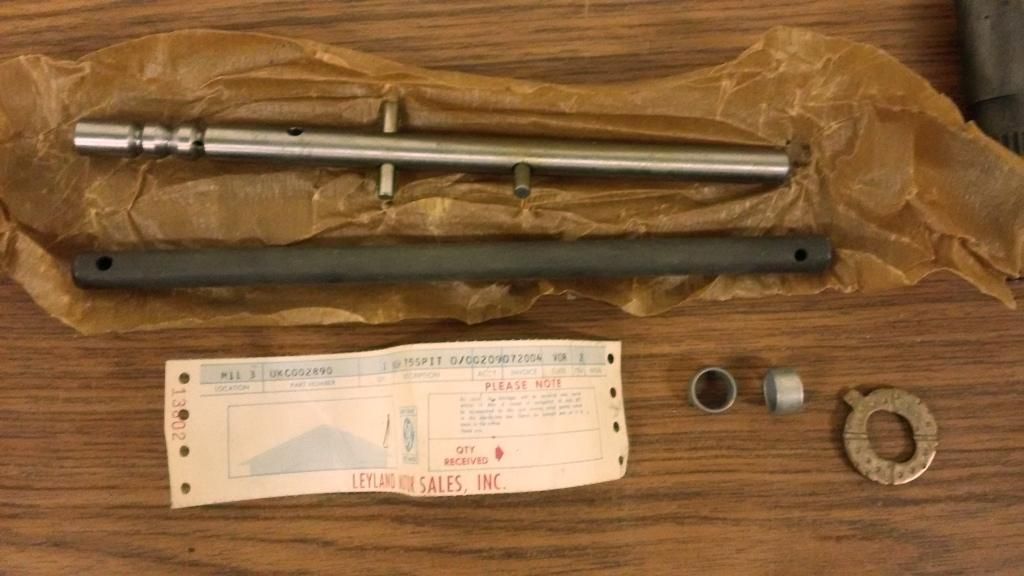
Original NOS bearings. The Size is MJ1 and a G for groove.
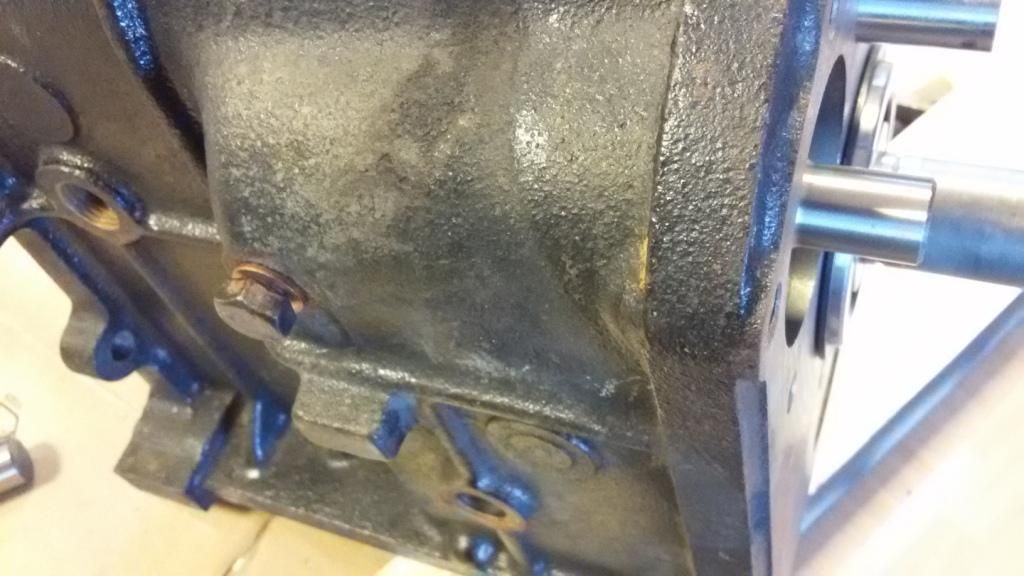
Here the new bushes fitted in the end casting. Those are most of the time very worn. Partnr. UKC2890
Inputshaft bearing replacement. Alway's use the old bearing to fit the new one. This way you can never damage the area where the oil seal runs on.
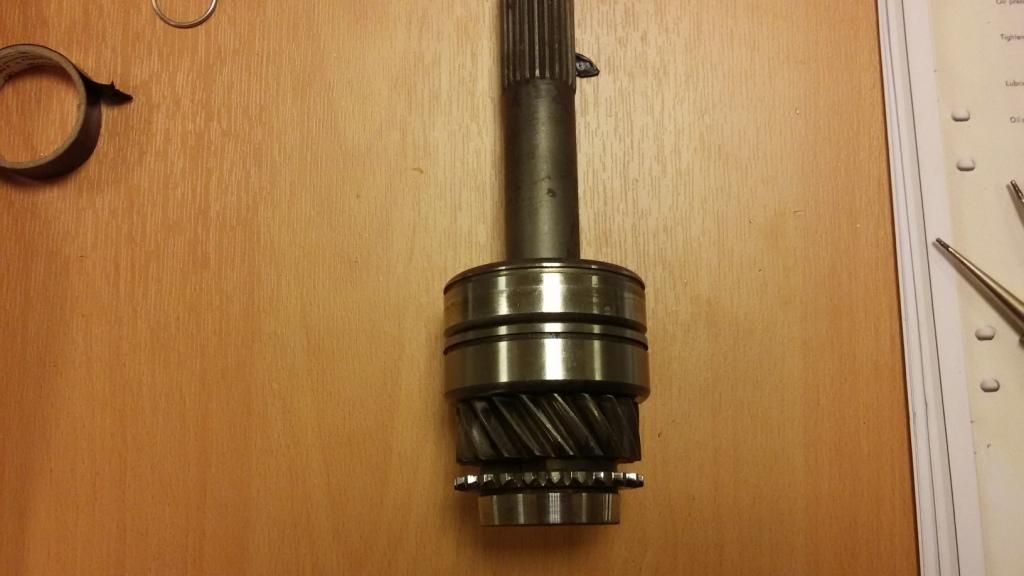
The right sequence of spacers and bearing. These spacers are different but do fit both way's. Make sure they are fitted the right way.
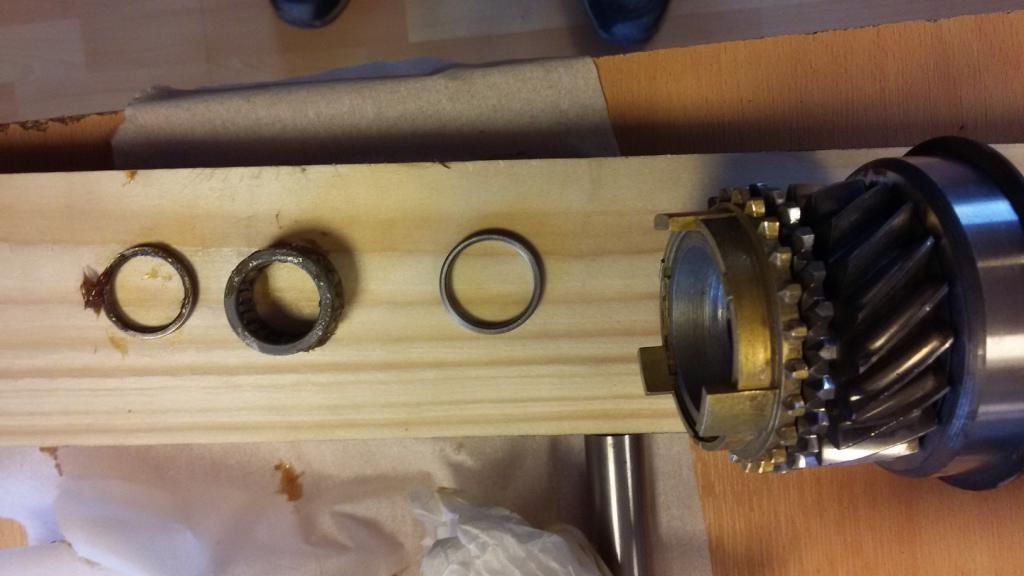
Checking the play of the main shaft bushes. When you have a few boxes you can measure the different washers from different boxes to adjust the play. Never add any thin shims because these don't last in gearboxes in between of rotating parts. It's better to have 0,1mm too much play than add a 0,1mm shim if the right washer is not available. The circlip must always be replaced. When the washer behind it is worn replace that also. In the pic you can see the washer is worn. Most of the time when replacing this washer the total play is within the limits so no other selectable size washers needed. In my case using a new mainshaft you need to adjust from new.
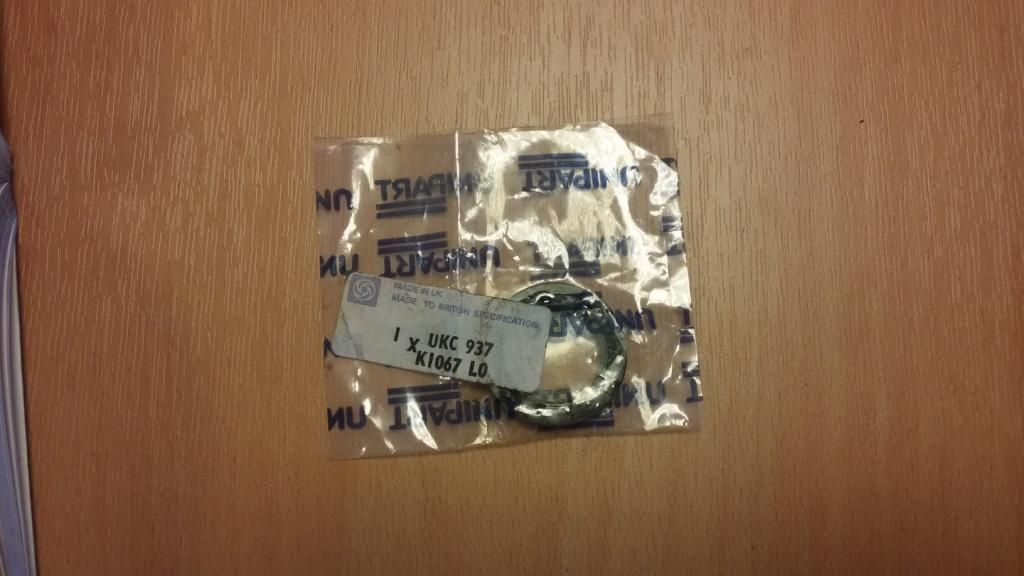
The best is to order three of these special circlips. You have to take those off again a few times when measuring and adjusting the play. Old ones are worn so not usable for adjusting play. When all is adjusted you can assemble the mainshaft and use the circlip that was never used before.
New front washer.
Use some grease to have the split washer in place and not falling off when fitting the mainshaft in the casing.
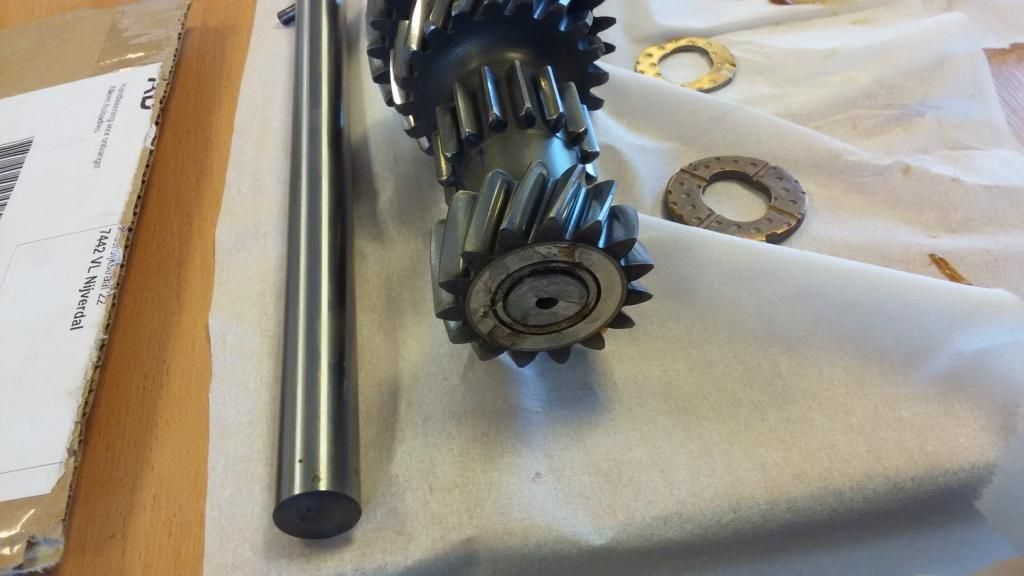
The layshaft and gear.

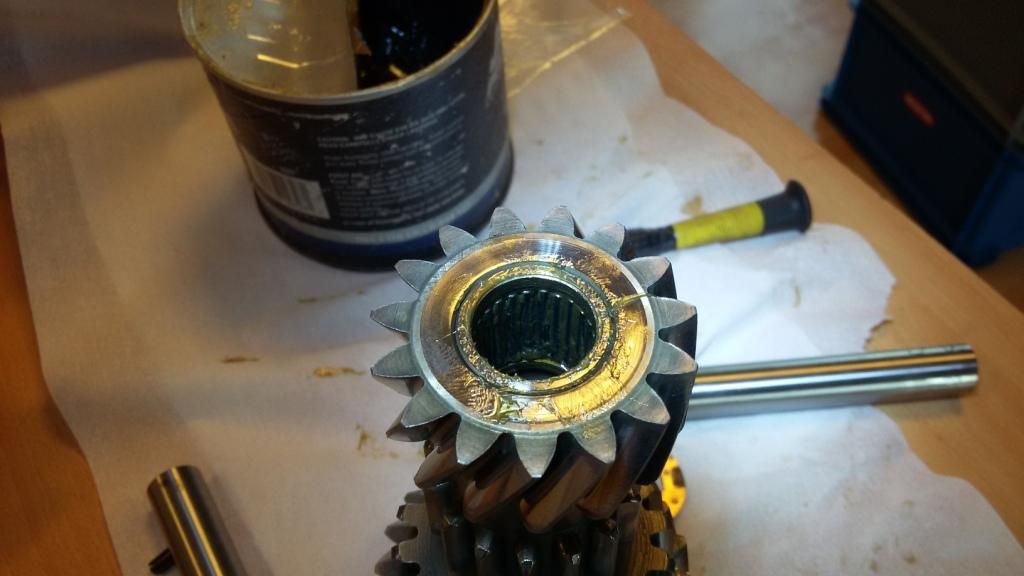
Use some grease to fit the needles. I use engine assembly grease from joe gibbs. It dissolves in oil. This is VERY sticky grease and full of ZDDP. This is THE grease needed for assembling camshafts and cam followers. Good lubrication the first few minutes before the engine oil takes over. And do count the needles. Put them in. Stick in the layshaft about 5 cm and take out and check if all seated and there and not one missing and lying in the laygear.
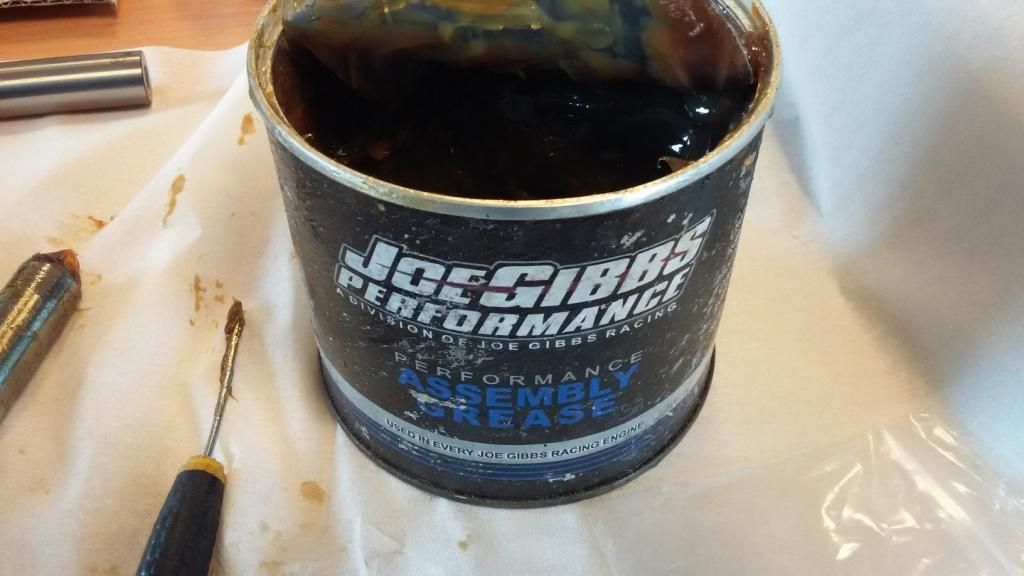
Grease.
The old layshaft can be used for assembly. When shortening and fitting inside the gear the needles can never fall off during assembly of the shafts in the casing. Adjust the play to the max. The layshaft axial bearings are in different sizes but having the max play the oil can get in. These needle bearings are one of the weakest things in this type of gearboxes so the most play, the most oil can get in between.
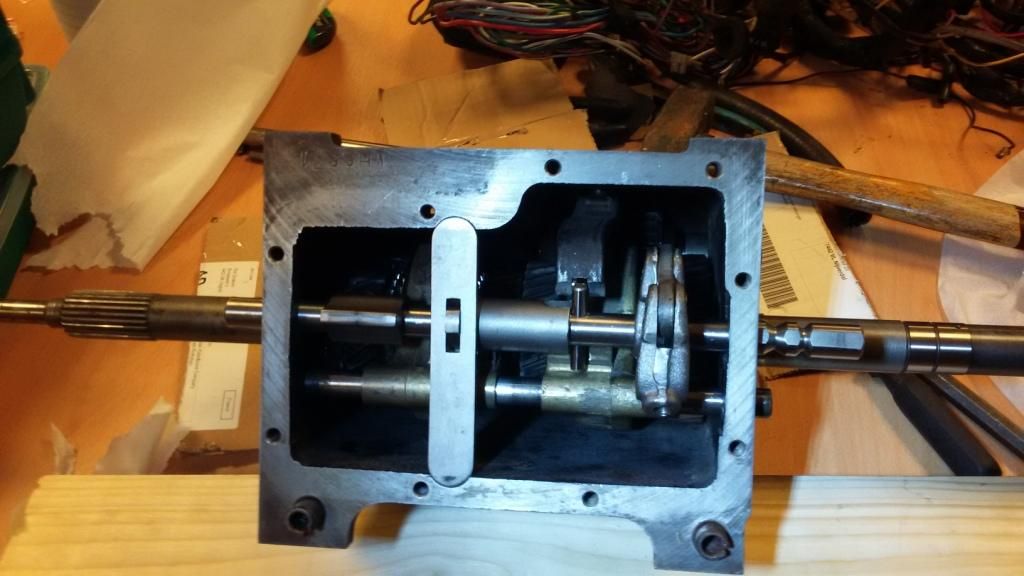
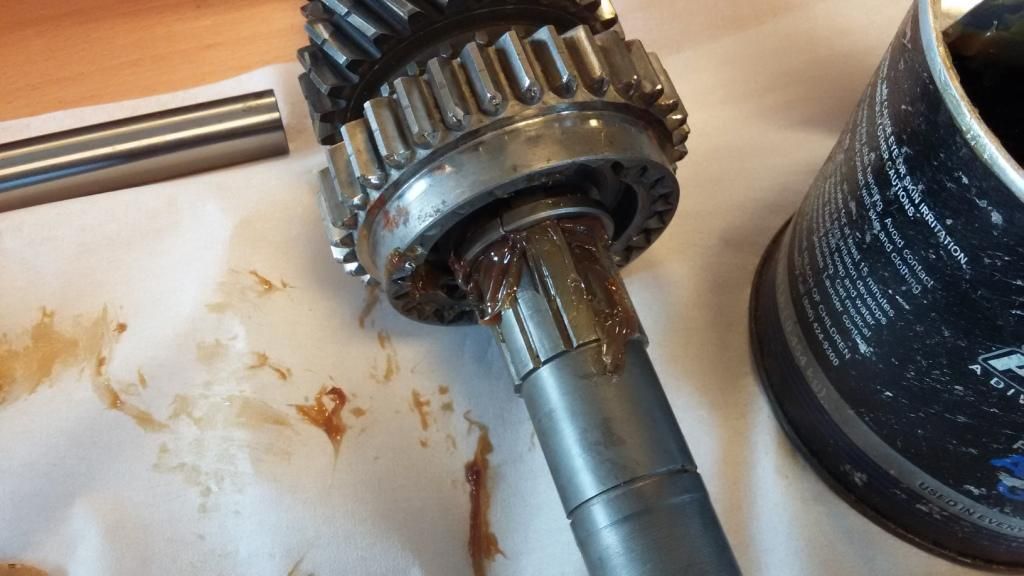
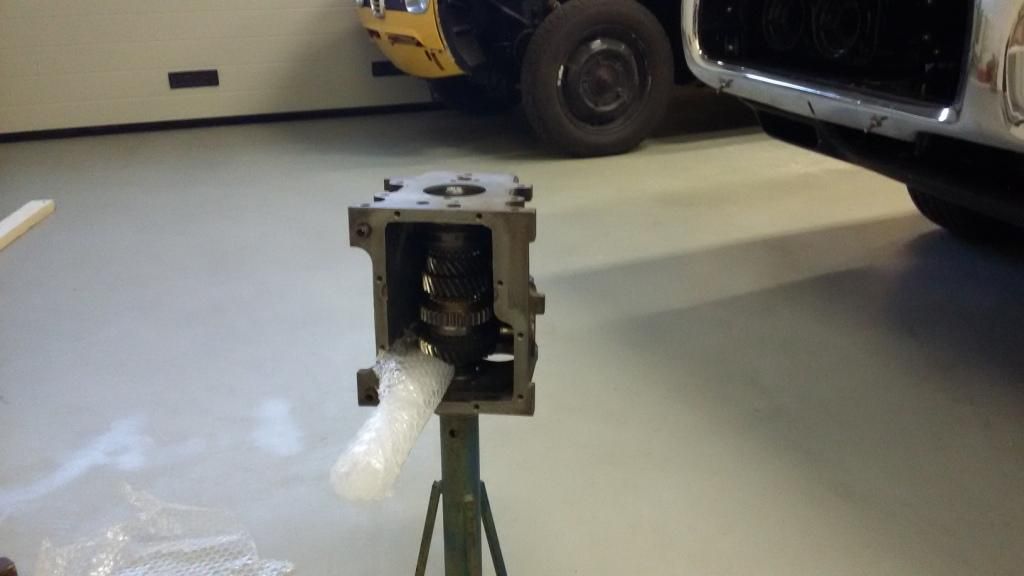
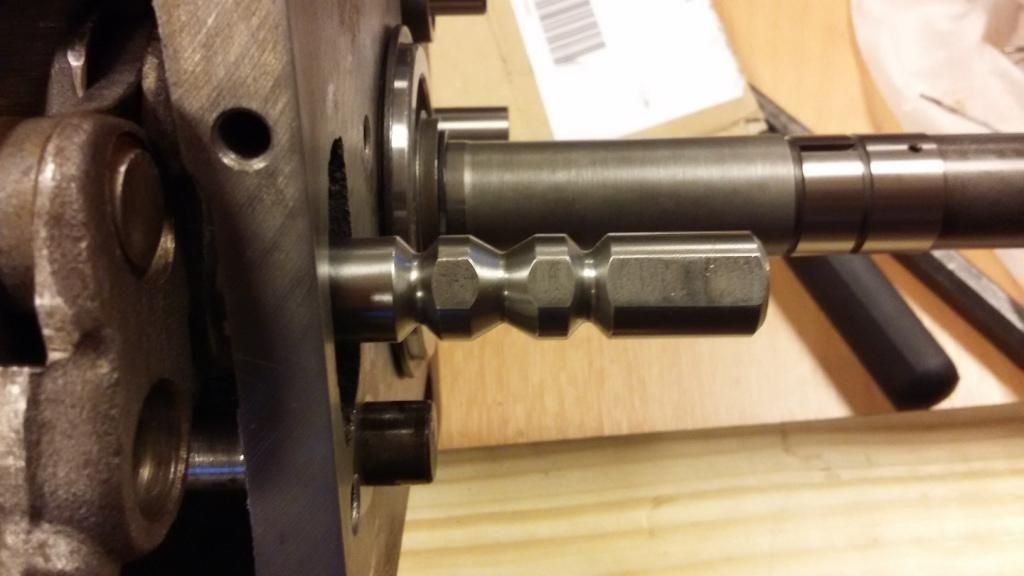
Fitting the mainshaft can look very difficult because the rear bearing has to be slided on the mainshaft and in the rear casing the same time with the gears not sliding off during assembly.
The special tools needed are here.
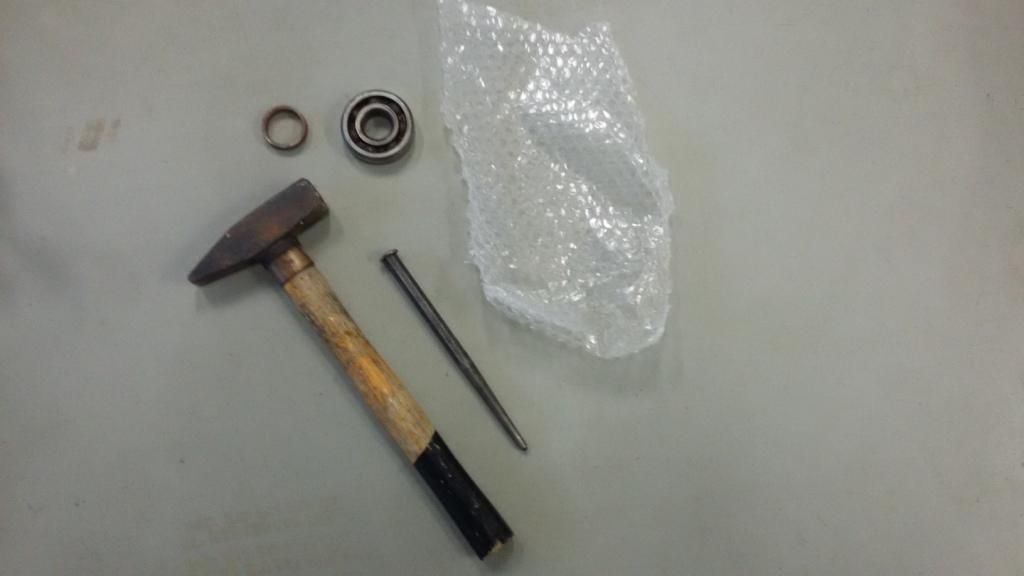
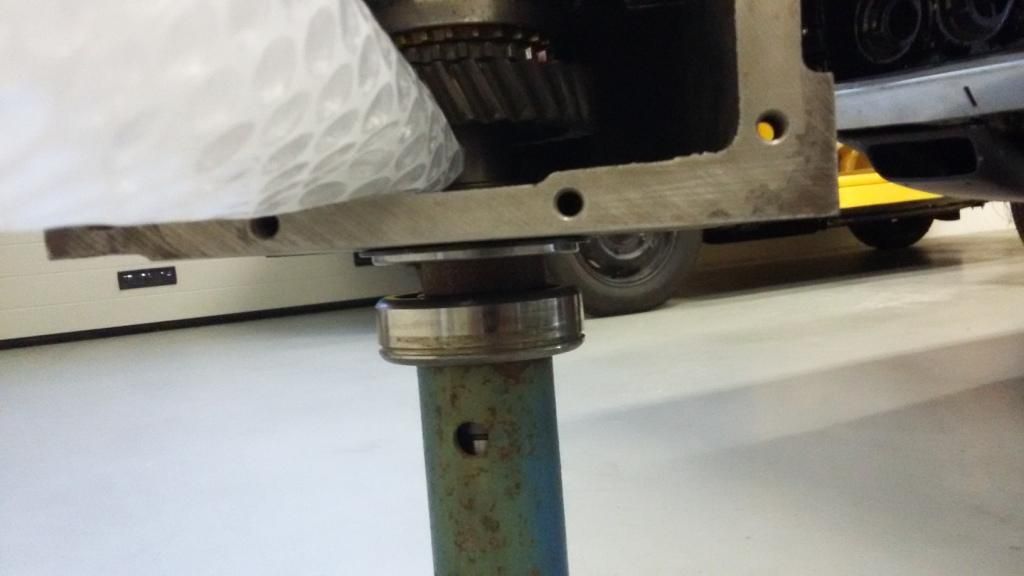
A spacer, an old bearing, some bubble wrap and an car stand. The bearing does slide in the casing with not that much effort and can be tapped in. Pressing the inner bearing ring over the shaft is a bit harder. The spacer is needed to be sure the force applied is only on the inner ring not to damage the new bearing. The bubble wrap makes the gear not to fall down and loose the split washer under it. During fitment you have to roll off the the bubble wrap a few times.
When the main and input shaft are fitted the layshaft can be fitted. This is also the time to have the reverse gear in position. When the layshaft is fitted there's no room left to position the reverse gear when it's the wrong way round. Have the box upside down and slide the new layshaft in and the old one does come out the same time. No distortion of the needles.
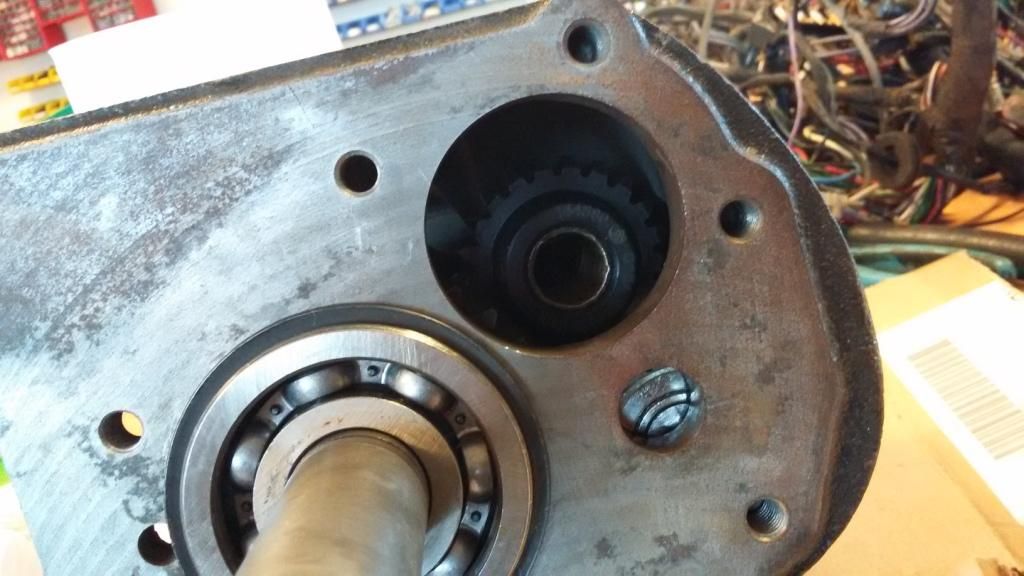
Fit the reverse shaft and put in the locking bolt. After further assembly you cannot line up the hole in shaft anymore and can cause the bolt not to fit.
Check the forks for wear. These are in a very good condition. No wear, just marks.
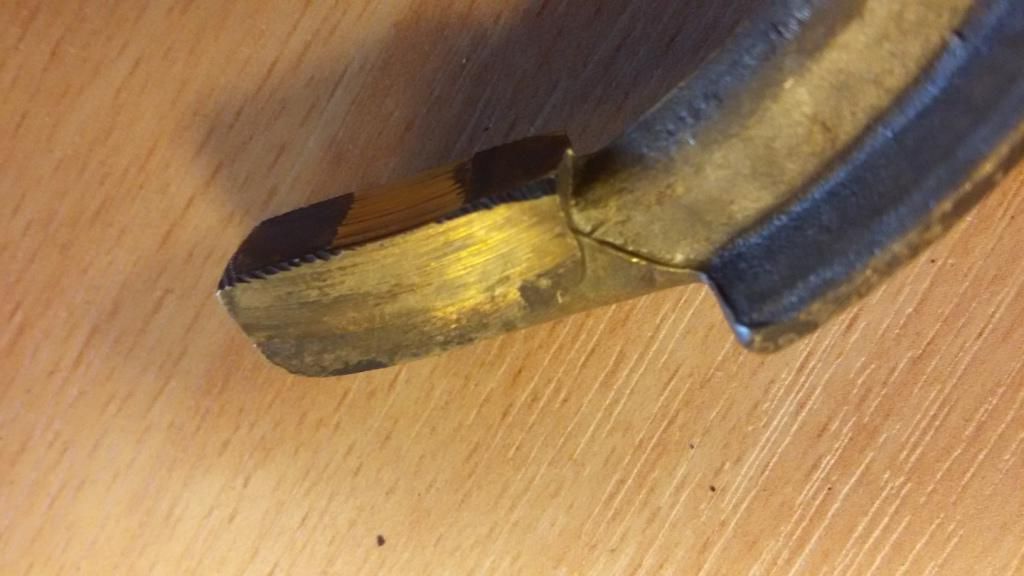
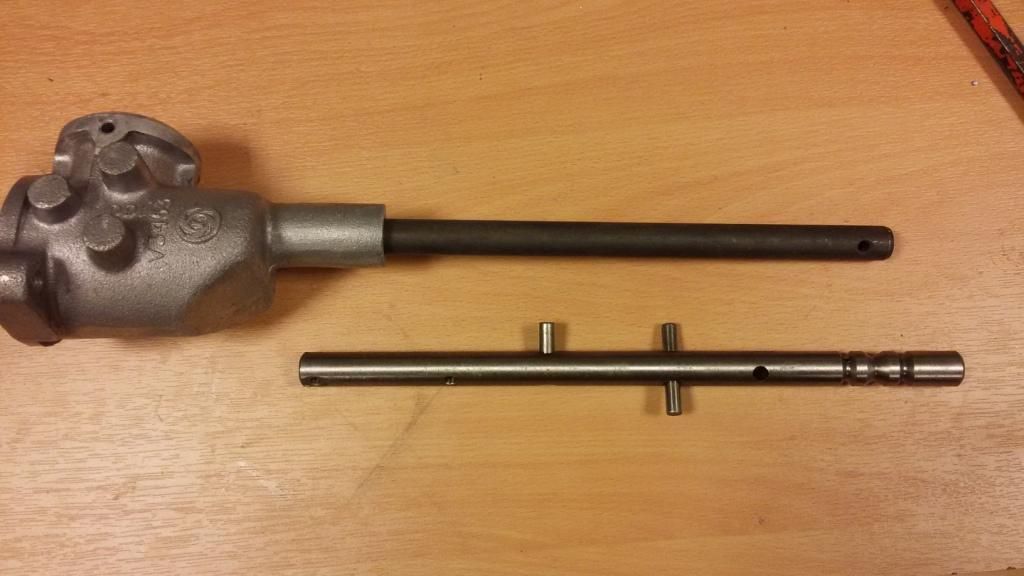
This selector shaft is new. Most of the time there is a lot of wear on this spot where the plunger runs over. Wear causes not so smooth gearshifts and in extreme cases making the gearbox jumping out of gears.
All should look like this.