Project SFB
2011 Mini Clubman John Cooper Works. S Daily Driver.
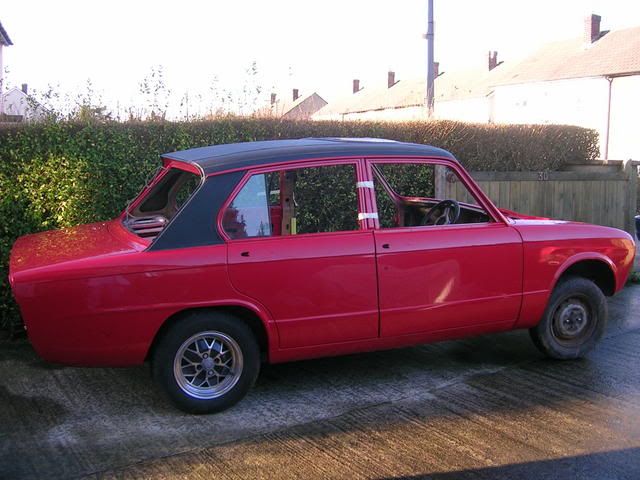
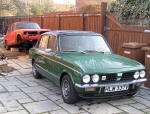
1980 Dolomite Sprint with a touch of BLTS
Balanced Lightened and Tweaked 13B Rotary and SsuperCharged.
Back in my possession 22 September 2019.
Rebuilding the Sprint time taken so far, 111Hrs@15/12/2020
212Hrs @31/12/2021
352 @ 28/11/2022
455Hrs @ 20/10/2023
565Hrs @ 07/12/2024
This is time taken at the Sprint not necessary time worked.
Member TDC no 0471
Project 13B Sprint now back on..
No Pistons No Cams how’s it gonna Run Brap Brap?

-
Lee Flintoft
-
Sprintinbits
- Guest contributor

- Posts: 1406
- Joined: Wed Oct 18, 2006 7:56 pm
- Location: Sunny Hertfordshyre
-
Mad Mart

- TDC Member
- Posts: 8529
- Joined: Tue Oct 03, 2006 5:48 pm
- Location: Winscombe, North Somerset, England
- Contact:
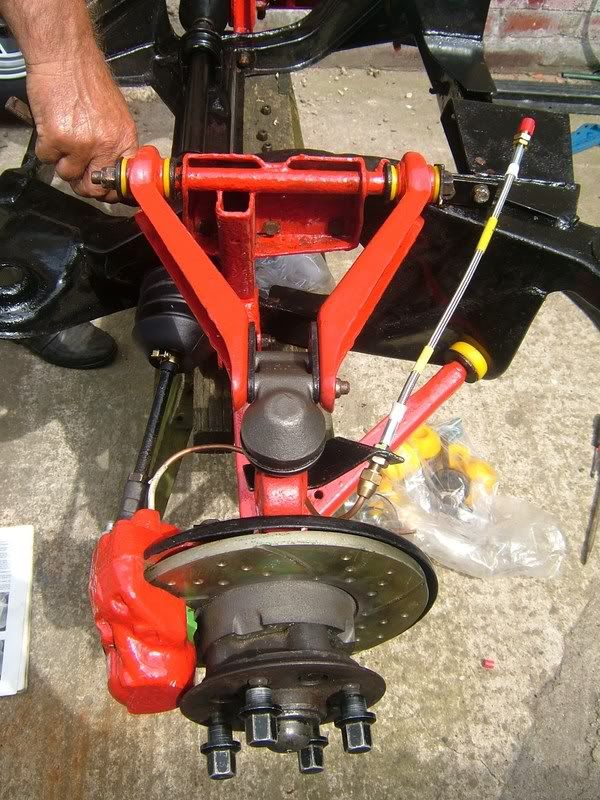
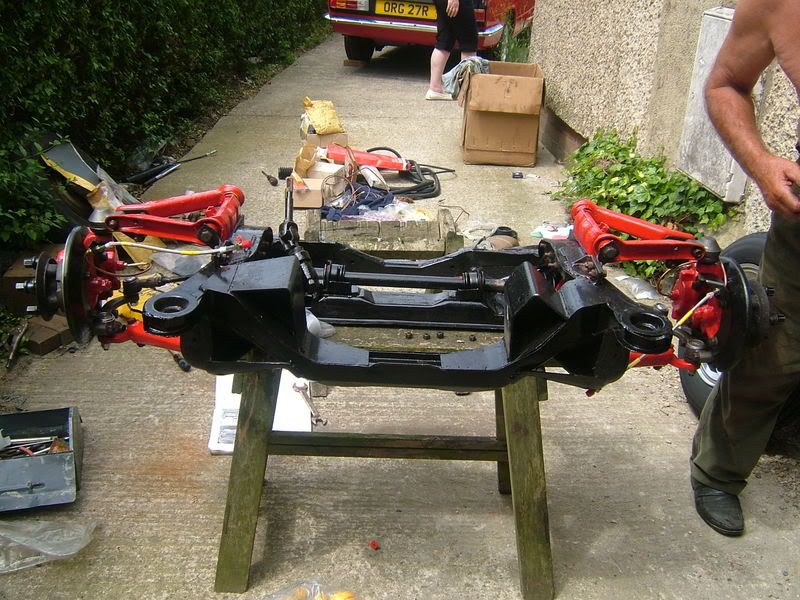
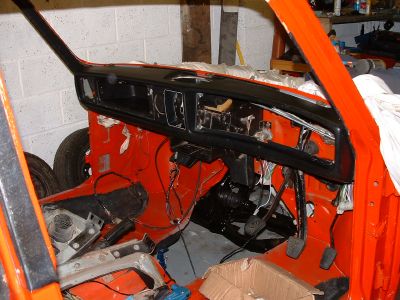
Great stuff Lee, don't think I'll be ready for that for a while yet. I have managed to sus out the wiring loom & I've put the heater matrix in and stuck the bulkhead sound deadening on. oh! and stripped & painted the front suspension...mines all black though....should be on the car with engine in a week.
Sprintless for the first time in 35+ years.  ... Still Sprintless.
Engines, Gearboxes, Overdrives etc. rebuilt. PM me.
2012 Porsche Boxster 981 S

Engines, Gearboxes, Overdrives etc. rebuilt. PM me.
2012 Porsche Boxster 981 S
-
Mad Mart
- TDC Member
- Posts: 8529
- Joined: Tue Oct 03, 2006 5:48 pm
- Location: Winscombe, North Somerset, England
- Contact:
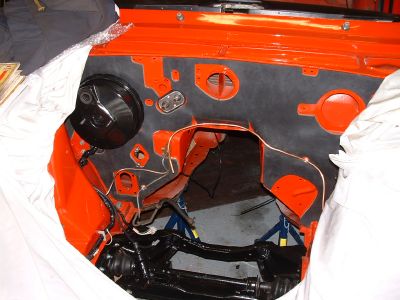
I used Evostik time bond contact adhesive.
Firstly I got an assistant (Mary) to help hold the pad against the bulkhead (dry at this stage). Then I marked round the cutouts so that I would no where not to put the glue. Then glued the back of the pad & the bulkhead & with my trusty assistant, carefully fixed it on. With this glue you have the opportunity to move the pad slightly for adjustments before pressing it on firmly.
Firstly I got an assistant (Mary) to help hold the pad against the bulkhead (dry at this stage). Then I marked round the cutouts so that I would no where not to put the glue. Then glued the back of the pad & the bulkhead & with my trusty assistant, carefully fixed it on. With this glue you have the opportunity to move the pad slightly for adjustments before pressing it on firmly.
Sprintless for the first time in 35+ years. ... Still Sprintless.
Engines, Gearboxes, Overdrives etc. rebuilt. PM me.
2012 Porsche Boxster 981 S
Engines, Gearboxes, Overdrives etc. rebuilt. PM me.
2012 Porsche Boxster 981 S
-
Mad Mart
- TDC Member
- Posts: 8529
- Joined: Tue Oct 03, 2006 5:48 pm
- Location: Winscombe, North Somerset, England
- Contact:
Pic of new wiring loom. Apparently the PO had it made with provision for a leccy fan. I haven't come across it yet but if I have any spare connections left...
It wasn't so hard to figure out where it all goes, as I thought it was going to be.
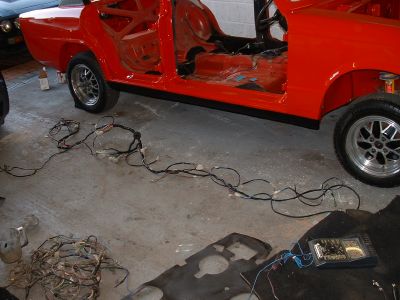
It wasn't so hard to figure out where it all goes, as I thought it was going to be.
Sprintless for the first time in 35+ years. ... Still Sprintless.
Engines, Gearboxes, Overdrives etc. rebuilt. PM me.
2012 Porsche Boxster 981 S
Engines, Gearboxes, Overdrives etc. rebuilt. PM me.
2012 Porsche Boxster 981 S
-
Jon Tilson
- Guest contributor
- Posts: 11179
- Joined: Tue Oct 03, 2006 9:45 pm
- Location: Middlesex
No Mart...
Its the wrong way round...the fat bit goes at the front drivers side...
Ho ho...(but true anyway)
Jonners
Ho ho...(but true anyway)
Jonners
Note from Admin: sadly Jon passed away in February 2018 but his humour and wealth of knowledge will be fondly remembered by all. RIP Jonners.
-
Mad Mart
- TDC Member
- Posts: 8529
- Joined: Tue Oct 03, 2006 5:48 pm
- Location: Winscombe, North Somerset, England
- Contact:
I'm quickly approaching engine/gbox replacement time. At the mo the two are bolted together at the end of the garage. I have to separate them anyway to check the condition of the clutch, but was wondering the best approach for replacing both in the car. I know some of you prefer to put them in as a unit but I'm thinking about the paint work & how to avoid scratching it. Would it be best to drop the engine in by itself & then gbox from underneath?
Who's up for an engine replacement party, say next weekend? I could do with at least one more pair of hands to help guide it in, as it were.
Sprintless for the first time in 35+ years. ... Still Sprintless.
Engines, Gearboxes, Overdrives etc. rebuilt. PM me.
2012 Porsche Boxster 981 S
Engines, Gearboxes, Overdrives etc. rebuilt. PM me.
2012 Porsche Boxster 981 S
-
Sprint36
-
Jon Tilson
- Guest contributor
- Posts: 11179
- Joined: Tue Oct 03, 2006 9:45 pm
- Location: Middlesex
Do it like this...
I know you've fitted up the sub frame but the best way to avoid paint damage is to take it out again...put engine and box on the sub frame and then wheel the whole lot back under and bolt it all back up again. Its only 4 big bolts and bushes after all...oh and the rack pinch bolt and dampers.
You need to get the body high enough...2 big axle stands by the A post cill joint does the job. Then a couple of good trolley jacks and a wheeled support for the gearbox and you are away...
I was amazed how easy it was compared with the fraught dangle on crane method with its potential to gouge your nice bulkhead and drop on your new front panel.
Jonners
Note from Admin: sadly Jon passed away in February 2018 but his humour and wealth of knowledge will be fondly remembered by all. RIP Jonners.
-
Neil907