


So back to the story. Having dropped the shell off with Derek a day or two before Christmas I didn't expect much to happen until we were into the new year. Bzzzt wrong. Derek is a fast worker and these soon came through.
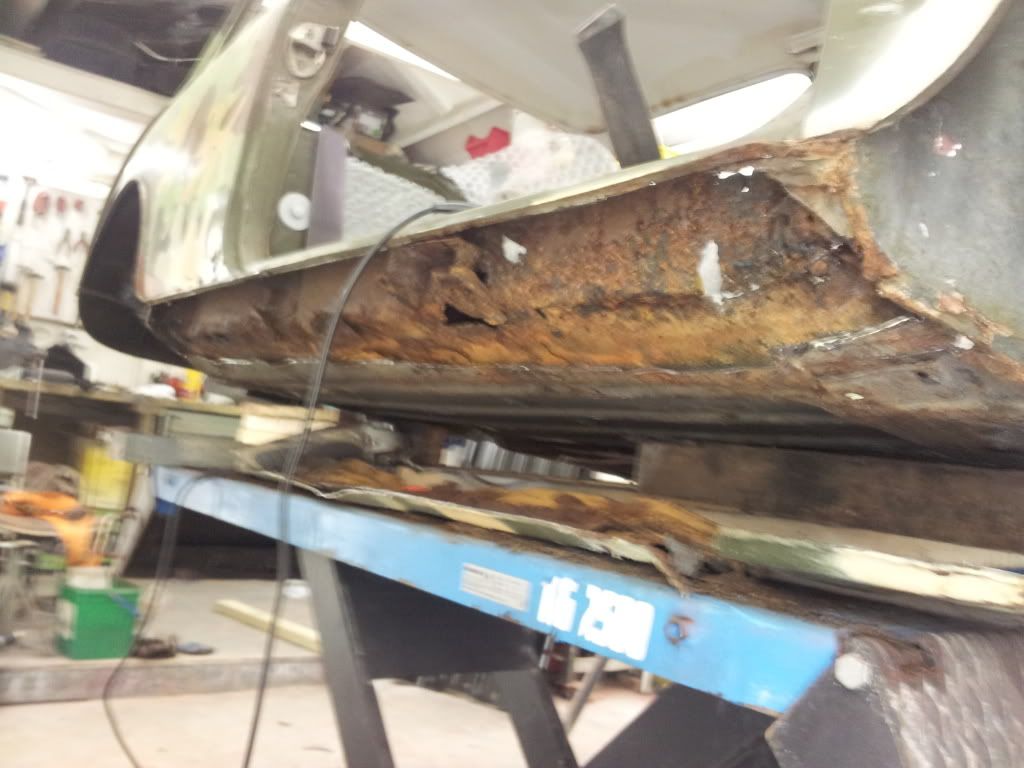

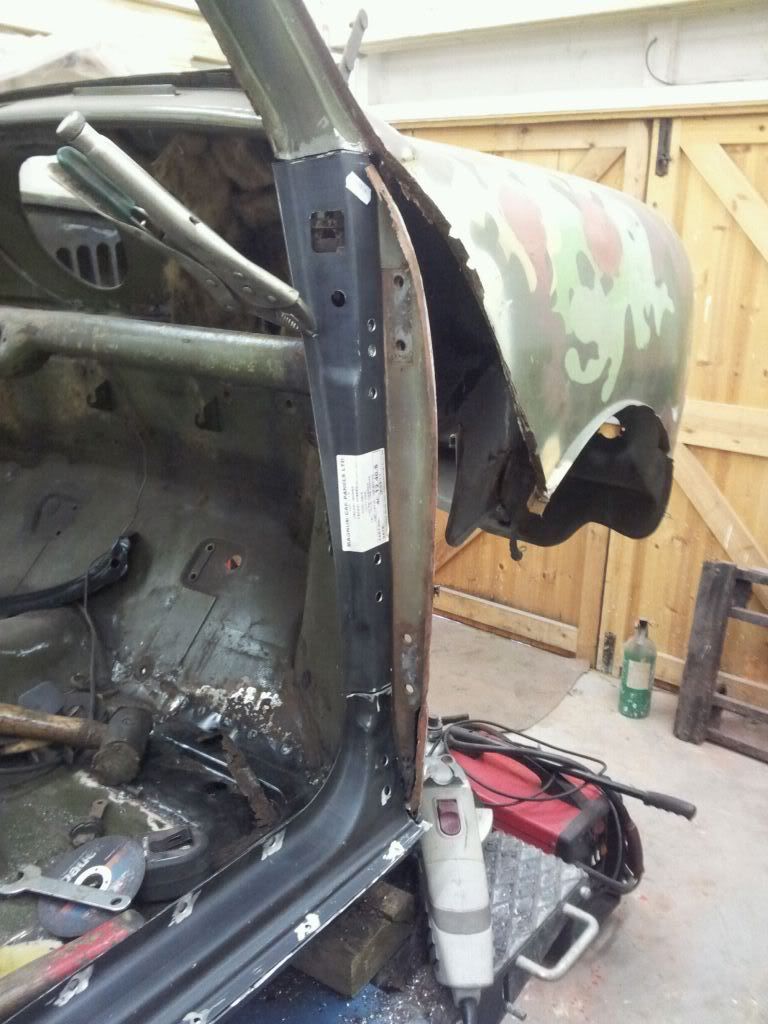
No surprise that the offside sill was hiding horrors as at some time a cover sill had been fitted. The original was still in there rotting away nicely until let free to rain on Derek's feet.

Here it is with the inner cut out as well.
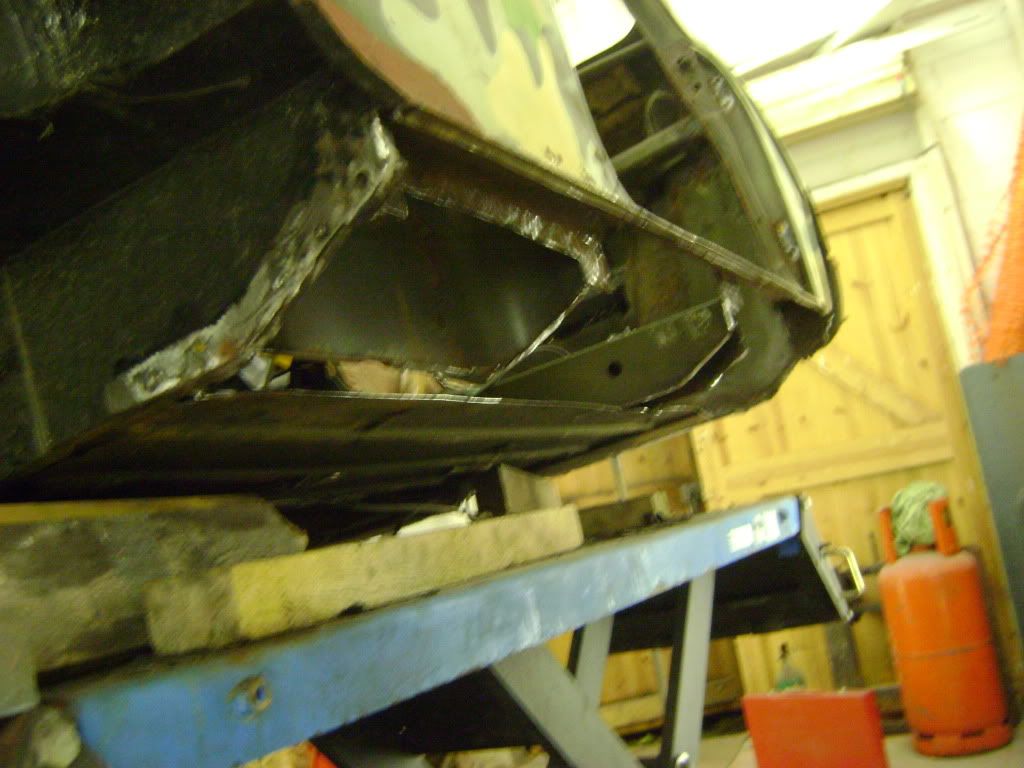
You can see here that the door lower surround has been left to maintain the door gap.
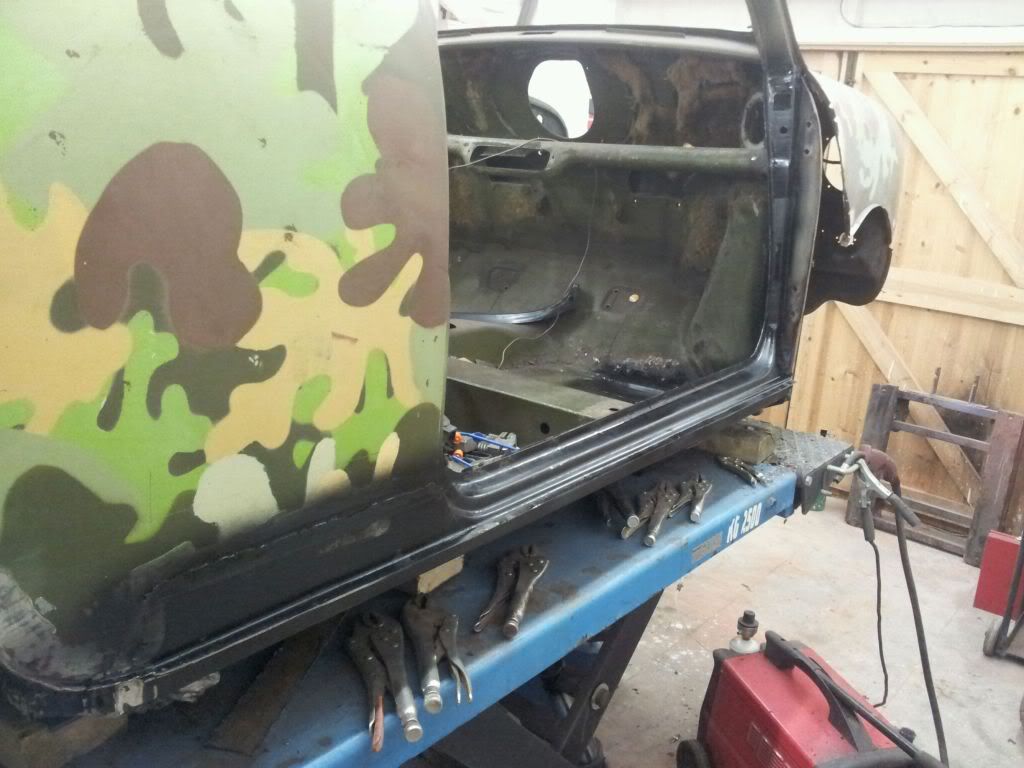
We knew this was coming so had dropped off a complete right side half floor and sill assembly with the shell. There's quite a number of small pieces that make up the various ribs and jacking point between the two layers that are all included in assembly ADA36002RH:

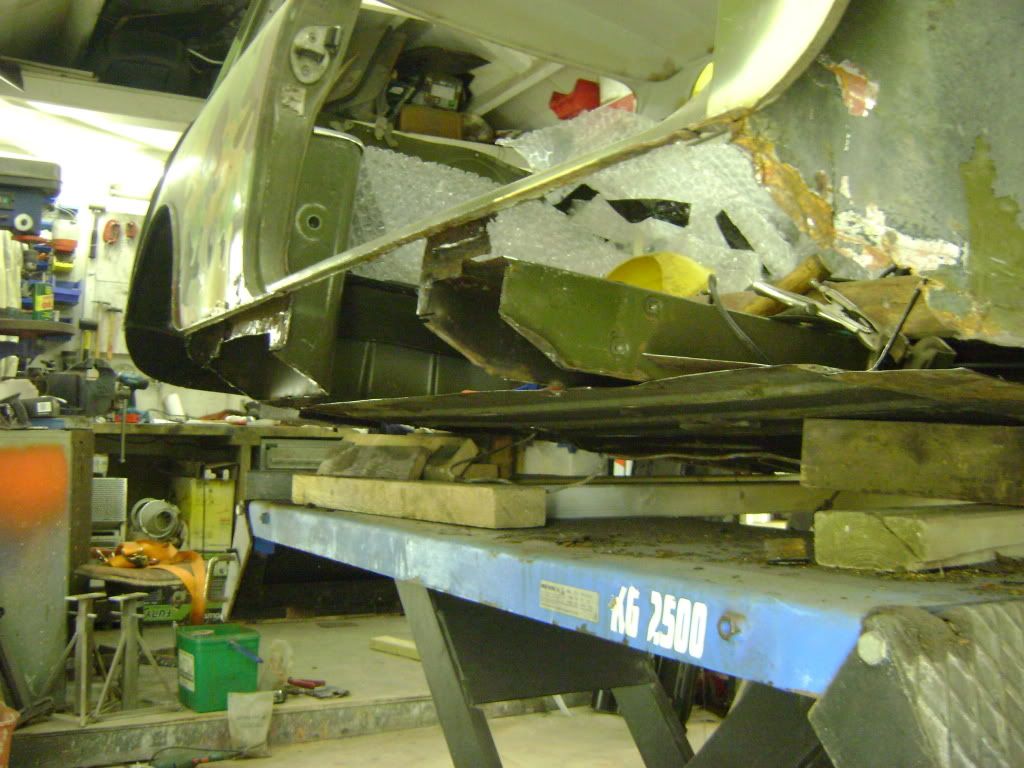
So it was a bit annoying to find that Derek had had to separate the sill from the floor, the idea of buying Heritage was to save Derek's time. The problem was two fold. Firstly you cannot get to the rear end of the floor to weld it into place and second it had been assembled with a visible curve to it. The panel pointed at by the arrow is the one you can't get at to weld to.

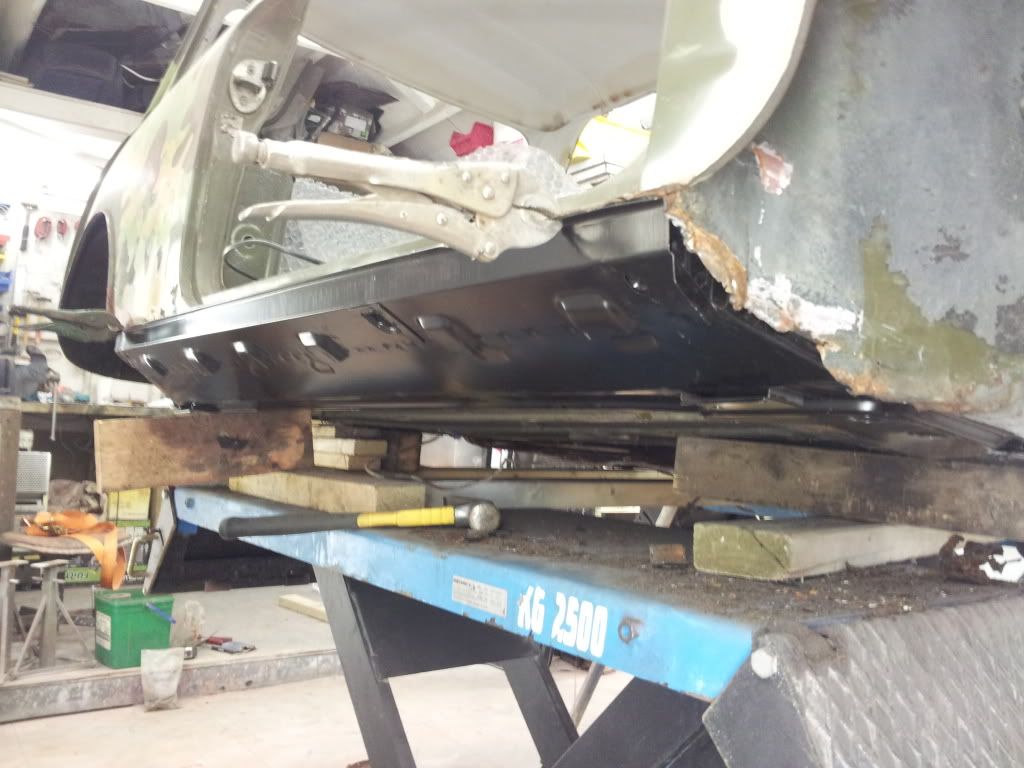
Derek trimmed the panel to keep as much original metal as was sound, here it is trial fitted:
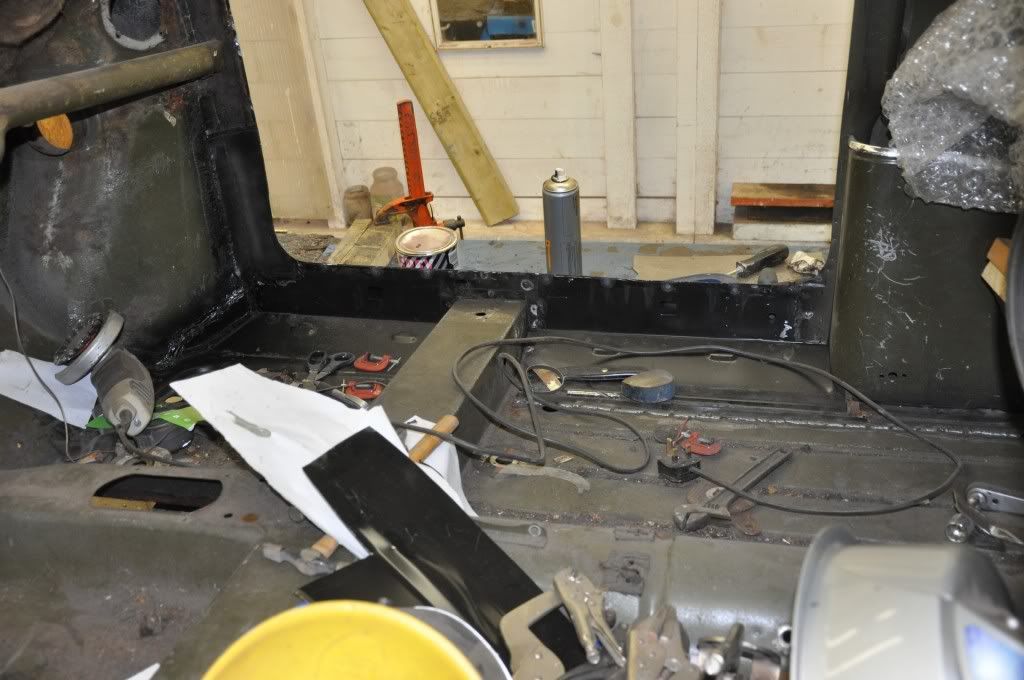
Once the floor and cill were welded in the door surround could be repaired. There were only small areas of holes but they were complex shapes so two repair panels were purchased. Repan214 from Somerford mini replaces the forward vertical of the door aperture.

And repan010 deals with the tread area and the holes in the outer panel that I'd bodged up earlier.

Here they are going in:

And all fitted up.
Lovely. I think that brings us up to around about the middle of January.
[Edited to add links to the Somerford panels and to correct the comment about the Heritage half floor. It had been assembled with a curve where it should be straight. Initially I said it hadn't due to a cock up on my part during a rephrasing of that sentence.]