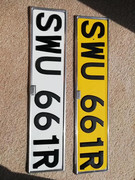
Re: SWU - Matt's 1976 Sprint Auto
Posted: Sun Jun 09, 2019 8:38 pm
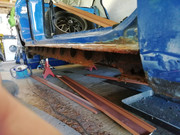
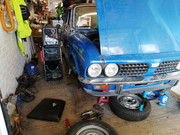
I've got the car booked in for cill replacement next month, so have decided to leave the rear of the cills and inner arch closing sections until this is done - so this weekend I made a start on the nearside.
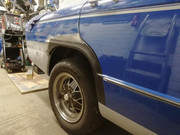
Having cleared all the clutter in the garage to the opposite side, I moved the car so it was right up against the offside so I could get to the nearside with relative ease - wouldn't a double garage be nice!
Generally the nearside seems in better order - marginally..
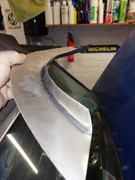
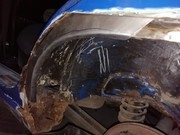
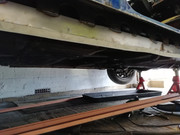
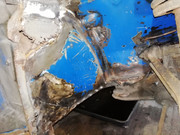
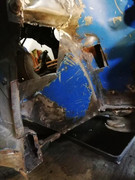
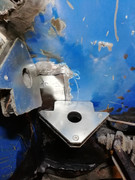
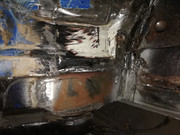
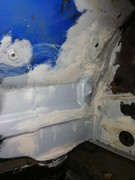
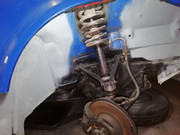
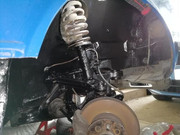
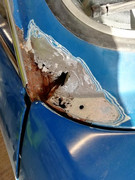
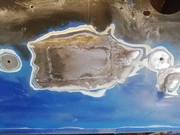
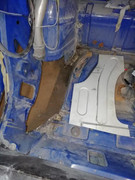
I set about removing the paint and rust from the most affected areas of the arch and lower wing and also the boot floor.
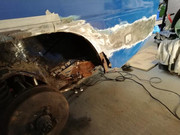
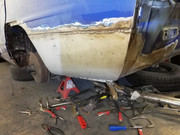
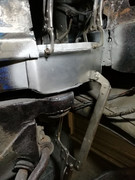
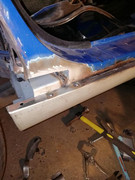
Like the offside, I cut the lower wing just above the bumper mounting and also the repair panel to fit - I will joddle the car panel to fit the repair in place. More of the outer panel is salvageable and also more of the inner wing is sound than the offside.
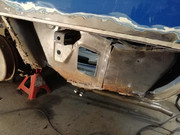
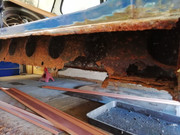
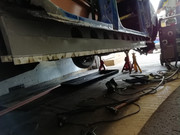
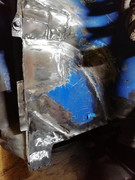
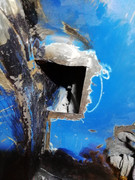
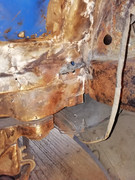
I cut out all the grot from the inner arch and also the boot floor. I will use the club repair section here, although much of the floor is still sound. There is a small patch that was welded in at the back of the floor nearer the bumper, but I have cut this out too so as I can make a repair piece with a flange that can be welded to the lower wing.
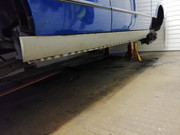
Next steps will be to make up a few inner arch repairs, weld up the new lower wing panel and also the boot floor.
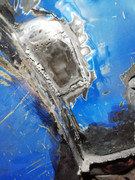
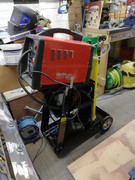
Up until now, I've been using a disposable gas canister - I have been surprised how long this lasted. As I have a fair way to go, I have purchased some gas from Hobbyweld in a bigger cylinder. I have noticed a distinct change in the quality of the weld with this gas- less spatter. On grounds of elf and safety, I have purchased a trolley for the welder and the cylinder - that is how I sold it to my wife anyway!
MC
Having cleared all the clutter in the garage to the opposite side, I moved the car so it was right up against the offside so I could get to the nearside with relative ease - wouldn't a double garage be nice!
Generally the nearside seems in better order - marginally..
I set about removing the paint and rust from the most affected areas of the arch and lower wing and also the boot floor.
Like the offside, I cut the lower wing just above the bumper mounting and also the repair panel to fit - I will joddle the car panel to fit the repair in place. More of the outer panel is salvageable and also more of the inner wing is sound than the offside.
I cut out all the grot from the inner arch and also the boot floor. I will use the club repair section here, although much of the floor is still sound. There is a small patch that was welded in at the back of the floor nearer the bumper, but I have cut this out too so as I can make a repair piece with a flange that can be welded to the lower wing.
Next steps will be to make up a few inner arch repairs, weld up the new lower wing panel and also the boot floor.
Up until now, I've been using a disposable gas canister - I have been surprised how long this lasted. As I have a fair way to go, I have purchased some gas from Hobbyweld in a bigger cylinder. I have noticed a distinct change in the quality of the weld with this gas- less spatter. On grounds of elf and safety, I have purchased a trolley for the welder and the cylinder - that is how I sold it to my wife anyway!
MC