Page 19 of 24
Re: Project XJX (Pimento Sprint)
Posted: Wed Dec 09, 2015 1:03 pm
by James467
Mart, is that a can of Hammerite?
Quick, hide it before the Hammerite police see it!!

Re: Project XJX (Pimento Sprint)
Posted: Wed Dec 09, 2015 1:46 pm
by Mahesh
No need to worry, it's only a Hammerite tin being used as a smaller container for a more exotic paint.
Re: Project XJX (Pimento Sprint)
Posted: Sat Dec 12, 2015 5:17 pm
by Mad Mart
No need to hide it. Probably the best stuff on the market for the price. I always use it and have never had any complaints.

Re: Project XJX (Pimento Sprint)
Posted: Sat Dec 12, 2015 5:29 pm
by Mad Mart
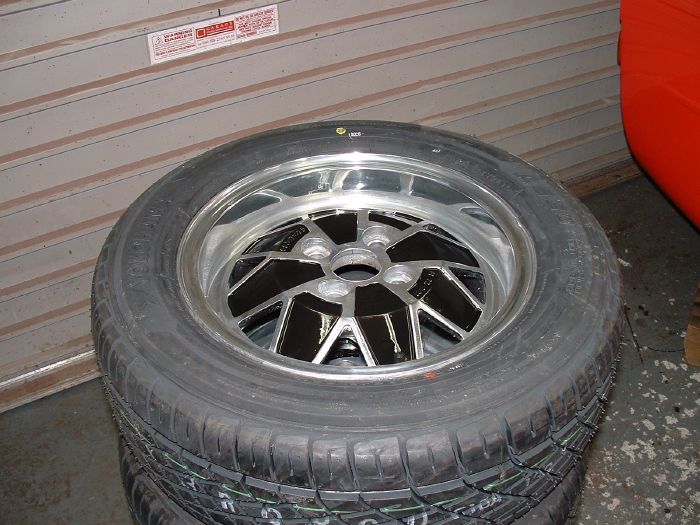
The tyre man is coming to fit the new tyres on Thursday so I thought I'd better get on with cleaning up the wheels. Mary cleaned them up last week and painted the rears of the wheels (with Hammerite of course). So today I got the Wet & Dry on them ready for a final polish.
The wheels I have are in very good condition anyway so they came up really well with not too much effort.
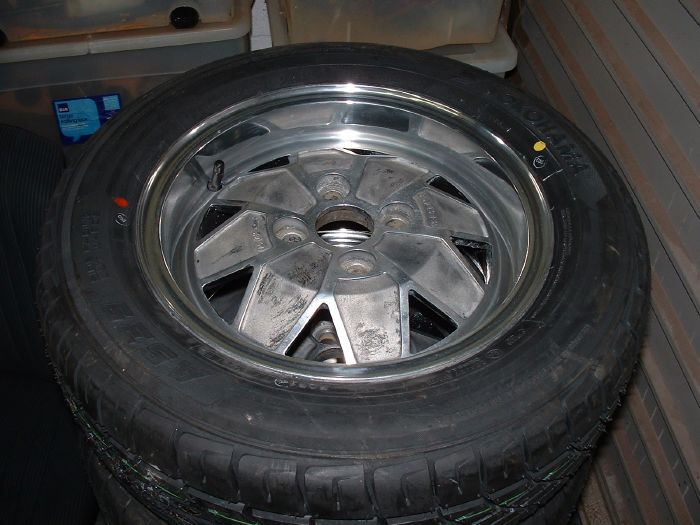
This is one before I started...
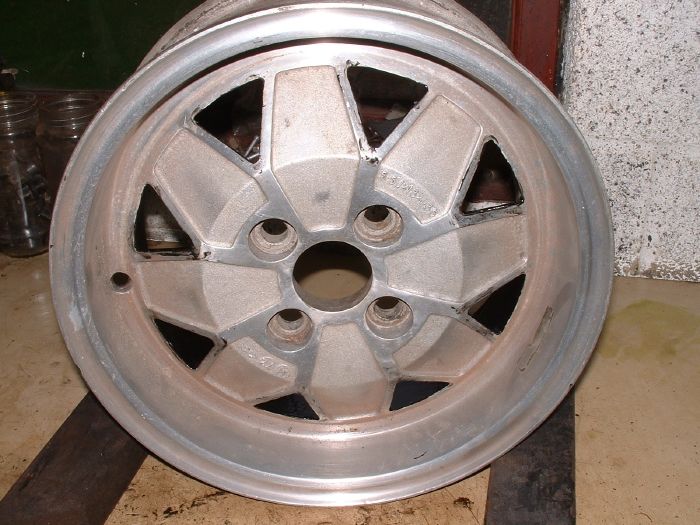
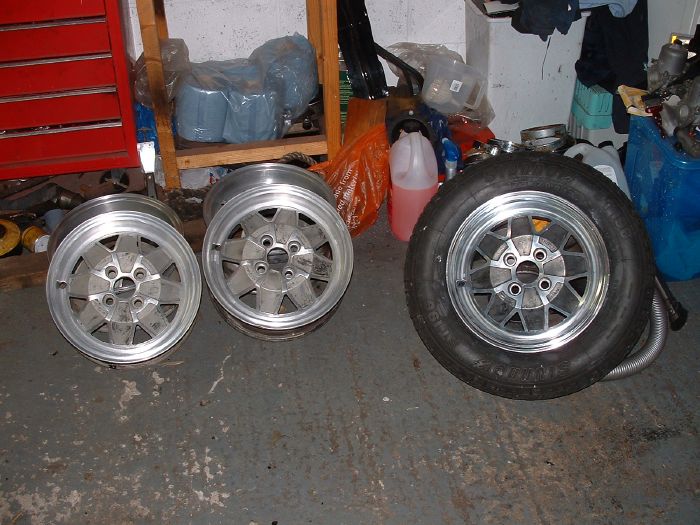
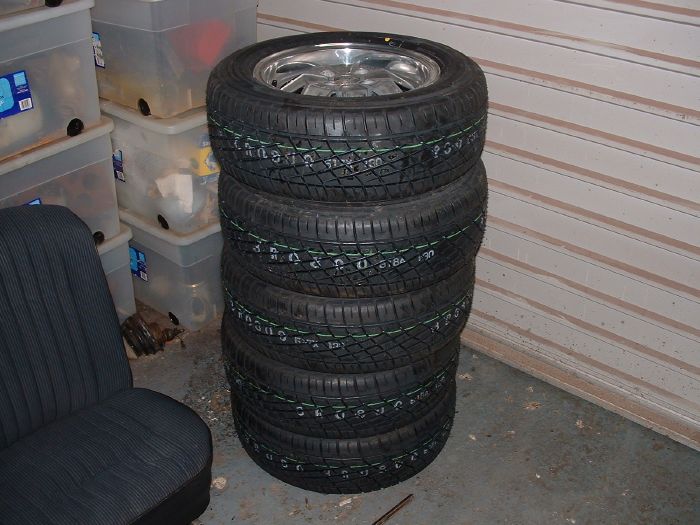
The wheel complete with tyre has been polished. The other four have been Wet & Dryed ready for the final polish.
Finished the wheels off this morning...
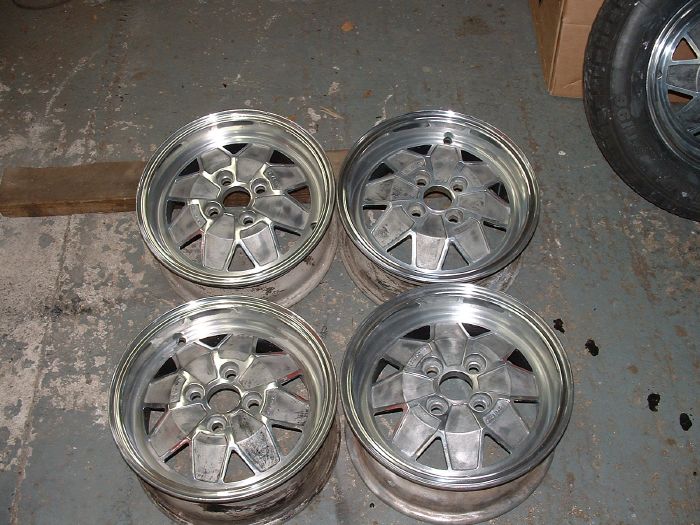
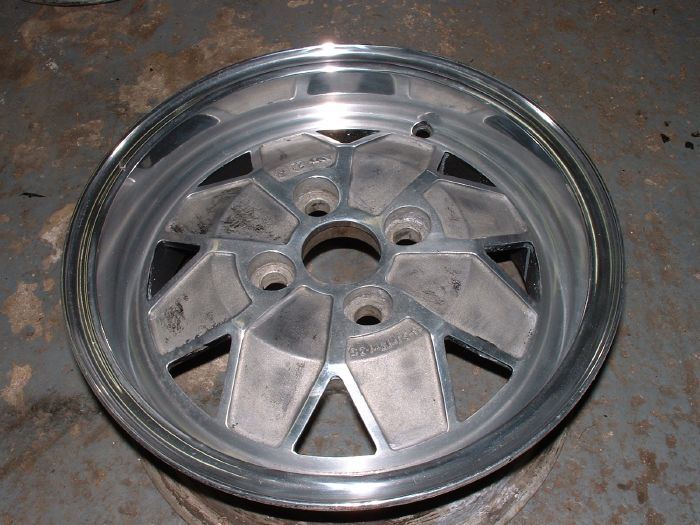
Cleaned up the inner rims where the tyres seal against and the valve holes.
Re: Project XJX (Pimento Sprint)
Posted: Tue Dec 15, 2015 6:52 pm
by Mad Mart
Look what arrived today...
...looks like I'm going to be busy the next couple of days.
Re: Project XJX (Pimento Sprint)
Posted: Wed Dec 16, 2015 7:06 pm
by Mad Mart
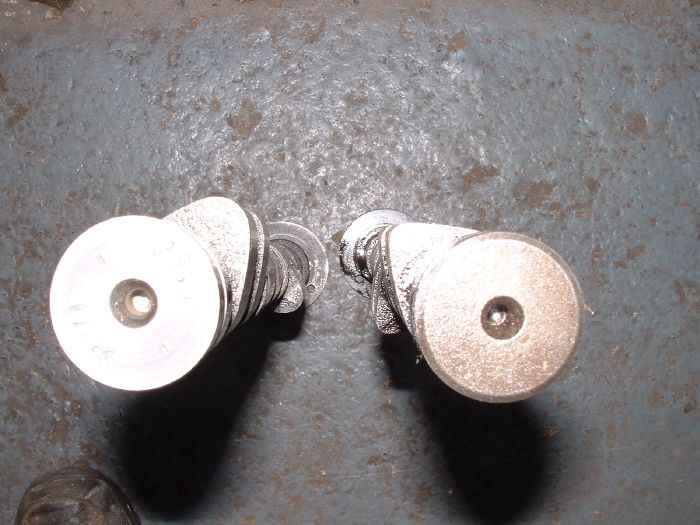
I started installing the new cam today and have redone all the valve clearances. Here is a pic showing the different profile of the new cam versus the standard one. You can clearly see the new cam is less pointy than the original giving a longer duration and a higher lift...
The tyre man arrived today to fit the Yokohama A539s. I like the look of these and they look very grippy.
More on fitting the cam tomorrow.
Re: Project XJX (Pimento Sprint)
Posted: Wed Dec 16, 2015 9:05 pm
by Mahesh
Amazing rim polishing work, I followed the instructions, but three weeks later, and not a touch on your pictures, and that's just one rim.
Will go back to the rim polishing after sorting the fuel tank, if I fail may have to come over for a masterclass lesson in rim polishing
Re: Project XJX (Pimento Sprint)
Posted: Thu Dec 17, 2015 10:24 am
by James467
Like those tyres a lot, where did you get them from and what size are they?
Re: Project XJX (Pimento Sprint)
Posted: Thu Dec 17, 2015 11:31 am
by xvivalve
Shout if you need shims Mart, I have dozens!
Re: Project XJX (Pimento Sprint)
Posted: Thu Dec 17, 2015 1:07 pm
by killysprint
have 185/60 13 on mine
got them from tyreleader.com
Come from Germany - delivery within a couple of days
Re: Project XJX (Pimento Sprint)
Posted: Thu Dec 17, 2015 1:31 pm
by Mad Mart
Mahesh wrote:Amazing rim polishing work, I followed the instructions, but three weeks later, and not a touch on your pictures, and that's just one rim.
Will go back to the rim polishing after sorting the fuel tank, if I fail may have to come over for a masterclass lesson in rim polishing
Start with course wet & dry. I started with 400 grit on these as they weren't too bad. Then finish off with 1000 grit, using various grades in between. Finally I have a 4" mop on my leccy drill and lots of Autosol.
Re: Project XJX (Pimento Sprint)
Posted: Thu Dec 17, 2015 1:34 pm
by Mad Mart
I got the tyres from Etyres. They are 185/60/13.
Thanks for the offer Alun, I had the correct shims that I needed.
Re: Project XJX (Pimento Sprint)
Posted: Thu Dec 17, 2015 6:48 pm
by Mad Mart
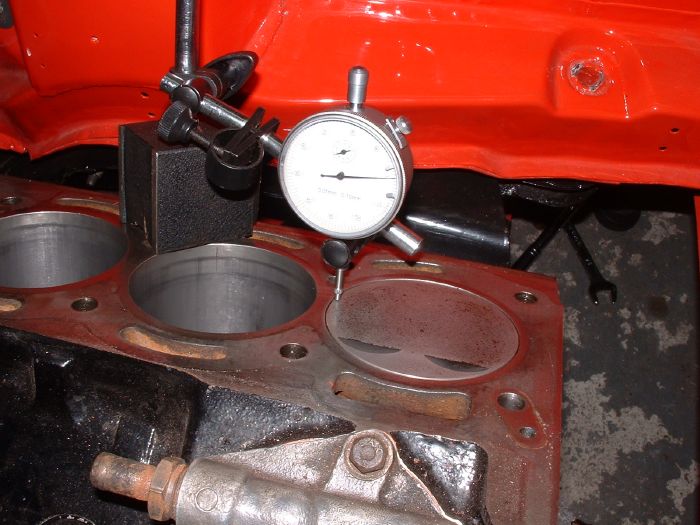
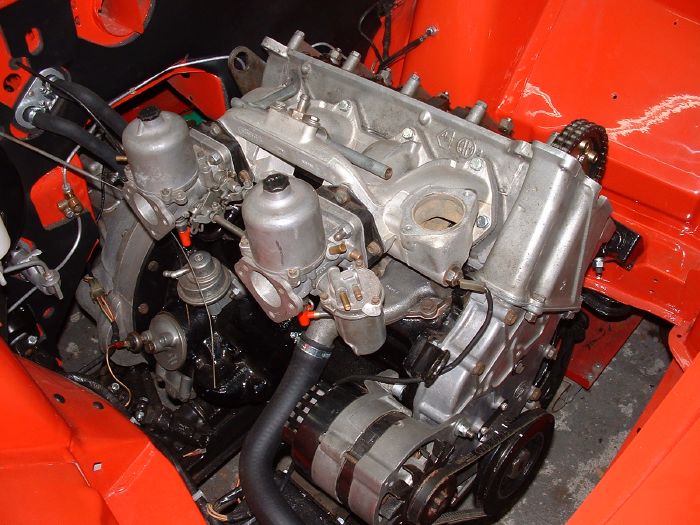
Today I finished installing the cam after rechecking the valve clearances. I then needed to set the inlet valves on cylinder no. 1 to the fully opened position...
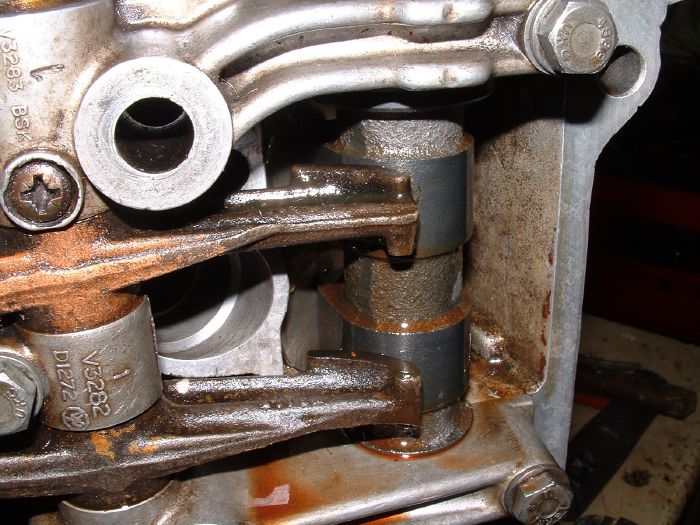
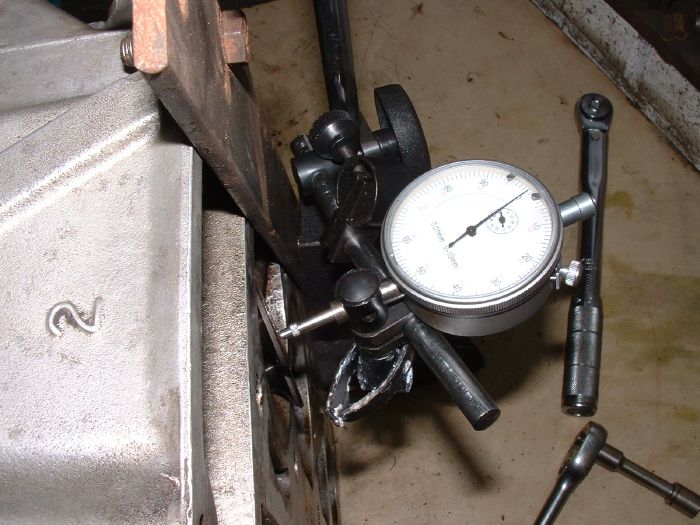
I bolted a strip of metal to the head so that I had a firm base for the magnetic arm of the dial gauge to sit. The dial gauge is used to set the valve accurately fully open.

I then scored the cam on the front flange...
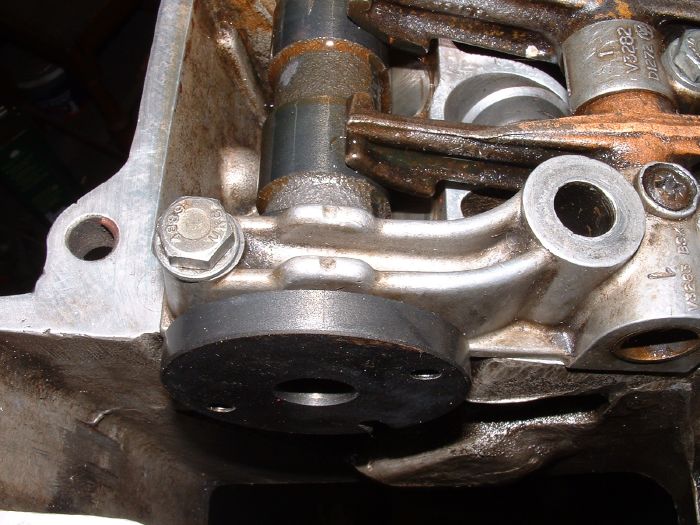
...and on the rear of the cam. I do this so that I can tell if the cam has moved once I have removed the dial gauge.
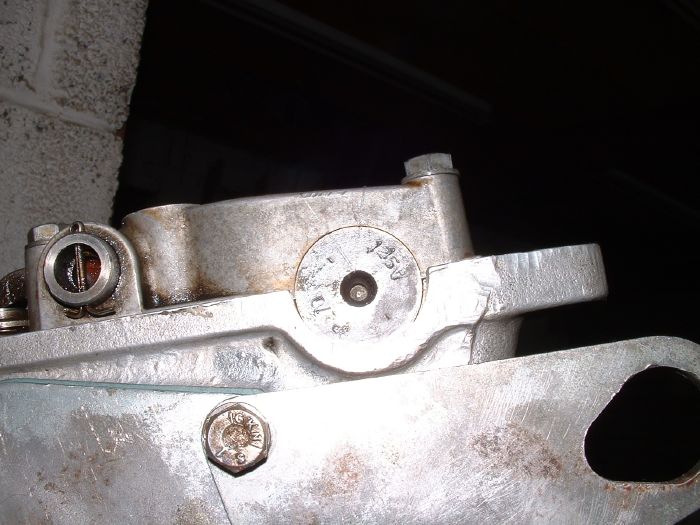
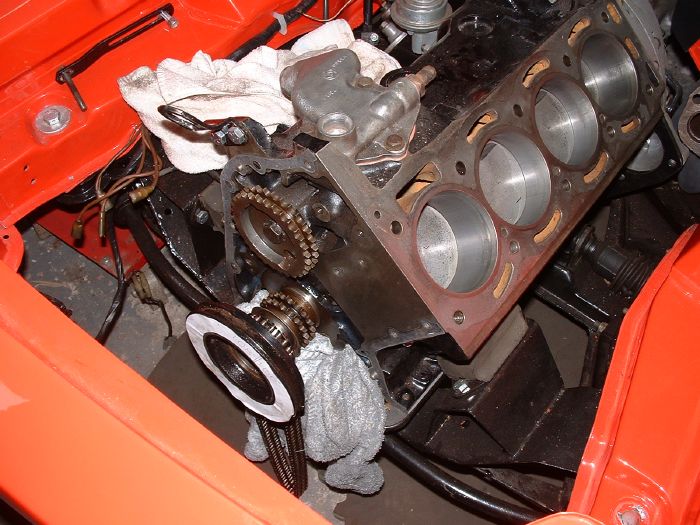
Then I set no.1 piston accurately to TDC...
I forgot to take a photo showing the temporary pointer I used to set no.1 piston. This is showing no.1 piston at 108 degs. ATDC. Different cams have different initial settings. The cam in my track Sprint, for instance, is set at 106 degs. ATDC. This information should come with the cam when purchased.
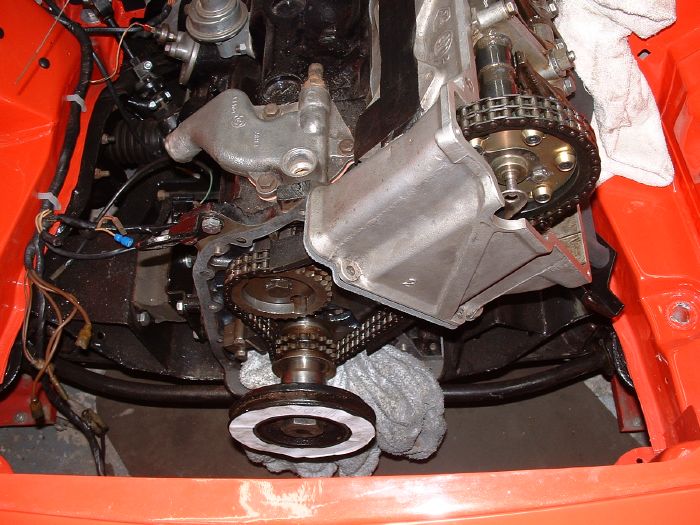
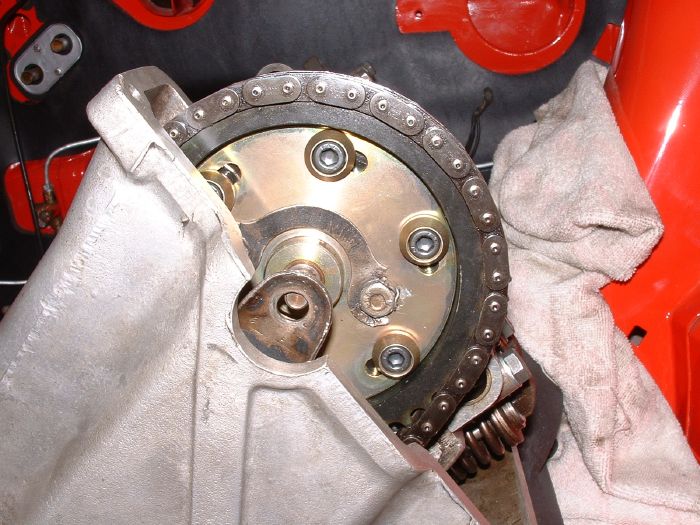
A Vernier cam sprocket is fitted to be able to accurately do the valve timing. The section of timing chain to the right (between the crank and cam shaft) must be taught. All the slack being taken up by the curved guide, with the (semi) hydraulic tensioner taking up the slack as wear occurs.
Now the valve timing is done I can crack on with putting the rest of the engine together.
Mary has been busy cleaning up all the trim pieces and she made a cracking job of painting the wheel segments.
One thing I should mention when removing the timing chain cover. Always put a rag or something in the sump hole or you will drop something in the sump. I always do, except when I started this job I removed the timing tensioner before doing so. Guess what? I dropped the tensioner plate in the sump. After a few choice words

I did manage to retrieve it quite easily with the aid of my telescopic magnet thingy.
Re: Project XJX (Pimento Sprint)
Posted: Thu Dec 17, 2015 7:31 pm
by mahony
Looking good Mart
, is the cam a fast road one ? and if so what needles will you be using for the carbs

Re: Project XJX (Pimento Sprint)
Posted: Thu Dec 17, 2015 9:00 pm
by s2mpf
Great work and a very good write up on the camshaft timing.