Page 5 of 7
Re: Start of new project.
Posted: Thu Oct 11, 2012 9:57 pm
by TahitiSPRINT
Mooi werk!
[nice work]

Re: Start of new project.
Posted: Fri Oct 12, 2012 5:30 am
by straylight
the incredible work you do !
I feel so...inadequate.

stu
Re: Start of new project.
Posted: Wed Oct 24, 2012 8:16 pm
by soe8m
Re: Start of new project.
Posted: Wed Oct 24, 2012 8:24 pm
by soe8m
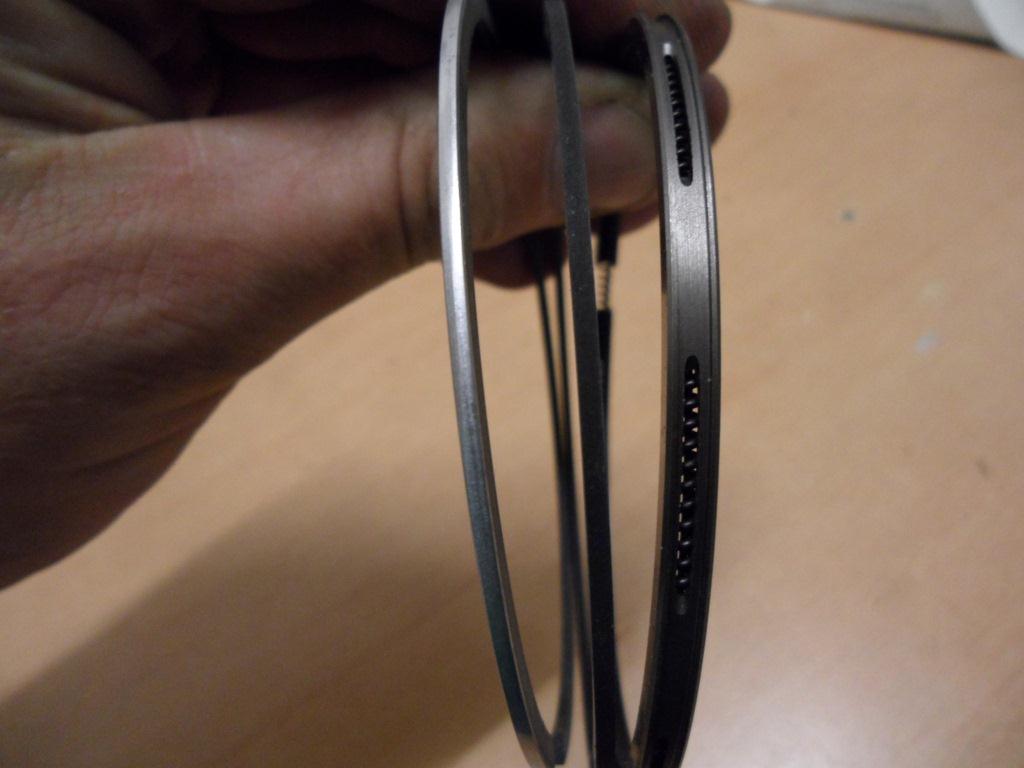
The pistonrings. Chrome top, cast middle and solid oilcontrol and a few dirty fingers.
- rings.jpg (85.7 KiB) Viewed 6119 times
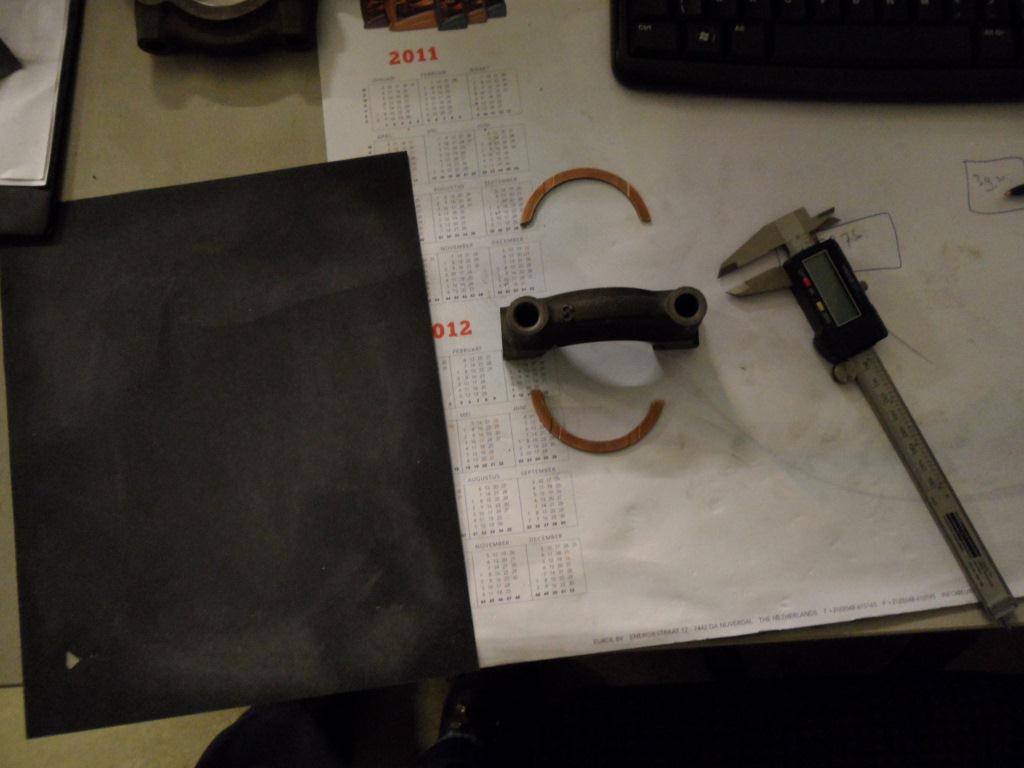
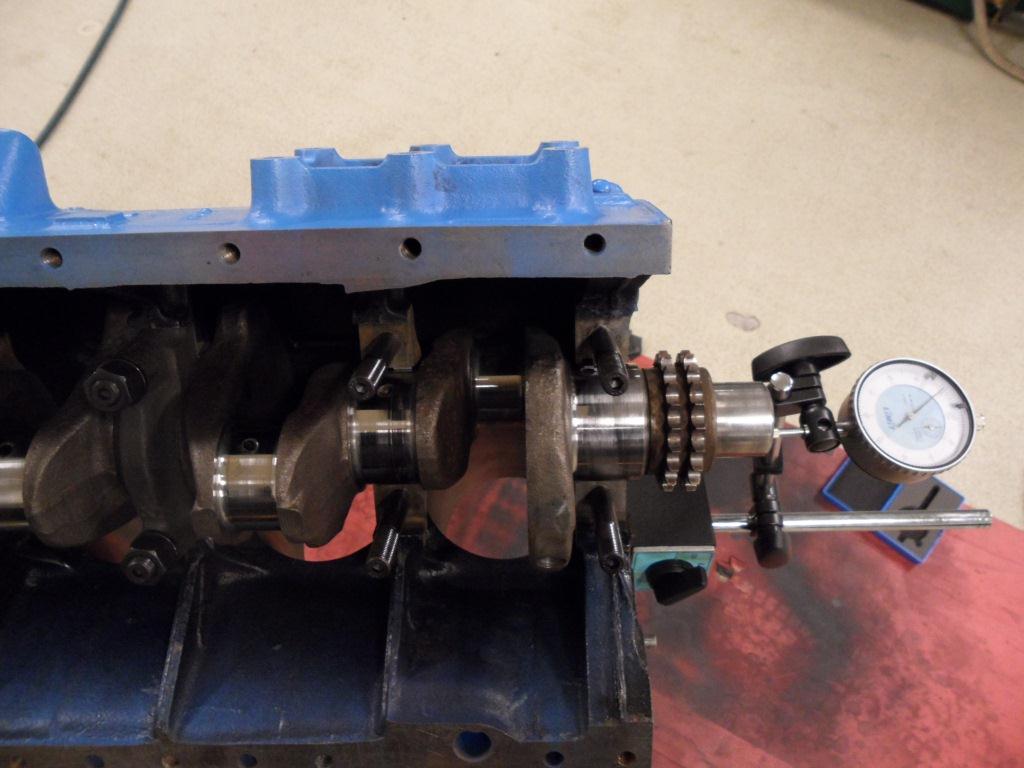
Measuring the axial play. i did expect the upper set would be the same as the lower so i had to sand off some bit from the back of the bearings. First i adjusted the lower and have a zero point and then the other point, .12mm play. Then i took out the lowers and measured the upper. I needed one std and one first oversize and did sand off the back to have the exact zero point and .12mm piont again and now the bearings are the same. All fitted still shows zero and .12mm so should be ok. BUT, about 2 hours sanding and try fitting.
- bearingset.jpg (93.29 KiB) Viewed 6121 times
- bearingmeasure.jpg (108.56 KiB) Viewed 6118 times
Also did dismantle a rear axl. I want to have a rear brake disc so a conversion is on its way and using the std calipers at the rear and a TJ set at the front. The car will have a 4 link works type rear axl. The std fitment does shear off with my driving and car height.
Jeroen
Re: Start of new project.
Posted: Thu Oct 25, 2012 12:59 pm
by Neil907
Love the detail you are going into in this thread, It is refreshing to see.
Keep it up

Re: Start of new project.
Posted: Thu Oct 25, 2012 3:04 pm
by TahitiSPRINT
Nice work Jeroen!
Just for info: my con-rods are now all equal 643,04 grams after lightening and came from an average con-rod weight of 676 grams. There’s lots to be gained from the standard casting

Re: Start of new project.
Posted: Fri Oct 26, 2012 12:15 am
by trackerjack
I reckon this is the best thread on here EVER

Re: Start of new project.
Posted: Tue Oct 30, 2012 11:48 pm
by soe8m
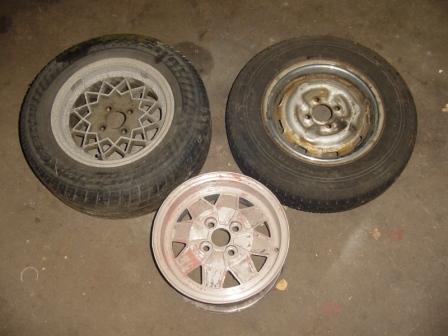
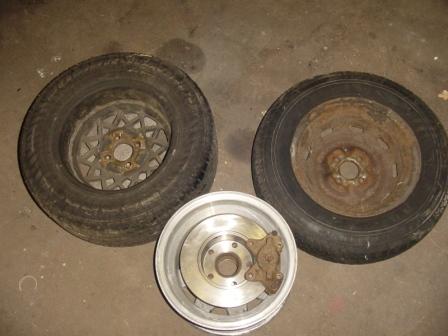
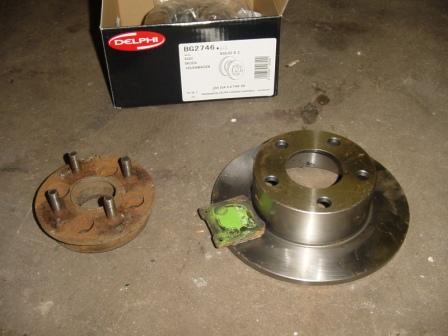
Some rear brake updates. Did try fit some discs that would fit over the rearhub and had a dia about 250mm and these skoda/vw/audi ones were a fit. The sprint alloy was the most narrow. At the rear i use spacers from 1 inch so fitting these brakes is not a problem in a sprint wheel but not possible without spacer. In my allycats what i use with this car they can fit without spacer and in the steel wheels a 5mm spacer would be enough to clear.
I will be using this spacer again on my new rear axl so all wheels can be used in an emergency. Whit this spacer the car is square, front and rear track about the same.
- wheel1.JPG (30.09 KiB) Viewed 5828 times
- wheel2.JPG (29.56 KiB) Viewed 5827 times
- disc.JPG (28.97 KiB) Viewed 5825 times
Jeroen
Re: Start of new project.
Posted: Tue Oct 30, 2012 11:50 pm
by soe8m
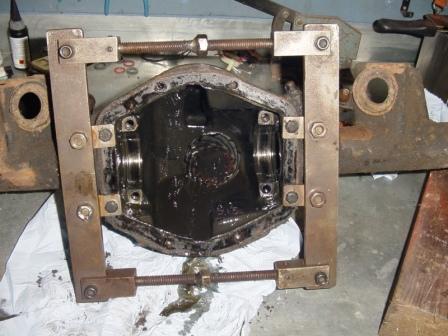
I could borrow Hans' spreader. An original sprintspares one from the past, when i was still a baby........
- spreader.JPG (37.4 KiB) Viewed 5828 times
Jeroen
Re: Start of new project.
Posted: Tue Nov 20, 2012 4:48 pm
by soe8m
Small update:
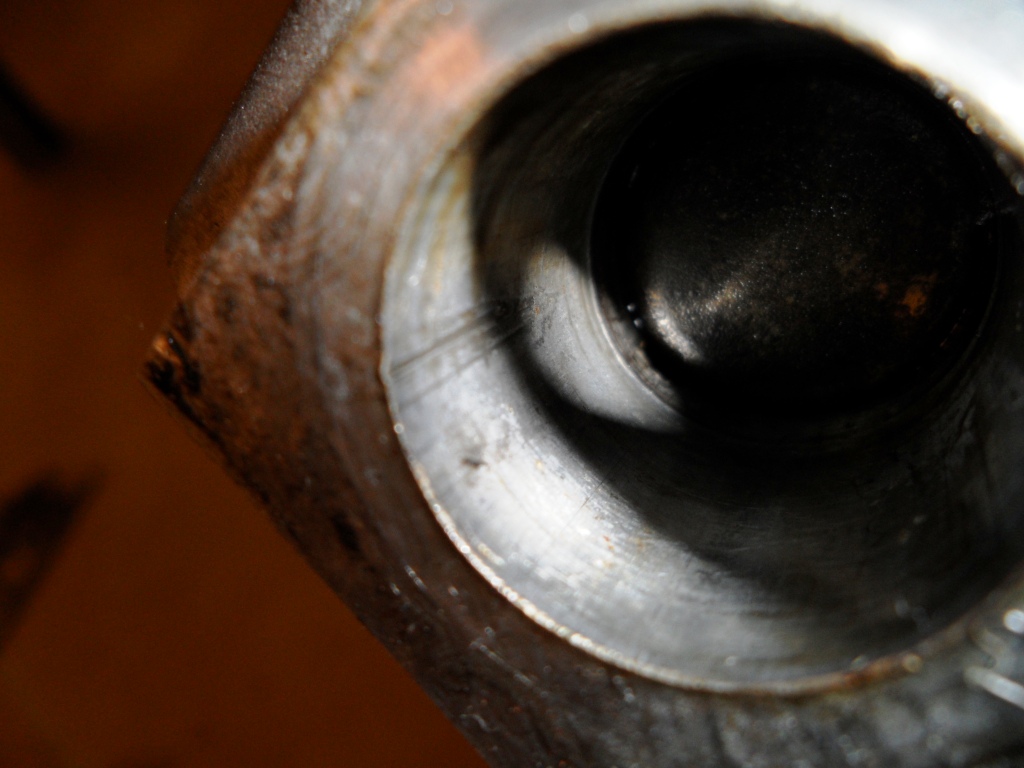
Started with the head to see what all can be done to the valve gear. The first i noticed was the oil restrictor in the first cambearing cap. The plug is far to much to the inside and blocks the hole more than half. This hole is for the camshaft and rockershaft lubrication. I have a spare head with me just in case some valve collet drop's i can proceed. This cap of that head had the plug the same way fitted so i can assume this is original. Easy mod to have more oil.......
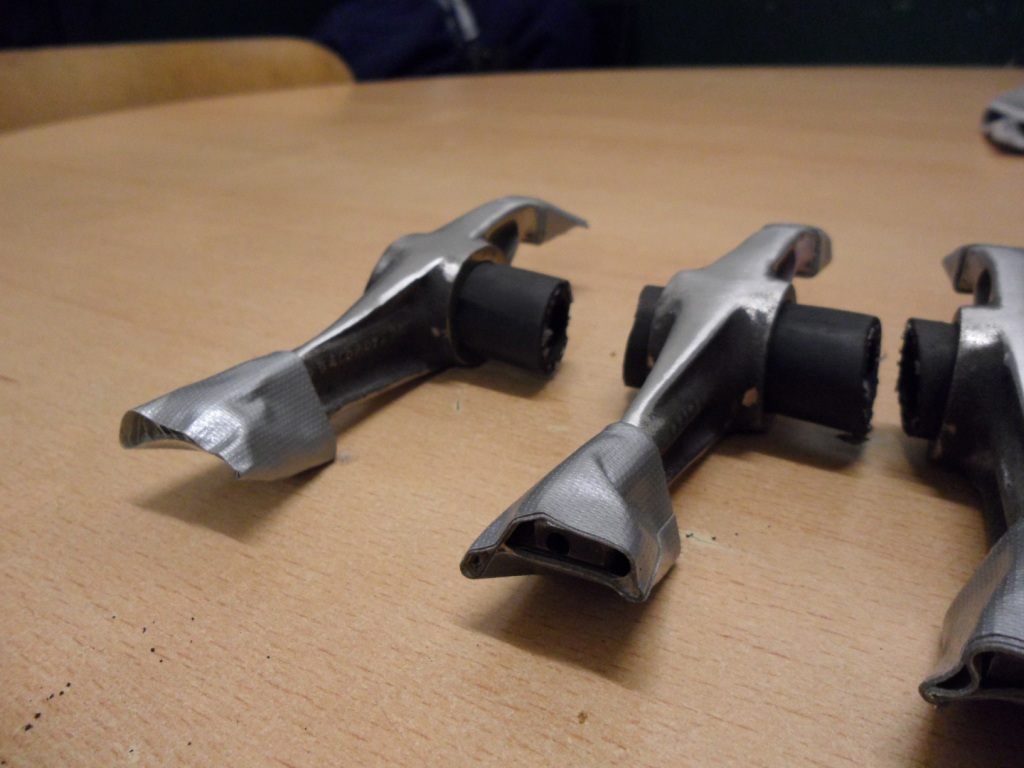
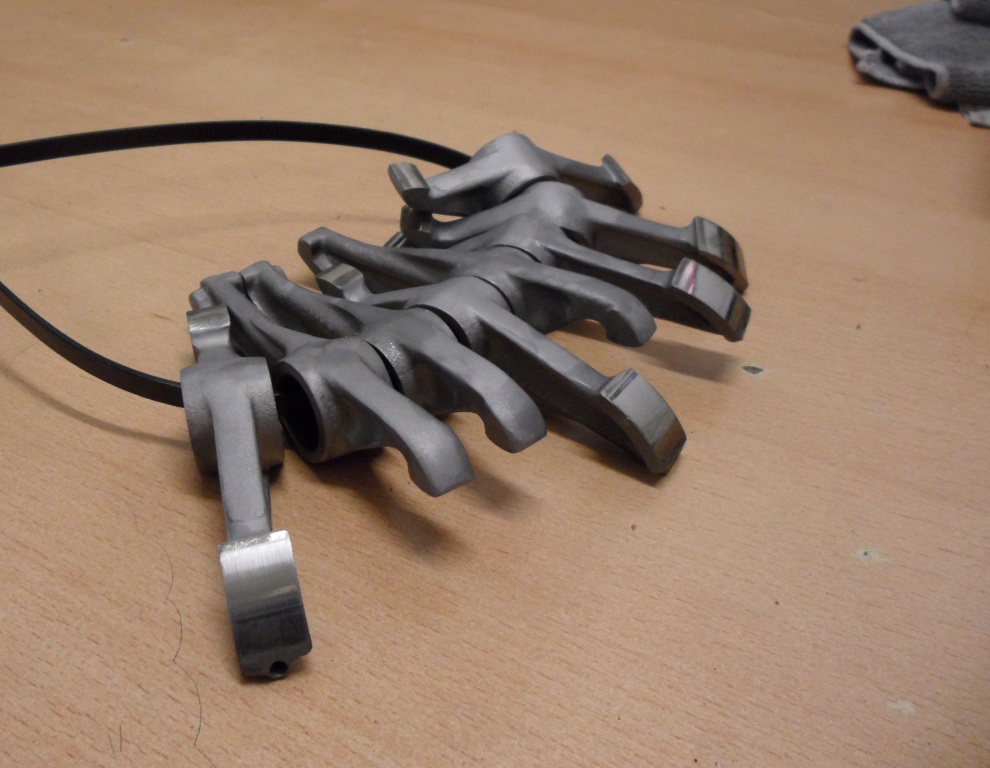
Also there was a lot of lightening do-able on the rockers. There were little differences in weight but with just some global grinding they are a lot lighter. Lighter is less camwear and i was not planning to fit stronger valve springs so all benefits to have a long lasting engine.
- hole1.JPG (222.72 KiB) Viewed 5597 times
You can just see the oilhole.
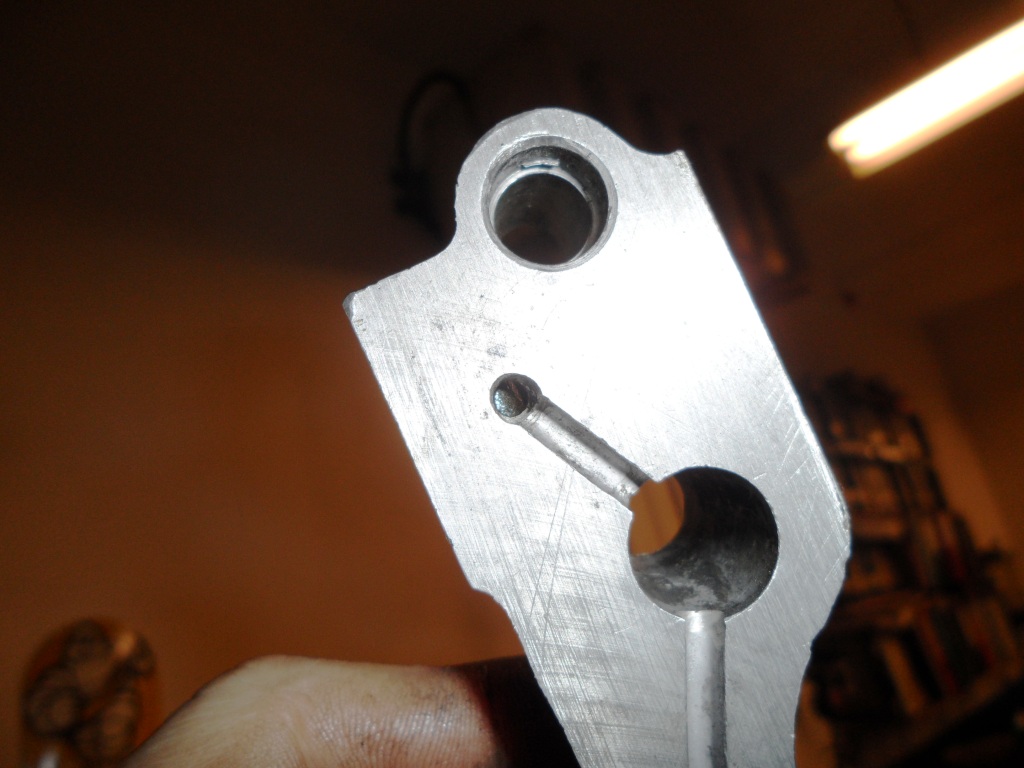
- hole2.JPG (192.84 KiB) Viewed 5597 times
Std rocker.
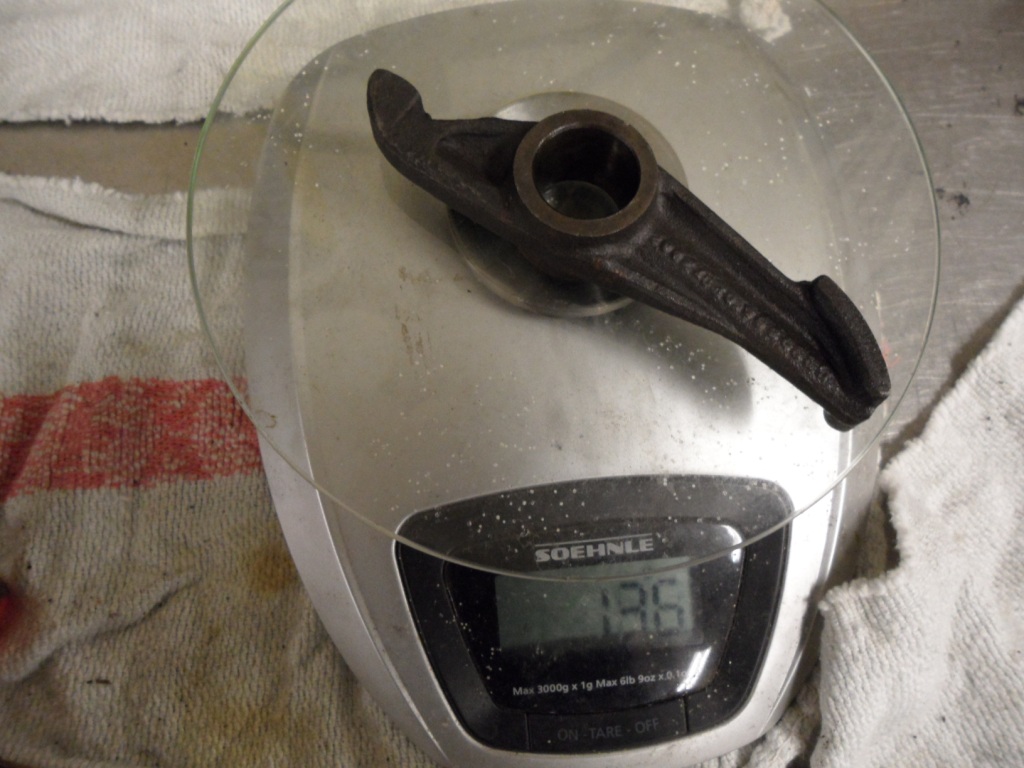
- rocker.JPG (221.15 KiB) Viewed 5597 times
Re: Start of new project.
Posted: Tue Nov 20, 2012 4:51 pm
by soe8m
Lightened just by a bit of grinding.
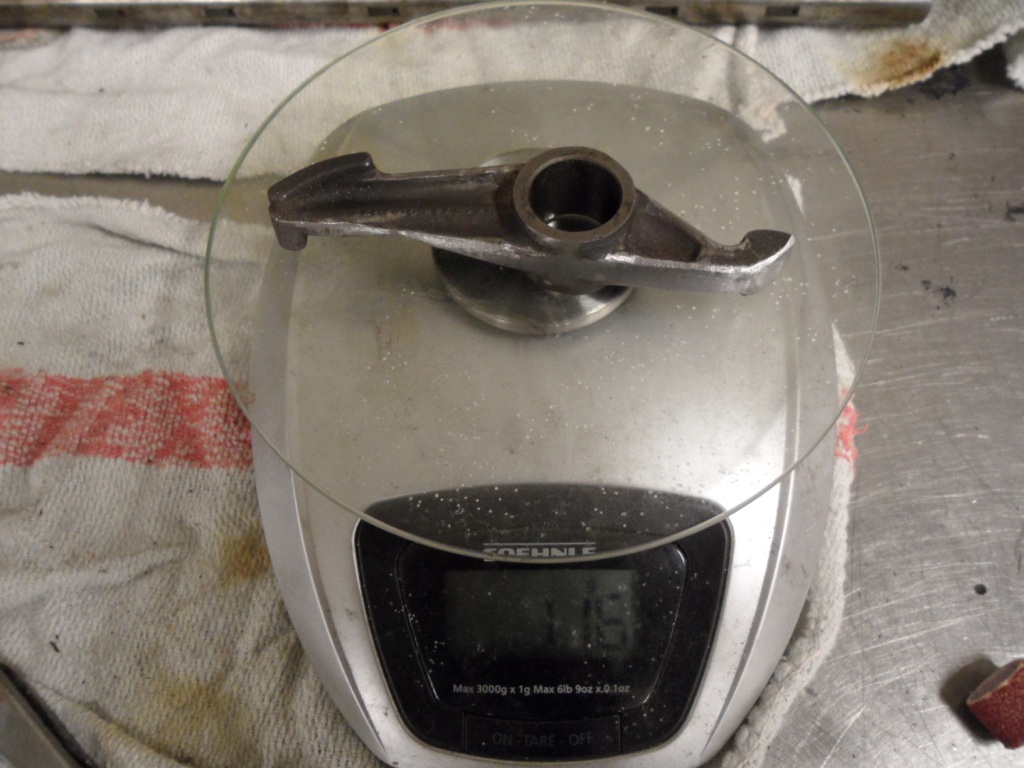
- rocker1.JPG (226.58 KiB) Viewed 5594 times
And after a few hours work:
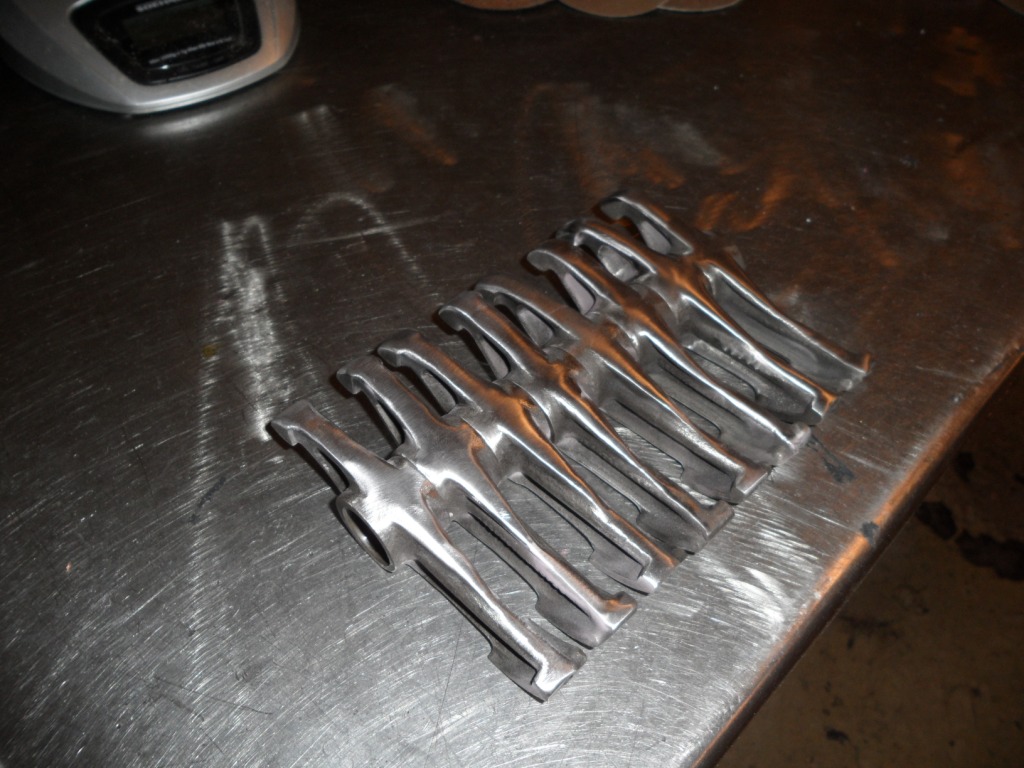
- rocker2.JPG (216.34 KiB) Viewed 5591 times
Shot peening prep:
- rocker3.JPG (197.82 KiB) Viewed 5589 times
Re: Start of new project.
Posted: Tue Nov 20, 2012 4:53 pm
by soe8m
And the result. All the same weight and a strong surface structure. If anyone want's to duplicate, it was 4,5 hours of very boring work.....
Jeroen
- rocker4.JPG (206.3 KiB) Viewed 5588 times
Re: Start of new project.
Posted: Wed Nov 21, 2012 1:56 pm
by TahitiSPRINT
Jeroen, good busy;-)
Re: Start of new project.
Posted: Wed Nov 21, 2012 9:53 pm
by Dolly-Nut
I expect this is what our engines would've been like if they were made by Honda!
Re: Start of new project.
Posted: Sat Jan 05, 2013 8:59 pm
by soe8m
Update:
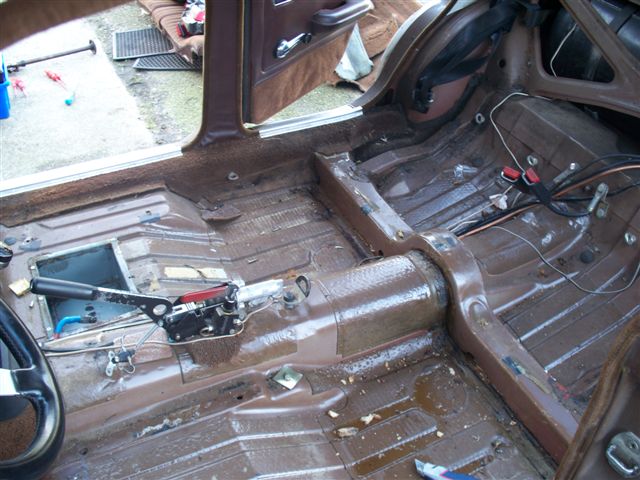
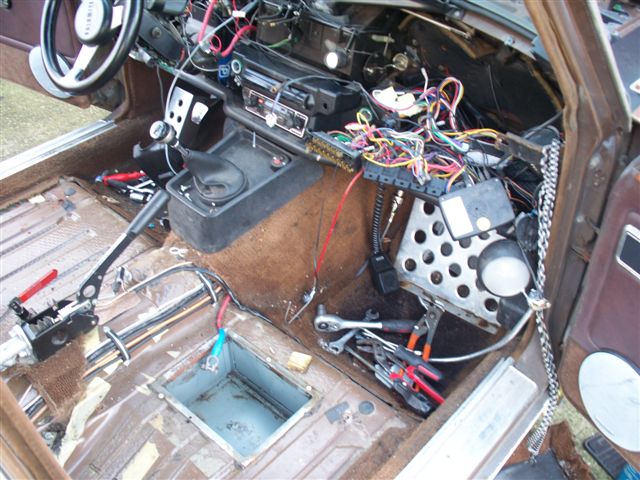
Not so much engine wise but a lot of other things. I had a few day's off and decided to strip the interiour. There were some holes, yes the only ones, under the windscreen panel. I had my radio in the glove box and did fry 2 radio's in three months so the leak had to be cured. I took all out because i also wanted to convert the interiour from brown to black. The dashboard does also get a new layout, a bit like the one for my rally replica. Black with the right gauges and also my terratrip 303 replaced by a period terratrip. Not the modern retro new ones but a decent 1978 one. The loom has to be changed also because of the new fuelinjection system and some other things that were not ok like the memory of the radio had the same fuse as the memory of the fuelinjection so guess what happened when the radio fried. A non running car because not able to change the fuse anymore. Also did cut some holes in the rear floorpanel and welded the brackets under the rearseat for the fourlink parralel suspension system.
I have decided to do this all first and then continue with the engine. If the engine is ready i want to drive and the to do list will stay forever a to do list.
Jeroen
- foto's 106.jpg (75.75 KiB) Viewed 5193 times
- foto's 107.jpg (87.07 KiB) Viewed 5193 times
