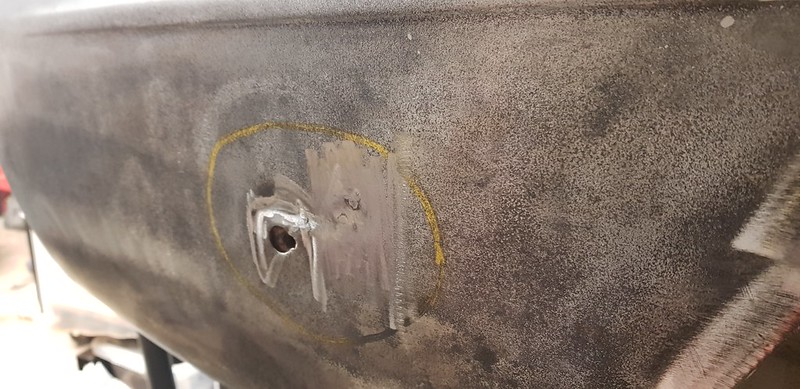
I see that you have gone the extra mile and reinstated the under rider support tube holes in the front valance, one question regarding these, the holes you have reproduced look like they are round?
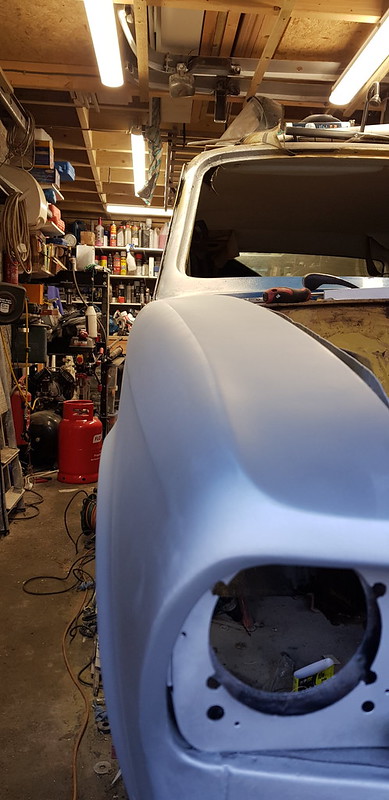
No, and it's a good point as I had forgotten. Although they do look round in the photo they aren't, I think it's just the angle of the photo. Like you say, due to the angle of the valence the support brackets don't fit through a round hole. I have test fitted the bumper on the front with the support brackets that I made for Shaun but not published any photos of that for a reason, I was planning to do this when everything was done, the windscreen fitted and everything tidy etc... before and after!
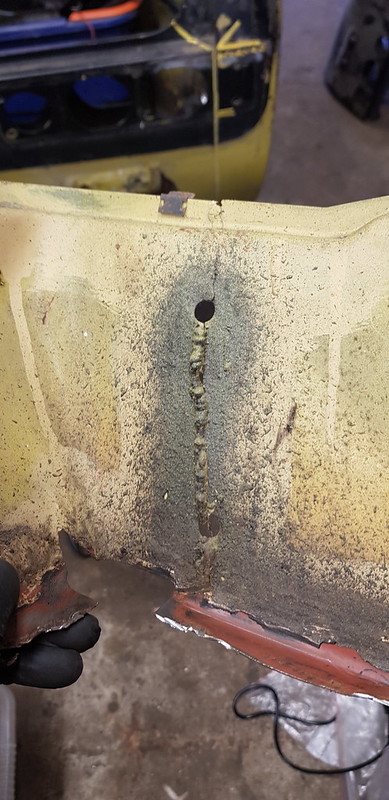
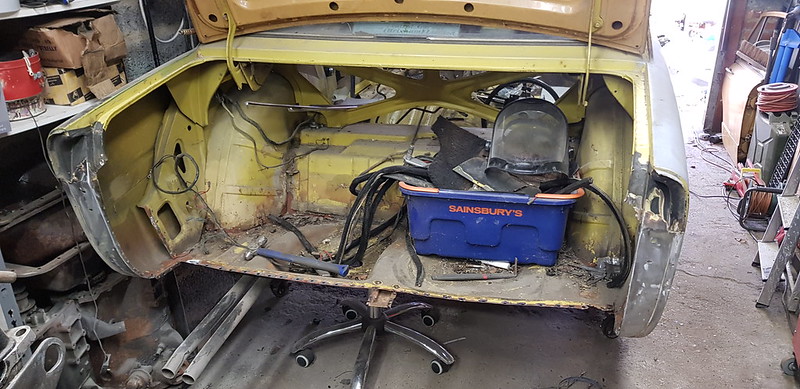
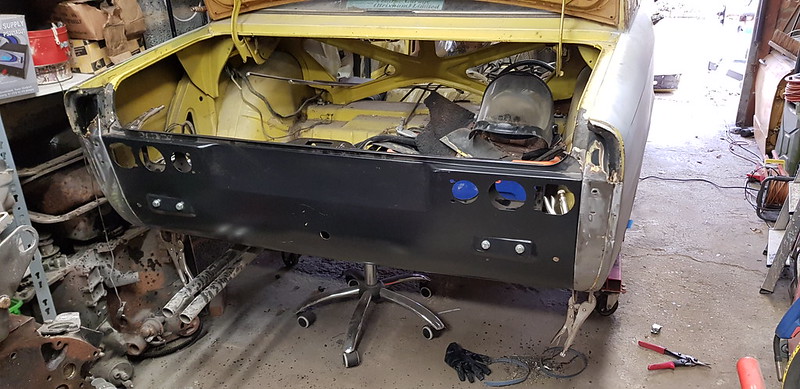
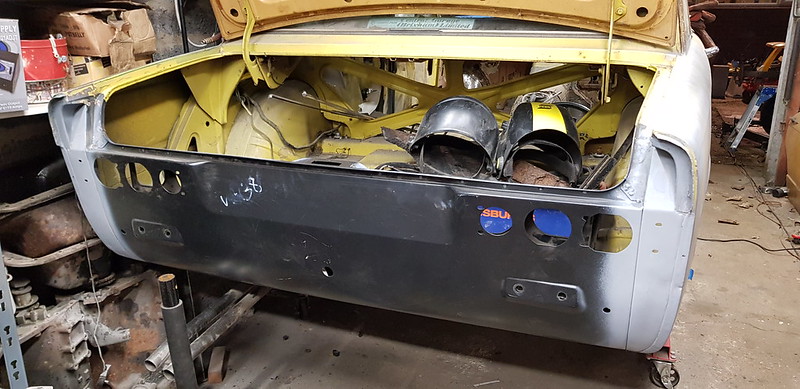
Moving on, you know I said that the chassis legs marked the end of the big jobs. Well that was until I had a look at the rear panel! It looks like the car has had a minor rear end impact in the past. This reaulted in the bumper hitting the rear quarters causing the dent in the rear wing, plus both the inner and outer the rear panels had been pushed in. Some work with a big persuader only pushed the reinforcing tubes so after a chat with Shaun it was decided to replace the rear end panels.

You can see where the panel has been pushed back, a previous repair has been attempted.

New panels...


It's actually simpler than it sounds!
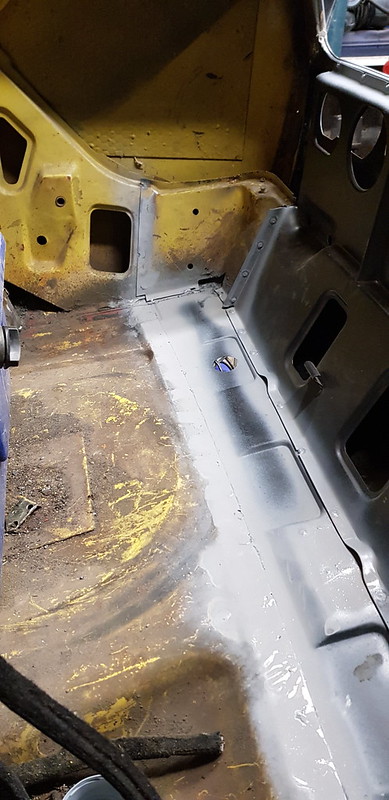
Remove the seam sealer on the boot floor and drill out the spot welds...

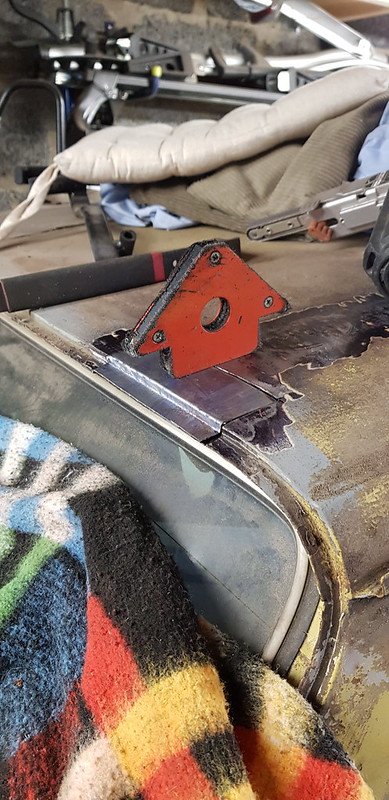
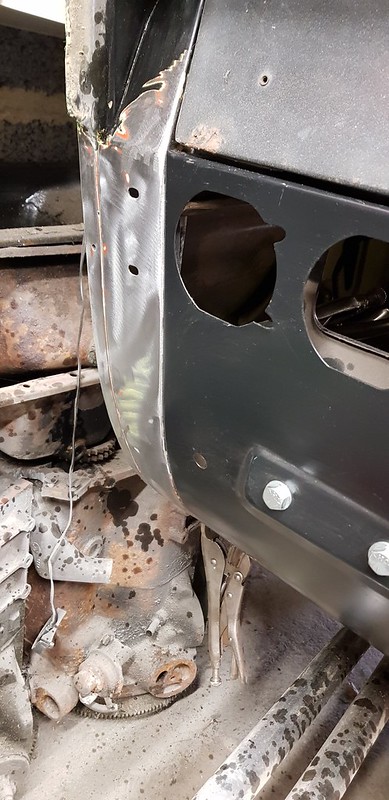
Remove the corner reinforcers


This one had been hacked around so I'll need to repair that

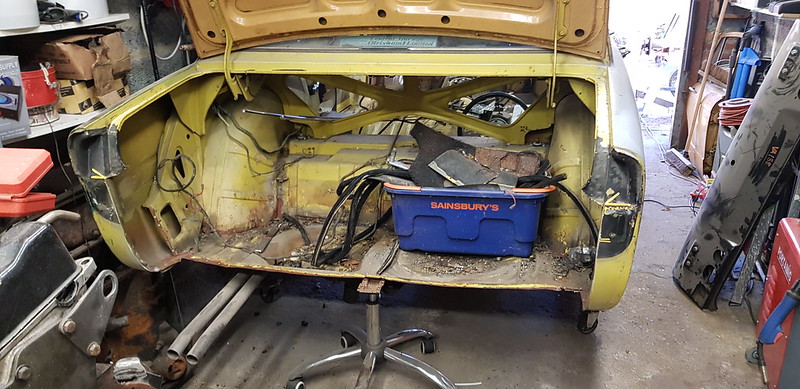
In some places there are tacks rather than spot welds so just cut these, remember to drill out the outer centre strengthning bar below the boot floor. Then I just cut down the seams for the rear panel and pulled both inner and outer off. The chair base is actually supporting the boot floor centre.

Drill out all of the spot welds and clean everything up!
Test fit the panels.


At this point it got pulled on and off about ten times as I repaired areas and made sure everything fitted perfectly, after I was happy I tacked it in.

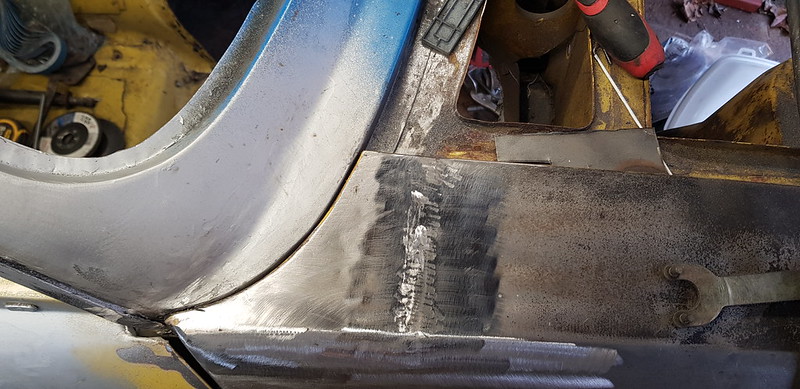
Unbolted the inner panel and plug welded everything up. Before fitting the inner panel I seam sealed everything that would be hidden or difficult to get to. I then bolted on the inner panel on to ensure that the bumper holes aligned and to pull it in as well then clamped and plug welded it on not forgetting the centre hidden support.


Then refit the corner reinforcer sections.
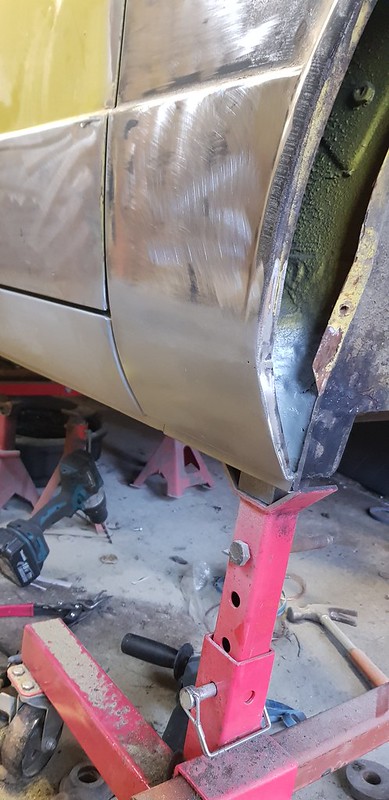
Check the boot still aligns

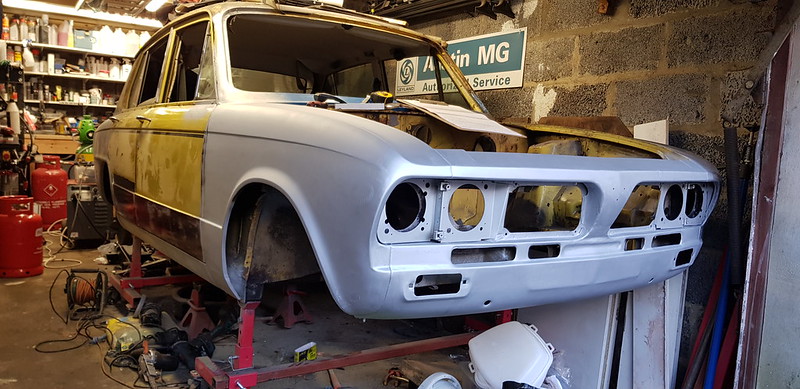
Some etch primer and we are done!
There are a couple of holes on the back to fill in as the panel was obviously for a later car but it went on very well.