Well, it's been a while, but I got around to doing something on the TC today. Only rebuilding the rear brakes, but as I have never done anything like this before, I was rather chuffed with myself.
below is a copy of a post I've made on another forum detailing my work. PLease remember, I'm not a mechanic and may have used the wrong names in some places. TBH I'm not too fussed about that!
Today was spent working on the triumph's rear brakes. Sadly, I didn't manage to get quite as far as I wanted, which was to have the brakes bled up and working. THe reason for this was all the unions were siezed in the back of the old slave cylinders and as a result I had to cut the (admittedly flaky) rear lines.
However, the car now rolls a lot more freely and there is a discernable difference in the car's move-ability between the handbrake being on in the car and being off (unlike before!)
*SAFETY FACIST NOTE* THe following is intended as an indication of the work methods I employed today and is in no way designed to be taken as an instructional guide. In other words if you bu66er things up after following the sequence of work employed here, then that's entirely your look out
My overall experience was entirely an enjoyable one and found it immensely satisfying to have improved the vehicle's mobility. Had i been able to undo the brake line unions without resorting to cutting the lines, I would have been even happier, but such is life when working on old cars.
Pics;
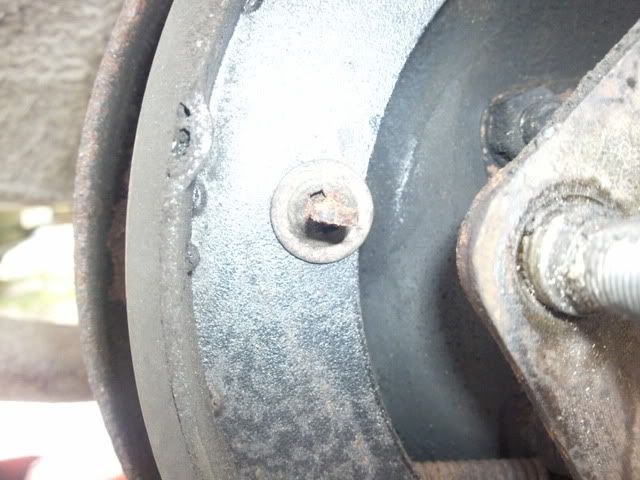
Remove the two screws that secure the drum to the hub. In this case, both sides came undone with no bother at all.
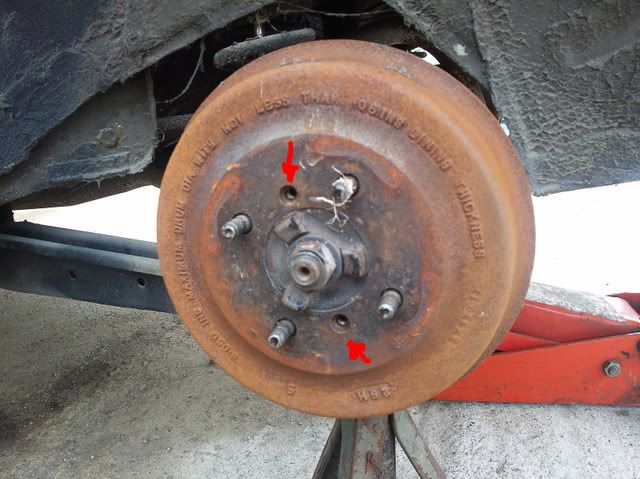
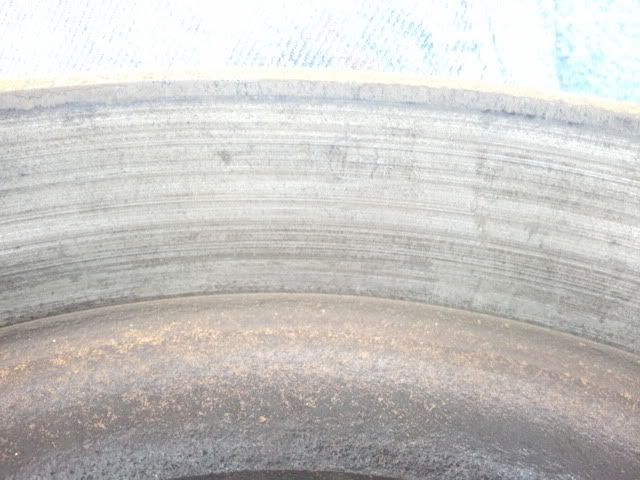
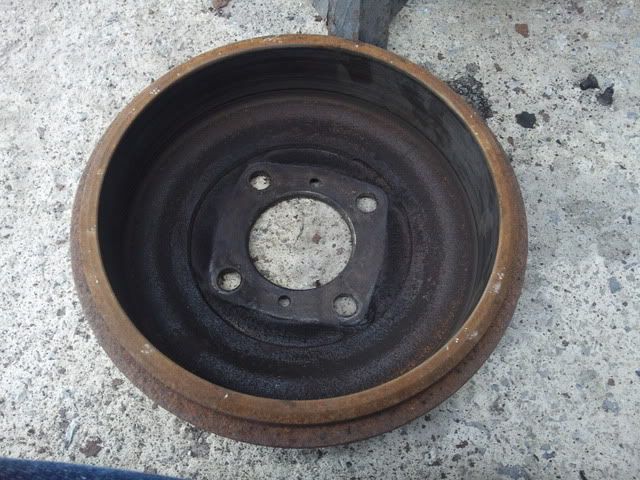
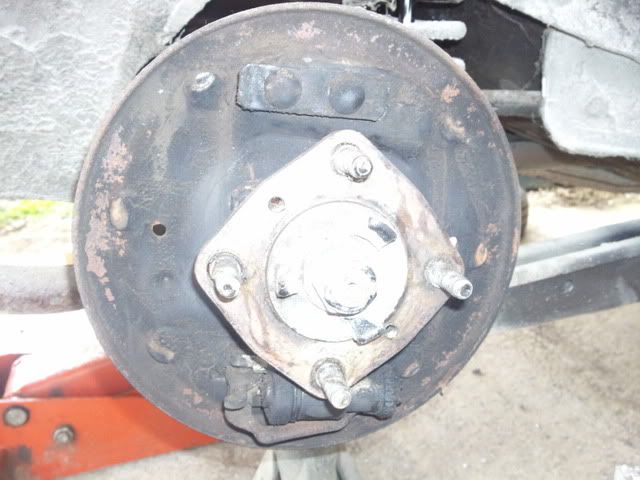
Remove the drum by pulling towards you - this may require some jigging about. Both of mine came off fairly easily, and both drums were found to be in good condition with no detectable lip or wear to the surface of the drum.
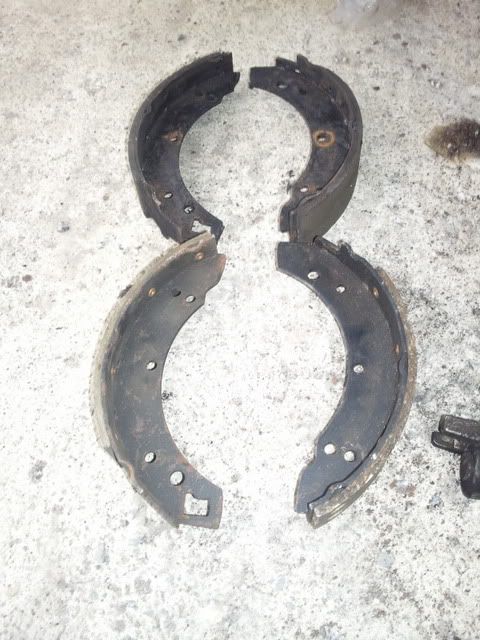
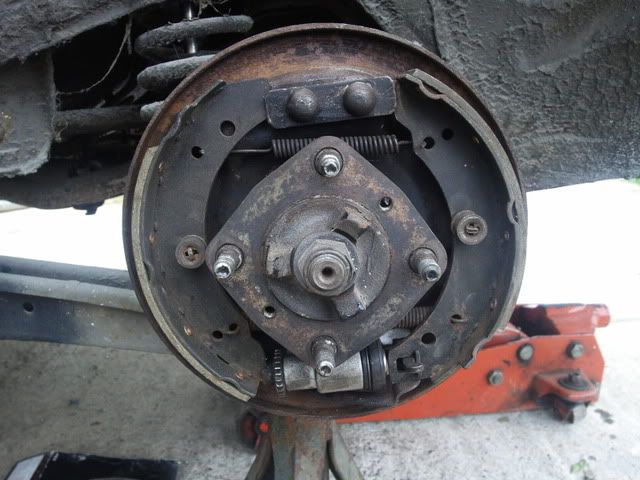
The "gubbins"
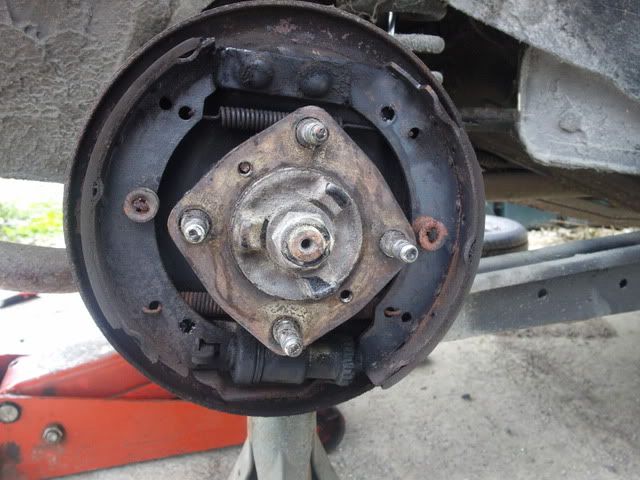
As you can see, there is a good thickness of material on these shoes, which leads me to think that this was a well cared for car that they fully intended to carry on using had other problems not reared their heads. Sadly, the surface of the shoes is knackered with large chunks of material missing so they are consigned to the bin and the shoes sold to me by Nick C will be used. Cheers Nick, they're in great condition and they were well priced too!
First step after revealing the above is to remove the old shoes so I can clean the backing plate up a touch. This is done by gripping the little clips visible with a pair of pliers, depressing the spring and then rotating the pliers through 90 degrees which will free the washer off and permit the removal of the retaining post and spring etc.
As the spring is under tension, be careful to ensure no bits fly off into the wide blue yonder!
With the spring and whatnot removed.
Both sides done, with pins removed too.
It should now be possible to remove the shoes from the backing plate without too much hassle. If not using a digicamera (as I was) or not entirely familiar with the braking system, It is wise to make some diagrams noting the location of the springs and such as they are removed. To be quite honest, the Triumph's brakes are entirely a simple affair, but I did this anyway.
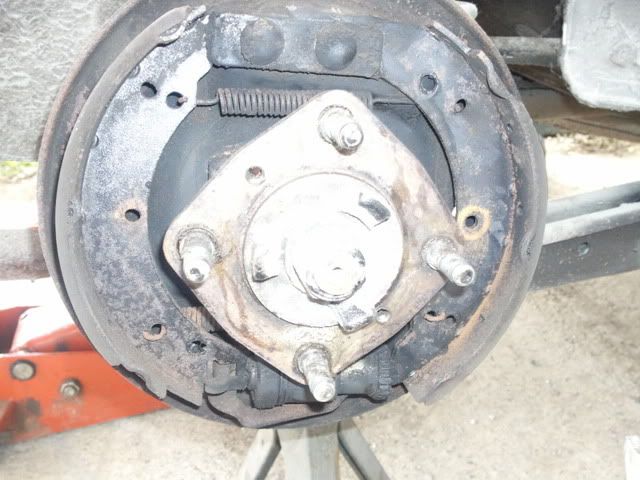
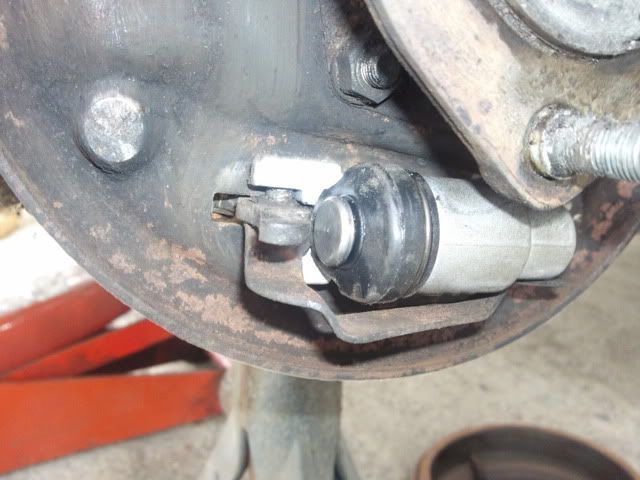
Post shoe removal... (where's it's socks gone?!)
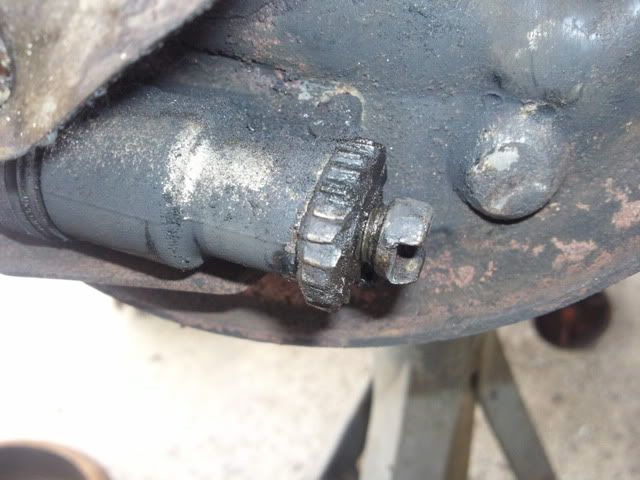
This pic shows the internal self adjuster. This was stuck in one position and could have been the partial cause of my problems that i'd noted.
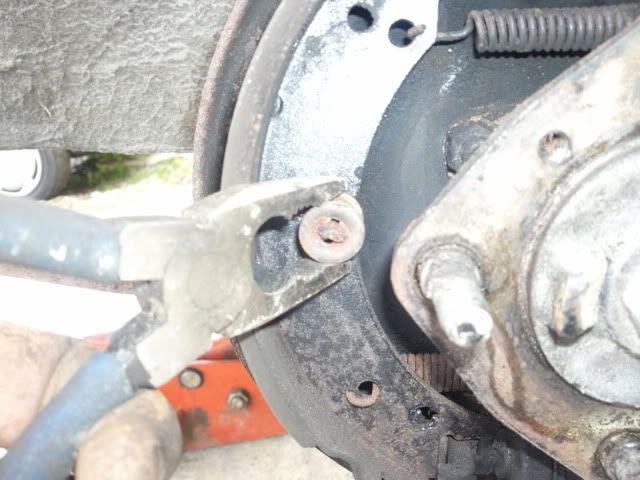
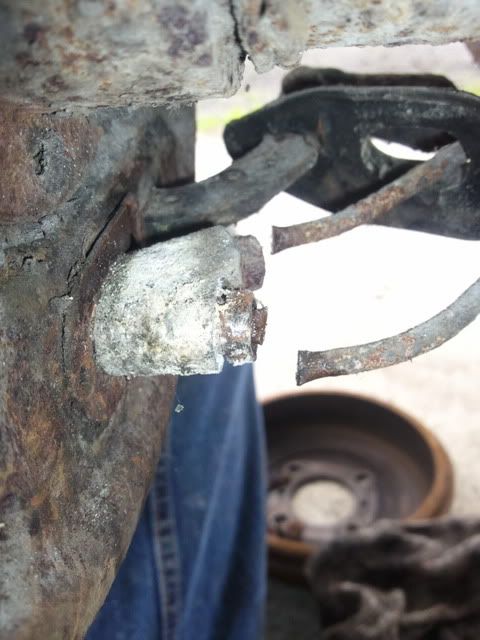
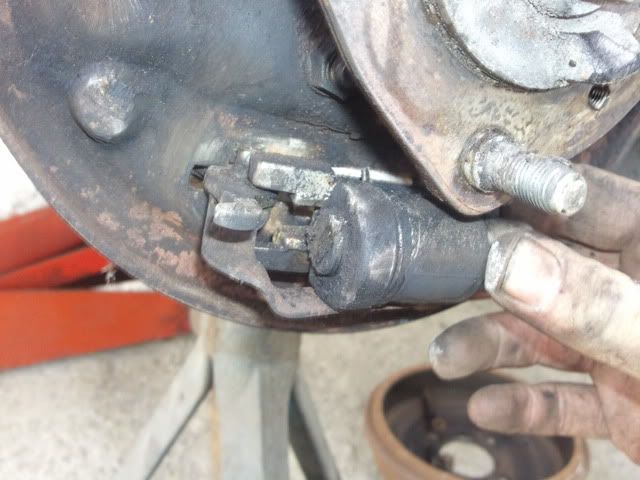
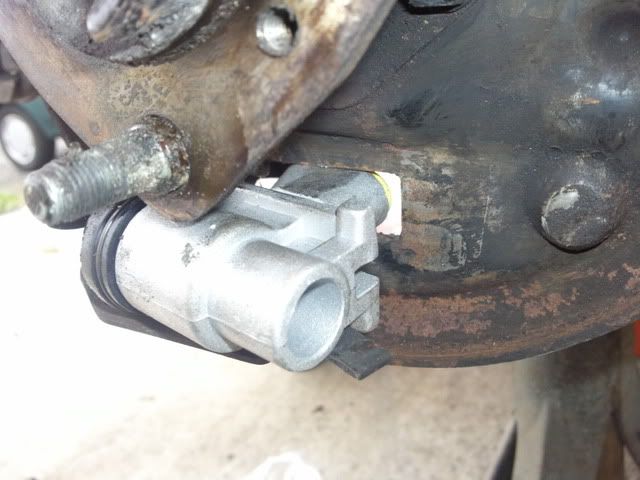
Both the line unions were well and truly stuck in the old cylinder, so I decided to scrap the lines and cut them to facilitate the removal of the cylinder from the backing plate. I did try undoing them properly, but as can be seen from the nearest nut, they just rounded off, so out came the snips.
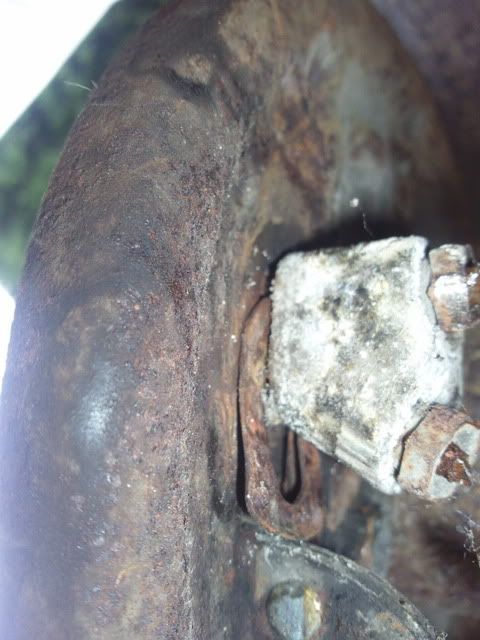
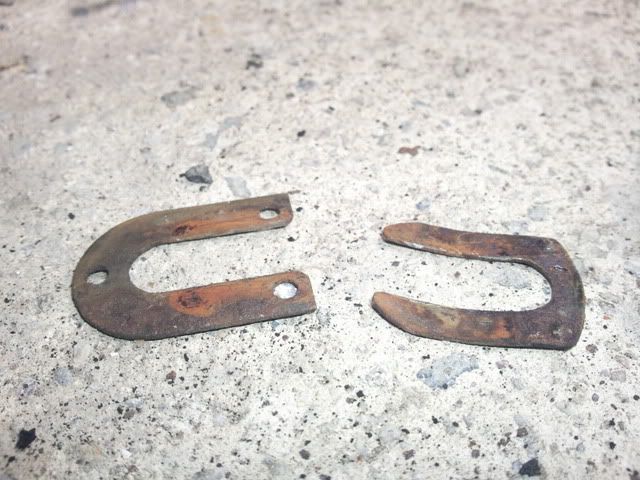
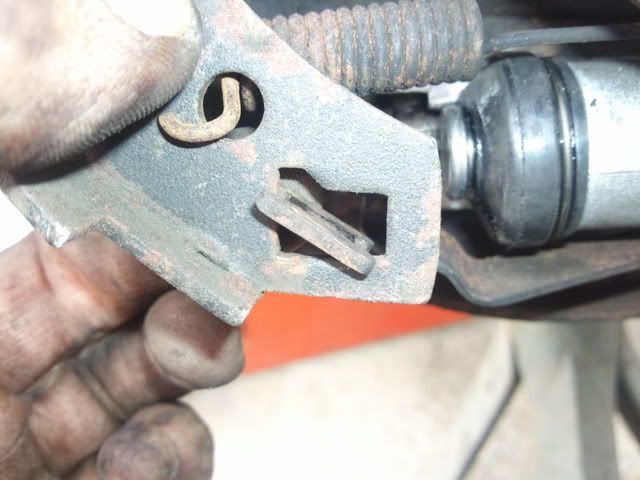
As the Trimuph uses a sliding cylinder, they are retained with two clips that lock into place over the tail of the assembly behind the backing plate. THis photo shows one removed all together and one partially removed. I did this by carefully tapping on the open end of the clip (which is a 'U' shape) and working it out of the way.
Here is the other part of the clip system shown for clarity
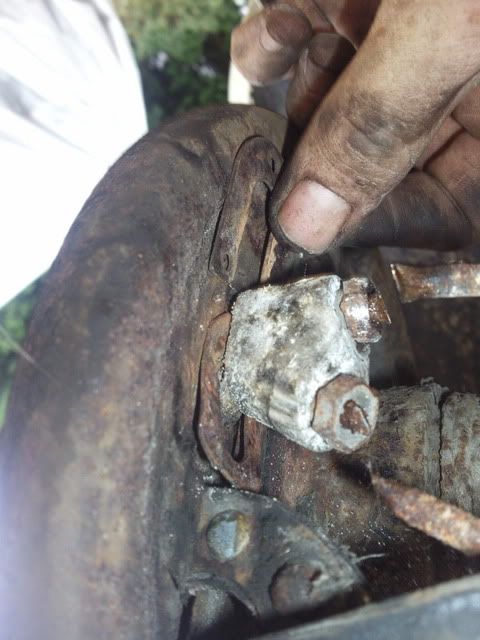
Both parts of the clip removed. They lock together by means of the holes on the left hand one being pushed over the "pimples" visible on the right hand piece
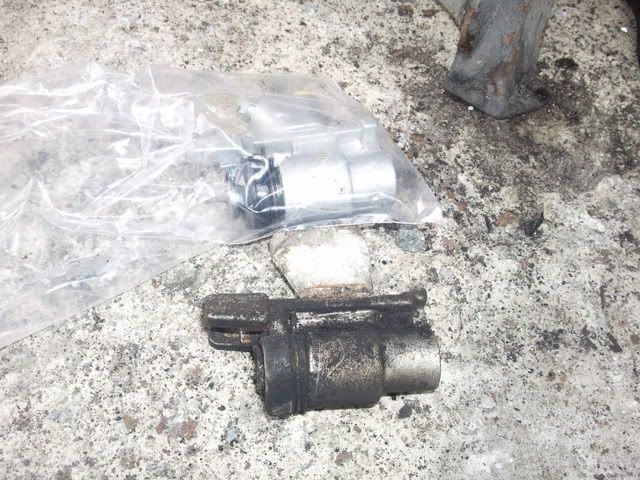
Removing the slave cylinder.
old and new
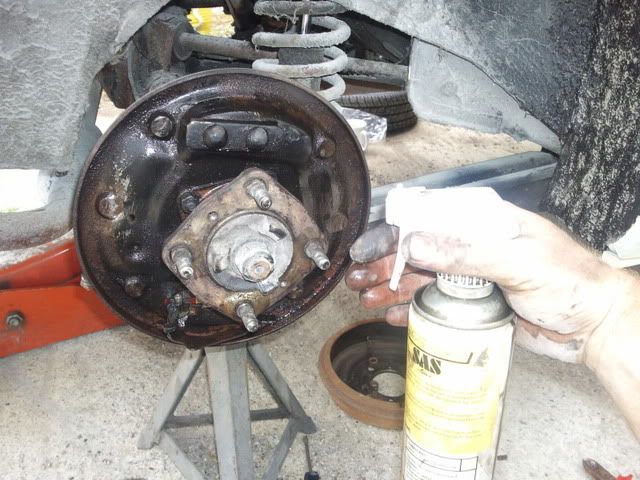
Dousing everything in brake cleaner to get rid of all the congealed crud
Locating the new slave cylinder over the handbrake/adjuster pivot

Sliding it all home
other side, showing the location of the pivot
old and new shoes
relocating the clips

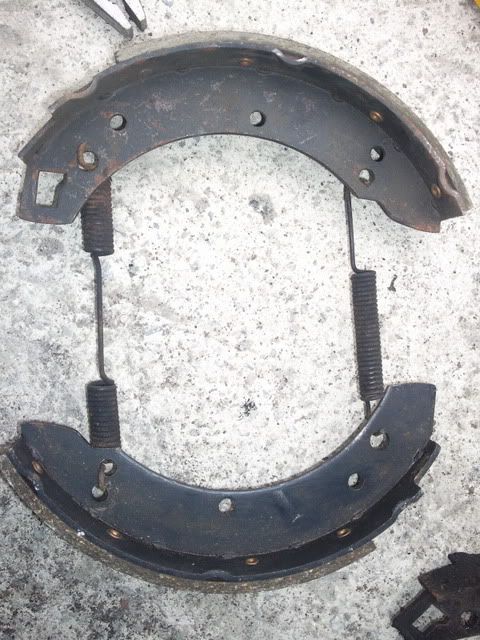
Springs located on new shoes
LIttle 'H' Shaped dufah - hooks into the squareish hole on the brake shoe
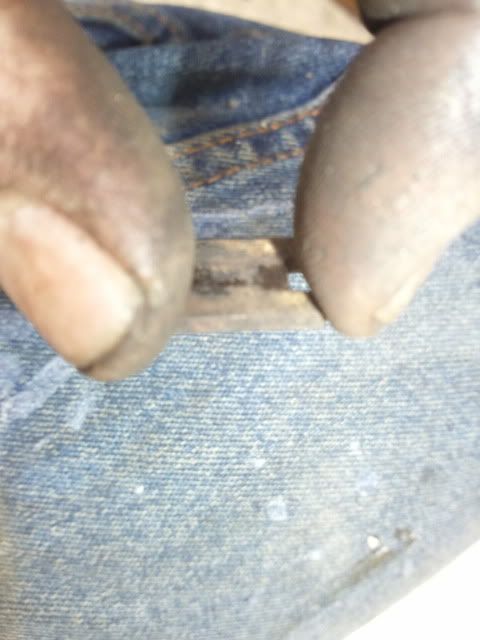
thus;
It does fit vertically on the left hand side of that cut out and was duly located after the pic was taken
Once the springs are hooked into place in the shoes, you can then start reassembly.
Reinsert the adjuster wheel in the end of the slave cylinder with the cut out vertically orientated, and then slide the springs over the half shaft's flange (f'nar f'nar - he said flange!!) Locate the upper two edges behind the big bit at the top of the backing plate, locate the lower two ends in the adjuster and against the slave cylinder end, whilst doing this, note that the handbrake lever is through the squareish hole and resting against the H-shaped dufah from before. Then reinstall the locating/retaining pins, springs and clips and it should look like this.
Once the brakes are reassembled, with this sort of adjuster, it is necessary to work the handbrake to wind the shoes out into their operating position.
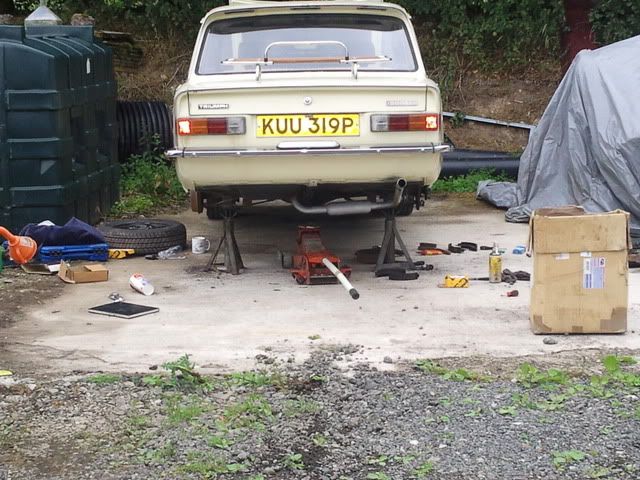
Final note: When working on a car in this fashion, please ensure it is securely supported. I elected to use a level concrete base, using a trolley jack under the diff to lift the car, before I then used a pair of matching axle stands to hold the car solid.
Next week, I plan to get the front balljoints done, or the front brakes if the parts arrive in time. perhaps both!
I will cover the bleeding of the brakes at a later date. With all the lines cut, this was not possible today.