Page 1 of 1
Attaching lower door trims
Posted: Sun Aug 20, 2017 4:05 pm
by SprintMWU773V
Anyone ever contemplated screwing these on? I was thinking that rather than use the clips why not screw the trims on. I think I could slide a square nut into the channel and then screw in from inside the door or inner wing.
Is there any method in my madness?
Re: Attaching lower door trims
Posted: Sun Aug 20, 2017 4:25 pm
by tony g
That could work. Smear the nut with tiger seal so that once in place and tightened it'll stay in the right place if ever removed

. In fact thinking more about it, use studs into the nuts and then nuts inside the door, so you dont have to worry about the bolts seizing in the nut and causing drama to remove.
Tony
Re: Attaching lower door trims
Posted: Sun Aug 20, 2017 8:55 pm
by Bumpa
The side strips on the MGB uses this type of fitting at the ends of the strips. They are flat plates of a size to fit inside the strip and a small threaded stud is welded to the plate so it can be held inside the panel with a nut and washer. They can be bought from any Classic MG supplier. I don't know if they will fit the Dolomite strips. I might have a couple in the garage. If I can find one I'll measure it.
Re: Attaching lower door trims
Posted: Sun Aug 20, 2017 9:56 pm
by GTS290N
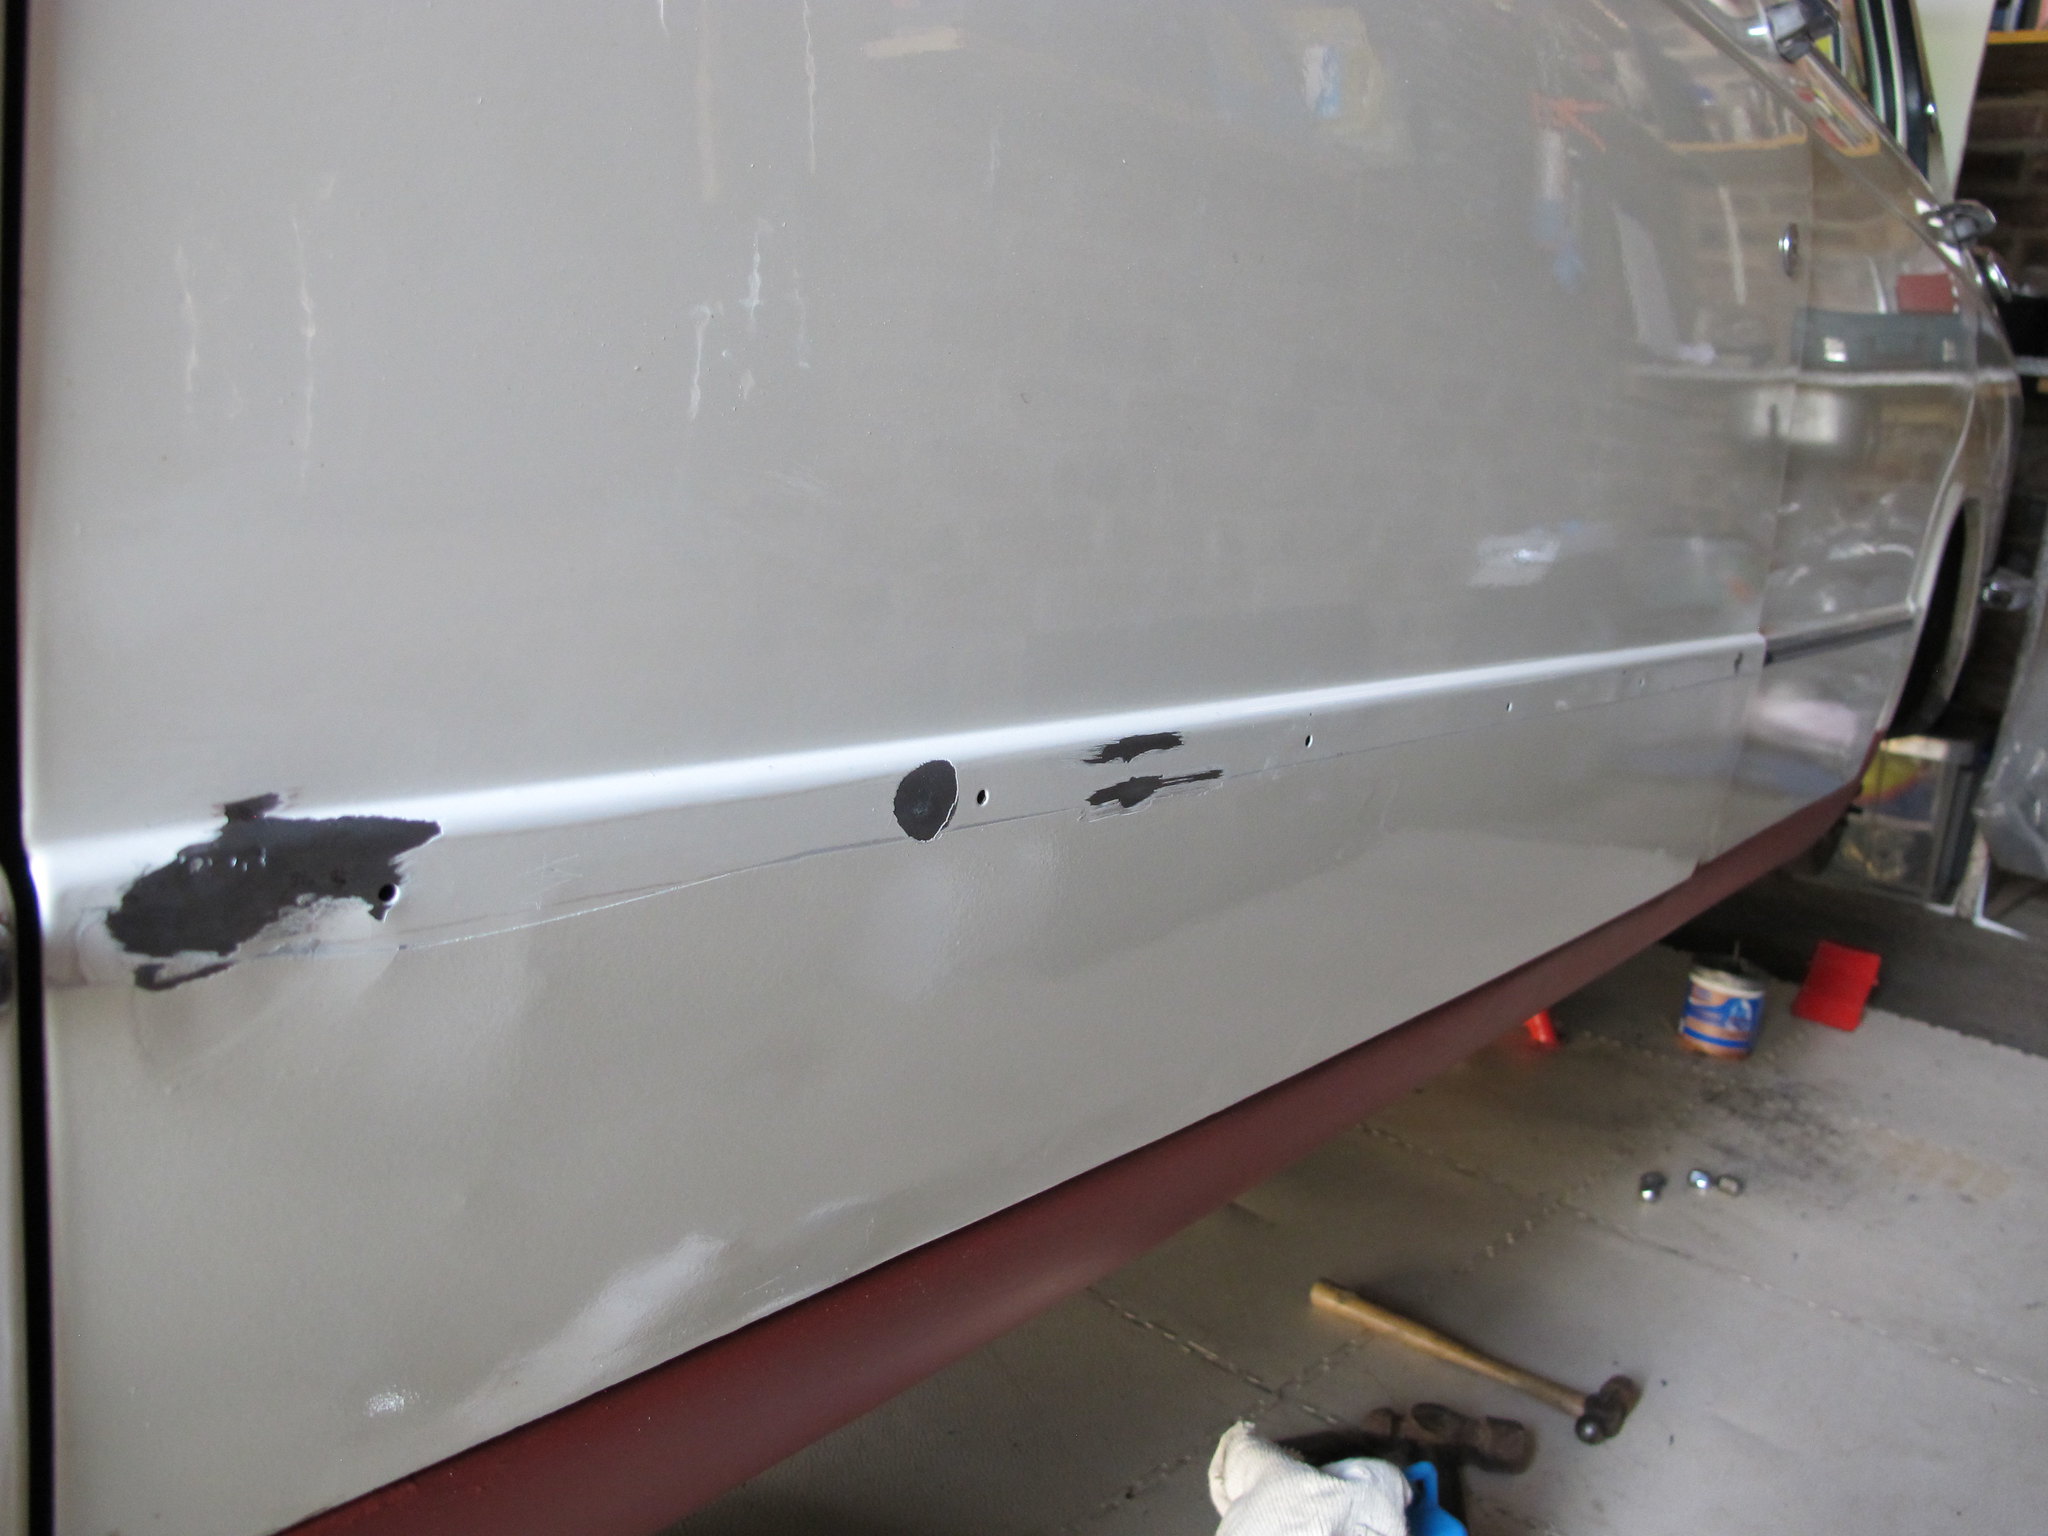
I've just taken the lower door trim off the nearside front door to repair a rusty scab I created some years ago reversing into the garage.
I was dreading what might lie underneath.
Underneath was 42 years of muck - and once cleaned up with hot water, then t-cut and polish, the paint was pretty good:
I had some new plastic clips, so the trim went back on with these, they're a tight enough fit that water won't get past them.
To get the trim on required a fairly hefty smack with the hand.
[url=
https://flic.kr/p/WFmSDT]
Re: Attaching lower door trims
Posted: Mon Aug 21, 2017 9:18 am
by SprintMWU773V
I think the MG style strips could work nicely. I like the ability of being able to remove them easily. I always get nervous whacking the strips with clips. All my strips are new and I can't afford to damage them. I think the max width of the lower strip would be about 12mm but of course it would be easy enough to grind any excess material away on the bench grinder or file. Likewise I suspect the studs will be too long but they could easily be cut down to size.
Re: Attaching lower door trims
Posted: Mon Aug 21, 2017 11:23 pm
by Carledo
Everyone knows i'm not big on originality!
FWIW, i'm leaving the blanketty blank, cheap, nasty, ugly things off my Sprint, bolts or plastic clips, they are still holes in the door and a serious rust trap! They are also unbelievably fragile, I know they are "sacrificial" and are there to save the door from damage by Tesco trolleys and the like, but the very shortage of undamaged used ones speaks to their poor quality! Unlike the rubbing strips, a door can be repaired! For the same reasons, I am also deleting the stainless sill moulding.
It IS kind of odd though, that the upper door moulding clips don't provide the same degree of attraction to the tinworms! You rarely find rot behind these, so they can stay!
Steve
Re: Attaching lower door trims
Posted: Tue Aug 22, 2017 8:44 am
by SprintMWU773V
Trouble is I already have the holes for the strips on the doors, thankfully I don't have the sill trim holes!
Re: Attaching lower door trims
Posted: Tue Aug 22, 2017 2:25 pm
by Bumpa
Here we go. I've found the MGB trim fixings and here's a photo of one. The plate measures 5/8 x 1/2 inch, the stud is 5/8 inch long including the thickness of the plate, and the screw is 3/16 inch diameter. It is called a Stud Plate with the part number AHH6360, and the nut and washer are listed separately. The nut is GHF206, and the spring washer is WL700101.
Re: Attaching lower door trims
Posted: Tue Feb 13, 2018 10:59 am
by Graham04
Found these trims on ebay, not quite the same as original but do the job if you are not too fussy about total originality. They are in fact the reverse with the chrome in the middle and black on the outside 3mm high 18mm wide . Once you are a few yards away its hard to tell the difference. Unless that's just my dodgy eye sight . It comes on a 5m roll and can be cut with a decent pair of scissors. Sticks on with supplied double edge tape. However I didn't fancy the tape much so bought some in Hafords, the exact 18mm width tape for about a fiver. 25 for the trim so £30 in all. Not sure how long it will last but seems a decent quality.

Re: Attaching lower door trims
Posted: Tue Feb 13, 2018 11:24 am
by Carledo
Graham04 wrote: ↑Tue Feb 13, 2018 10:59 am
Found these trims on ebay, not quite the same as original but do the job if you are not too fussy about total originality. They are in fact the reverse with the chrome in the middle and black on the outside 3mm high 18mm wide . Once you are a few yards away its hard to tell the difference. Unless that's just my dodgy eye sight . It comes on a 5m roll and can be cut with a decent pair of scissors. Sticks on with supplied double edge tape. However I didn't fancy the tape much so bought some in Hafords, the exact 18mm width tape for about a fiver. 25 for the trim so £30 in all. Not sure how long it will last but seems a decent quality.
And being stuck on, there are no holes needed in the doors to attact the dreaded tinworms - I like it!
Steve
Re: Attaching lower door trims
Posted: Tue Feb 13, 2018 8:37 pm
by Richard the old one
Another option is to fill the back of the stainless steel trim flush with body filler so that it can be stuck on using the double sided tape that is available for fitting car trim.
Re: Attaching lower door trims
Posted: Thu Feb 15, 2018 1:14 pm
by rolf
That's what I did with the door trim. I filled up the strips and stuck it with tape.
I just hope it will hold.
