My 13 year project...
-
TLC

- Guest contributor

- Posts: 643
- Joined: Wed Oct 04, 2006 4:40 pm
- Location: Somewhere in the middleshire
Re: My 10 year project...
-
Jon Tilson
- Guest contributor
- Posts: 11179
- Joined: Tue Oct 03, 2006 9:45 pm
- Location: Middlesex
Re: My 10 year project...
I disagree...
Ive got two cars with toughend screens. Ive heard quite a few thwacks on motorways as stones hit and the good old Pilkington Zebrazones just shrig them off
Laminates are nothing but stone chip collecting corner fogging sources of irritation.
Jonners.
Ive got two cars with toughend screens. Ive heard quite a few thwacks on motorways as stones hit and the good old Pilkington Zebrazones just shrig them off
Laminates are nothing but stone chip collecting corner fogging sources of irritation.
Jonners.
Note from Admin: sadly Jon passed away in February 2018 but his humour and wealth of knowledge will be fondly remembered by all. RIP Jonners.
-
DoloWIGHTY
Re: My 10 year project...
Well bit the bullet and Autoglass are coming on Thursday to fit a new screen via my insurance...........................
.......a Sundym one. The only ones they can now supply.
.......a Sundym one. The only ones they can now supply.
-
DoloWIGHTY
Re: My 10 year project...
Managed to (fairly) successfully get all the stickers off of the original screen for reuse;
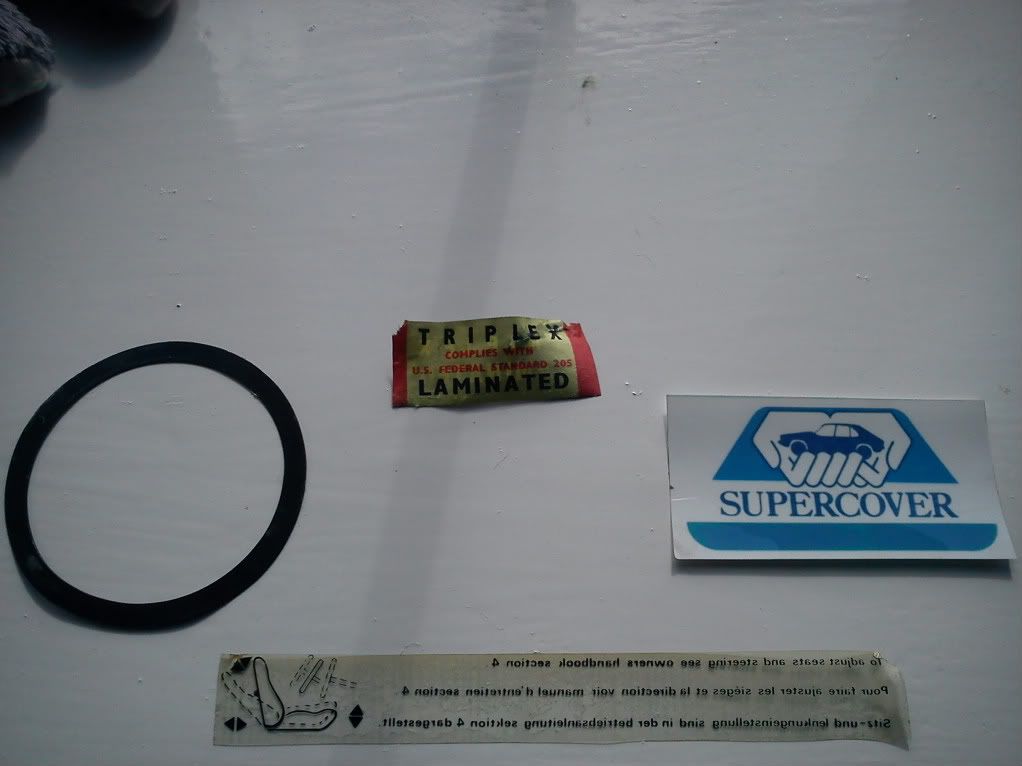
The Triplex one is paper and I steamed it for 10 minutes;
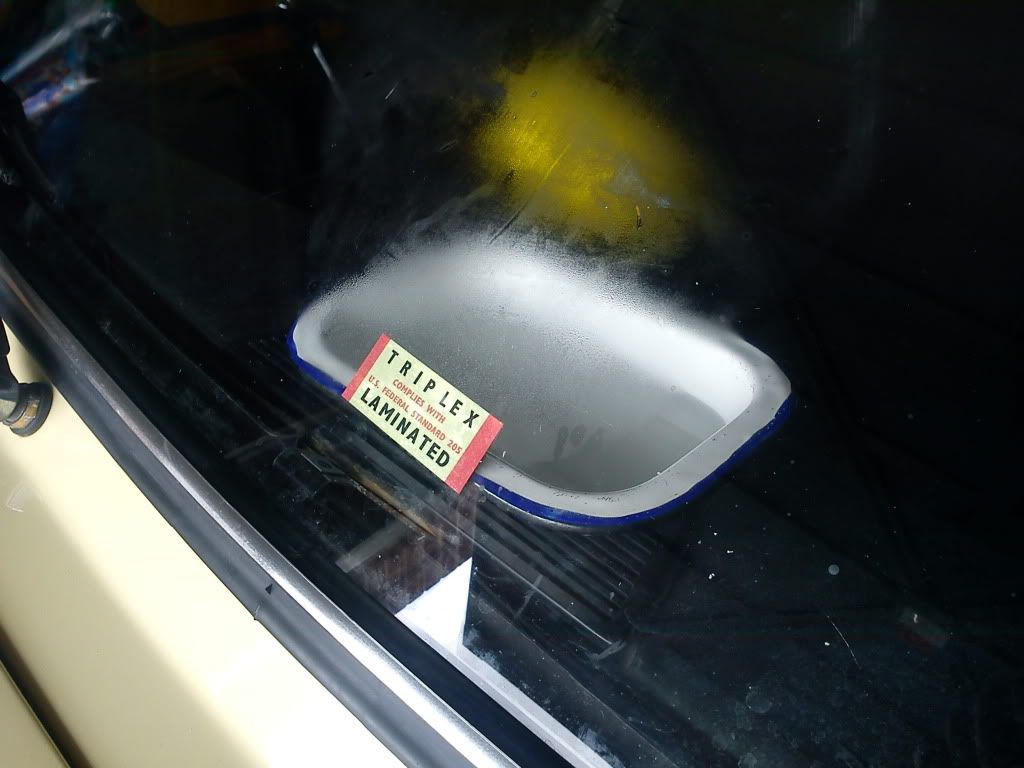
As you can see in the top picture it came away reluctantly leaving a corner behind .
Though I was really pleased to be able to salvage the one telling you about the Driver adjustment (bottom one in the picture), this one appears to have been there since 1975 (according to the dot code) so I wasn't that hopeful of getting it off, but with gentle heat from my wife's hairdryer and selective poking with a sharp chisel it came away in one piece complete with it's original "sticky" ready for re-use .
.
The circle is a magnetic ring which connects with a cardboard circle which holds the tax disc in place. Again appeared to be a 1970's item so I was keen to preserve it. Came off in the same way as the other stickers - which I then promptly dropped on the carpet face down and now it's all "hairy" :slap: But it can be re-used.
The Triplex one is paper and I steamed it for 10 minutes;
As you can see in the top picture it came away reluctantly leaving a corner behind
Though I was really pleased to be able to salvage the one telling you about the Driver adjustment (bottom one in the picture), this one appears to have been there since 1975 (according to the dot code) so I wasn't that hopeful of getting it off, but with gentle heat from my wife's hairdryer and selective poking with a sharp chisel it came away in one piece complete with it's original "sticky" ready for re-use
The circle is a magnetic ring which connects with a cardboard circle which holds the tax disc in place. Again appeared to be a 1970's item so I was keen to preserve it. Came off in the same way as the other stickers - which I then promptly dropped on the carpet face down and now it's all "hairy" :slap: But it can be re-used.
-
miniman
Re: My 10 year project...
Shame about the Triplex one. Might be worth contacting Kelvin at Tinyplates - http://www.tinyplates.co.uk - he can custom make transfers so might be able to reproduce something for you.
-
JPB
Re: My 10 year project...
Those Triplex ones in any of their various styles are also available from eBay sellers "Stickrgeek" and "Isaydingdong", though neither is currently listing them. The magnetax is still available at certain accessory shops and is a brilliant idea, I have one somewhere that used to live in a Reliant of some sort, keep meaning to buy one for the brown car.
Edited:
Mini sport to the rescue!
(Scroll down that page for that decal).
Edited:
Mini sport to the rescue!
(Scroll down that page for that decal).
-
DoloWIGHTY
Re: My 10 year project...
YAY!!
Ordered one. Thanks mate.

Re: My 10 year project...
1978 Triumph Dolomite Sprint (project thread)
1966 Volkswagen 1300 (project thread)
1962 Austin Mini (project)
1962 MGA 1600 Mark II
1965 Mobylette SP50 (project)
2001 Rover 75 2.5-litre V6
1966 Volkswagen 1300 (project thread)
1962 Austin Mini (project)
1962 MGA 1600 Mark II
1965 Mobylette SP50 (project)
2001 Rover 75 2.5-litre V6
-
JPB
Re: My 10 year project...
Ooh, they don't half sparkle when they're new!
Every cloud, etc. I reckon a screen that's completely new makes a fitting conclusion to your years of restoring this rather tasty car mate.
It's amazing just how many scratches and marks we pick up on our car windows and we never notice them until we've seen out of the same car through a new screen.
-
DoloWIGHTY
Re: My 10 year project...
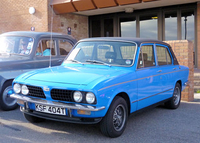
Nothing in the way of restoration for my car this time around, but just thought that those of you with cars off the road, might enjoy this, I know how it can seem such a long road to tread, but on a day like today (temperatures up in the early 20's and being on holiday) there really is no better place than sat behind the steering wheel of a Triumph Dolomite with the windows wound down, the quarterlights open and the lovely note of an exhaust pipe;
At the seaside;

After a long walk in the countryside, your carriage awaits you Sir:

..or coming out of the pub at lunchtime to find a Gent admiring your car with his hand cupped over the driver's window. "used to have one of those - lovely cars, don't make 'em like that anymore...."
...or chatting with an Austin 7 owner.
"Beautiful condition that - well done"
I love my car.
At the seaside;
After a long walk in the countryside, your carriage awaits you Sir:
..or coming out of the pub at lunchtime to find a Gent admiring your car with his hand cupped over the driver's window. "used to have one of those - lovely cars, don't make 'em like that anymore...."
...or chatting with an Austin 7 owner.
"Beautiful condition that - well done"
I love my car.
-
JPB
Re: My 10 year project...
-
JPB
Re: My 10 year project...
He is, isn't he, especially in his small hat!benny wrote:Lovely Alan
-
DoloWIGHTY
Re: My 10 year project...
Well, you may remember I said I was going to paint a spare chin spoiler I had and put it on the car? Well today I have done just that.
I had done this on a previous car like this and was pleased with the results.
Anyway firstly, the end captive nuts were missing, just two gaping holes either end like this;

The solution I found was to Araldite one of these in at either end;
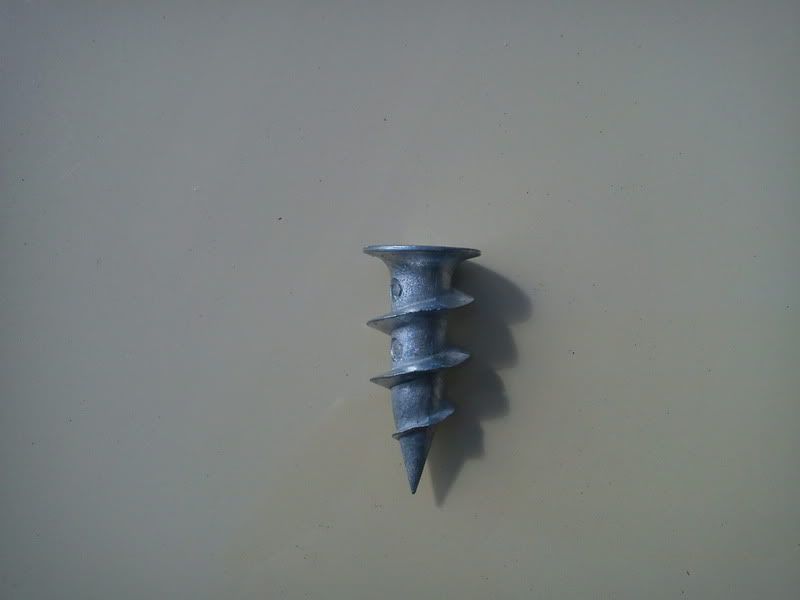
These are made by Rawlplug and are designed for fixing things to walls that are made of plaster board.
Once they were screwed in (with the Araldite) I then finished off the by forcing epoxy two-pack putty into the remaining gaps;
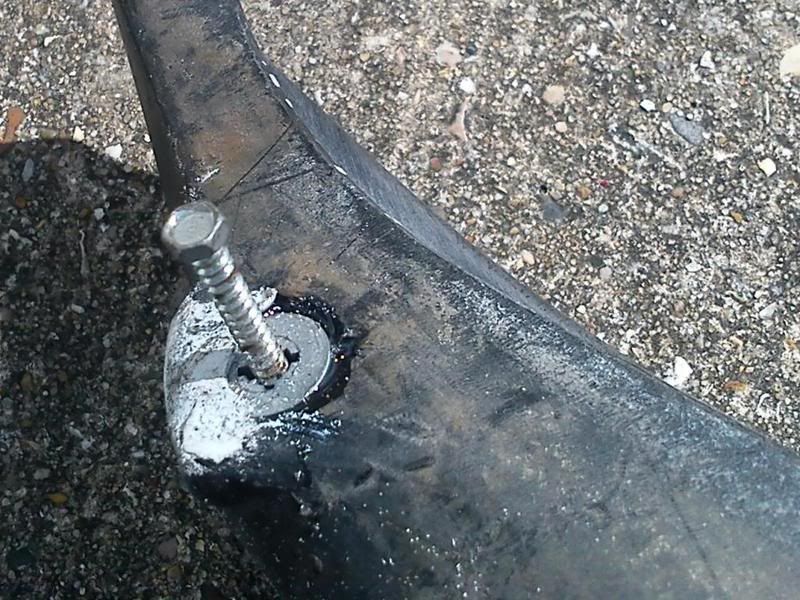
(the screw in the plug is only there so I could hold it in position whilst it was setting.
One end of the spoiler had been badly knocked out of shape, so a bit of hammering and some filler soon had the profile back.
It was then rubbed back, an acrylic primer applied and then top coated in Honeysuckle.
The results;
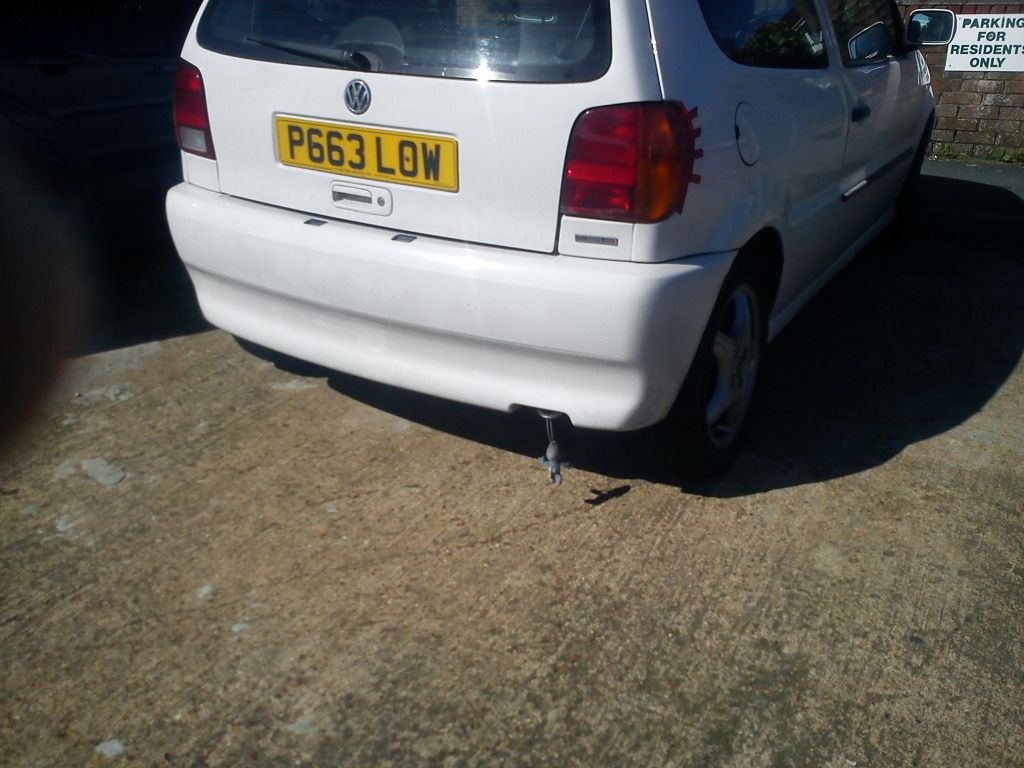
Here with the "standard" black item;
Nothing at all (as my car should have being a '75 model)
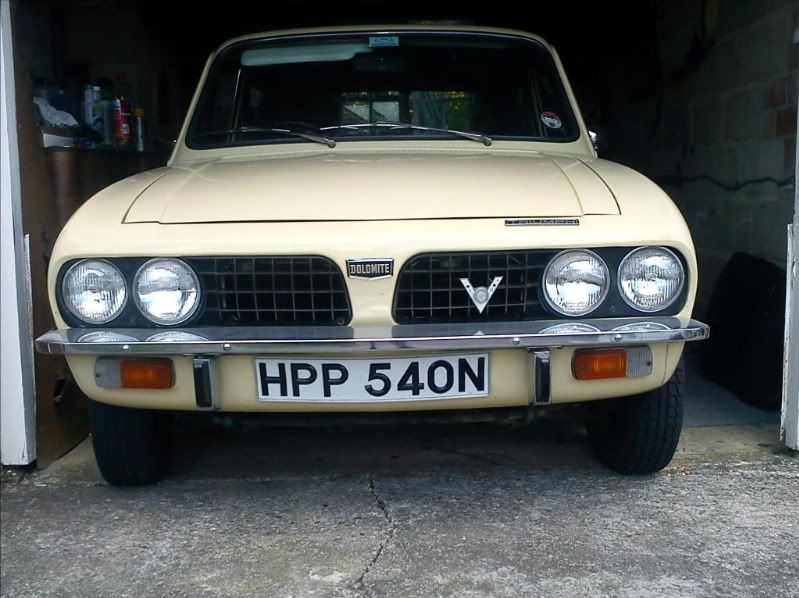
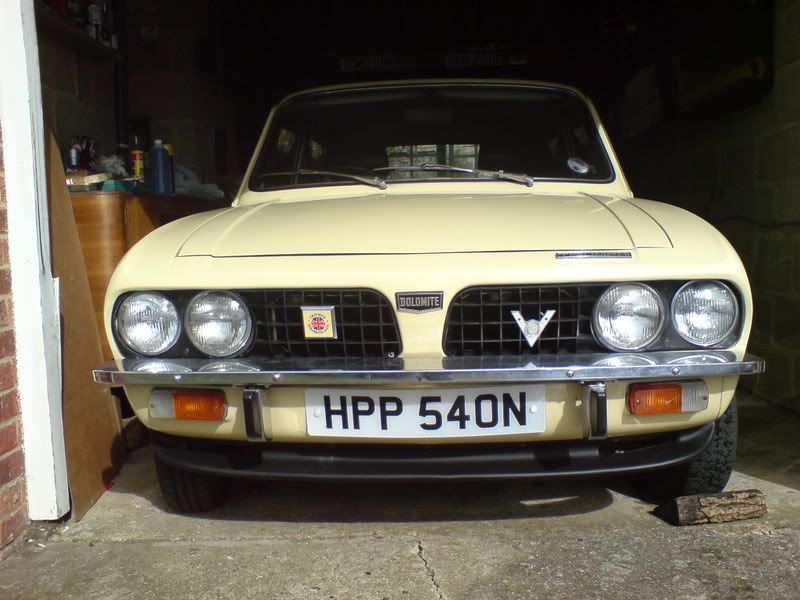
And with the "new" one as per this topic;
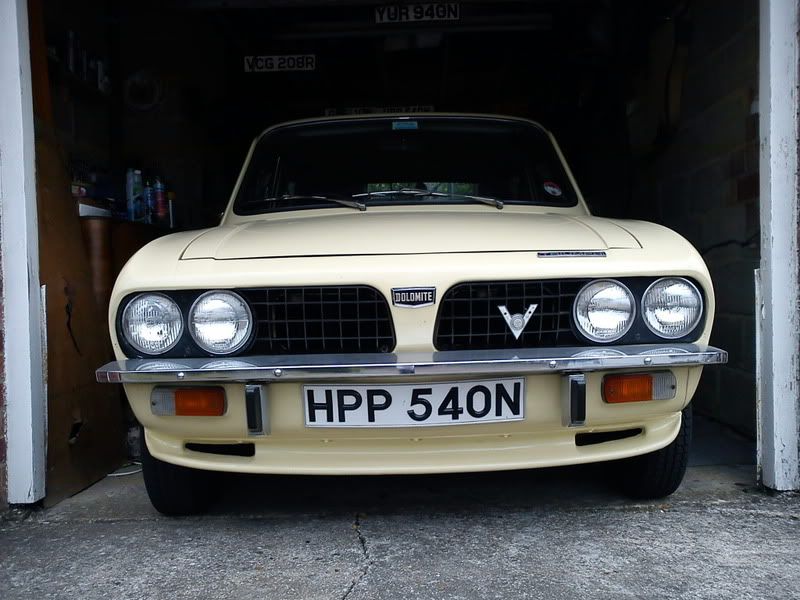
So, which do you prefer?
I had done this on a previous car like this and was pleased with the results.
Anyway firstly, the end captive nuts were missing, just two gaping holes either end like this;
The solution I found was to Araldite one of these in at either end;
These are made by Rawlplug and are designed for fixing things to walls that are made of plaster board.
Once they were screwed in (with the Araldite) I then finished off the by forcing epoxy two-pack putty into the remaining gaps;
(the screw in the plug is only there so I could hold it in position whilst it was setting.
One end of the spoiler had been badly knocked out of shape, so a bit of hammering and some filler soon had the profile back.
It was then rubbed back, an acrylic primer applied and then top coated in Honeysuckle.
The results;
Here with the "standard" black item;
Nothing at all (as my car should have being a '75 model)
And with the "new" one as per this topic;
So, which do you prefer?