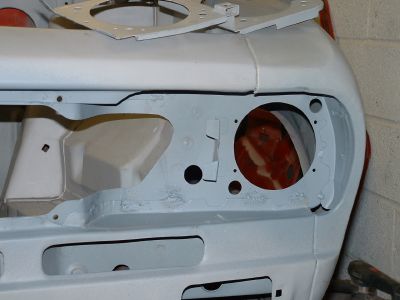
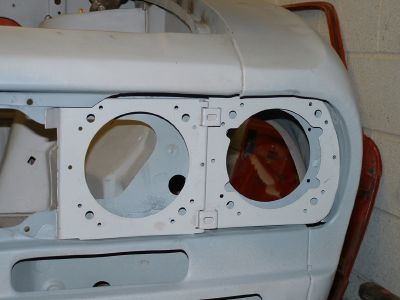
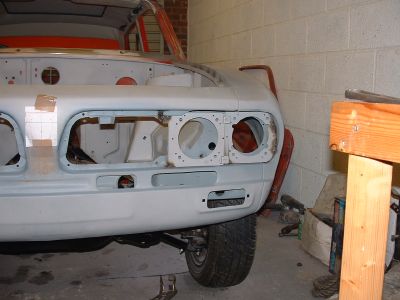
Sorry to contradict that, Alan, but the outer edge of each headlamp panel should be spot welded down its join with the return lip of the wing. To the side of each wing, the return edge falls vertically and mates with the fold at the outer edge of the headlamp panel.Stan Part wrote:The headlamp support panel is only held at one end, it does seem to "float" at the other end.
This is true of the edges of the unused, genuine Unipart steel wings and of those fitted to the car which are as they left the factory so yes, the headlamp panels should be supported down their outer edges as well as along the top, where the eyebrow panel fills the gap between headlamp panel and wing tip across the entire width of the wing.