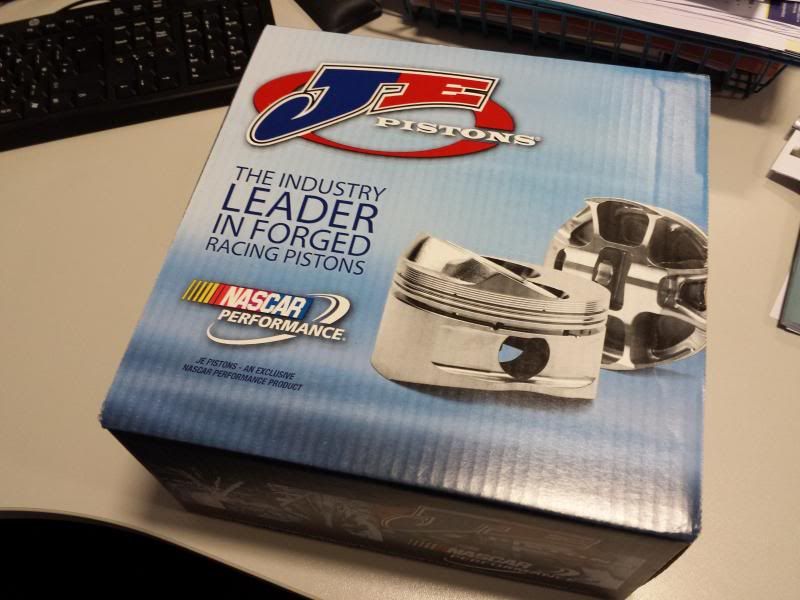
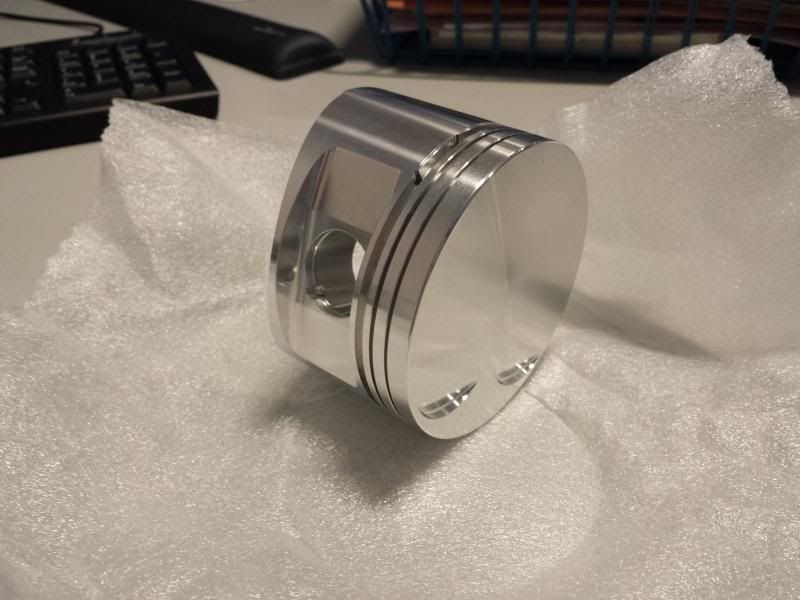
Not quite sure what’s happened to the last few months but I have made a little more progress. I've been suffering with a nasty case of tennis elbow since July which has made some jobs rather difficult and painful but I think the worst is over now.
The bottom part of the engine has now come back from the engine machine shop. The crank was found to be in good condition. Mains have been ground to first undersize and big ends were polished and remain standard size. The block thoroughly cleaned and was bored to first oversize. I also go the shop to fit the pistons to the rods and gap the piston rings. Whilst I would have liked to have done this myself they have all the relevant tools to do so it seemed a bit pointless to do it myself and spend out on tools I may not need again. The original rods were inspected and found to be in good condition so they were re-used. The core plugs were not changed, they appeared in good condition and we agreed it seemed a little pointless to change them when there was nothing wrong with them. They also offered to paint the block for me. I quite fancied doing it myself but they included it in the price and it does look nice.
I also decided to have the moving parts balanced. This is not done in house at Crewe Engines but they use a local firm in Crewe to do it. The crankshaft, pistons, conrods, flywheel, crankshaft pulley and clutch cover were all sent off. I had a call a few days later to tell me that the NOS crank pulley I supplied (original one broke getting it off) was miles off balance and was fit only for scrap. I sourced a good used one for comparison and they didn’t complain about that one so assume it must have been better. I also had a problem with the clutch cover which was not quite the right one and wouldn’t locate on the dowels and bolts. Fortunately I was able to swap it for a correct one with the supplier even if it did mean lugging it to the NEC and back. The pistons, being new forged ones were very closely matched as were the rods. The crank itself and the pulley needed a little adjustment. The balancers marked everything up to make reassembly easier and I picked up as one big and rather heavy unit. Of course it’ll all need to come apart to fit it.
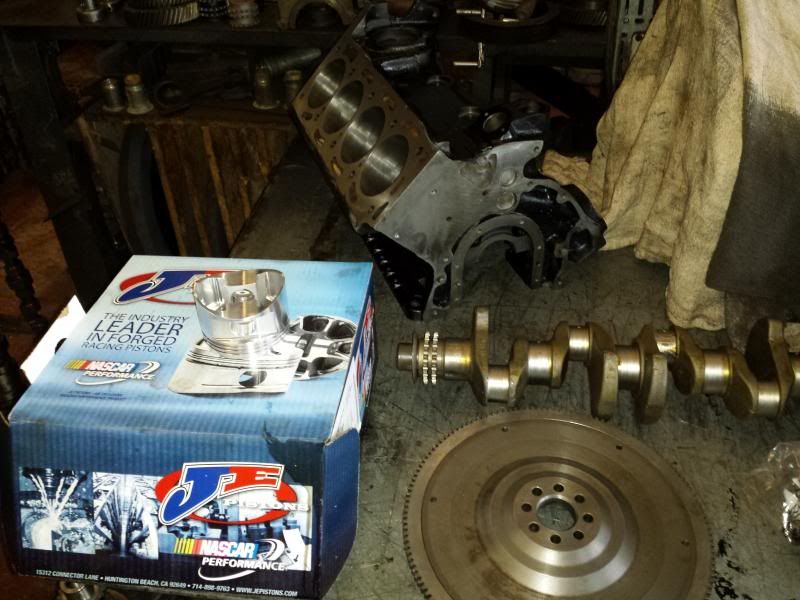
All the components arrived back just before Christmas. My plan had been to put it back together over the period but I never quite got round to it as we’ve had a lot of family things going on. I have at least assembled all the necessary parts to commence rebuild including new Vandervell Main and Big End bearings, a quality timing chain, tensioner and oil pump. Hopefully I’ll get onto the assembly before too long.
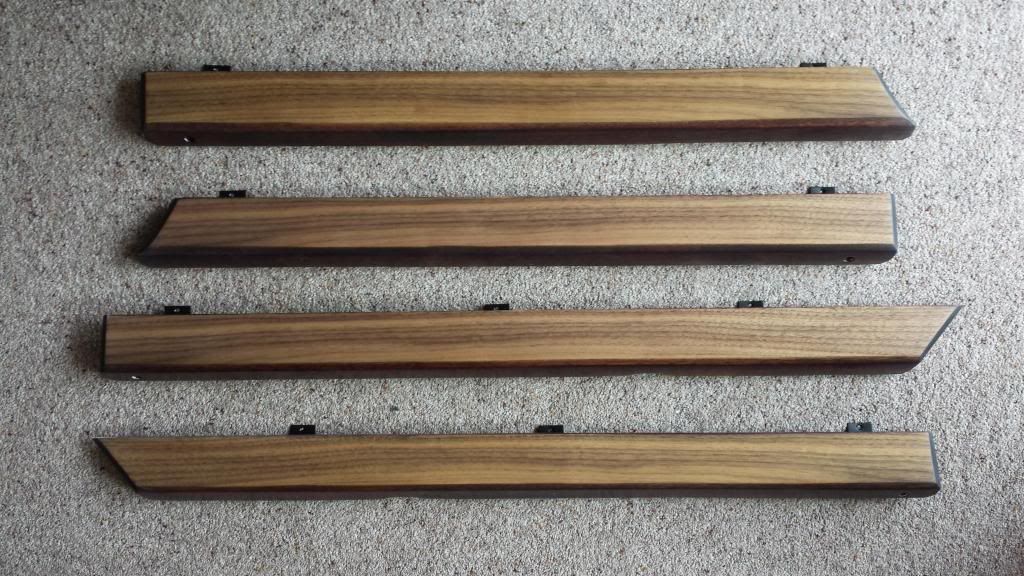
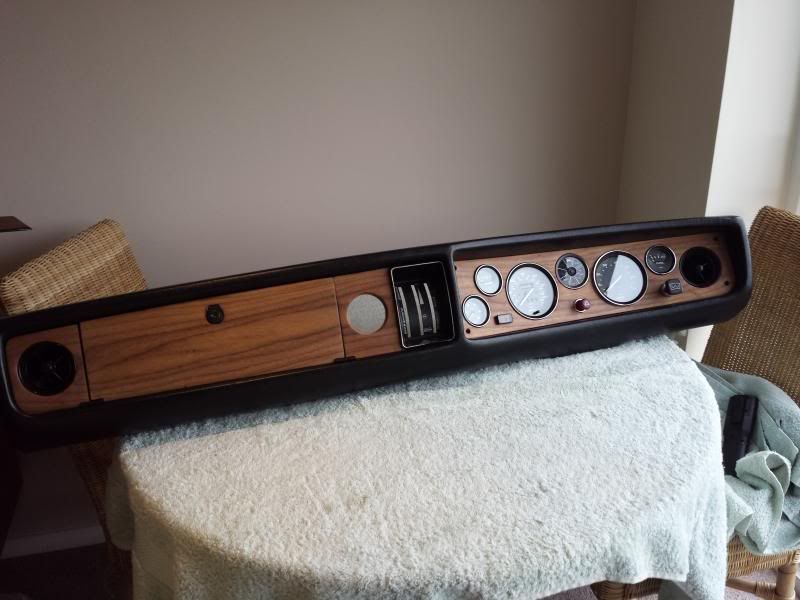
Moving on, I decided to start building up my dashboard. Over the summer I’d had a good set of wood trims restored at Chapman and Cliff who are not far from me. I mentioned in my June update that I hadn’t got a picture of the before and after on these, well here you go. The original colour is very Orange.
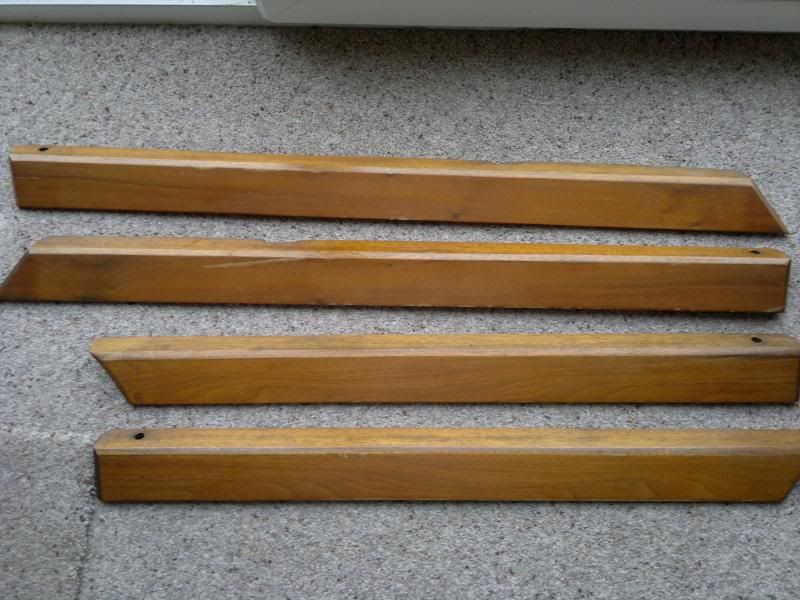
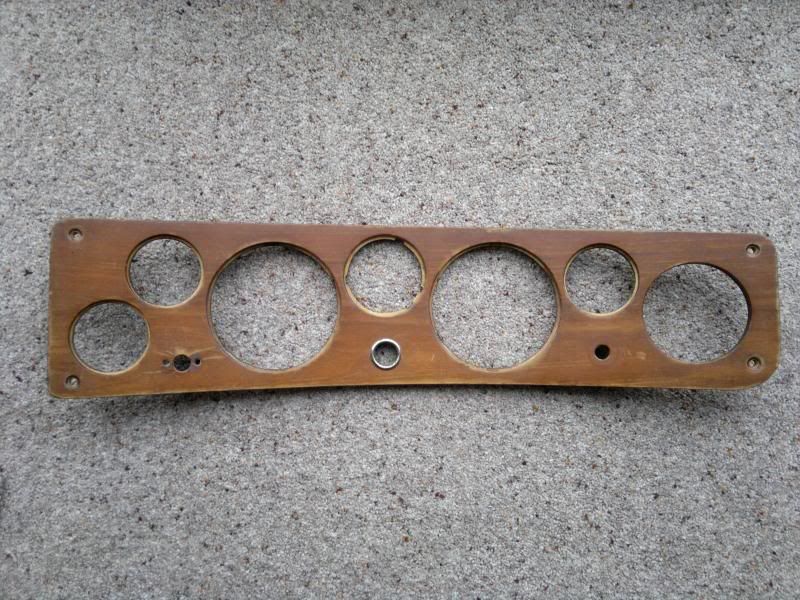
What I have is less 1970’s furniture and more wood coloured, I like it. It’s American Walnut apparently. It looks a lot darker in the pictures.
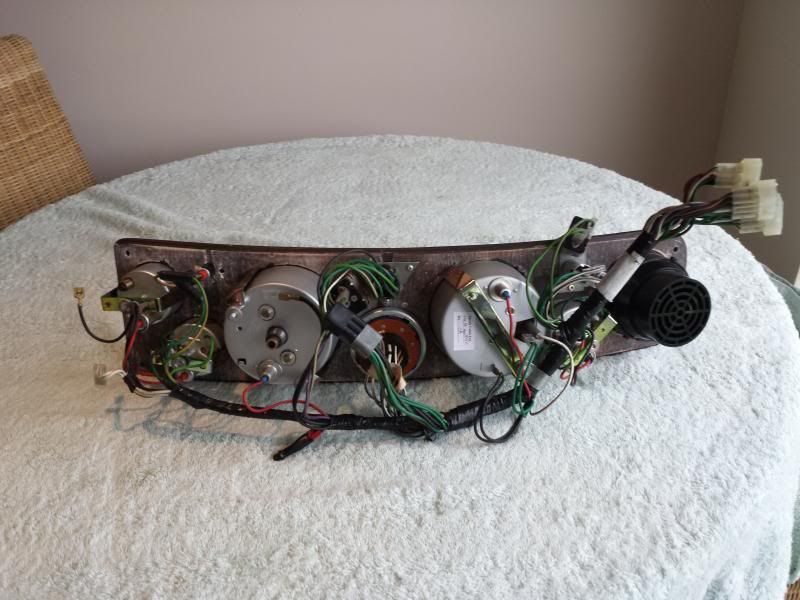
My plan was to build up the dash using a spare carcass but on closer inspection I realised my original one was in better condition. I stripped all the parts and then commenced building everything back up. It was actually quite fiddly, you realise quite quickly that the fit isn’t Rolls Royce standard and that you won’t get it perfect but it is rewarding nonetheless.
I wanted to keep as many of my original dials and clocks as possible. All of them seemed in reasonable working order, some were better than other’s cosmetically. I had a few though that needed the bezels repainting and new glass. I also remember my speedo was not that smooth despite a good cable so sent that one off to be rebuilt and recalibrated. I asked them to keep the original reading though rather than reset to 00000 again.
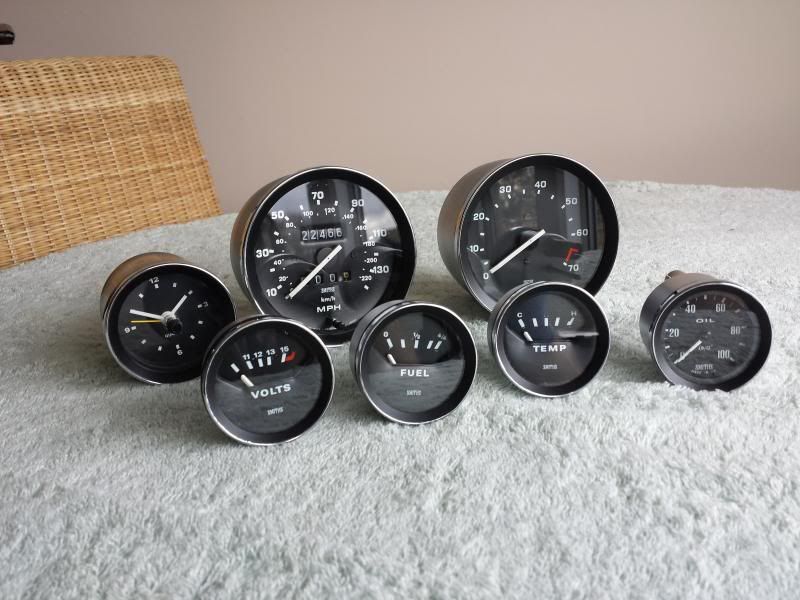

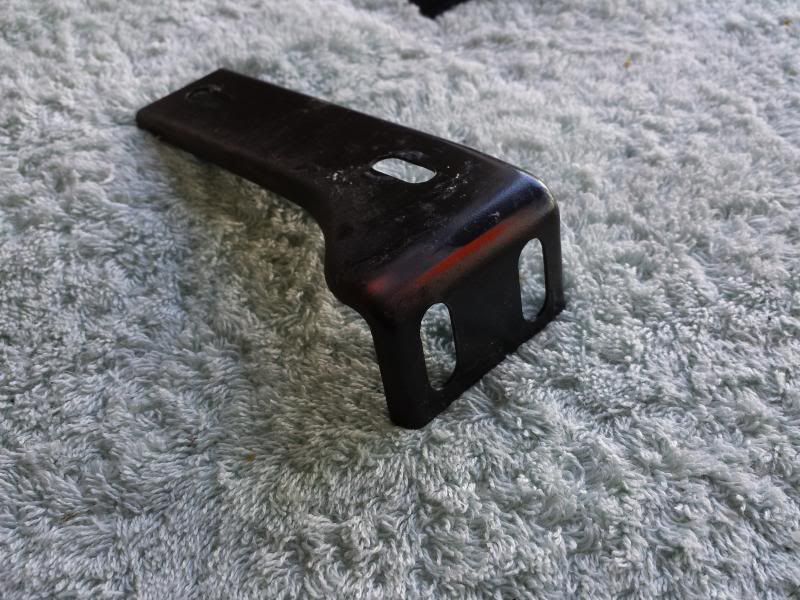
All the dials now look good as new. I had to get some electro-plating done too so threw the dial mounts into the bag. They might not be seen but it’s satisfying to put shiny things together! Likewise the dash mount brackets, I had some powder coating to do. The previous brackets had some orange overspray on them, rather than rub them down and paint them I put them into the box of parts and a week later they came back nice and black again.
With the instruments assembled I’ve now completed the dashboard and it’s stored safely for when I need it.
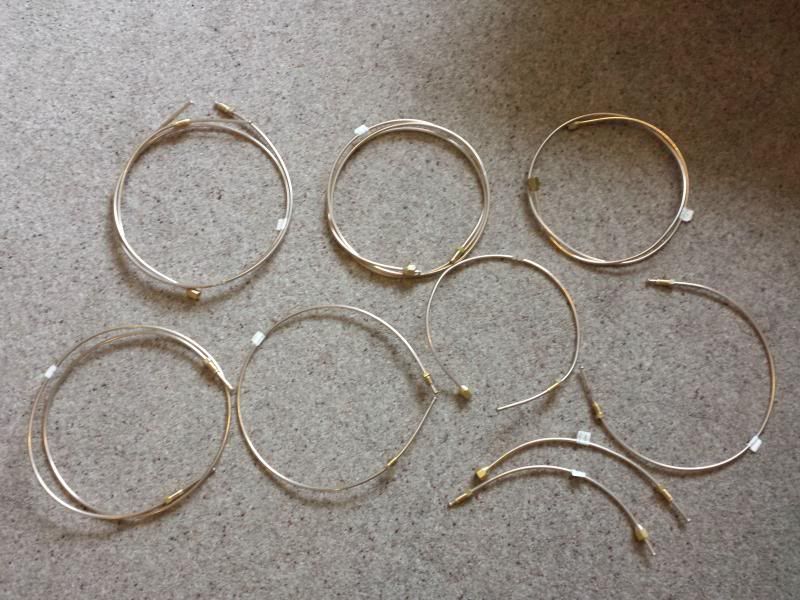
The other major job I have been working on are the brake and fuel lines. I removed the old ones from the donor car and kept them as a reference before purchasing a 5m roll of Kunifer 5/16” pipe and a set of Kunifer brake pipes c/w flared ends and unions from Stevsons. They are supplied pre-cut and labelled up.
The fuel pipes were fairly straightforward to do. Measure the old ones (at least twice), cut length of pipe and bend to approximately the same shape as the old knackered one. I used a pipe bender for the job which made light work of the bends. I found visualising the bends very difficult though and it took me the best part of a weekend to cut and bend the 3 sections. Fitting and fettling them took quite a long time too but is a nice job to tick off.
The brake pipes have caused me no end of trouble. Unfortunately there have been 4 which are wrong for my car. This is not Stevsons fault, their information is not quite right. The two valve to M/Cylinder ones needed to be replaced due to later metric fittings and the two that go front to back were about 30cm too long. The kit bag says 1300/1500/1850 RHD tandem so I wonder whether the Sprint is different as it has the rear valve thing? Either way I ordered replacements and they have now amended their records. In hindsight I would have been better of measuring the existing pipes and just having them made but never mind! Bending them to shape is quite easy using a mini-pipe bender. Kunifer is a lot more difficult to bend than copper but copper seems to get a bad press and is not that much cheaper than Kunifer. I’ll bend up the rear pipes when I have reconditioned the axle.
In other developments I decided my steering column was in the way in the garage so I refitted it. It’s now in the way in the car! I've used a polybush in the support plate for a long life. The support bracket like my pedals has been shotblasted and powder coated.
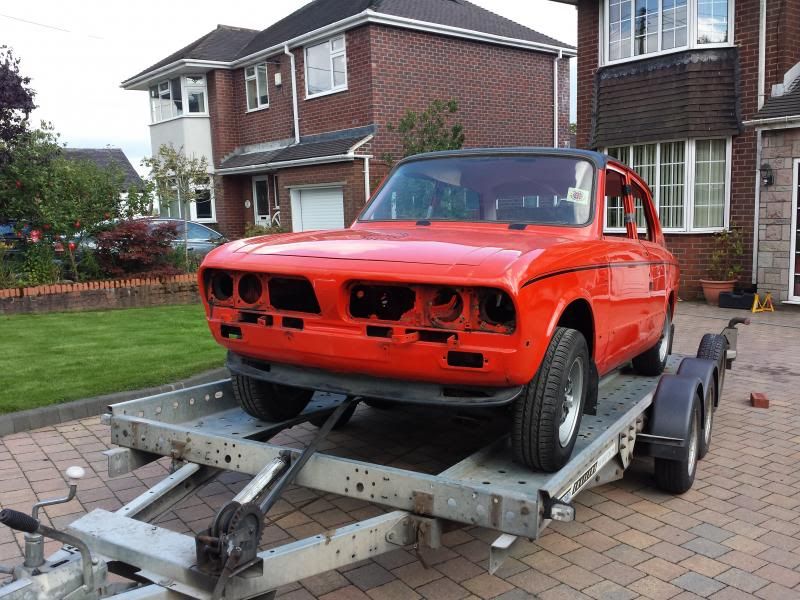
In amongst all of this I have also disposed of my old shell which I offered to a fellow club member who’s been tremendously helpful and was able to come and take it away. I spent some time loosening all the undercarriage bolts and the plan was to drop these and then heave the shell onto the trailer. However for those of you who have moved a bare shell it’s actually quite heavy so we opted to keep the wheels on for transport, the axle and sub frame were returned a few weeks later. Most of the donor was very tatty underneath but it did contain some useful parts which will help several others to live on.
Everything takes a lot longer than you imagine and some things are expensive. I’ve just had a rather large tax bill which might slow some items down but hopefully not too much. I’ve just ordered a new radiator which will be re-made in aluminium and painted black to look original. It should fit into the original mounting frame. I’m also looking at getting the gearbox overhauled plus I need to rebuild the cylinder head.
