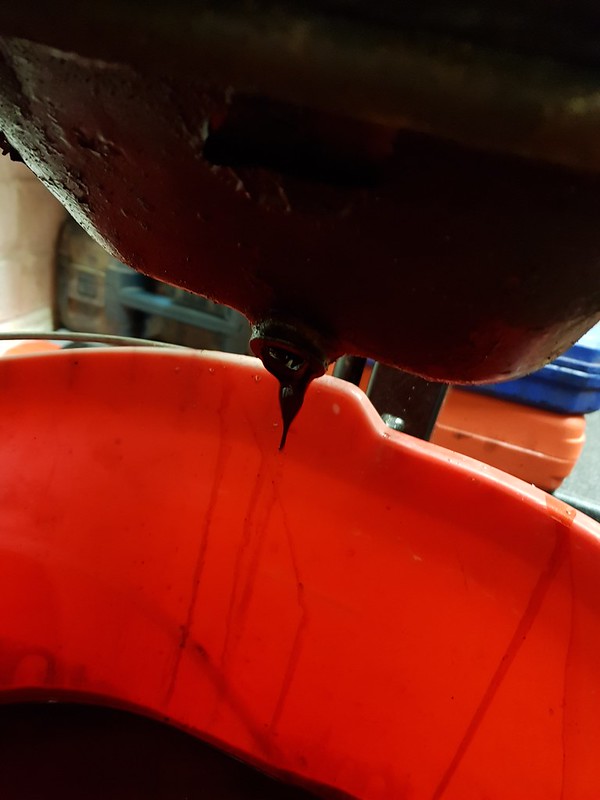
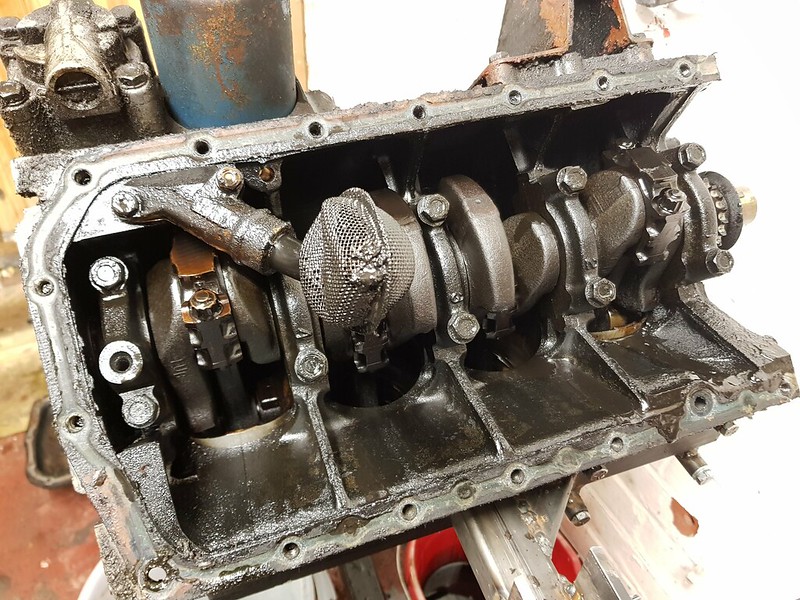
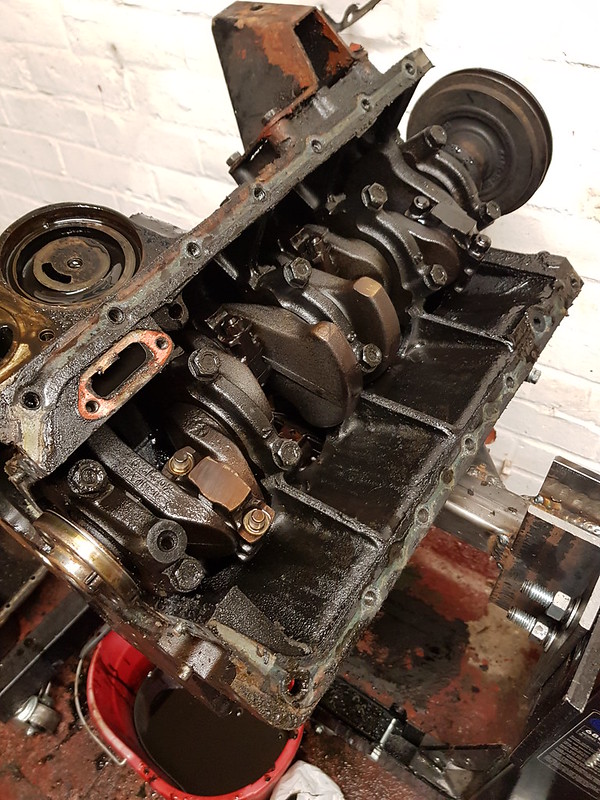
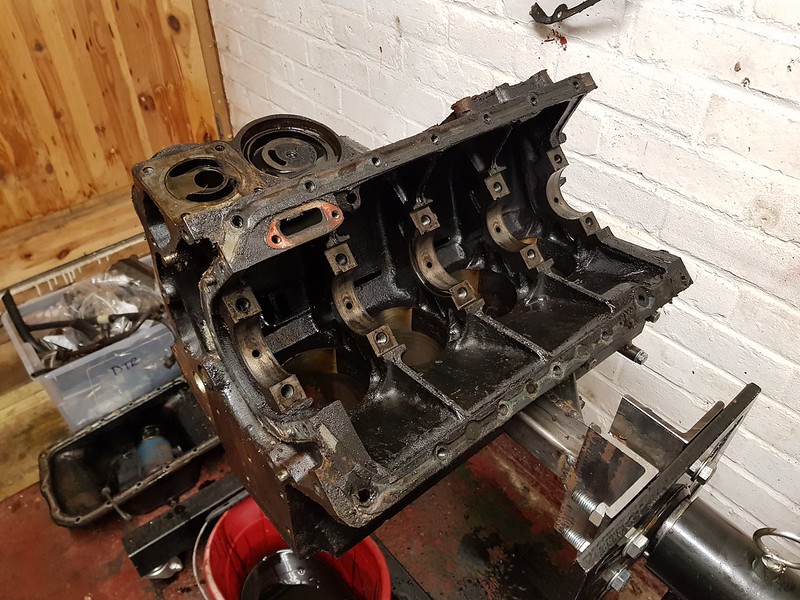
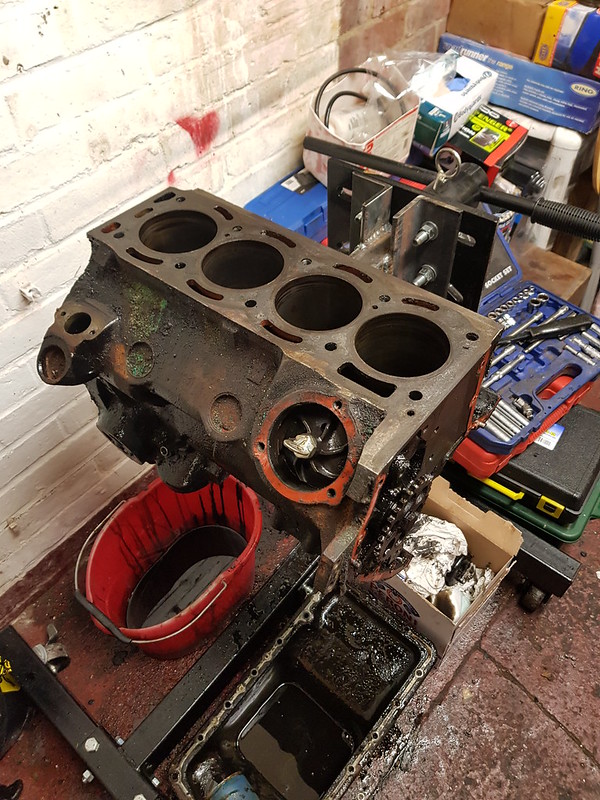
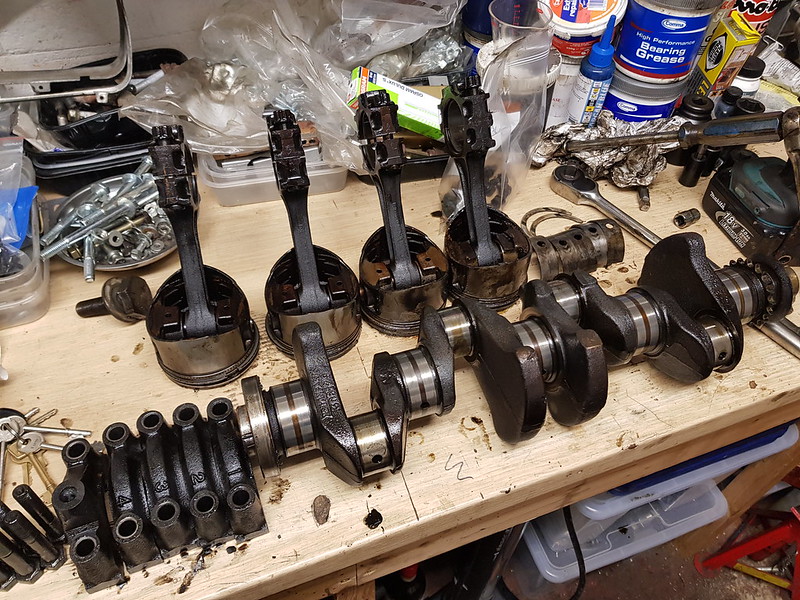
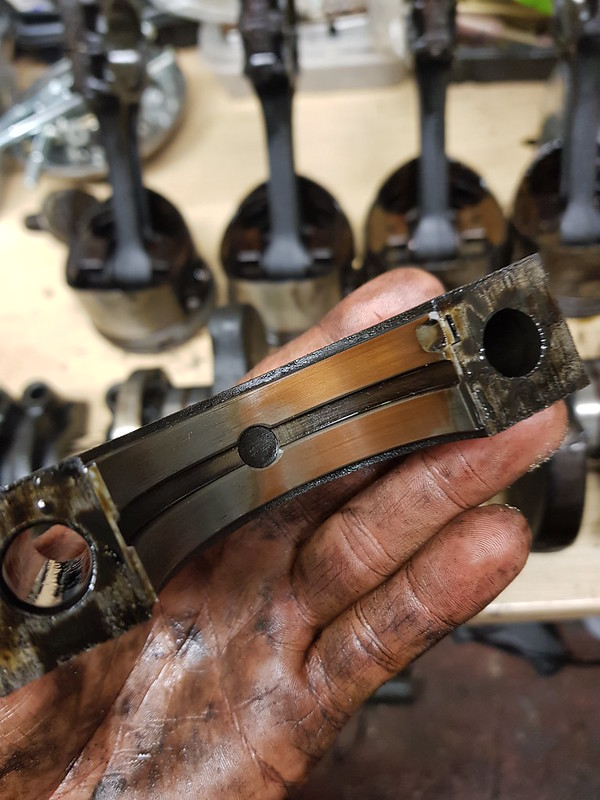
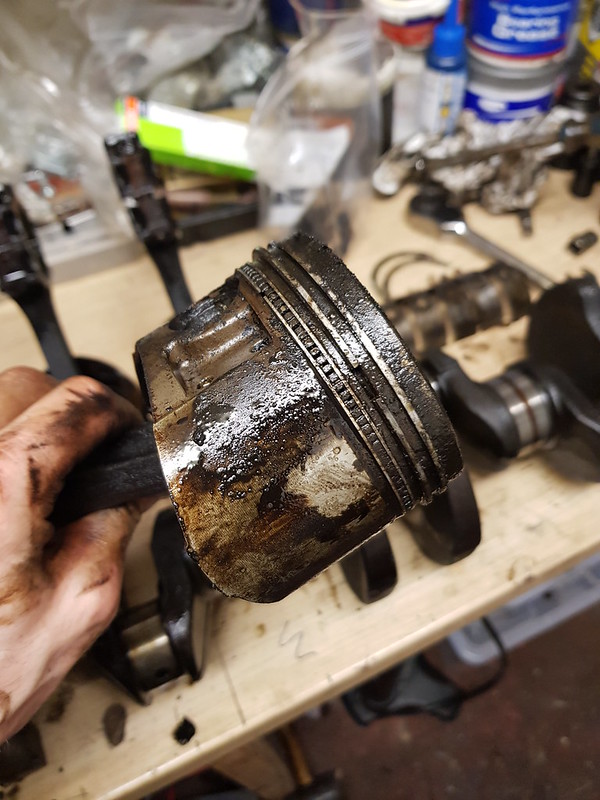
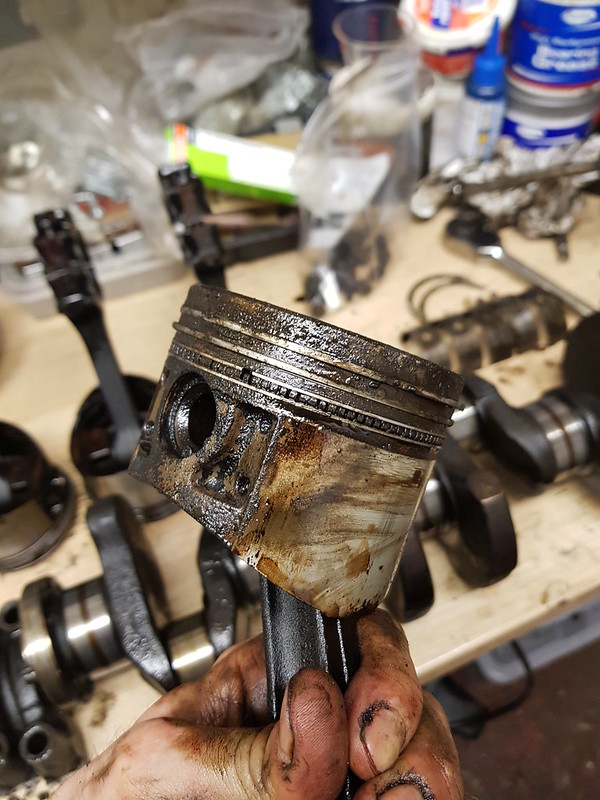
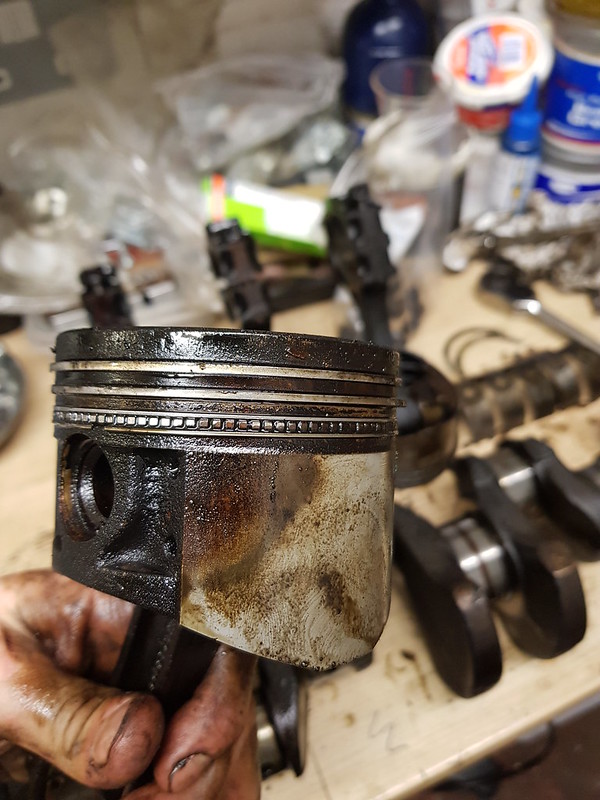
I am waiting for the block to be honed and some parts to arrive, everything has had an initial clean just so I can strip the pistons oil pump etc... Suprisingly it has all come up rather well, the sump had about a 15mm layer of sludge in the bottom which took ages to get rid of!
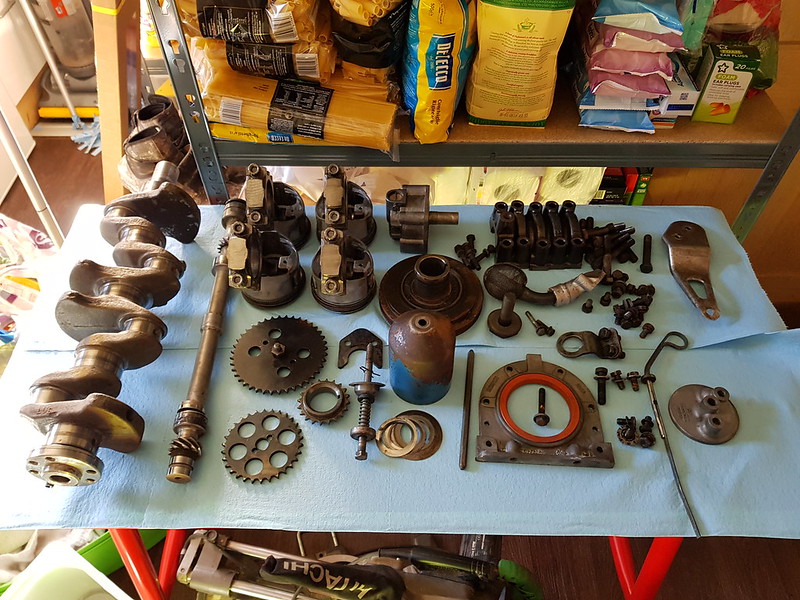
Engine reassembly can be done in the evenings, the most pressing issue for me is the welding which needs to be completed in the next week or so to keep me on track for the NEC.
I striped the bulkhead pad off mainly to gain access to weld the bulkhead fatiuge crak with ease, I also wanted to check for any other areas for rust, there are none!
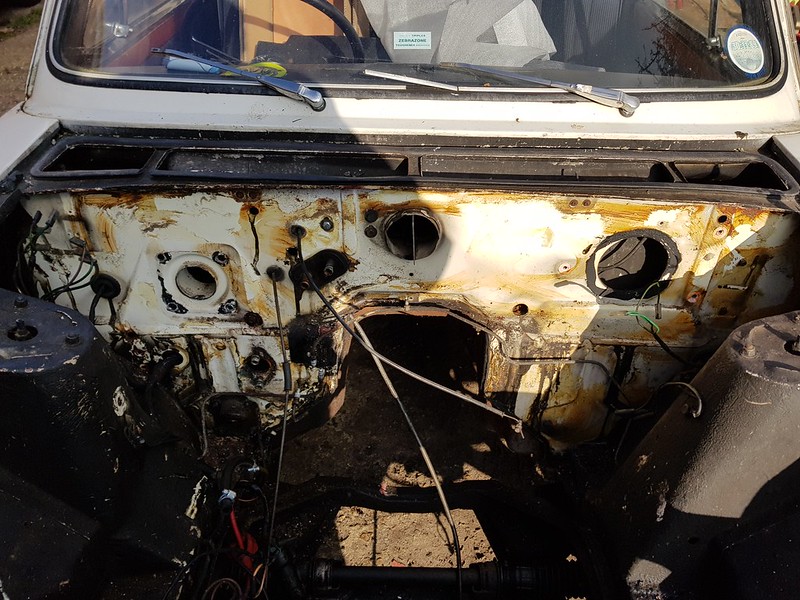
The fatigue crack will be easy to repair, I have a reinforcing plate when it all goes back together.
I finished stripping the trim from the body, bumper off etc... and the rust on the drivers side isn't too bad, easily repairable.
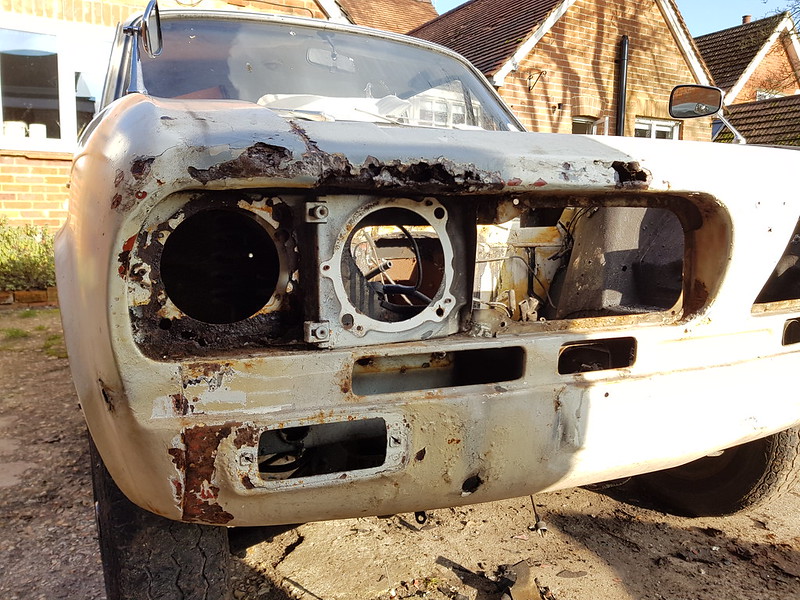
Lots of body filler on the passenger side.
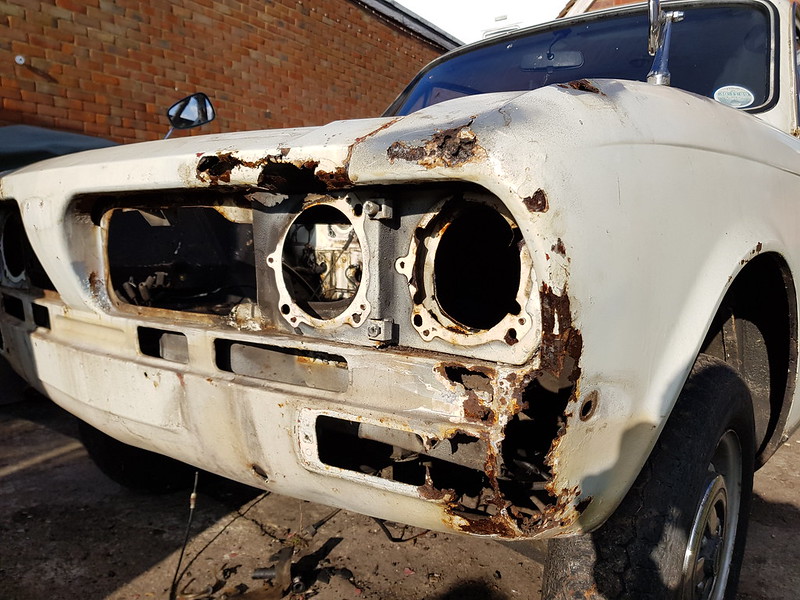
It will look better once stripped back, the rust is only confined to the outer panels and the valence isn't difficult to fix but the wing is a real pain, I can fab a panel for it but I need an english wheel to get the curvature all nice and flat.
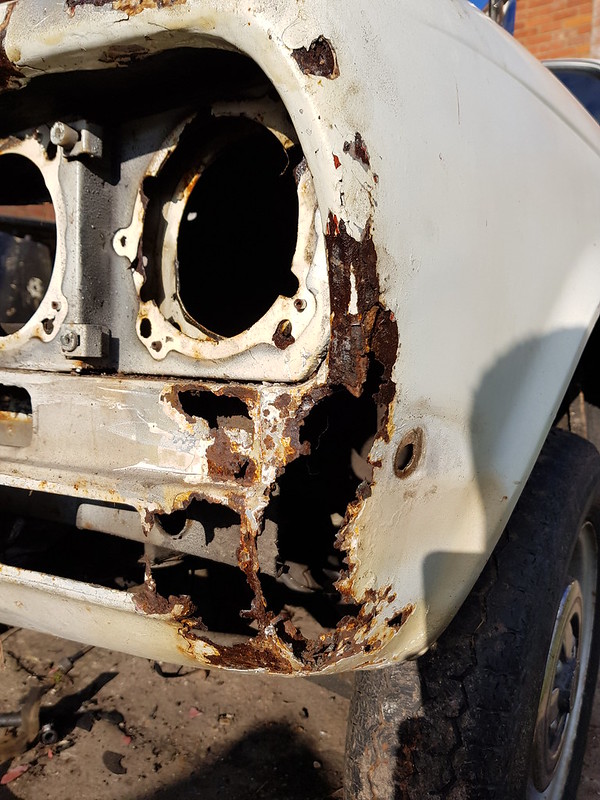
Sods law I just sold my wings from YGD to Graham! Actually they were way to good to cut up. I will have to have a think about how to tackle this area. Ideally I need a passenger wing that has some damage closer to the door that I can cut up.
On to the rest of the car and there are a couple of holes in the rear passenger wheel well, and a small hole in the drivers sill behind the wing. Both about the size of a 10p and should be easy to repair.
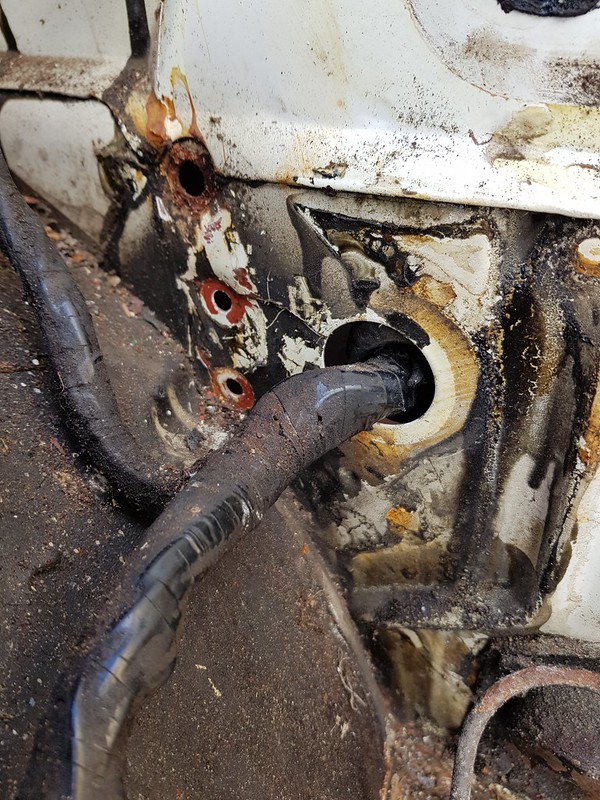
I am still trying to decide weather or not to strip off the ziebart from the engine bay.