Page 12 of 25
Re: KLJ895W tinkering...
Posted: Thu Mar 21, 2013 11:09 pm
by lazeruspete
more progress! quite an entertaining day

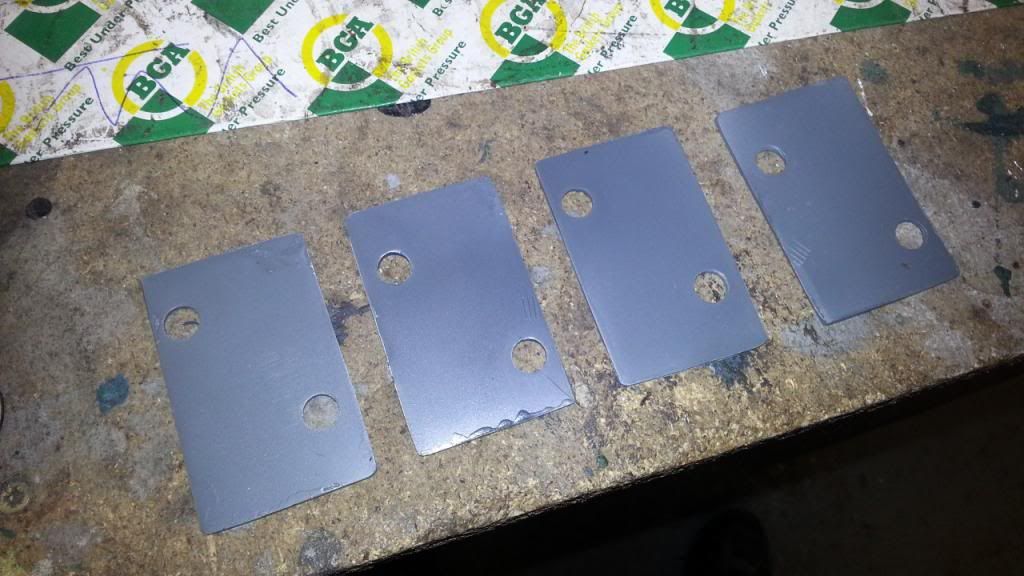
we're using rivnuts to fix the headlight support panels
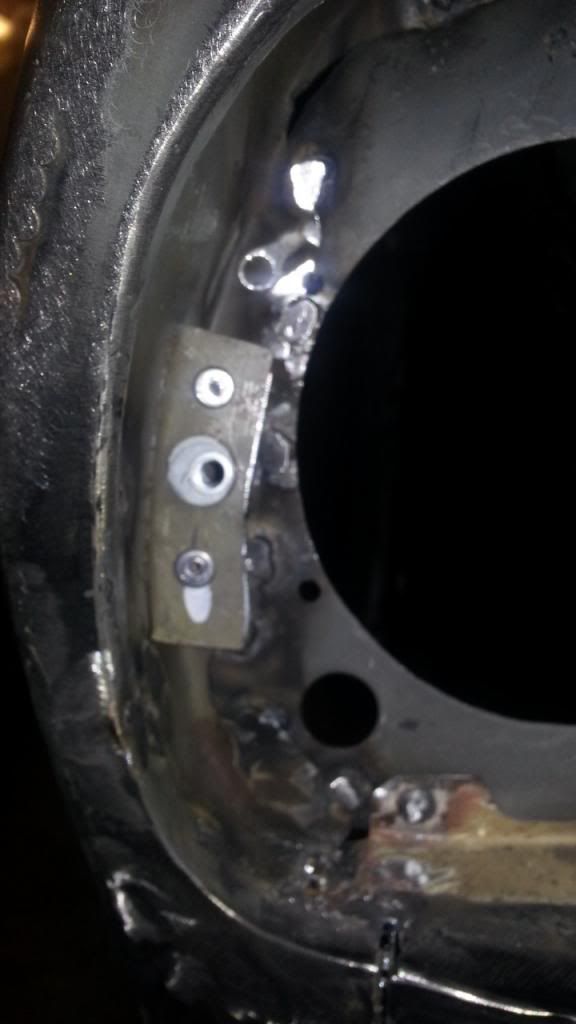
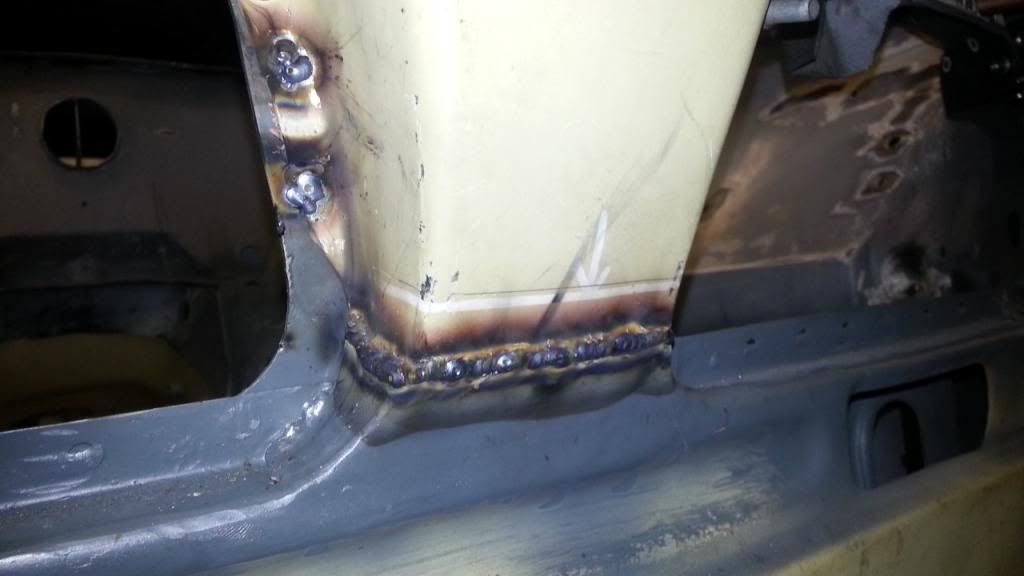
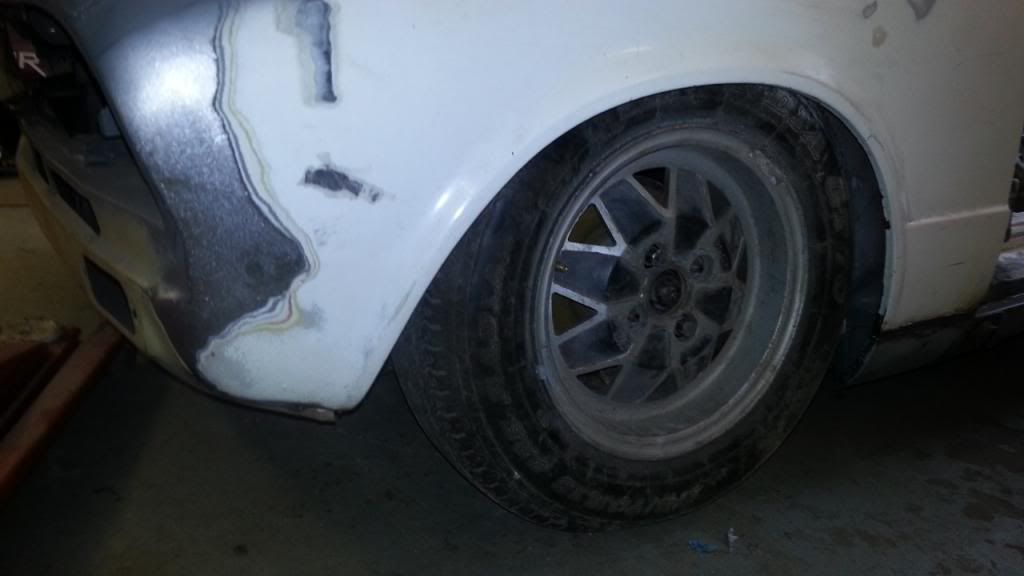
new bit of wing

fixed by 5 M5 screws
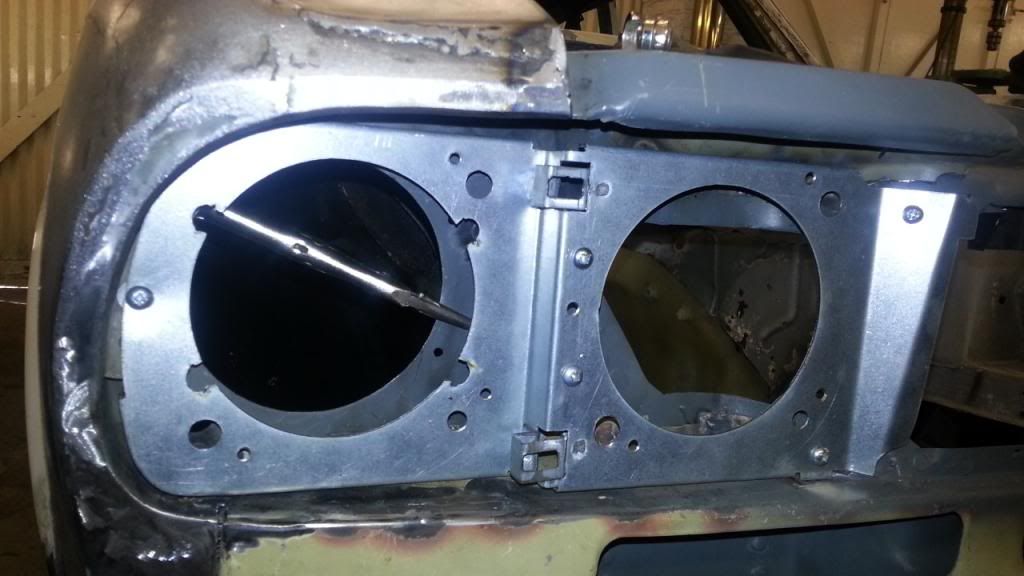
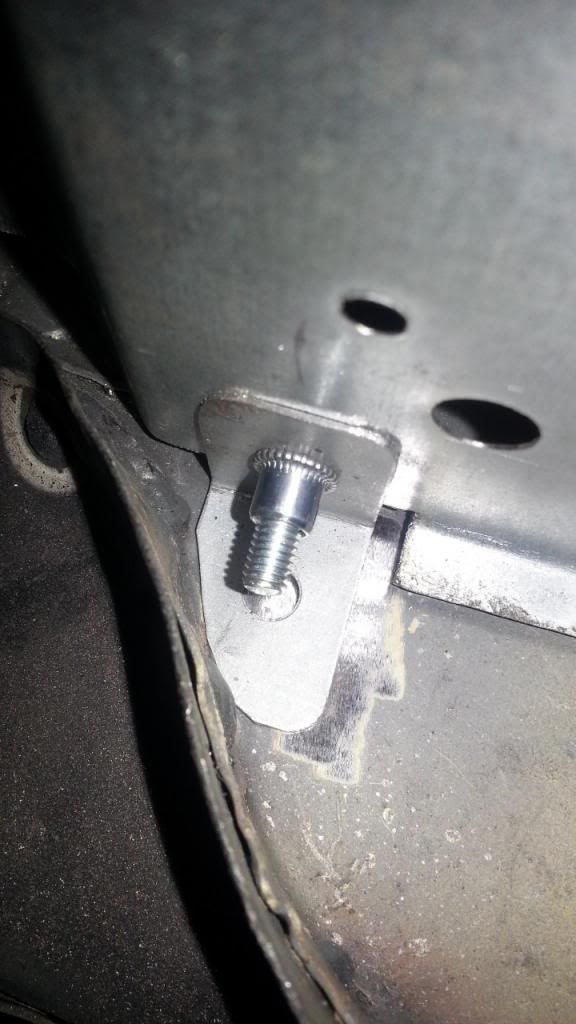
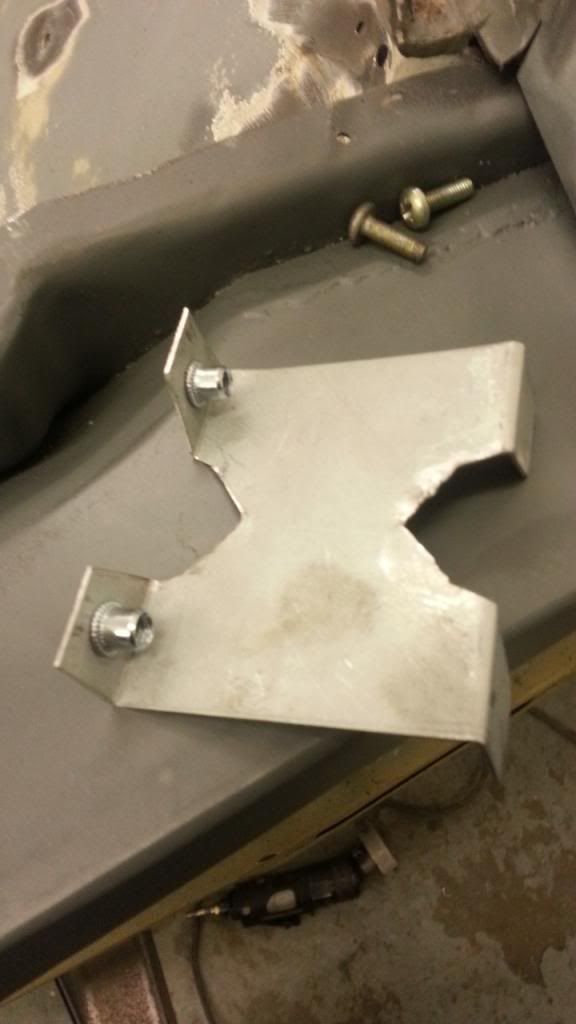
a welded on tab to secure it
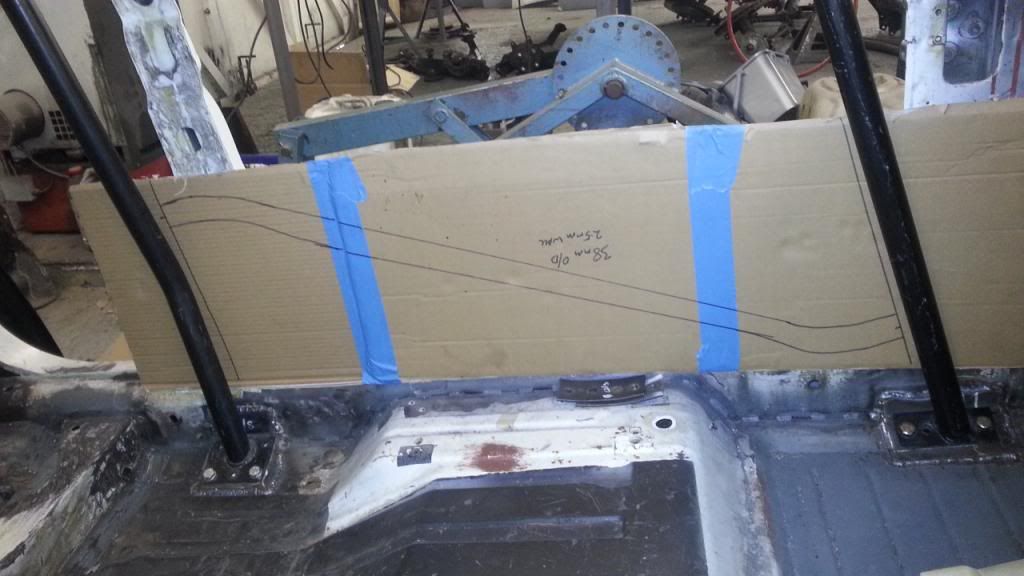
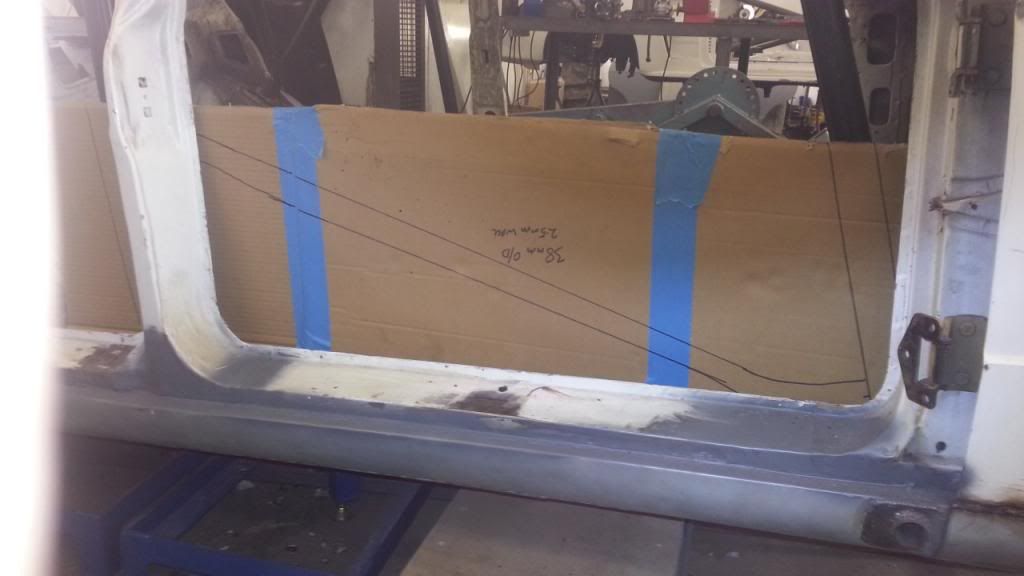
we then decided to do some arts and crafts. this is the design for the door bars, getting them done tomorrow
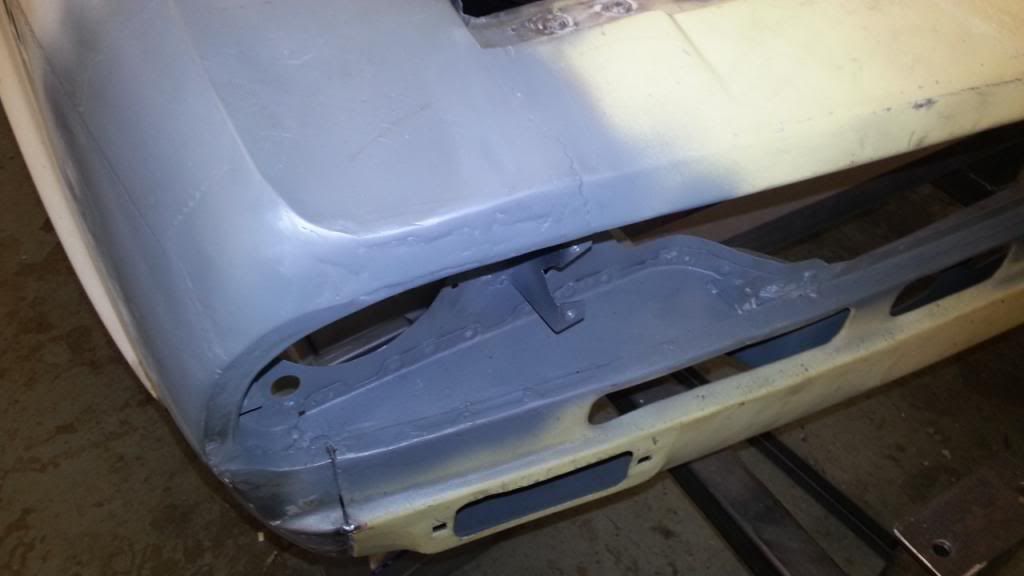
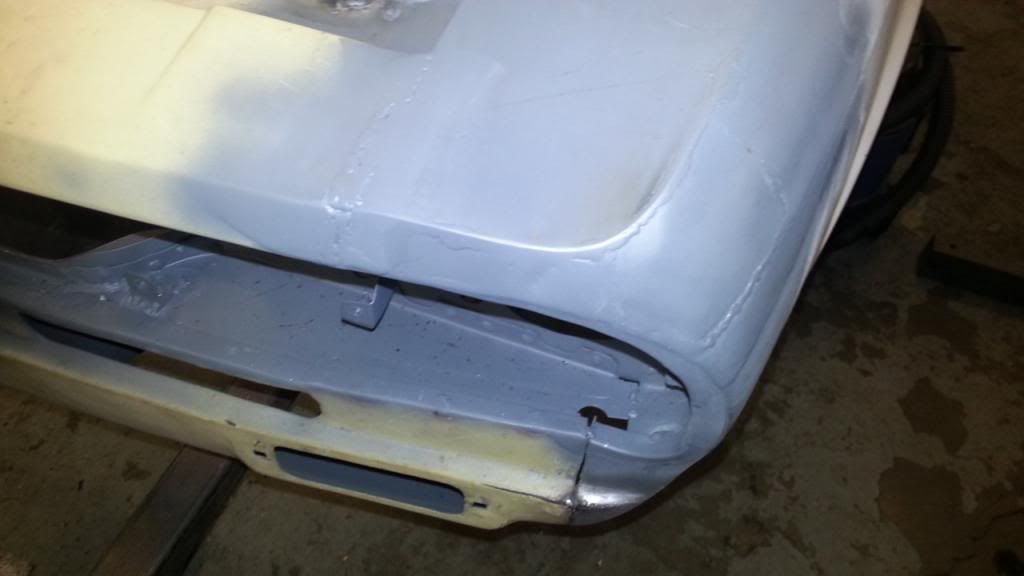
i then made a new one of these to replace the one that came off as it was too shallow.....
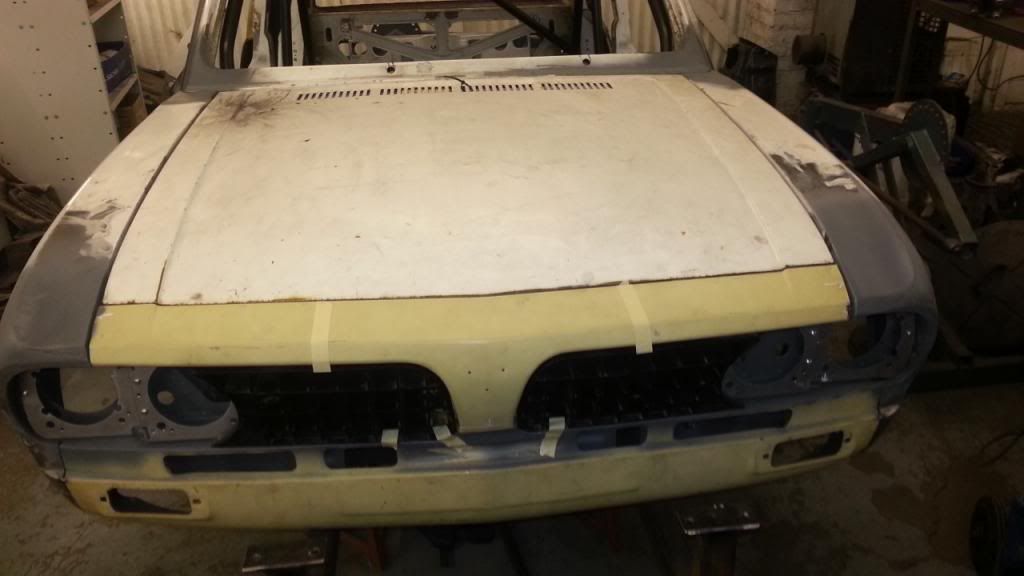
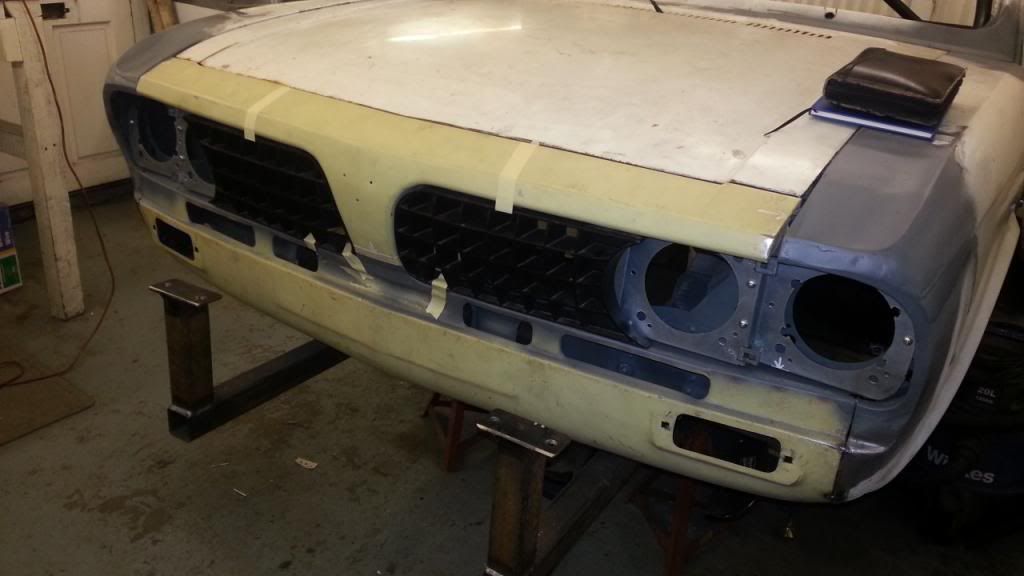
it looks great! i think im going to use this bonnet, the black one you may have seen in some of the pictures has been messed about with and there is plates where the hinge sits
i dont really know what to do next! fiddly odd jobs i think. will keep you posted
let me know if you have any questions

Re: KLJ895W tinkering...
Posted: Thu Mar 21, 2013 11:39 pm
by Dolly-Nut
Re: KLJ895W tinkering...
Posted: Thu Mar 21, 2013 11:43 pm
by lazeruspete
thats him!
how did you find it?
Re: KLJ895W tinkering...
Posted: Thu Mar 21, 2013 11:59 pm
by Dolly-Nut
Noticed you mention his name somewhere and searched him. Firstly it came back with a cricketer until I put in welder...
Re: KLJ895W tinkering...
Posted: Fri Mar 22, 2013 11:19 am
by lazeruspete
haha ok.
no progress on the car today as it would have taken me hours to get to the workshop due to the snow and we have no oil for heating!
Re: KLJ895W tinkering...
Posted: Mon Mar 25, 2013 11:28 pm
by lazeruspete
i have a front panel..!
welded here
here...
and here!
turning it over on the spit again tomorrow. the last fiddly bits to do!
Re: KLJ895W tinkering...
Posted: Sun Mar 31, 2013 11:55 pm
by lazeruspete
a belated update! i seem to be lagging behind a bit, apologies (not that anyone really cares haha)
did some work to my bonnet
made some bonnet shim/spacer thingies
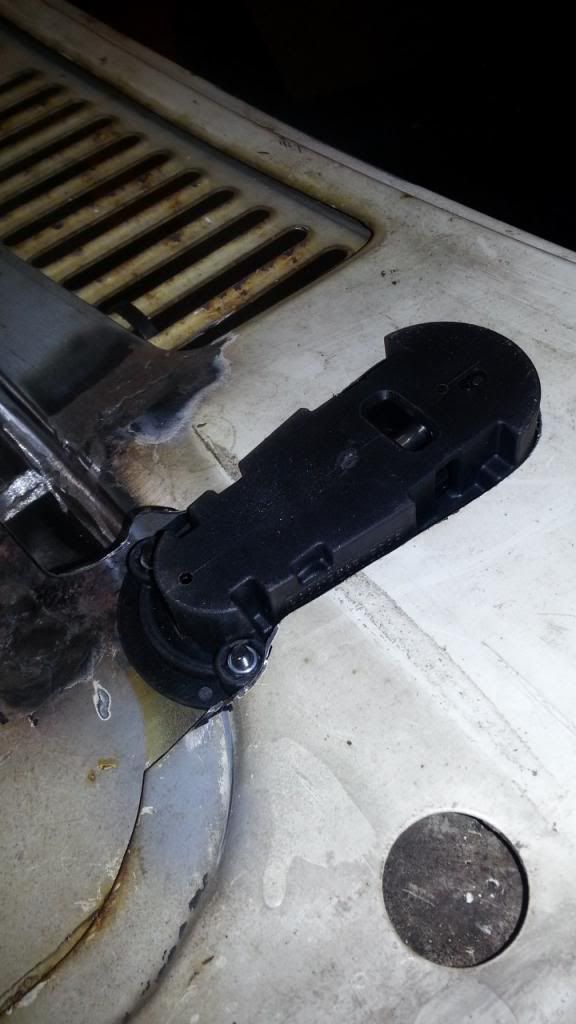
im using these, aerocatches!
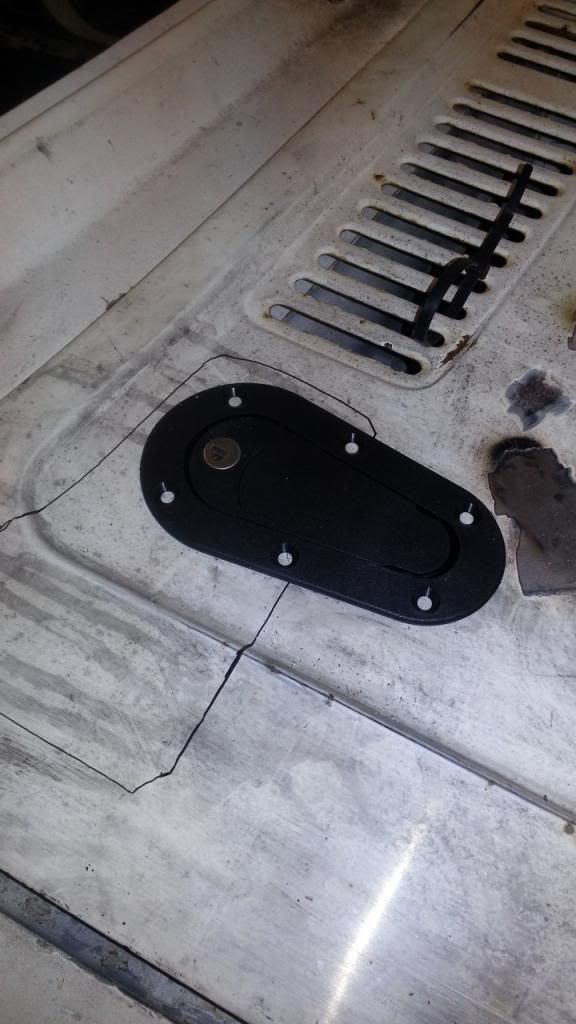
they lock into a post which is built into a channel that we fabricated

they poke through the bonnet like this
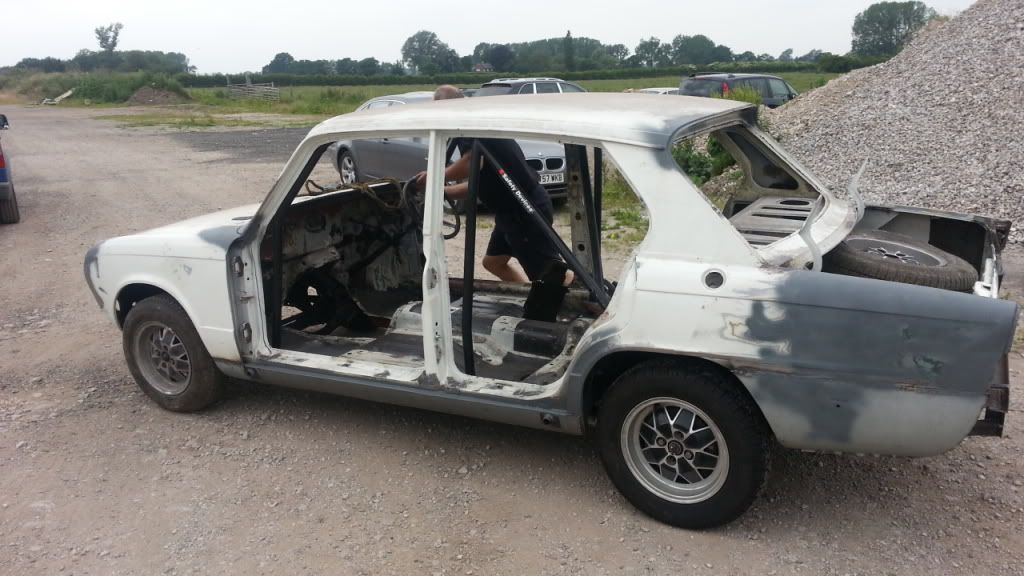
Alan needed the space in his workshop, this involved moving it. we created a dragster!
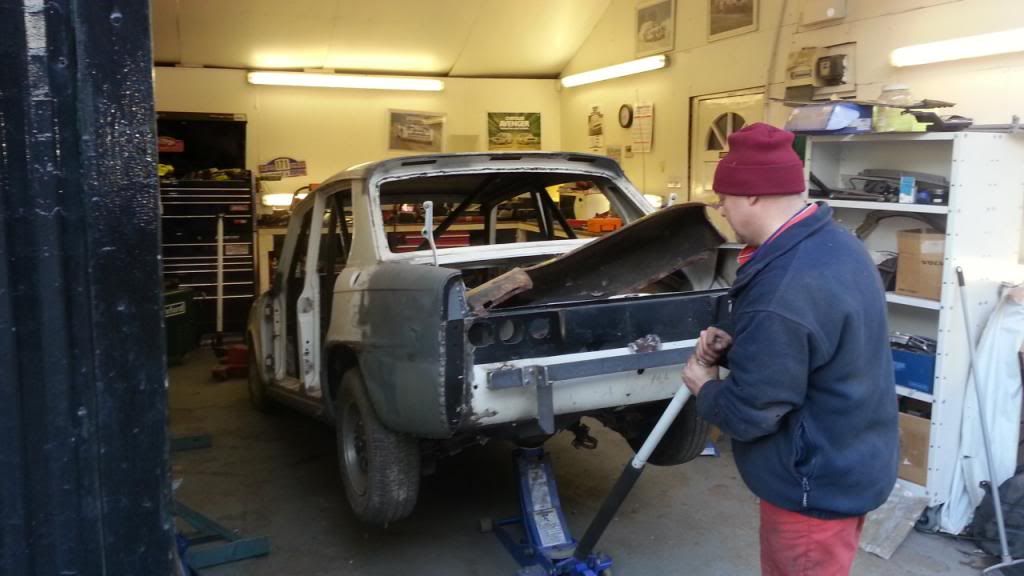
however when we fitted the subframe we forgot that there wasnt any dampers on it.....SLAMMED!
won't be alot of progress updates in the next few days as i'm away and as such work wont be progressing. will update when stuff happens though!
Re: KLJ895W tinkering...
Posted: Mon May 27, 2013 2:49 pm
by lazeruspete
hello!
there has been no progress on the Sprint recently, because i have finally got a job!
here is a few pictures to show what i've been up to....
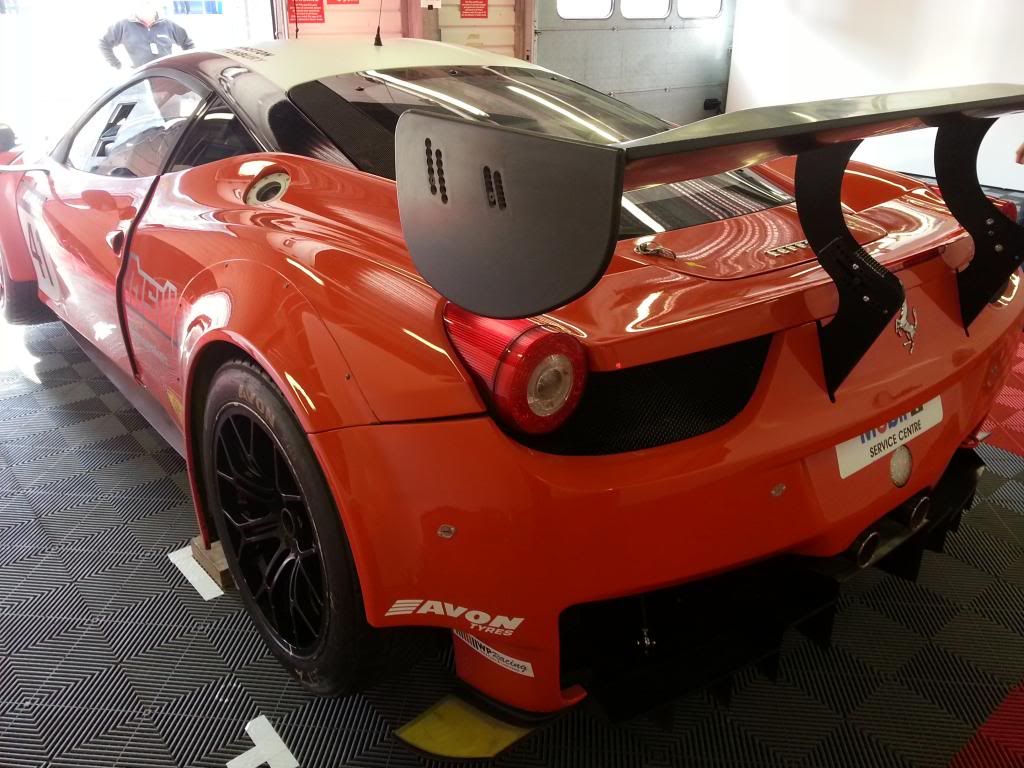
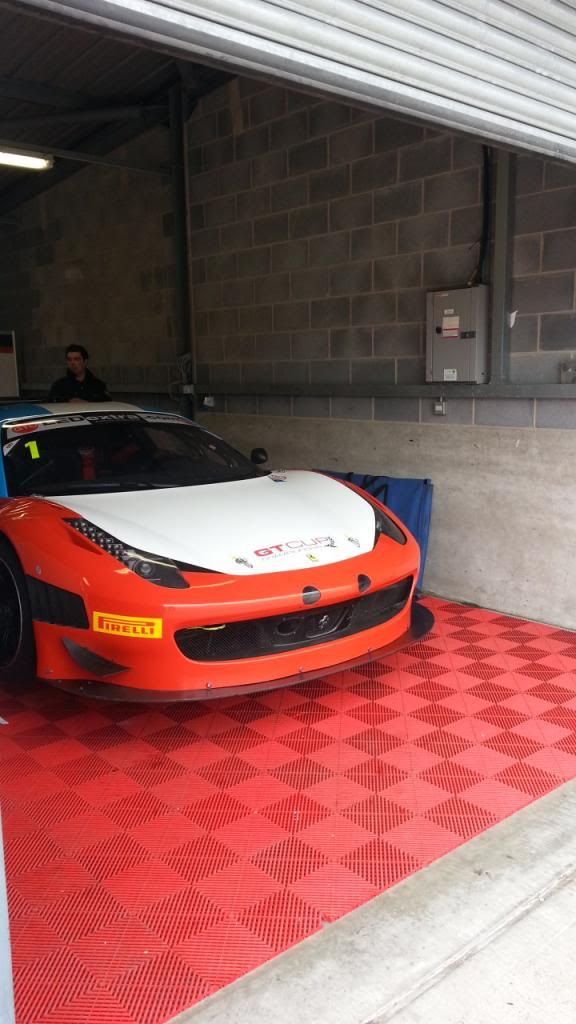
i am now a Data Engineer for MTech Racing on Ferrari 458's! Basically i sit in front of laptops with squiggly lines on the screen......

Re: KLJ895W tinkering...
Posted: Mon May 27, 2013 5:32 pm
by maximus
Well done
don't forget about ya trump at alans

That floor covering looks smart

Re: KLJ895W tinkering...
Posted: Mon May 27, 2013 5:38 pm
by lazeruspete
maximus wrote:Well done
don't forget about ya trump at alans
That floor covering looks smart
nooo i'm not, i have instructed him to get on with it without me!
it does look smart, but its a bloody pain to put down....
re: guess what.....
Posted: Tue Jul 09, 2013 10:59 pm
by lazeruspete
work is starting again tomorrow!
you will be getting updates again
Re: KLJ895W tinkering...
Posted: Wed Jul 10, 2013 12:04 am
by Howard81
Excellent, looking forward to reading them
Re: KLJ895W tinkering...
Posted: Sat Jul 13, 2013 10:52 pm
by Edin Dundee
I've just read this thread from start to finish - awesome work, superb!!
Re: KLJ895W tinkering...
Posted: Mon Jul 15, 2013 10:16 pm
by lazeruspete
Edin Dundee wrote:I've just read this thread from start to finish - awesome work, superb!!
Thanks!
.
More updates to follow.....
Re: KLJ895W tinkering...
Posted: Mon Jul 15, 2013 10:50 pm
by lazeruspete
Hey there!
It was good to see it out in the sunshine again!
And on its side......
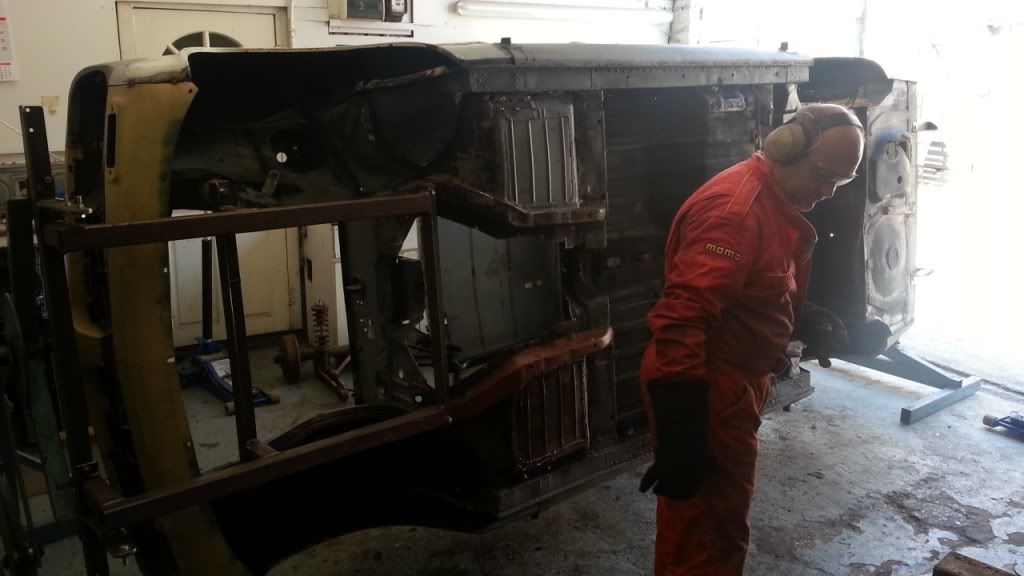
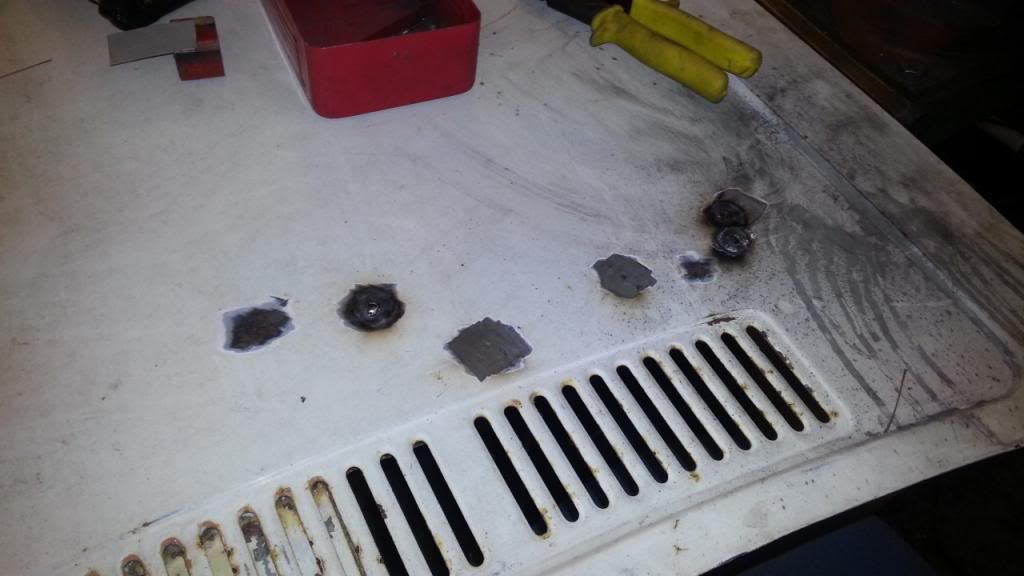
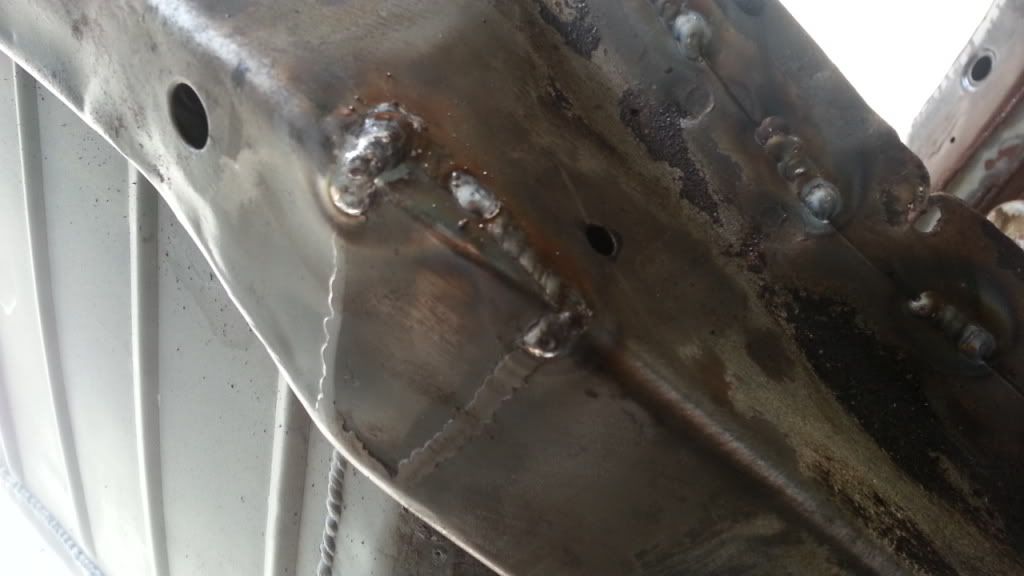
Within minutes we found holes....
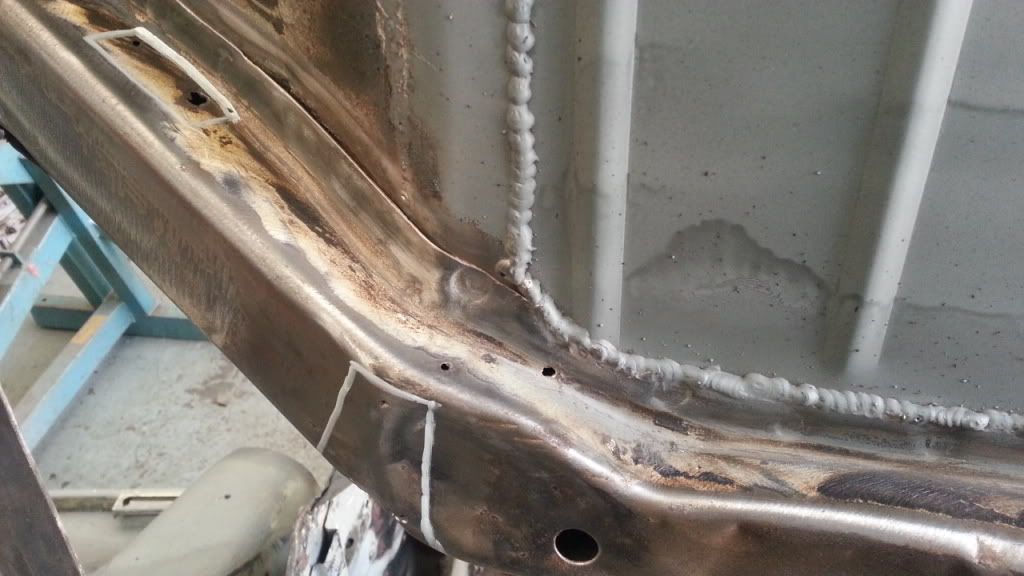
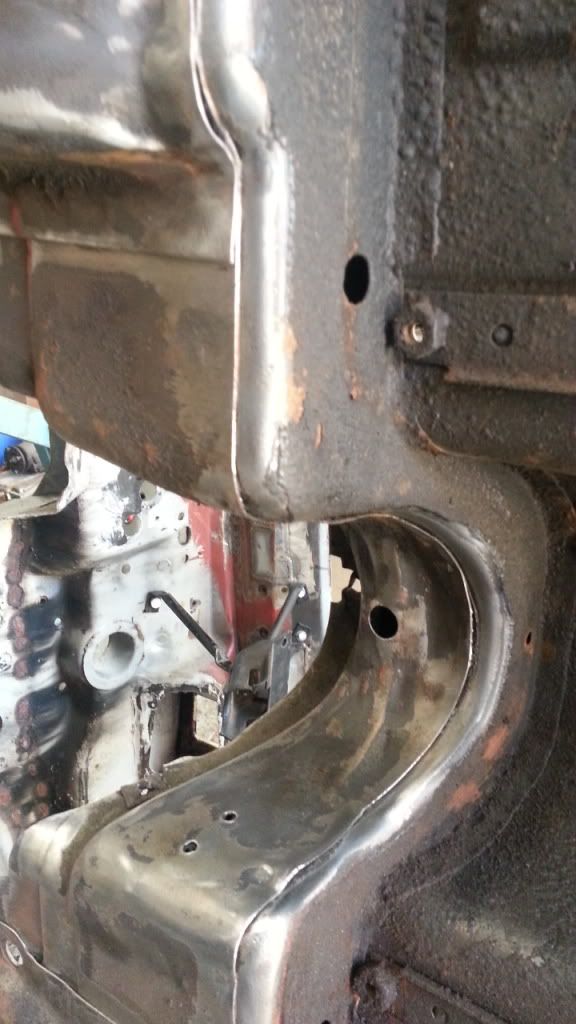
Cleaned, ready for seam welding.....
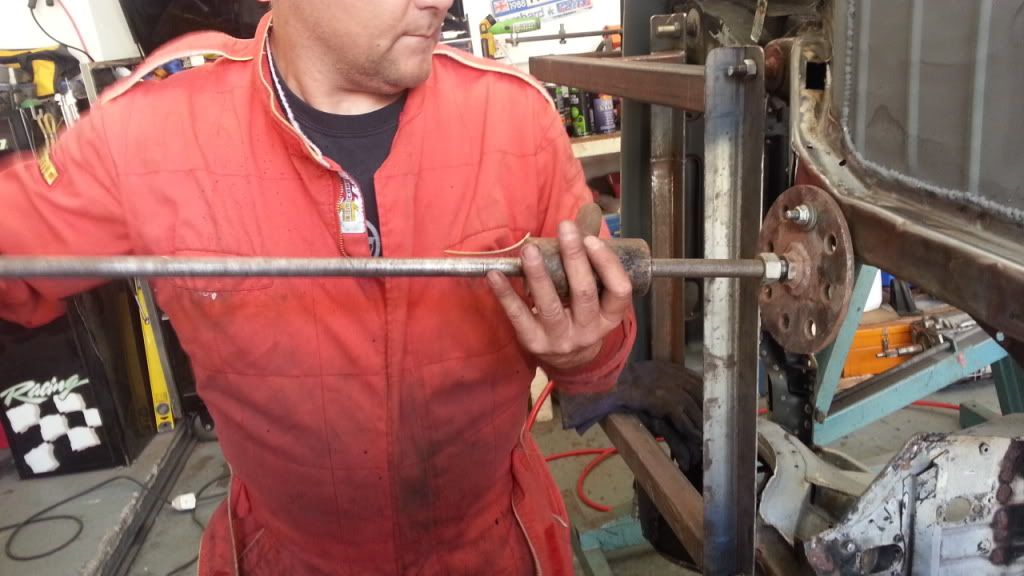
We needed to use a slide hammer to straighten out the bottom of one of the chassis rails!
Seam welding!
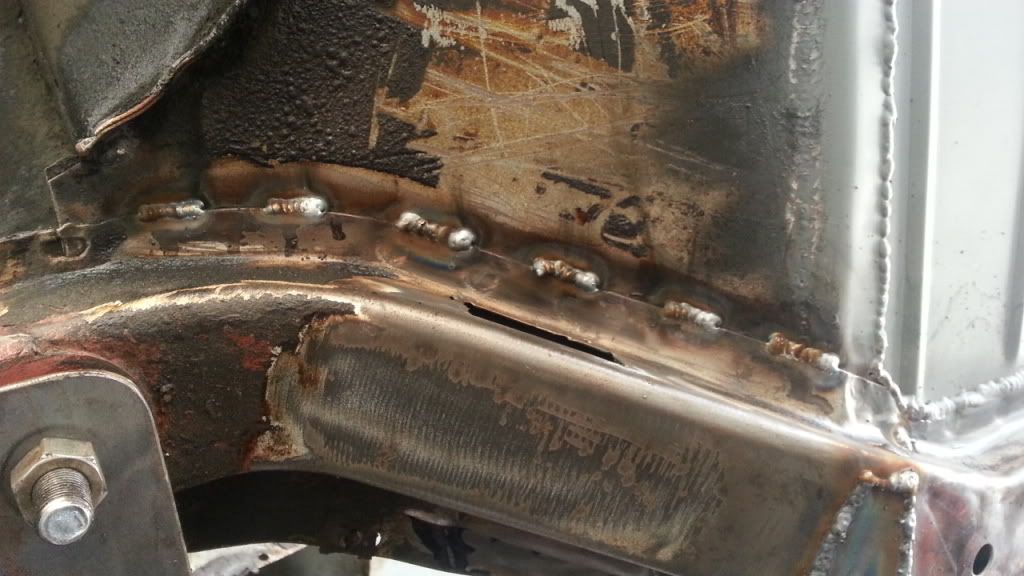
Hole filled in and more seam welding
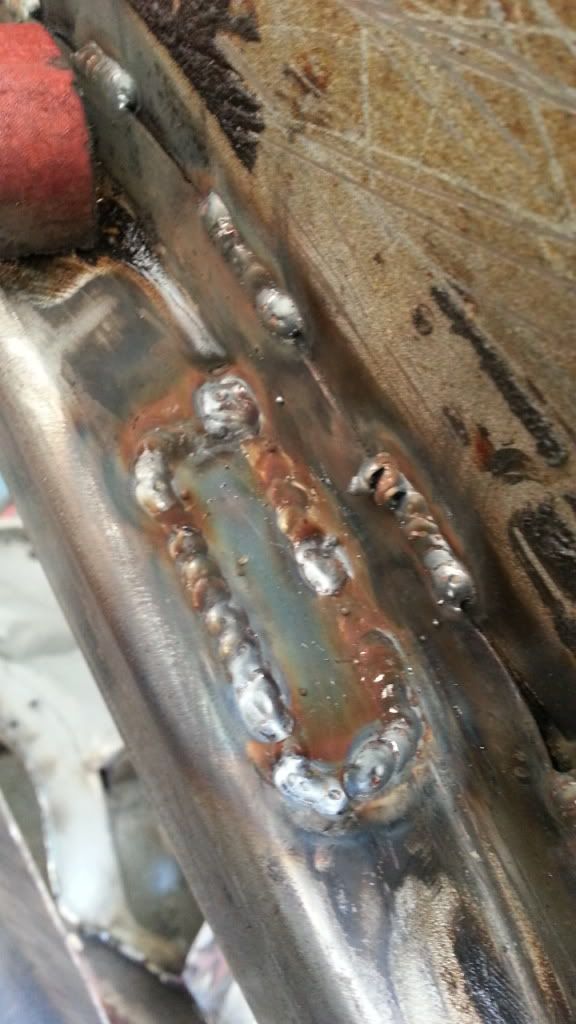
And another hole filled in. Hopefully we won't find too many more of these underneath!
Enjoy!, and there will be more updates later on in the week

