'74 Toledo project

Restoring your car? Tell us about it here!
Message
Author
PurposeUndefined

'74 Toledo project

#1 Post by PurposeUndefined »

Decided to start one of these threads as i have begun some of the proper work on my little toledo!

This thread will cover the light resto work i've got planned through autumn and winter, here's a bunch of pics to show what's happened/heppening!

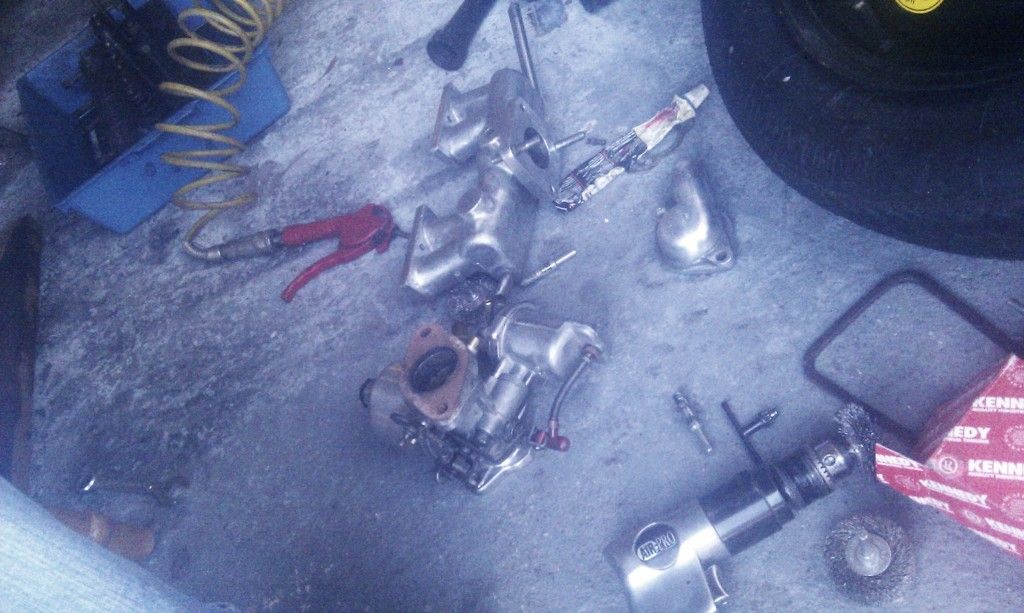
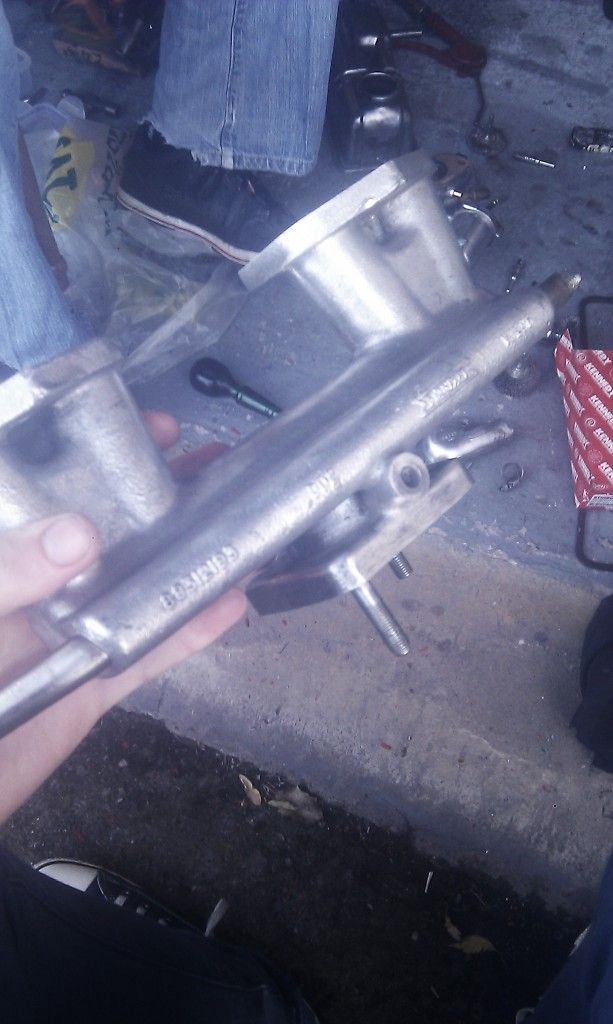
Stripped half the engine down today, going to clean it all out as it's full of 38 years of slime! Basically just get everything smooth, shiny and looking nice!

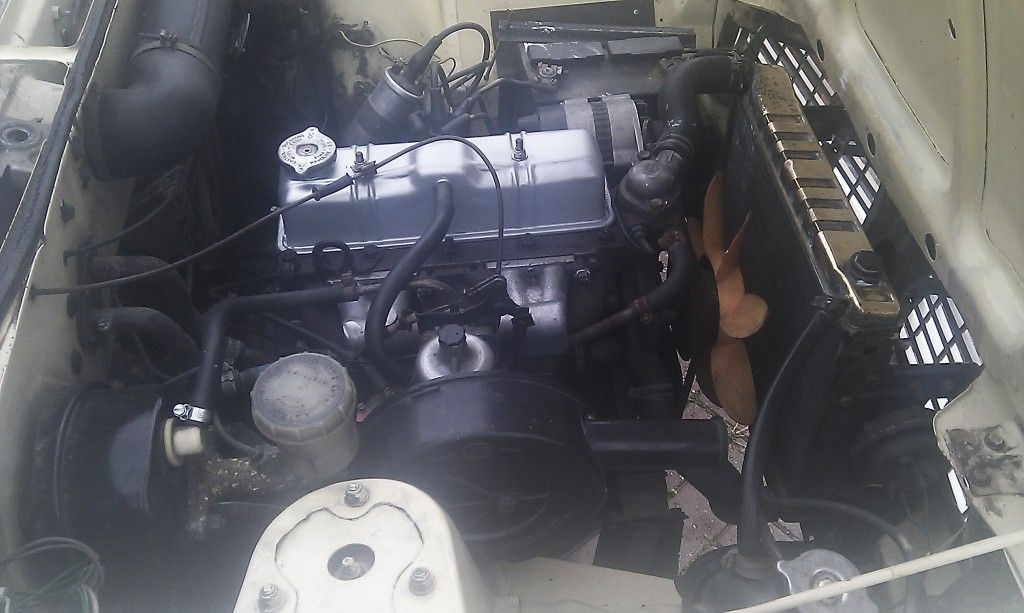
This is the engine bay beforehand, recently painted my rocker cover but i think i'm going to sell it and buy a nice new one!
Image

Image
Image
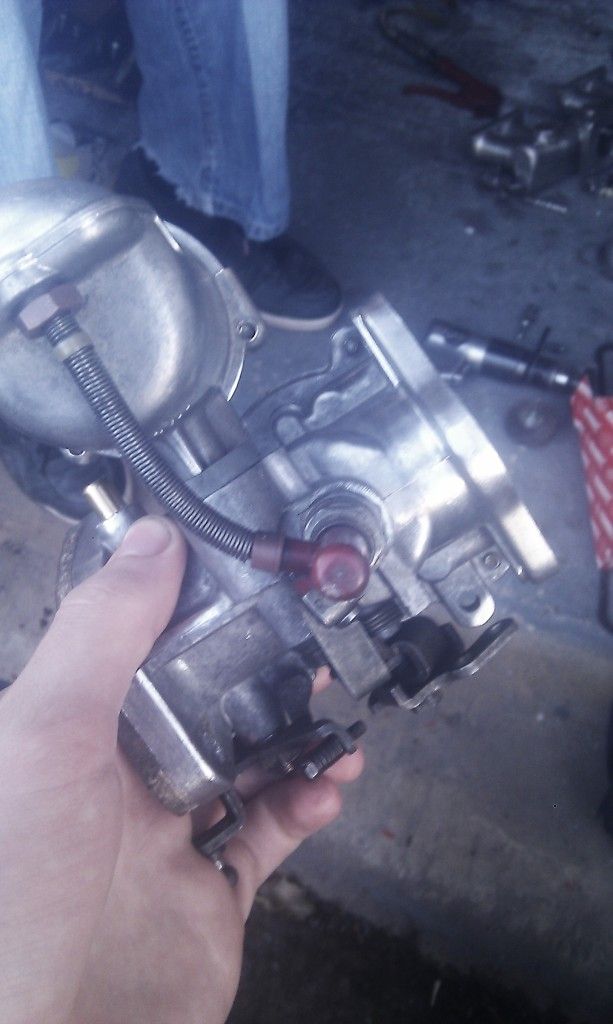
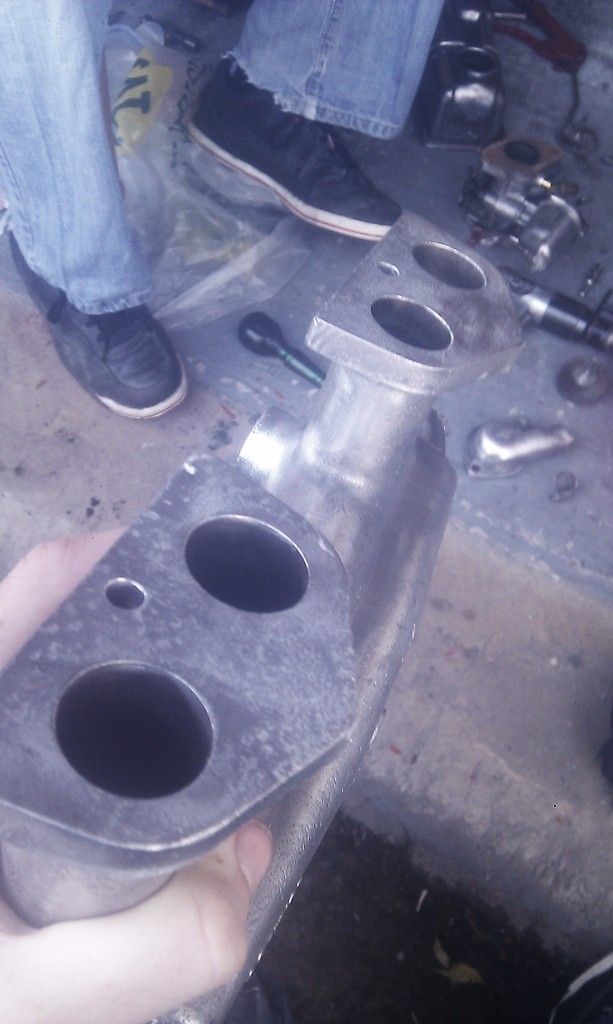
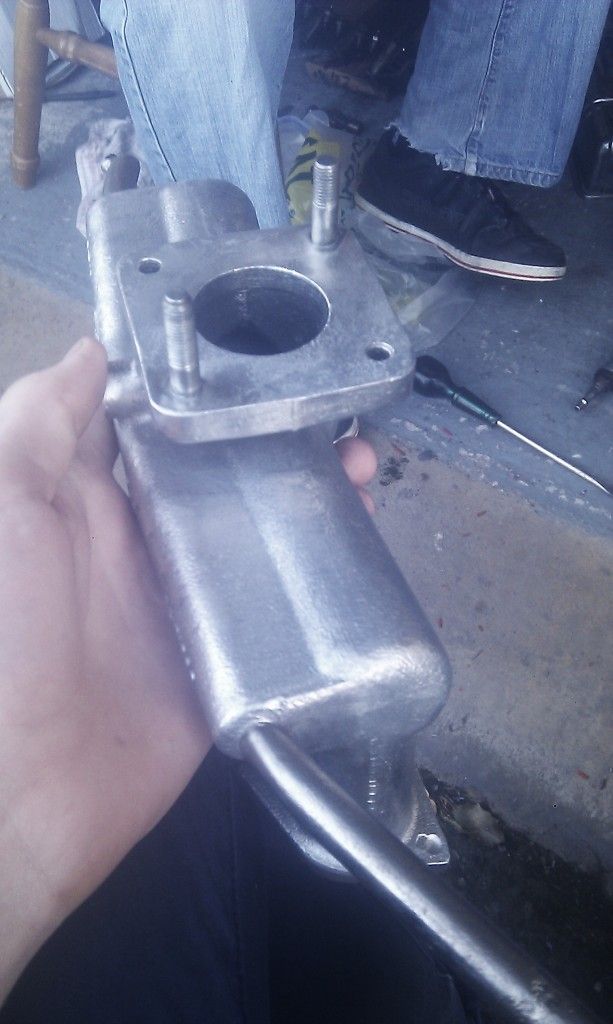
Removed the carb, probably going to start cleaning that up tonight/tomorrow

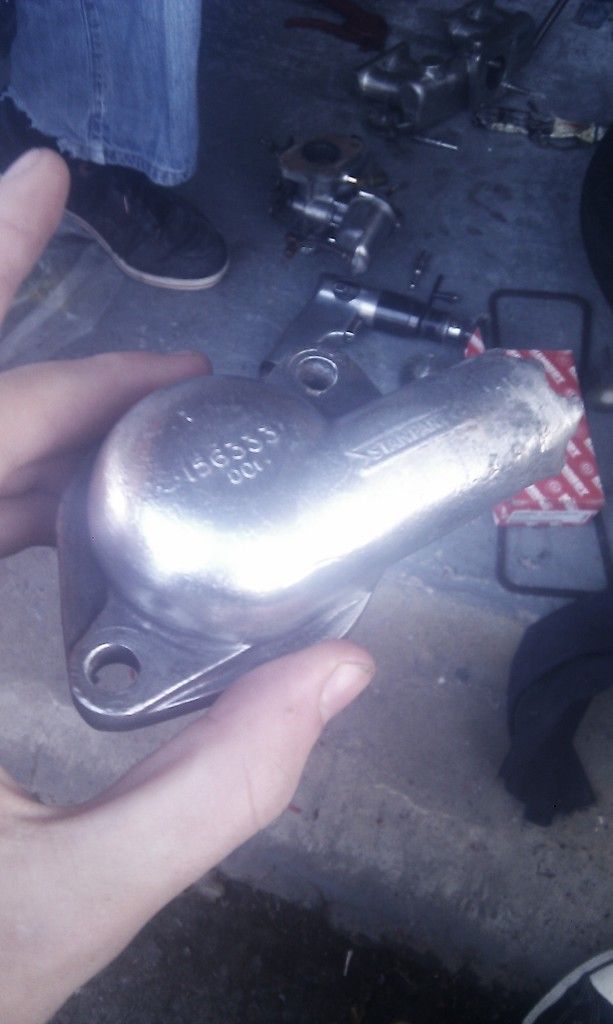
Off comes the rocker cover..
Image

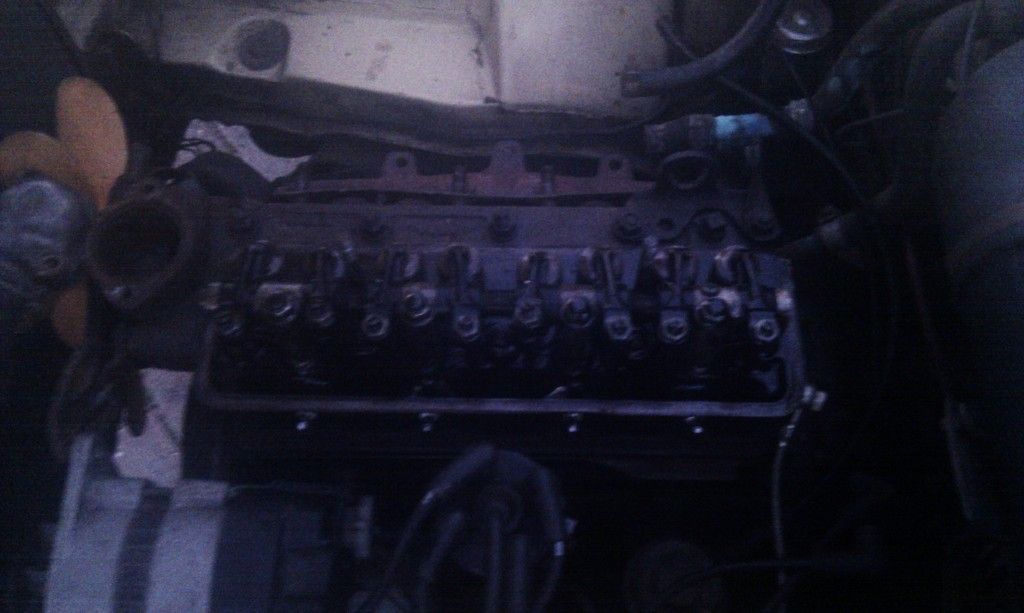
& i've took the head off as well, but dark at this point to take photos though!

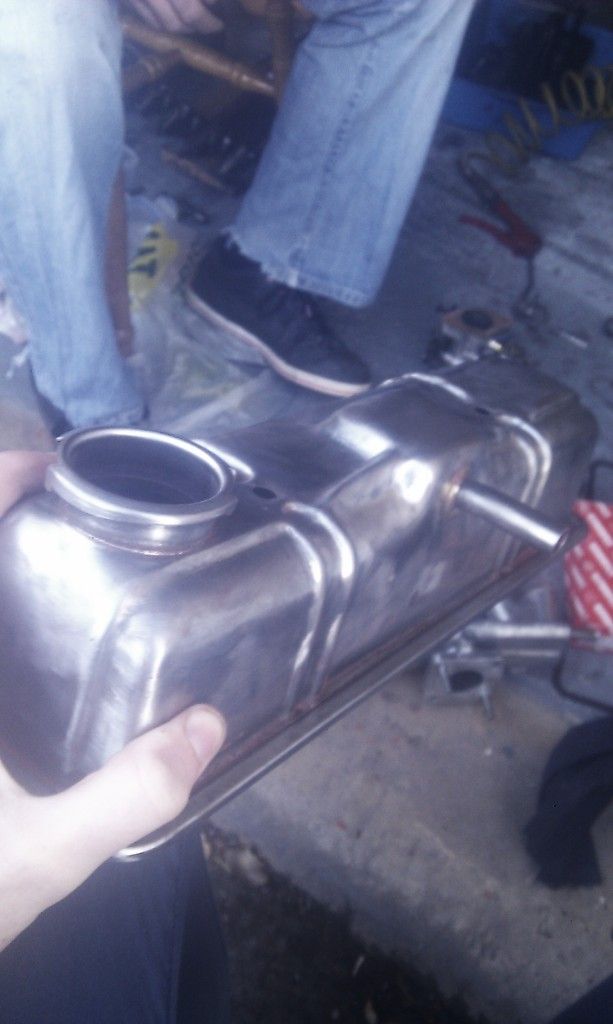
Probably going to buy a new set of hoses and gaskets pretty soon, depending on if i can get the money :/

But that's how it is now, i'll post more pics with each little change i make!
User avatar
tinweevil
Guest contributor
Guest contributor
Posts: 3936
Joined: Tue Oct 03, 2006 5:42 pm
Location: Forest of Dean

Re: '74 Toledo project

#2 Post by tinweevil »

Since you've got the head off anyway it looks like the wrong stud has been used for the forward fixing of the rear engine lifting eye, there should be more thread protruding from the top of the nut. Compare all the head studs, 2 are a little bit longer than the rest and these should be used in that corner. Very common rebuild mistake.

Would it not have been a good idea to check you can afford a new gasket set before removing the head :scratchin: Get the set from Wins (he only sells Payen head gaskets) or specify Payen if buying elsewhere. Anything else is like wiping your arse on fivers.
1978 Pageant Sprint - the rustomite, 1972 Spitfire IV - sprintfire project, 1968 Valencia GT6 II - little Blue, 1980 Vermillion 1500HL - resting. 1974 Sienna 1500TC, Mrs Weevils big brown.
PurposeUndefined

Re: '74 Toledo project

#3 Post by PurposeUndefined »

tinweevil wrote:Since you've got the head off anyway it looks like the wrong stud has been used for the forward fixing of the rear engine lifting eye, there should be more thread protruding from the top of the nut. Compare all the head studs, 2 are a little bit longer than the rest and these should be used in that corner. Very common rebuild mistake.

Would it not have been a good idea to check you can afford a new gasket set before removing the head :scratchin: Get the set from Wins (he only sells Payen head gaskets) or specify Payen if buying elsewhere. Anything else is like wiping your arse on fivers.
Ahh, i see what you mean, thanks for pointing that out, i'll sort it out upon rebuilding!
& thanks for the tip, shall do then :) & i don't need new gaskets particularily, i was just saying how i may replace them anyway for piece of mind, depending how much I can find them for - but hoses do need replacing, found a set for just over £30, seems ok to me!
JPB

Re: '74 Toledo project

#4 Post by JPB »

Yes, you do need new gaskets. :?
PurposeUndefined

Re: '74 Toledo project

#5 Post by PurposeUndefined »

JPB wrote:Yes, you do need new gaskets. :?
Fair enough, i'll get myself some on order then :)
PurposeUndefined

Re: '74 Toledo project

#6 Post by PurposeUndefined »

Been doing some work on the toledo's engine over the week, just generally tidyng up the engine bay, here's a few pics!
Image

Image

Image

Image

Image

Image

Image

Decided i don't like the look of the rocker cover in silver, just doesn't look right IMO, so i've re-sanded it down and it's being done in crinkle finish black tomorrow :)

Image

Also re-adjusted the front wheel bearings today, to get rid of some of the play

Image

& here's the head, mid way through being 'de-carbonised', & the outside of it will be polished up all nice and shiny as well!

So on the list for tomorrow is to repaint the top of the carb, ( the black plastic bit ) as it's been scratched lightly all over, and to replaint my rocker cover, more pictures will follow!

Also, new gaskets and rubber hoses will be ordered soon, and the valves will be removed so the inside of the head can be fully emptied of 38 years of gunk!

Thanks,
Dan
DoloWIGHTY

Re: '74 Toledo project

#7 Post by DoloWIGHTY »

PurposeUndefined wrote: Also re-adjusted the front wheel bearings today, to get rid of some of the play

You do know of course that they are suppose to have some play in them? If you take it all out you'll ruin your bearings in a short time.
PurposeUndefined

Re: '74 Toledo project

#8 Post by PurposeUndefined »

DoloWIGHTY wrote:
PurposeUndefined wrote: Also re-adjusted the front wheel bearings today, to get rid of some of the play

You do know of course that they are suppose to have some play in them? If you take it all out you'll ruin your bearings in a short time.
Yeah, it was really quite bad beforehand, just trying to sort a few jobs out, towards an MOT :)
JPB

Re: '74 Toledo project

#9 Post by JPB »

DoloWIGHTY wrote:
PurposeUndefined wrote: Also re-adjusted the front wheel bearings today, to get rid of some of the play

You do know of course that they are suppose to have some play in them? If you take it all out you'll ruin your bearings in a short time.
Alan is, as is usually the case, bang on the money. As long as some play is evident, then taper rollers will last & last and eventually wear a little allowing plenty of notice of their demise. Tighten them though, and they'll overheat, burn off their grease and collapse in dramatic style.

The following image shows an inner bearing that overheated as a result of being tightened:
Image
The owner of the car was lucky as - by some miracle - the outer bearing held the wheel on until she was able to get to the safety of the verge.
Note how even the outer bearing has blued as a result of the heat that built up.
PurposeUndefined

Re: '74 Toledo project

#10 Post by PurposeUndefined »

JPB wrote:
DoloWIGHTY wrote:
PurposeUndefined wrote: Also re-adjusted the front wheel bearings today, to get rid of some of the play

You do know of course that they are suppose to have some play in them? If you take it all out you'll ruin your bearings in a short time.
Alan is, as is usually the case, bang on the money. As long as some play is evident, then taper rollers will last & last and eventually wear a little allowing plenty of notice of their demise. Tighten them though, and they'll overheat, burn off their grease and collapse in dramatic style.

The following image shows an inner bearing that overheated as a result of being tightened:
Image
The owner of the car was lucky as - by some miracle - the outer bearing held the wheel on until she was able to get to the safety of the verge.
Note how even the outer bearing has blued as a result of the heat that built up.
Wow, that's really quite something!
But yes, I did leave some play in it, so hopefully my wheel bearing won't be shattering into pieces for me any time soon!
JPB

Re: '74 Toledo project

#11 Post by JPB »

:thumbsup:
User avatar
Mad Mart
TDC Member
Posts: 8529
Joined: Tue Oct 03, 2006 5:48 pm
Location: Winscombe, North Somerset, England
Contact:

Re: '74 Toledo project

#12 Post by Mad Mart »

But yes, I did leave some play in it
There should be a minimum/maximum end float figure. Use a dial gauge or feeler gauges to achieve a figure within the range, don't just guess it. :wink:
Sprintless for the first time in 35+ years. :boggle2: ... Still Sprintless.

Engines, Gearboxes, Overdrives etc. rebuilt. PM me.


2012 Porsche Boxster 981 S


Image
Carledo
TDC Shropshire Area Organiser
Posts: 7242
Joined: Sun Aug 21, 2011 5:12 pm
Location: Highley, Shropshire

Re: '74 Toledo project

#13 Post by Carledo »

Mad Mart wrote:
But yes, I did leave some play in it
There should be a minimum/maximum end float figure. Use a dial gauge or feeler gauges to achieve a figure within the range, don't just guess it. :wink:
Come on Mart, it's a Toledo not a Maclaren! I been doing this for 40 years and never once used a dial or feeler on a taper bearing of this sort. My rule of thumb is to tighten the nut up with a pair of pliers used end on, (the amount of torque ANYONE can apply is drastically limited this way) then find the nearest splitpin hole and tighten or loosen slightly to suit and Rob is your fathers brother! Check for play afterwards with the wheel on, the merest suggestion of slop is just about perfect!

Steve
'73 2 door Toledo with Vauxhall Carlton 2.0 8v engine (The Carledo)
'78 Sprint Auto with Vauxhall Omega 2.2 16v engine (The Dolomega)
'72 Triumph 1500FWD in Slate Grey, Now with RWD and Carledo powertrain!

Maverick Triumph, Servicing, Repairs, Electrical, Recomissioning, MOT prep, Trackerjack brake fitting service.
Apprentice served Triumph Specialist for 50 years. PM for more info or quotes.
JPB

Re: '74 Toledo project

#14 Post by JPB »

Carledo wrote:merest suggestion
Couldn't have put it better! :)
User avatar
Mad Mart
TDC Member
Posts: 8529
Joined: Tue Oct 03, 2006 5:48 pm
Location: Winscombe, North Somerset, England
Contact:

Re: '74 Toledo project

#15 Post by Mad Mart »

Carledo wrote:
Mad Mart wrote:
But yes, I did leave some play in it
There should be a minimum/maximum end float figure. Use a dial gauge or feeler gauges to achieve a figure within the range, don't just guess it. :wink:
Come on Mart, it's a Toledo not a Sprint! I been doing this for 40 years and never once used a dial or feeler on a taper bearing of this sort. My rule of thumb is to tighten the nut up with a pair of pliers used end on, (the amount of torque ANYONE can apply is drastically limited this way) then find the nearest splitpin hole and tighten or loosen slightly to suit and Rob is your fathers brother! Check for play afterwards with the wheel on, the merest suggestion of slop is just about perfect!

Steve
To each their own. :lol:
Sprintless for the first time in 35+ years. :boggle2: ... Still Sprintless.

Engines, Gearboxes, Overdrives etc. rebuilt. PM me.


2012 Porsche Boxster 981 S


Image
Post Reply