Tony.
VA138, the next chapter....
-
dollyman
- TDC Cheshire Area Organiser
- Posts: 1410
- Joined: Wed May 17, 2017 6:28 pm
- Location: NANTWICH.
Re: VA138, the next chapter....
Murdo is right James, this thread would make a good tv program, it has kept me happy for a while  Or do i need to get out more

Tony.
Tony.
NOW A CLUB MEMBER 2017057 

Re: VA138, the next chapter....
Haha, thanks but no I'm afraid it's just me!
I said to Shaun, I'll be happy to see it go, not because I want to get rid of it but because the restoration will move on to the next stage. The next time I will see it is probably when it is finished.
I don't know how many hours I put in, it certainly needed a lot more work than both of us anticipated or was advertised by the previous keeper.

Re: VA138, the next chapter....
Yeah great work James, where did you learn your fabrication skills? What do you use to form and make the repair sections?
Hopefully I will be starting mine this year so might need to pick your brains.
Hopefully I will be starting mine this year so might need to pick your brains.
Modified Dolomite Sprint MSO 662P VA485 1973 Mimosa Sprint


Re: VA138, the next chapter....
Thanks Tony, I'm mainly self taught. Frost has some really good demo videos, google, youtube, Discovery Channel! But I was very pleased when I was watching Nik Blackhurst doing the door gaps on Binky as I do then in the same way!
I have a huge amount of dollies, bits of metal (an old gearbox layshaft, bits of 5mm square, shim steel in various thicknesses for making joggled edges, Rods) that I use to shape things. Plus a brake, roller, sandbag and bossing mallet, pliers and aviation shears amongst other things. I'd love an english wheel and lathe but at the moment I just don't have the space. I'll just have to wait for the new garage for them!
Get some good Hammers, they made a huge difference. I have a set of Picard panel beating hammers, not cheap but they are a hell of a lot better than the cheap Clarke ones I have.
The worst part of these cars to weld is the roof. It's under a huge amount of tension from the pressing and as soon as you introduce any sort of heat it just moves around as I found out trying to repair that dent!
Anyone is always very welcome to pick my brains and ask questions, come over for a chat and cup of tea/beer maybe whiskey etc...
-
Carledo
- TDC Shropshire Area Organiser
- Posts: 7242
- Joined: Sun Aug 21, 2011 5:12 pm
- Location: Highley, Shropshire
Re: VA138, the next chapter....
I too would love an English wheel - and the 20 years practise to become really good with it! Unfortunately the supply of prewar ones from shut down engineering shops that you could buy for a few quid seems to have run out! So i'm still dreaming!
You've managed a pretty good job without one though!
Steve
You've managed a pretty good job without one though!
Steve
'73 2 door Toledo with Vauxhall Carlton 2.0 8v engine (The Carledo)
'78 Sprint Auto with Vauxhall Omega 2.2 16v engine (The Dolomega)
'72 Triumph 1500FWD in Slate Grey, Now with RWD and Carledo powertrain!
Maverick Triumph, Servicing, Repairs, Electrical, Recomissioning, MOT prep, Trackerjack brake fitting service.
Apprentice served Triumph Specialist for 50 years. PM for more info or quotes.
Re: VA138, the next chapter....
Thanks Steve!You've managed a pretty good job without one though!
Re: VA138, the next chapter....
So, here we go, the final push!
The front door was much the same as the other side, I have a tool for forming this in my press so may end up making a load for Alun and club spares.

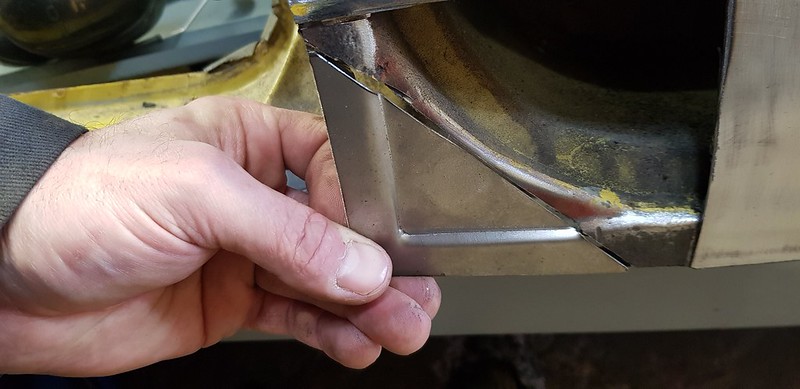
Then I forgot to take photos, but it was the same as the other side!
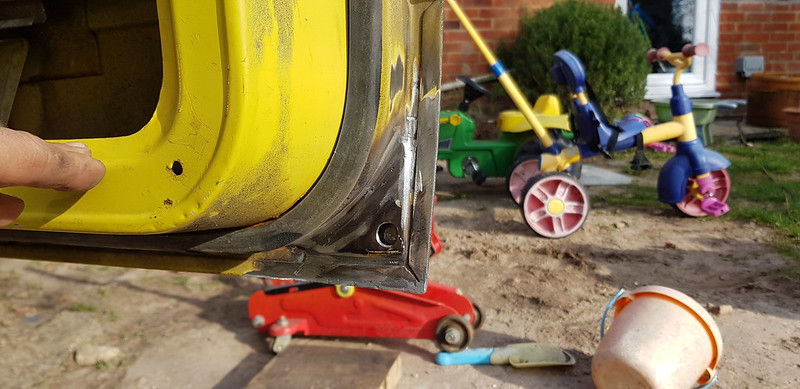
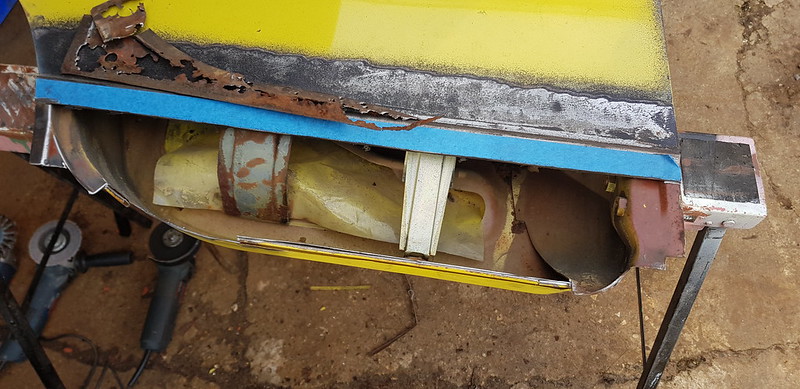
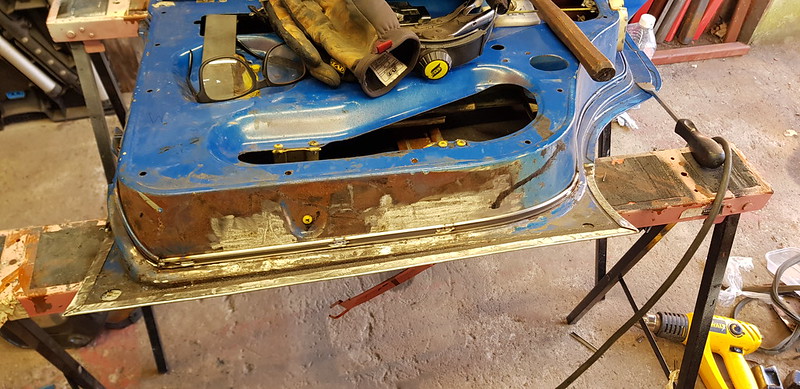
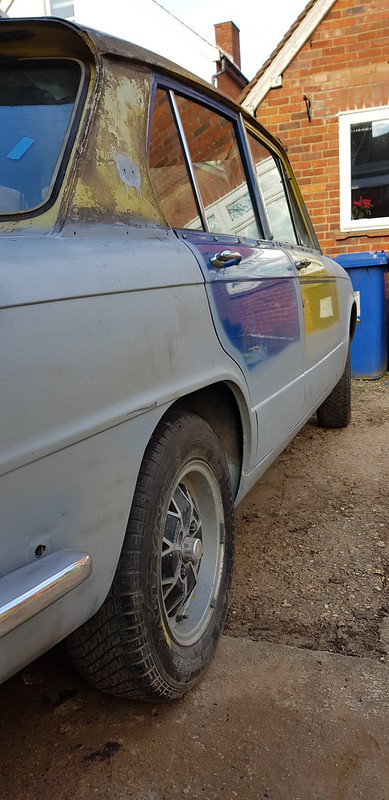
The rear door fought me, it really did. I knew that it was going to be trouble, didn't think it was going to be this much trouble! I cut the skin off.

This is an occasion when it is as bad as it looks!
This is what was left after I cut out the rust
I found a spare door which I forgot I had, it was stashed down the side of my garage with my old 1890s iron front gates that I removed ages ago! The frame looked fine but the skin was shot so I stripped the skin off, shame, it wasn't that bad but still required a lot of work. The problem is that once I start welding the frame I risk distorting it and throwing the door alignment completely out of whack. It really does open a nasty kettle of fish!

Mr Nicholas to the rescue with a good used rear door!
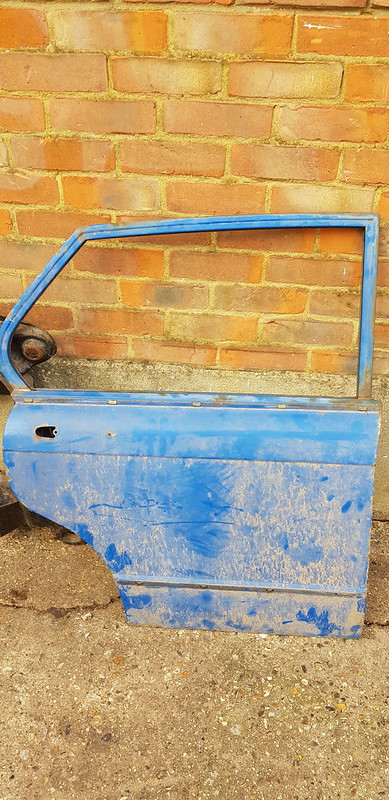
It was in far better condition than the ones I has, only really needed a minor repair to the top and bottom and a new channel

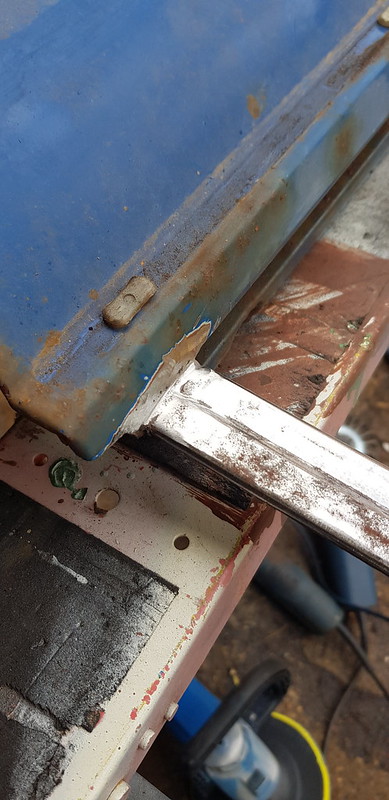
I test fitted it to the car and as you would expect it was out of alignment, just the top hinge and the bottom section. So after building it up it was out with the gas torch and big hammer!

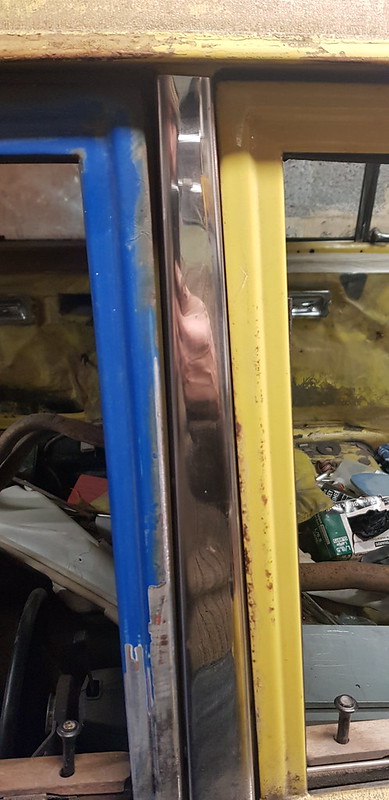


After some "tweaking" it now fits!

I couldn't get the bottom to align properly, bending it would pop the panel in concave requiring a load of body filler. So I thought, sodit (get it! ) I'll just reskin the lower section. This way at least we eliminate any rust in the seam and get it aligned properly.
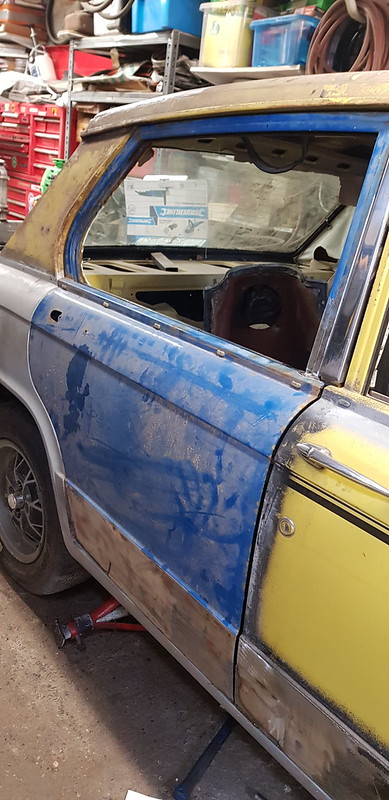
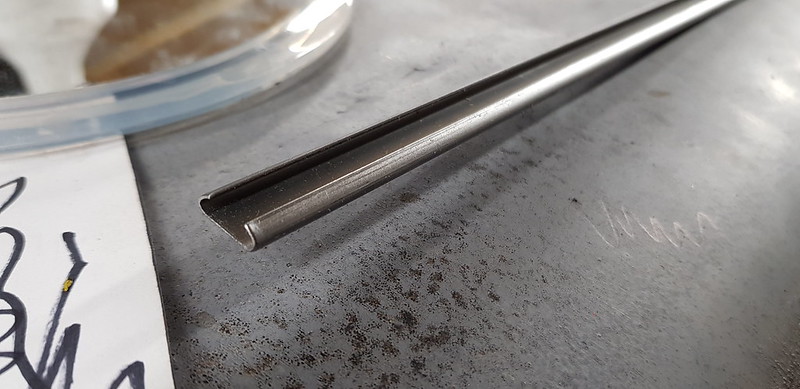
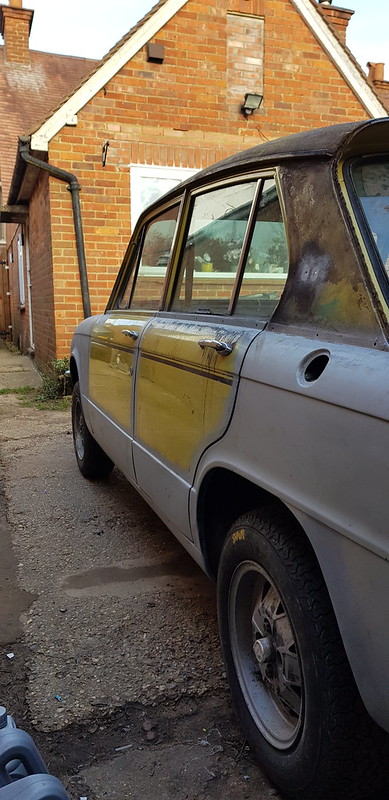
New door skin on, like the other side plus the channel this side.

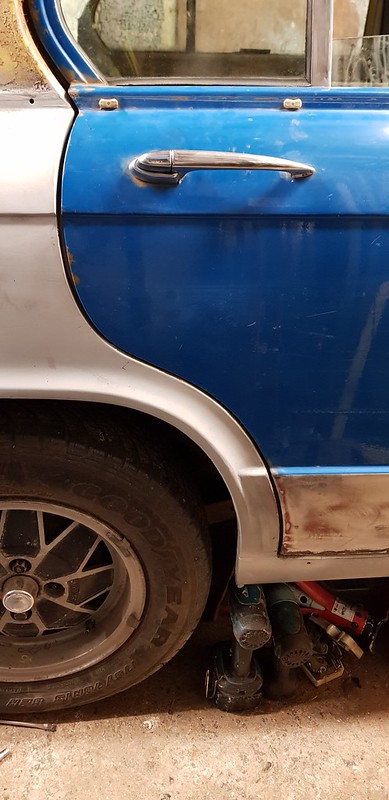
And.........

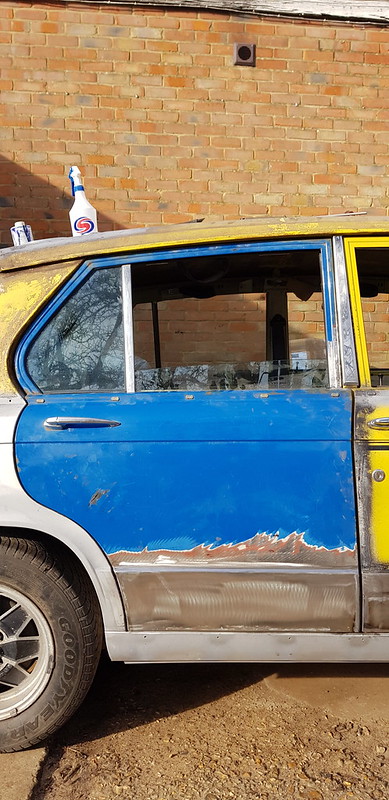
Well, I say doesn't that look better!


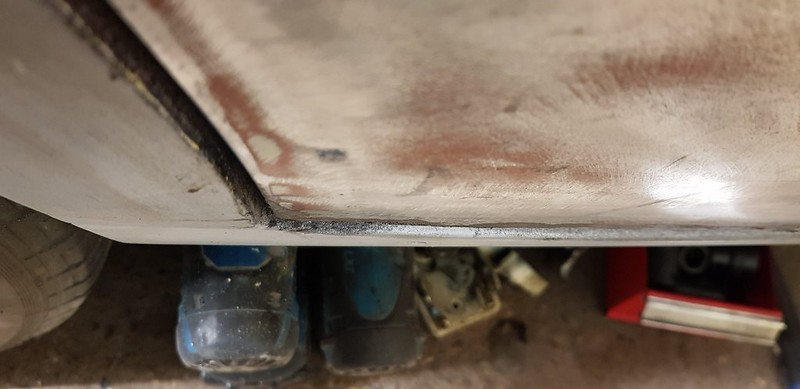
Checked the gaps, I know sometimes things look better in photos but that's actually how they look!
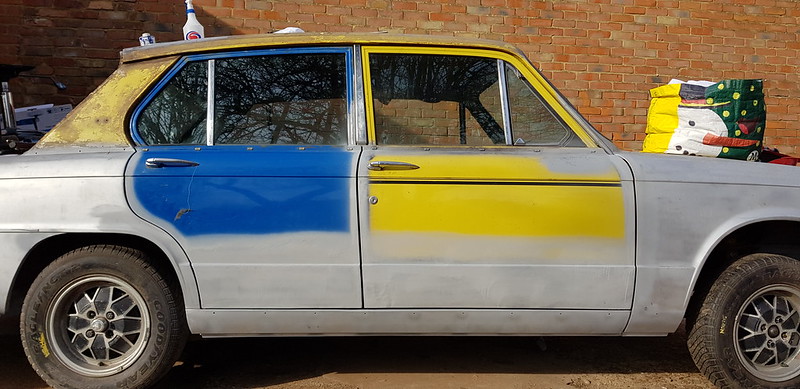
On to the bonnet, the trailing edge needed gapping correctly. Not a difficult job, some filler wire and and a flap disc.


After some other bits and pieces this is what we have.
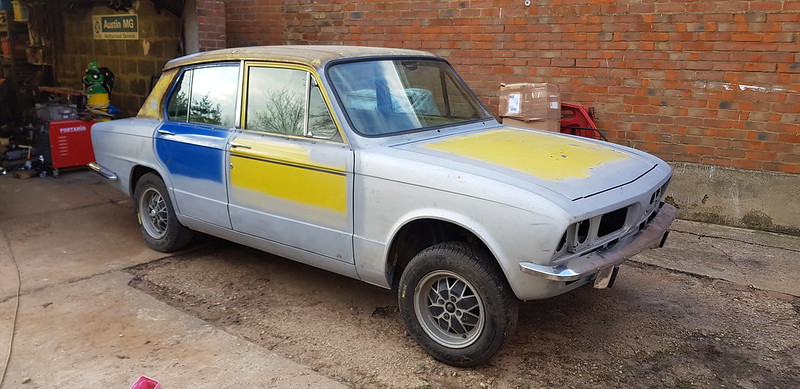


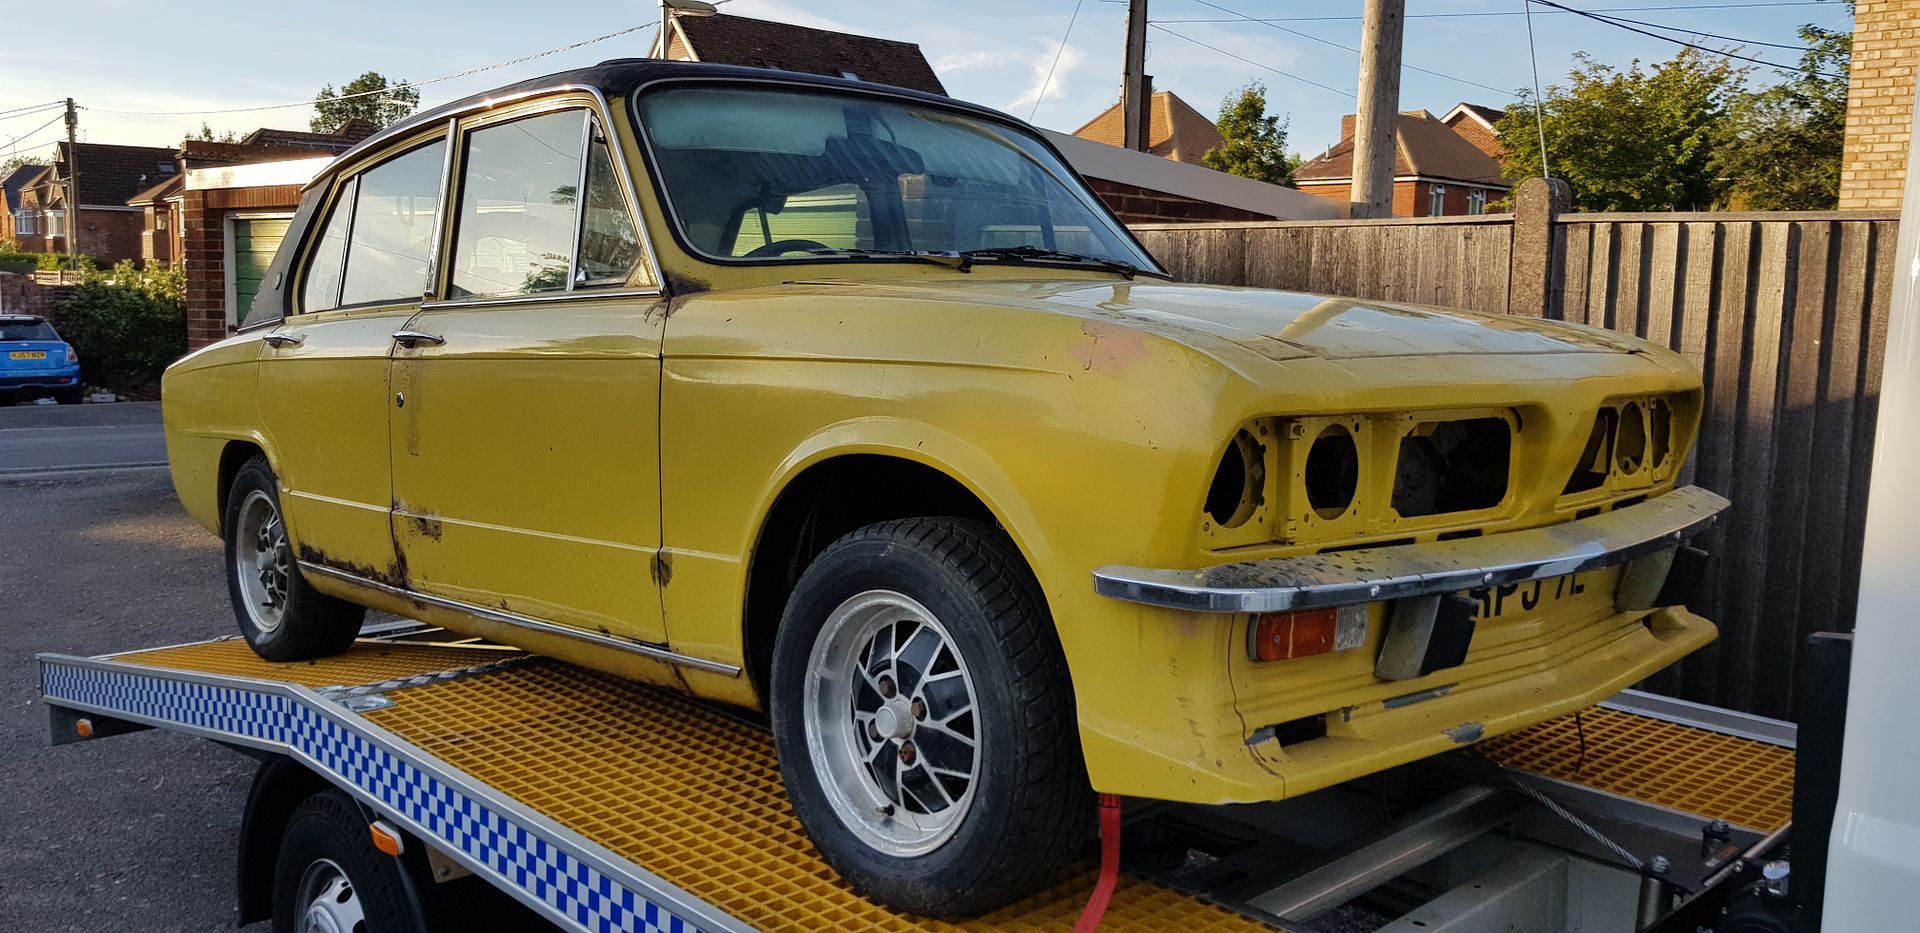
I am done for now, it is ready to go back to Shaun and be shot blasted.
The front door was much the same as the other side, I have a tool for forming this in my press so may end up making a load for Alun and club spares.
Then I forgot to take photos, but it was the same as the other side!
The rear door fought me, it really did. I knew that it was going to be trouble, didn't think it was going to be this much trouble! I cut the skin off.
This is an occasion when it is as bad as it looks!
This is what was left after I cut out the rust
I found a spare door which I forgot I had, it was stashed down the side of my garage with my old 1890s iron front gates that I removed ages ago! The frame looked fine but the skin was shot so I stripped the skin off, shame, it wasn't that bad but still required a lot of work. The problem is that once I start welding the frame I risk distorting it and throwing the door alignment completely out of whack. It really does open a nasty kettle of fish!
Mr Nicholas to the rescue with a good used rear door!
It was in far better condition than the ones I has, only really needed a minor repair to the top and bottom and a new channel
I test fitted it to the car and as you would expect it was out of alignment, just the top hinge and the bottom section. So after building it up it was out with the gas torch and big hammer!
After some "tweaking" it now fits!
I couldn't get the bottom to align properly, bending it would pop the panel in concave requiring a load of body filler. So I thought, sodit (get it!
New door skin on, like the other side plus the channel this side.
And.........
Well, I say doesn't that look better!
Checked the gaps, I know sometimes things look better in photos but that's actually how they look!
On to the bonnet, the trailing edge needed gapping correctly. Not a difficult job, some filler wire and and a flap disc.
After some other bits and pieces this is what we have.
I am done for now, it is ready to go back to Shaun and be shot blasted.
Last edited by James467 on Wed Feb 05, 2020 8:03 pm, edited 1 time in total.
Re: VA138, the next chapter....
I was about to say that I am finished but I just realised that one thing I haven't done is to drill the holes for the front valence 'Triumph' badge, the one on the upper front valance above the headlights.
I dont have the measurements, Tony, Steve, can you help?
I dont have the measurements, Tony, Steve, can you help?
Re: VA138, the next chapter....
Also, if anyone wants to know where to get the channel, Chris Witor has it.
https://www.chriswitor.com/proddetail.php?prod=CW3927
https://www.chriswitor.com/proddetail.php?prod=CW3927
-
Carledo
- TDC Shropshire Area Organiser
- Posts: 7242
- Joined: Sun Aug 21, 2011 5:12 pm
- Location: Highley, Shropshire
Re: VA138, the next chapter....
Sorry can't help, I need the dimensions for that one myself!James467 wrote: ↑Wed Feb 05, 2020 7:58 pm I was about to say that I am finished but I just realised that one thing I haven't done is to drill the holes for the front valence 'Triumph' badge, the one on the upper front valance above the headlights.
I dont have the measurements, Tony, Steve, can you help?
The only series one car I have here has that badge on the o/s of the car if you can believe that.
Got a feeling Mad Mart has this data.
Steve
'73 2 door Toledo with Vauxhall Carlton 2.0 8v engine (The Carledo)
'78 Sprint Auto with Vauxhall Omega 2.2 16v engine (The Dolomega)
'72 Triumph 1500FWD in Slate Grey, Now with RWD and Carledo powertrain!
Maverick Triumph, Servicing, Repairs, Electrical, Recomissioning, MOT prep, Trackerjack brake fitting service.
Apprentice served Triumph Specialist for 50 years. PM for more info or quotes.
'78 Sprint Auto with Vauxhall Omega 2.2 16v engine (The Dolomega)
'72 Triumph 1500FWD in Slate Grey, Now with RWD and Carledo powertrain!
Maverick Triumph, Servicing, Repairs, Electrical, Recomissioning, MOT prep, Trackerjack brake fitting service.
Apprentice served Triumph Specialist for 50 years. PM for more info or quotes.
Re: VA138, the next chapter....
Badge is missing from VA485, don't think the holes are there either, I think it has had a new front end at some point. I will check on Friday.

Modified Dolomite Sprint MSO 662P VA485 1973 Mimosa Sprint
-
dollyman
- TDC Cheshire Area Organiser
- Posts: 1410
- Joined: Wed May 17, 2017 6:28 pm
- Location: NANTWICH.
Re: VA138, the next chapter....
Is this the badge James?
Tony.
Tony.
- Attachments
-
- dolly5.jpg (46.84 KiB) Viewed 28171 times
NOW A CLUB MEMBER 2017057
Re: VA138, the next chapter....
Yes, that's the one Tony.
Re: VA138, the next chapter....
Sorted!
